
Changing Windshield Wipers
 Maintaining Your Van
 Read around 3,100 times
 For Everyone
Updated:
Once in a while, you'll notice that your wipers are struggling to keep your window clean. On inspection, you'll probably find the rubber blade that touches the window is cracked, dried out or split. Whatever the case, it's time to change those wipers.
Changing wipers is easy, but first, you need to know which kind to buy and how long they need to be. It's common that one wiper will be longer than the other, so you'll need to measure them both. You can find generic wipers in most gas stations and auto parts stores, but if you insist on brand-specific replacements for some reason, you can find those online or at approved workshops for a lot more money than they are worth.
Once you have your new blades, follow these steps to remove the old ones and fit the new ones. To cover both bases, I've removed an old style wiper and replaced it with a new, flat style wiper, which has a different, but compatible, connector. These new blades are also compatible with various other connectors. If you're not sure, ask in the store before you buy them.
Let's Go
You don't need any tools to replace your wipers, as everything can be done with your fingers.
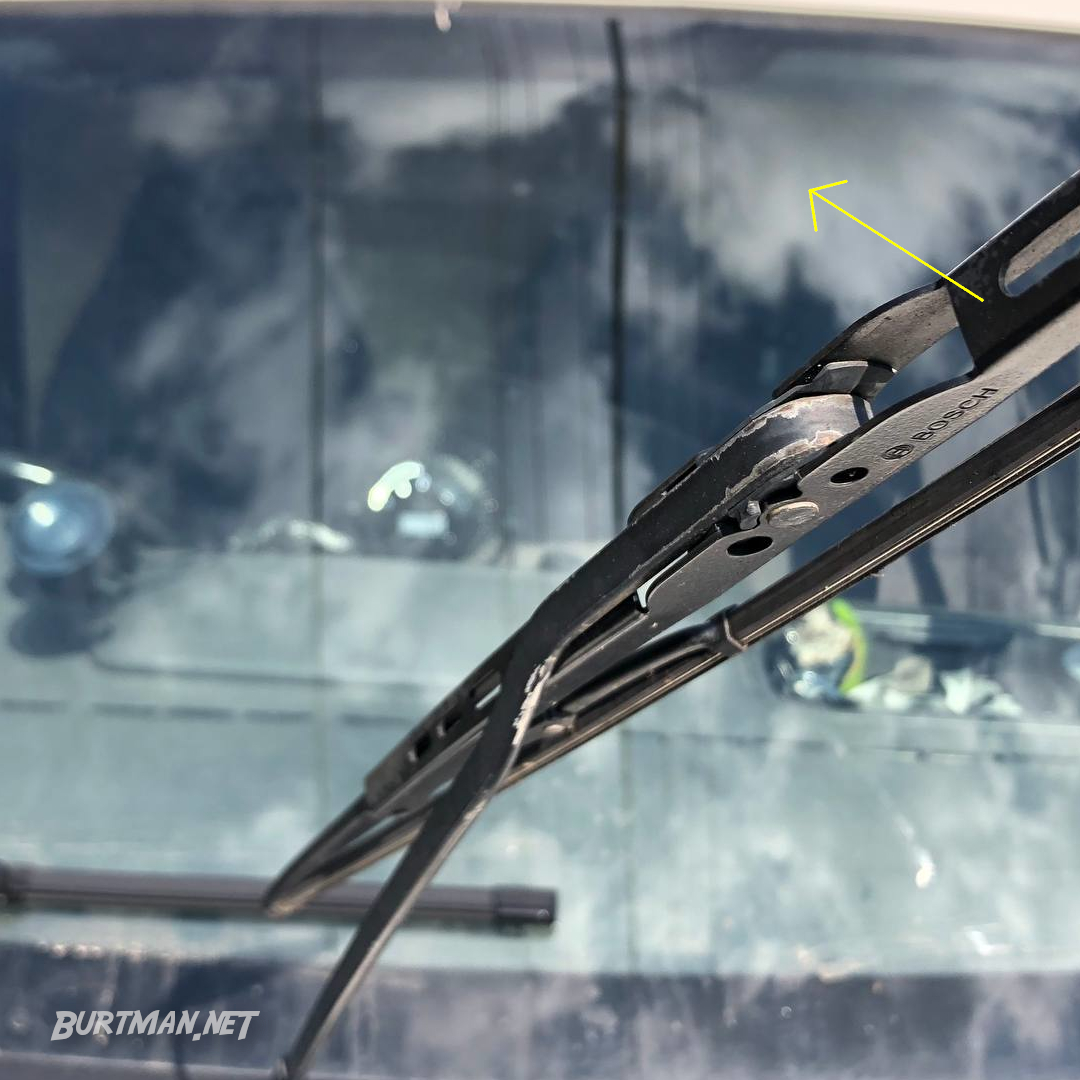
1. Carefully lift your wiper off the window and pull it all the way forward until there is no spring tension pulling it back to the window. Make sure you have a good grip, so you don't accidentally let the wiper slap down hard against the glass. Although unlikely, it could damage the window.
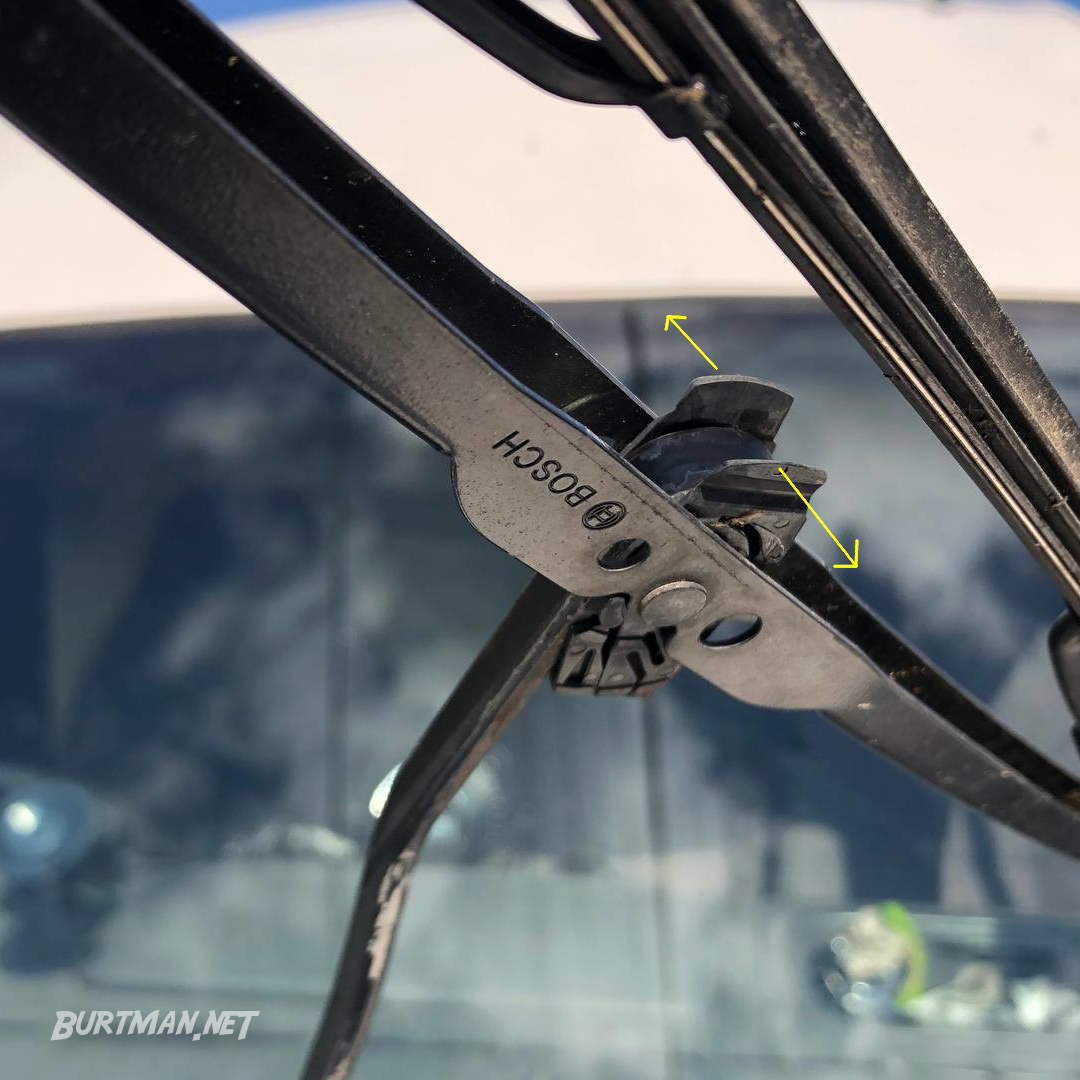
2. The wiper will easily rotate into the position shown below. The old style clips should now be pulled apart carefully to allow the wiper blade to slide down the wiper arm.
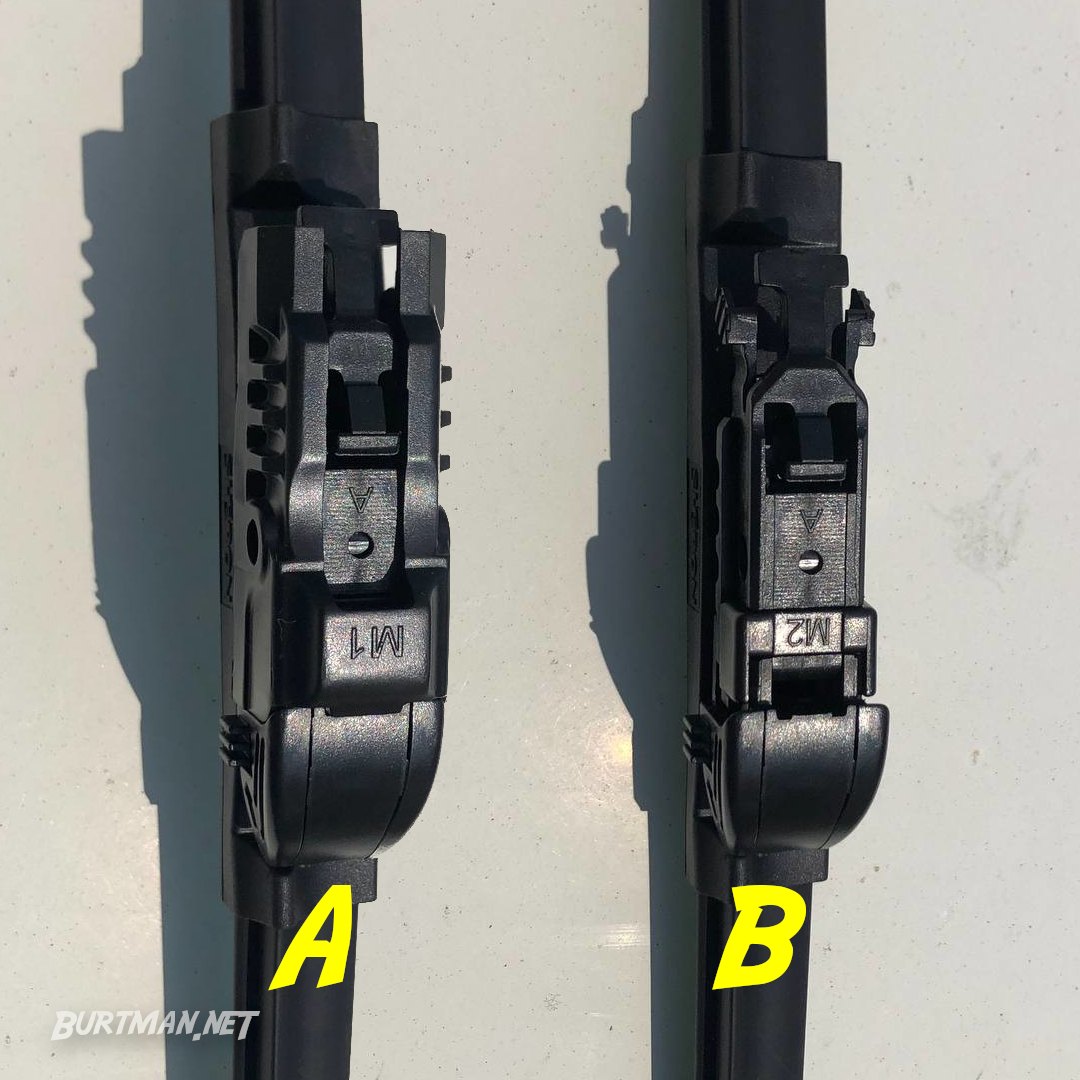
3. With the wiper detached, remove it completely and compare it to the new wiper of the same length. You will notice the new wiper looks different, especially where it connects to the wiper arm. You will need to remove the top cover from the connector section on the new wiper. The image below shows what it looks like before (A) and after (B) removal.
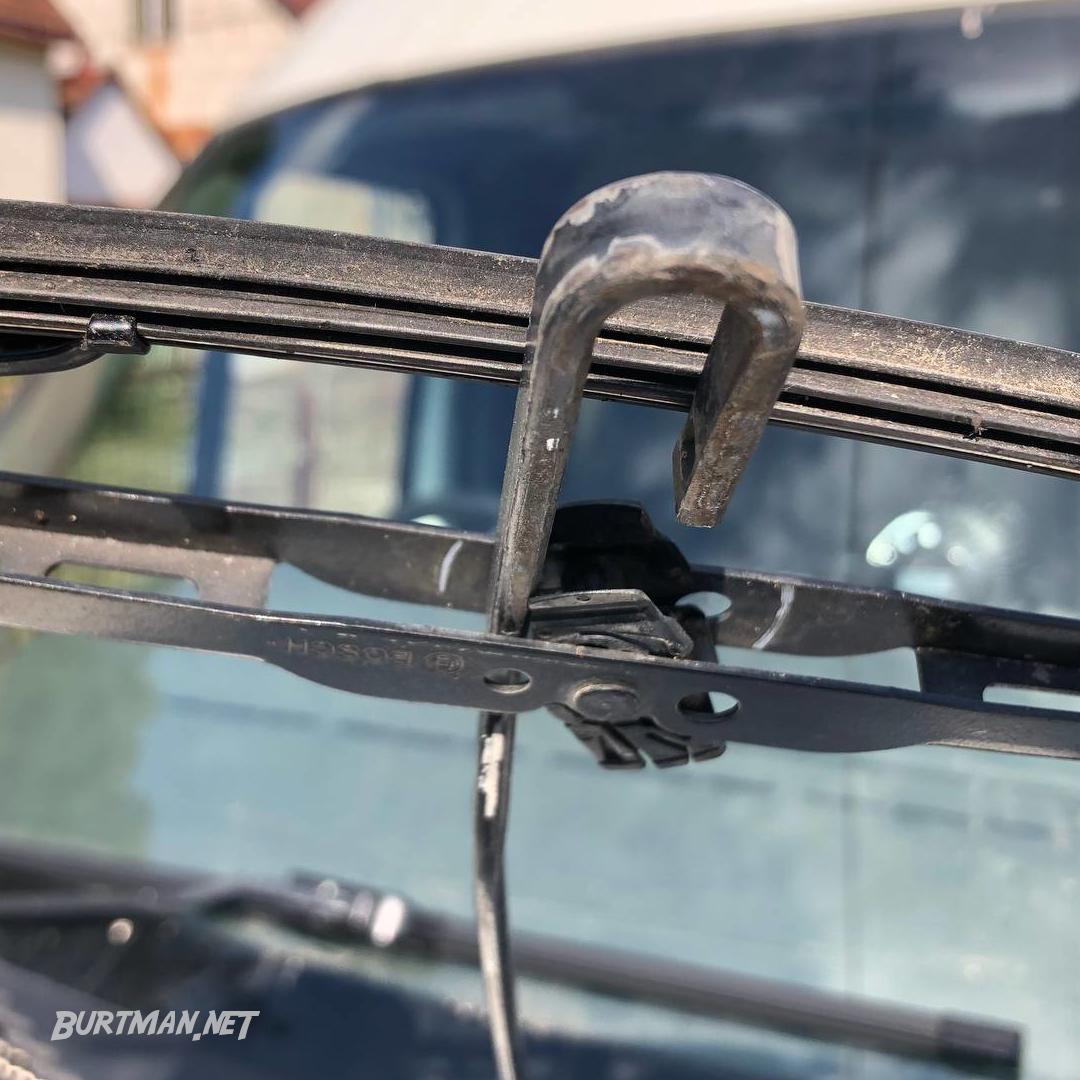
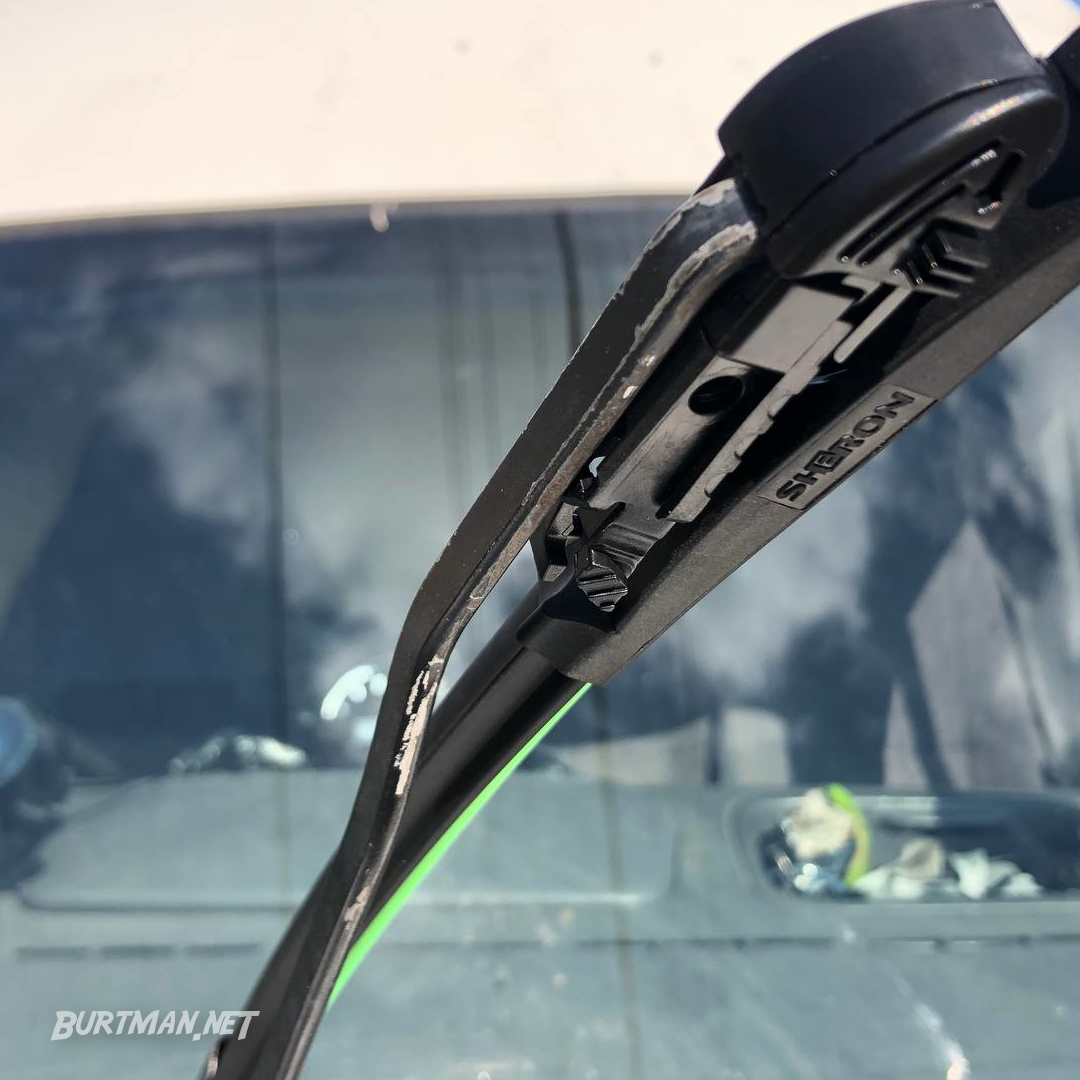
4. Pull the second, smaller cover open on the end of the connector section and insert the wiper arm's hooked end into the gap.

If your wiper blade is not seated properly, it will wobble, so make sure the metal hook is pressed all the way down.
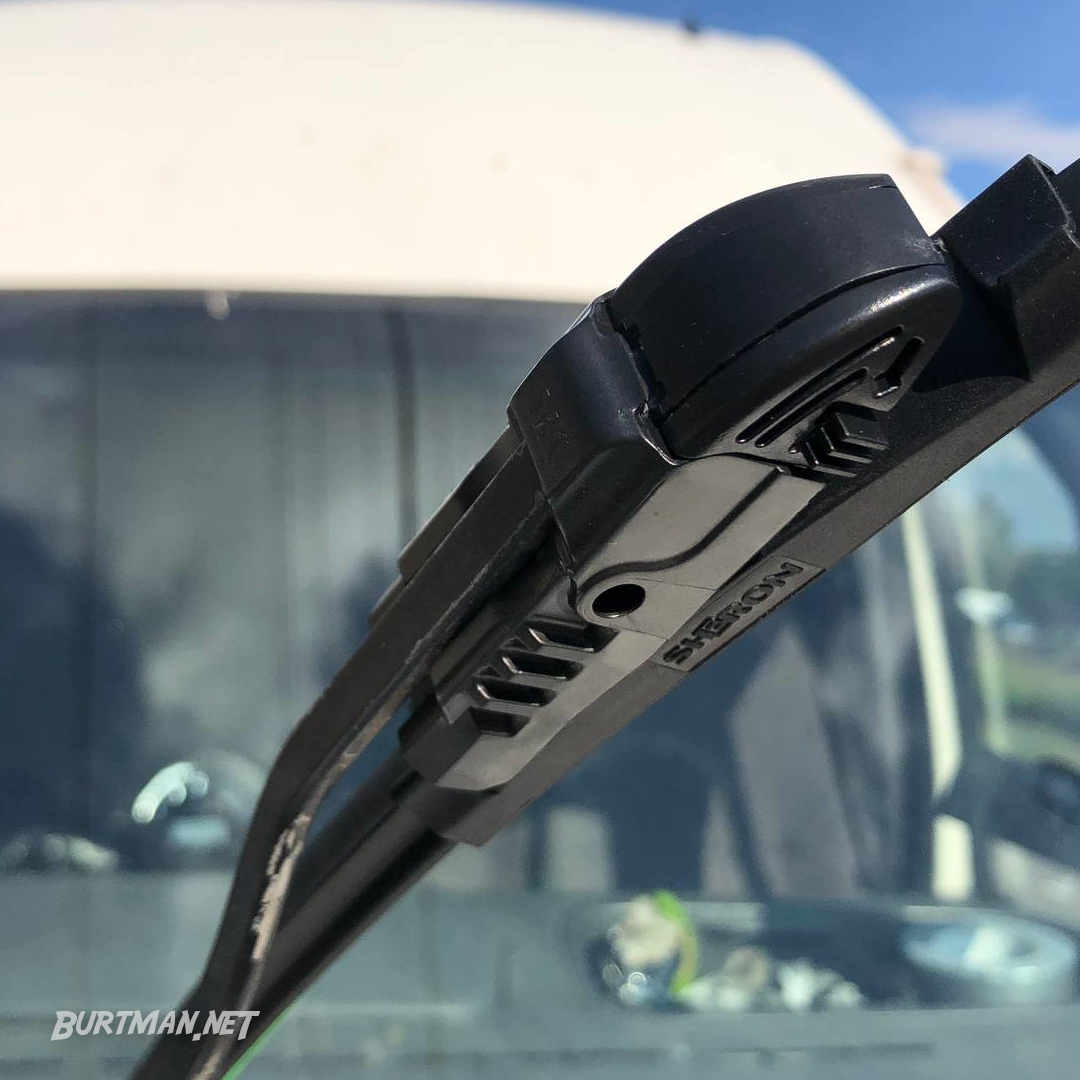
5. When the wiper arm is seated correctly, you will be able to close the small cover that you just opened and it will sit flush on top of the metal wiper arm.
6. Reseat the main cover on top of the wiper arm, making sure that both sides click down firmly and stay in place.
7. Finally, remove the protective strip that covers the rubber blade and lower the wiper carefully back onto the window.

Repeat for the second wiper and give your window a much-needed wipe.
Sign In To Leave A Comment
There are no comments marked as public for this item.
Stay Up To Date
