Mylar Lining (Radio Shielding)
Updated:


This is a very optional step for any van build and one that most people won't even think of, let alone seriously consider, but it's one that I care about, so I've set about the time-consuming act of sticking it all in.
Before I go into it, you might be wondering what it is. So here's a brief on it:
Certain materials can be coated in metallic paint that prevents radio waves from passing through the material. Given the toxicity and prevalence of electromagnetic radiation, I felt it would be a nice step to add some kind of shielding to prevent the majority of it from making it into the living space, where it would bounce around all over the place, exposing occupants to its health-damaging properties.
Ok, now we're clear on it, here's what I did, and later, I'll describe what I should have done.
First, I lined the floor and arches with metalicized mylar, covering all holes and gaps and sticking the layers together with electrically conductive aluminum tape. The aim is to create a faraday cage, so all joints must be electrically sealed.

Internal wall, floor section and wheel arch lined with mylar and connected together with conductive metal tape.
After lining the above parts in mylar, I did the same for the main floor section and continued around the van until the walls and floor were electrically sealed as one.
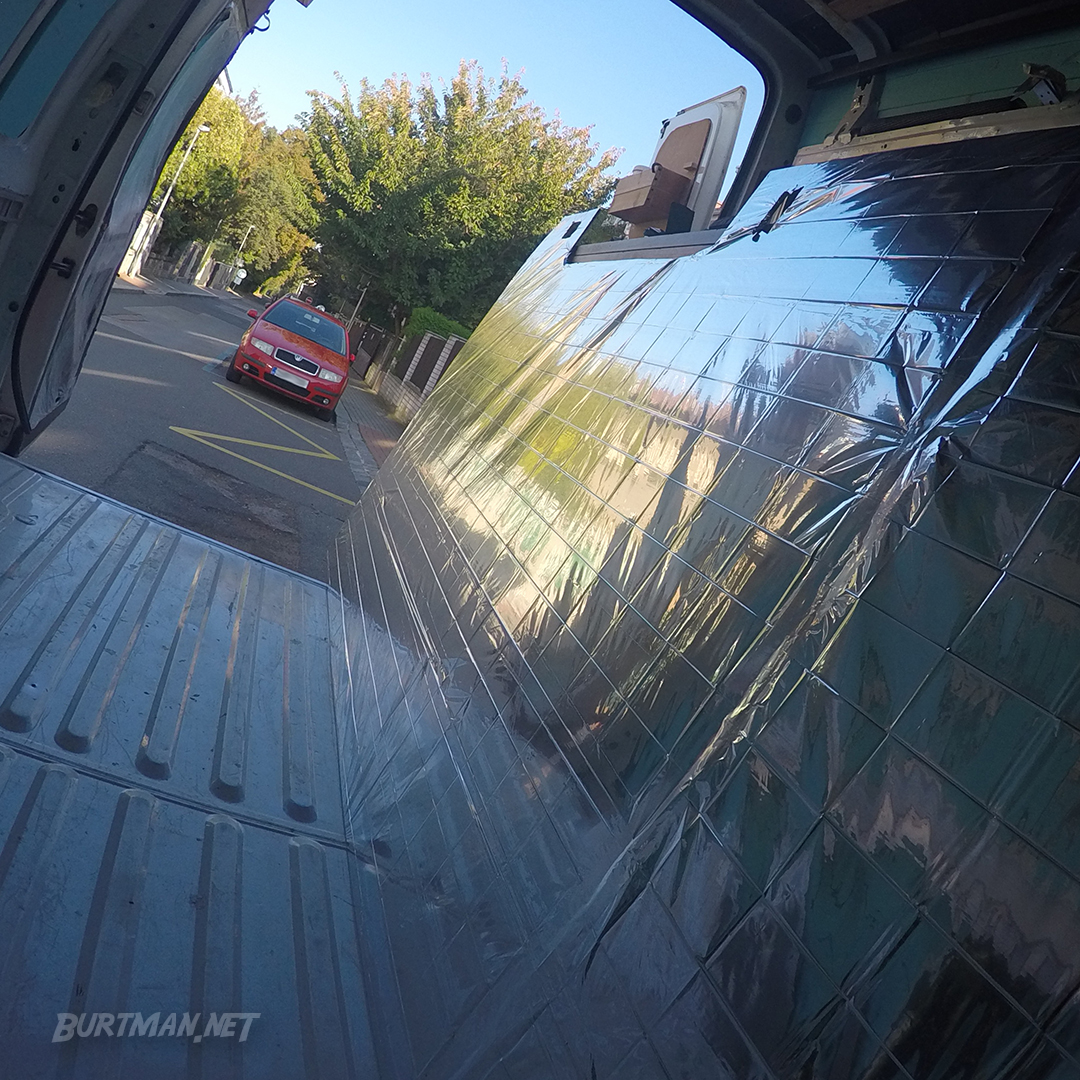
Main floor section sealed from the back.
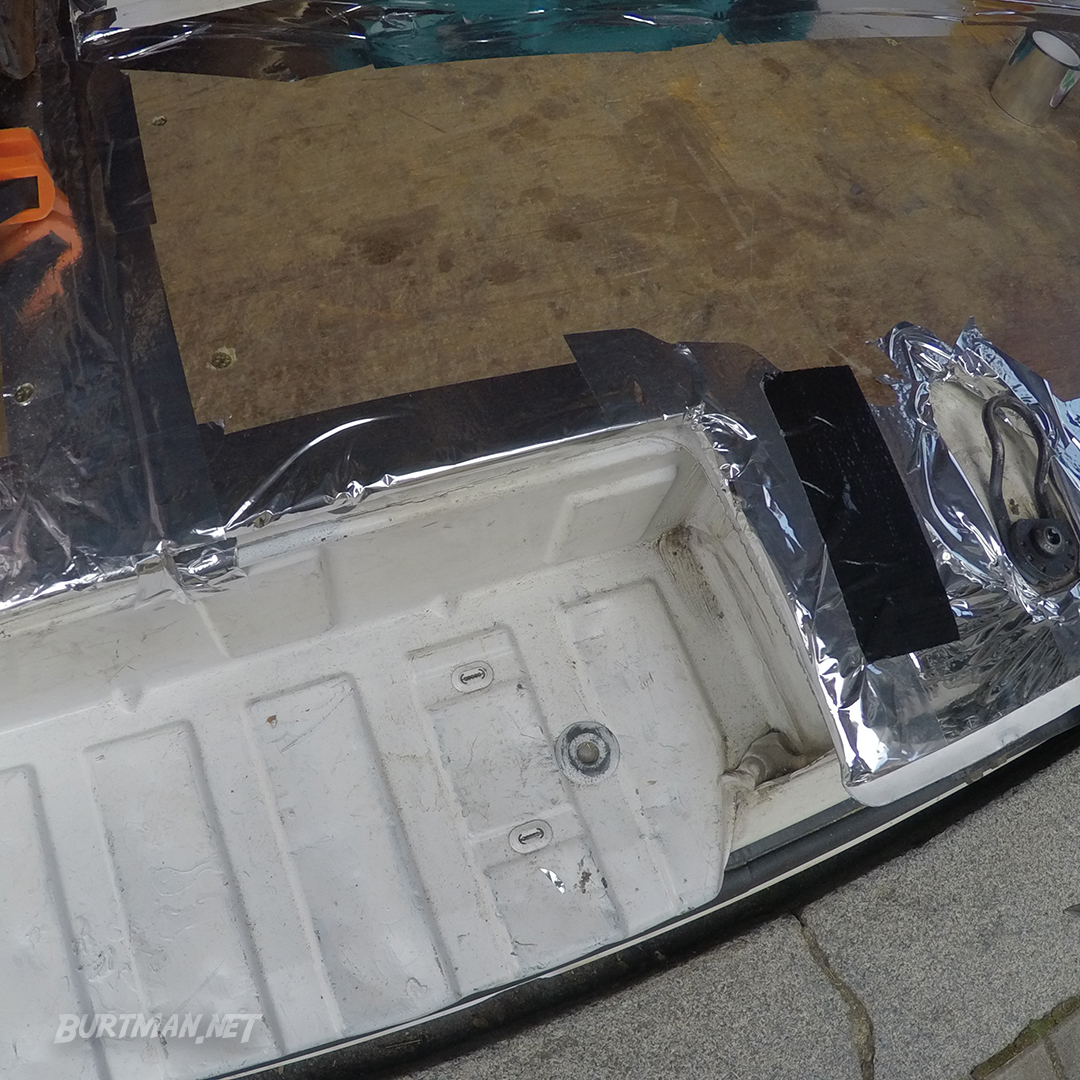
Last floor section and sealing tape.
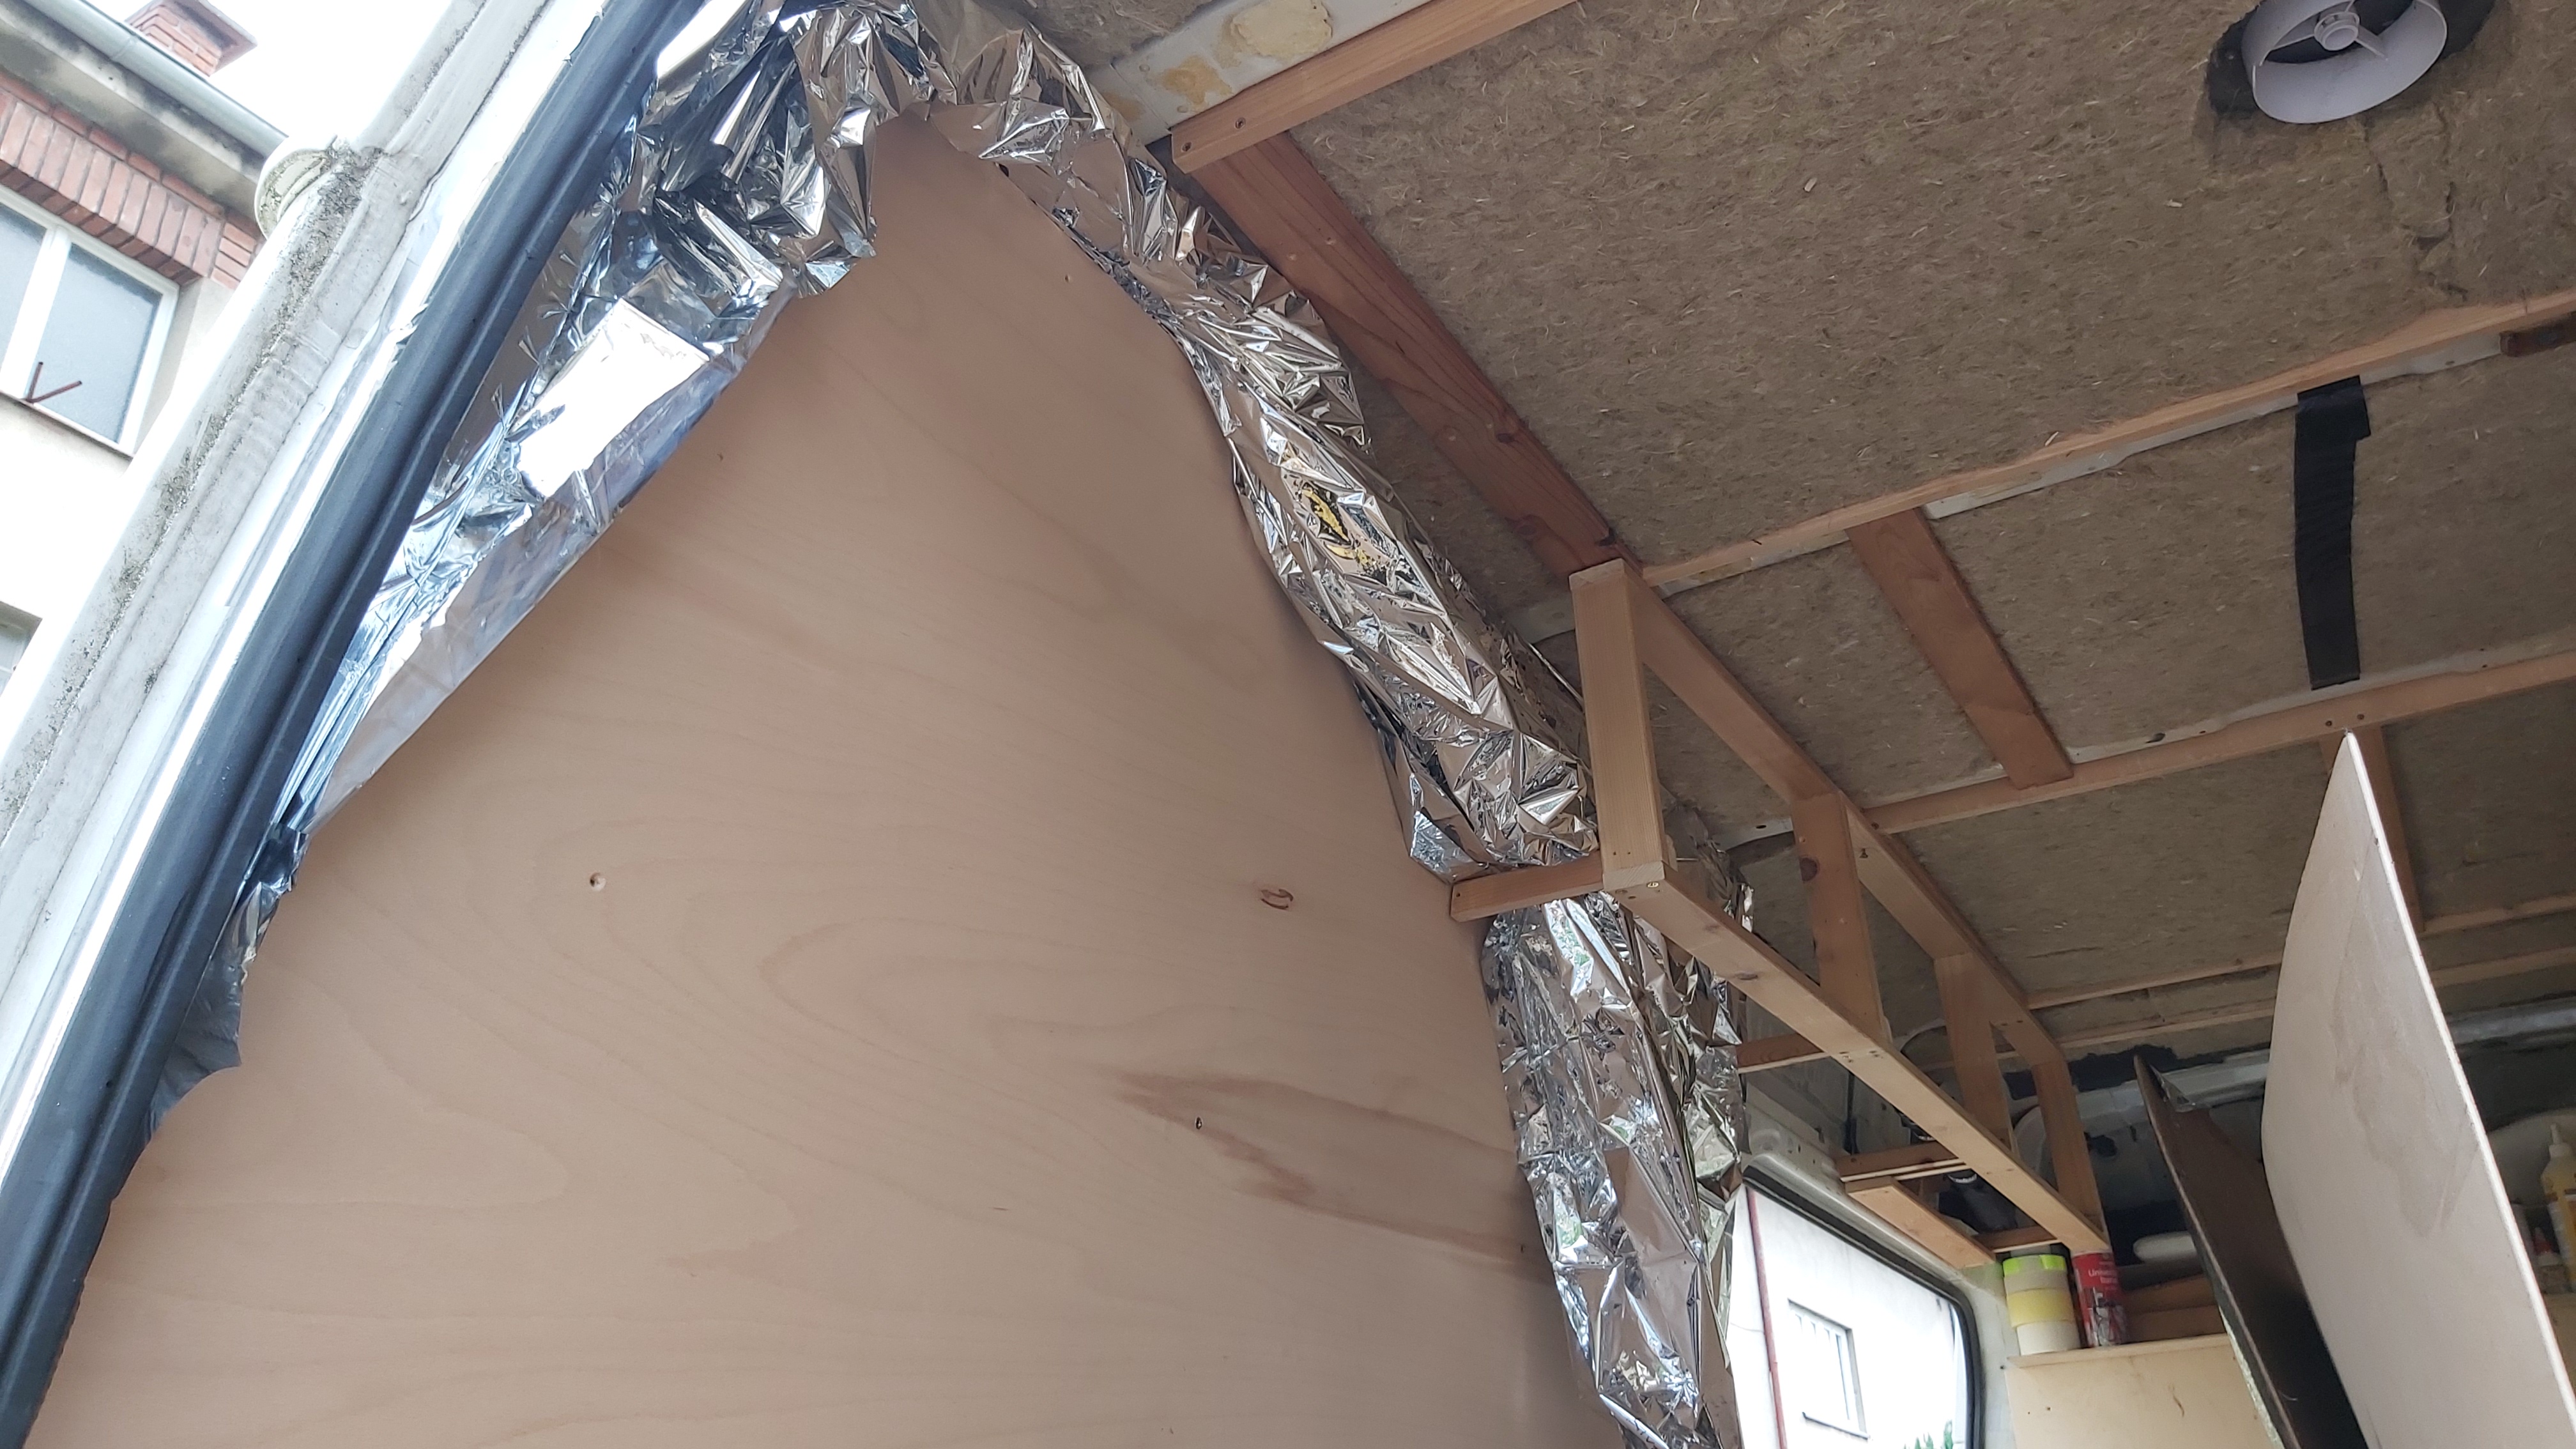
Mylar behind a wall.
Long into the evening, I worked, sticking mylar to wood. I imagine the locals were as perplexed as you were before you knew what mylar was. :)
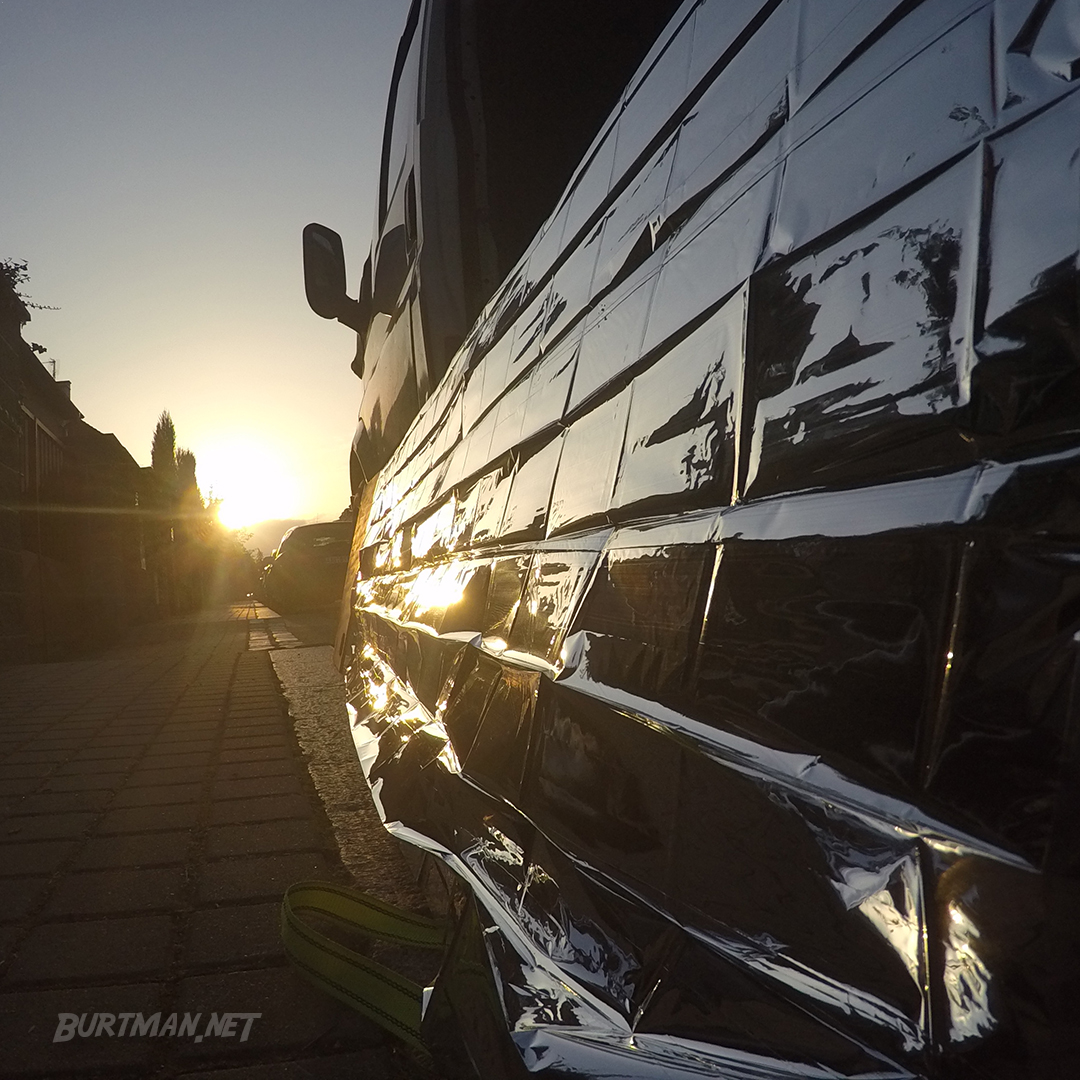
Sticking with it. Sorry.
So what was wrong with this?
Well, I chose mylar because it's cheap and easy to find, and does exactly what I wanted it to do. But what I didn't know until I was half-way through with this was that the coated mylar is coated only on one side. The other side is not electrically conductive, which means that you have to fold one edge in order to connect the next piece without losing conductivity. And that's a much worse pain in the rump than it sounds, because, like with almost everything in a van, straight edges are hard to come by. There are many rounded pieces and junctions of more than two sheets that make fun of you at almost every turn.
Imagine, if you will, the fuss required to fold all the outer edges inward and then join them all together with an additional piece of extra-lightweight material that is easily blown into sticky tape pieces they were never destined for. Once attached to tape, these sheets are never coming off without ripping or stripping the coating. That little mistake always means re-cutting and trying again. And it happens all the time.
And then there's the fragility. Almost every time you touch a stretched sheet of mylar by mistake, it tears, and those holes need patching from the other side, which is practically impossible and extremely frustrating.
Screw up a piece of mylar and the coating is compromised.
So what's the answer?
It's so obvious, now that you ask, isn't it?
Aluminum foil.
No coatings, no conductivity issues, even easier to find, even cheaper... And much heavier duty, to boot.
I did eventually remove a good deal of the mylar and replace it very successfully with thick baking foil, and I wish I'd thought of it in the beginning.
Whatever you choose for your radio shielding, you can check the conductivity with a multimeter. Just set it to the Ohm setting (Ω) and touch one electrode against one sheet and the other against an adjoining sheet. If the number on screen goes down to 0, there's no resistance between the sheets, meaning they are electrically connected. And an electrically connected sheet is a faraday cage.
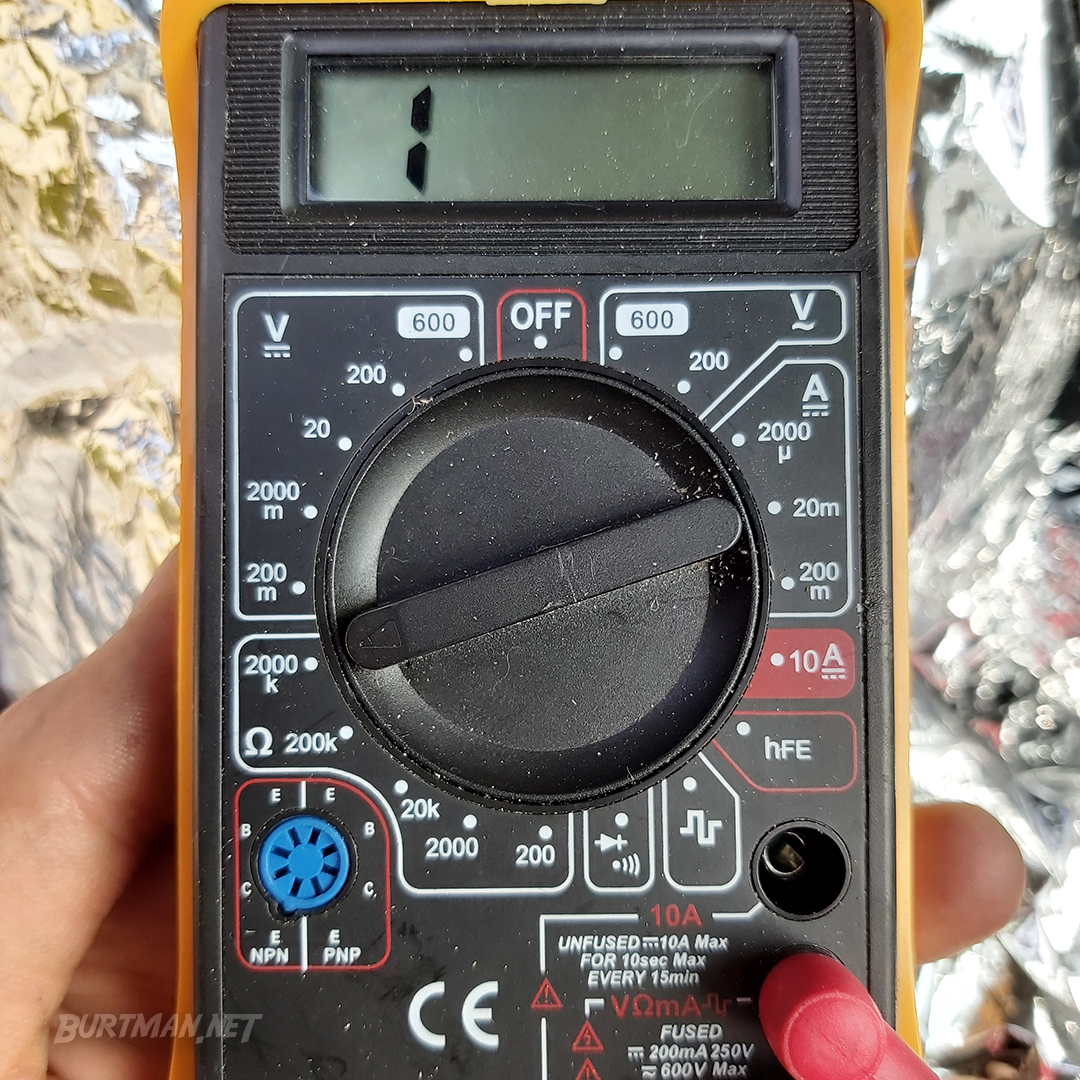
Multimeter set to Ohms.
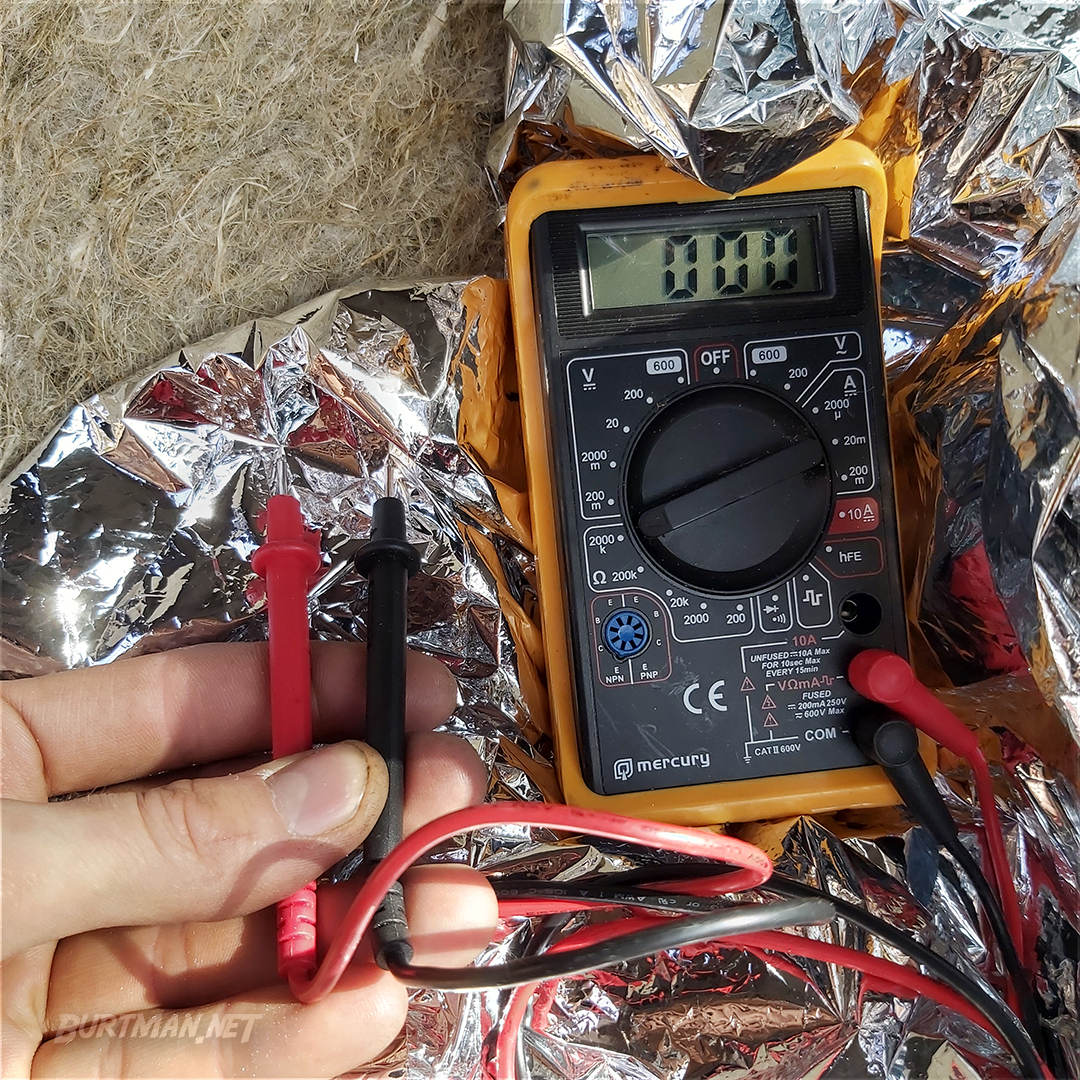
Testing the theory with the same piece of mylar.
Good luck, if you go down this path!
Sign In To Leave A Comment
There are no comments marked as public for this item.
Stay Up To Date


 Mark 3
 Read around 2,200 times
 For Everyone