A Neat Little Wardrobe
Updated:


Some vans come with a big shelf above the cabin, which usually can't be removed. Insulating it can be a challenge, as none of the edges are flat and everything at the very front is quite a reach, even for a tall person. My van has this particular feature, so I decided to make use of it to store my clothes, when I'm out on the road. Previously, the space had been used for books and it had felt a bit wasted (plus books aren't a good fit for a deep shelf - they fall over all the time and end up in a pile).
The main shelf was packed with hemp insulation and foil lined. There's been a 5mm thick plywood sitting on top of it for ages, but it hadn't been so useful, as it didn't have any means of preventing things from falling off. As I wanted to store clothes in this section, I had to make a new frame to separate the clothes from the fibers of the insulation. Since the van's sides and roof are all curved, it's practical to create some kind of frame for the wardrobe, anyway, rather than hoping to attach the wood directly to the van frame. Also, the ceiling of the shelf area is the outer skin of the van - there is only one layer - so, attaching anything to that means having screws poking out of the top of the van.
Although there is new wood in use in the build, I re-use as much as I can, and in this case, I used the back of the writing desk (which is at least 50 years old), to create the sides of the frame. After sanding off the paint and basement smell, I found it to be somewhat attractive wood, and it's strong enough for the job.

Didn't need a back on my bureau, since it's up against the wall anyway.
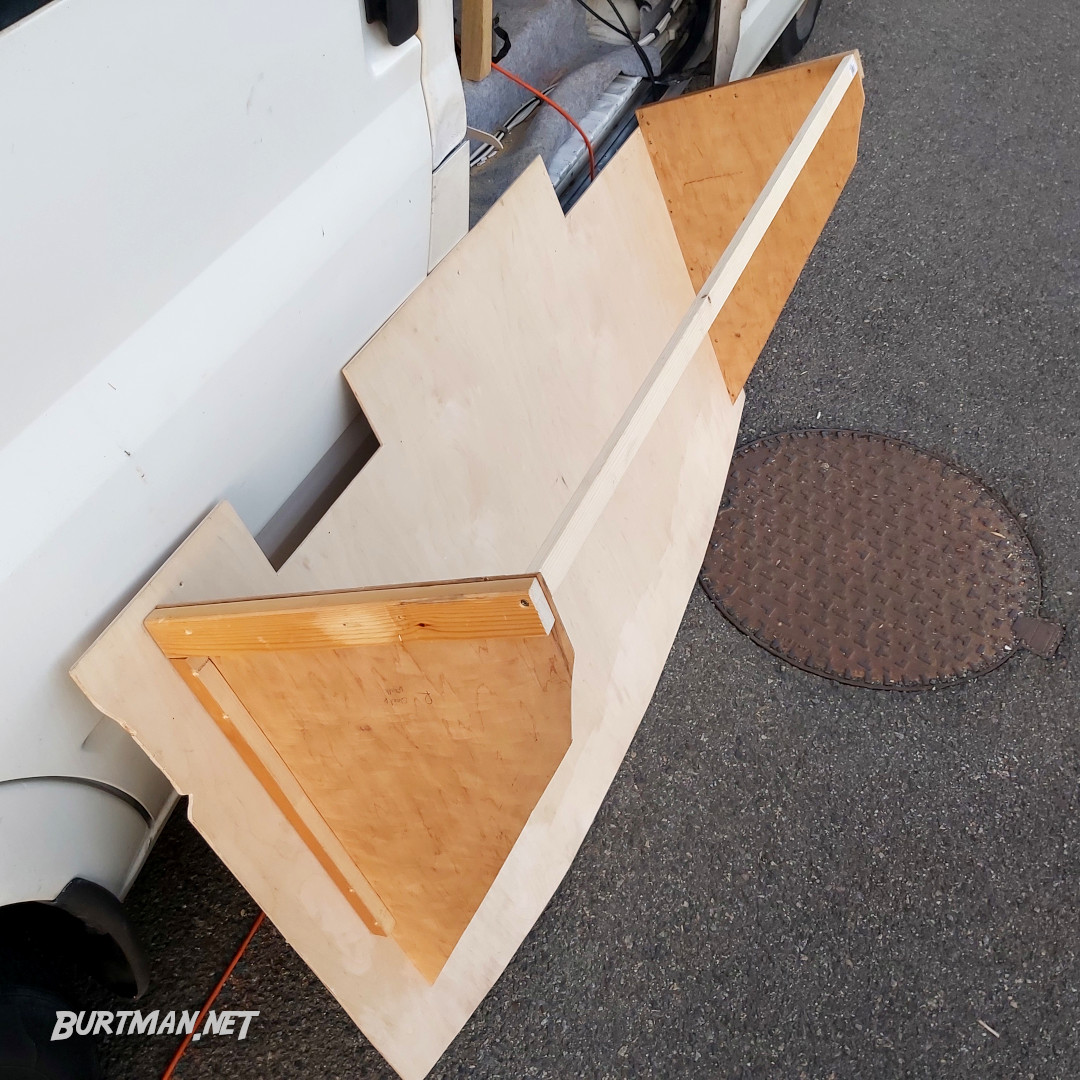
No, it's not a spoiler, although I agree, it would be totally rad.
The sections that have been cut out of this sheet are access panels for the AC sockets and accessory switch panel, to provide access for adding circuits and general checking (in case things get loose - they shouldn't, but road vibration can loosen almost anything).
Next, I fitted a top to it and then slid it into the cab shelf area, which is now fully insulated (again) with hemp batts. I say again because I previously made the mistake or sleeping in the van before finishing the vapor shielding, and the previously installed hemp got damp and eventually moldy. Not safe to breathe and not good for the metal it was glued to.
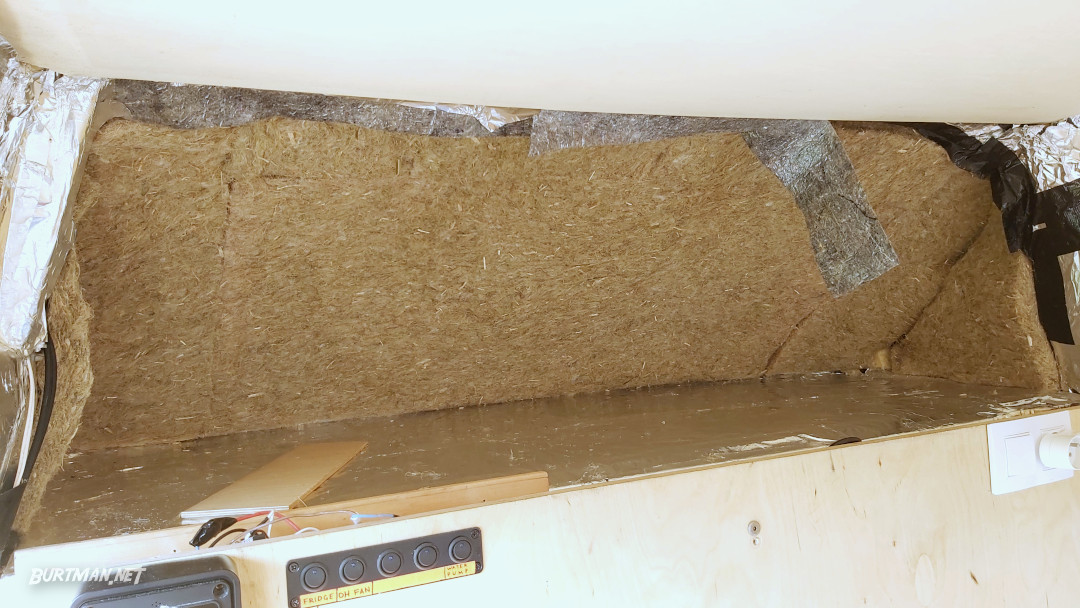
Re-insulated roof section, featuring the remnants of a previous lining - all to do again, thanks to impatience.
After sorting the insulation out (the glue came unstuck because the sun on the roof made the glue melt), I started cutting a front for the wardrobe.
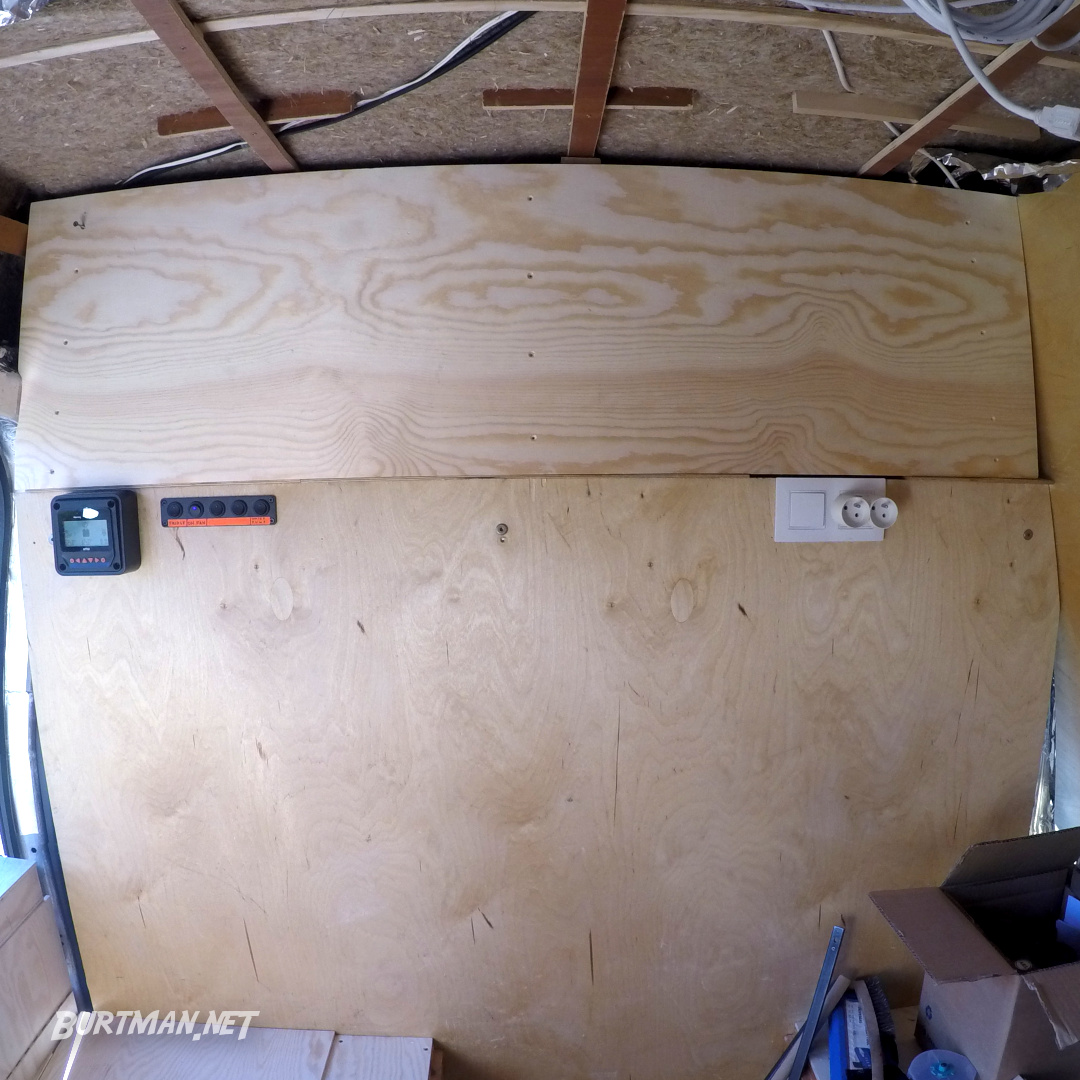
A rough cut for the shape of the unit.
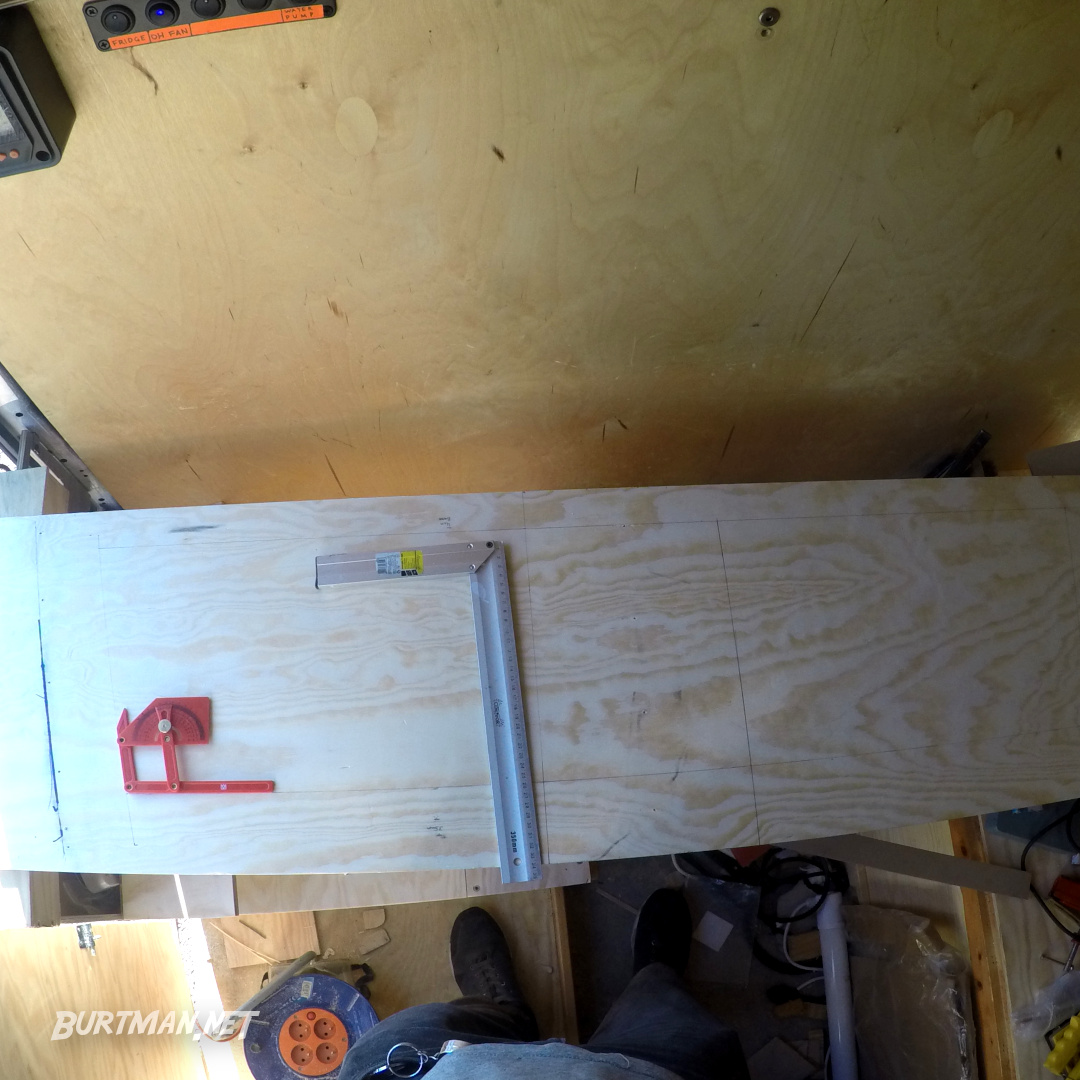
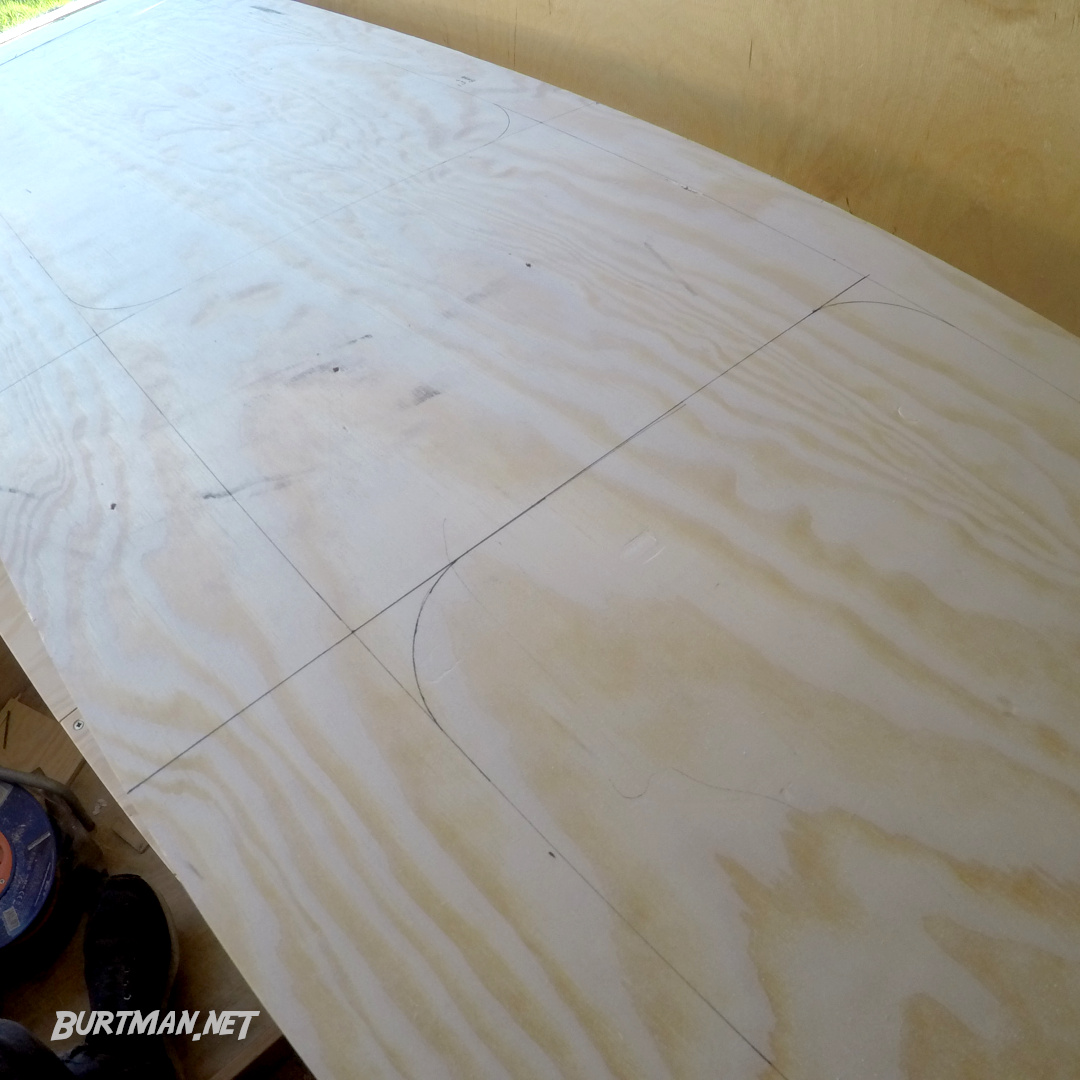
Measuring and marking the cut lines for the doors.

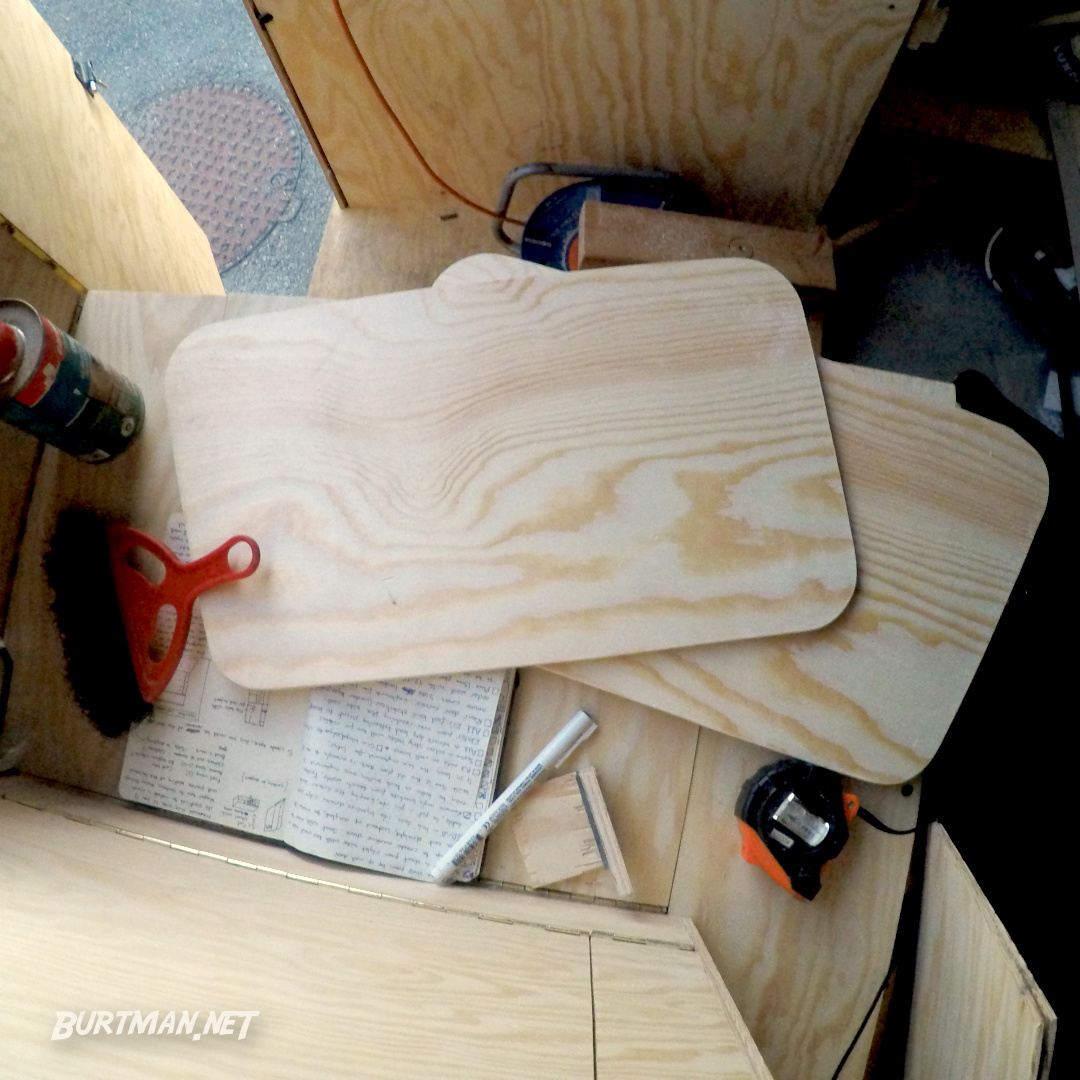
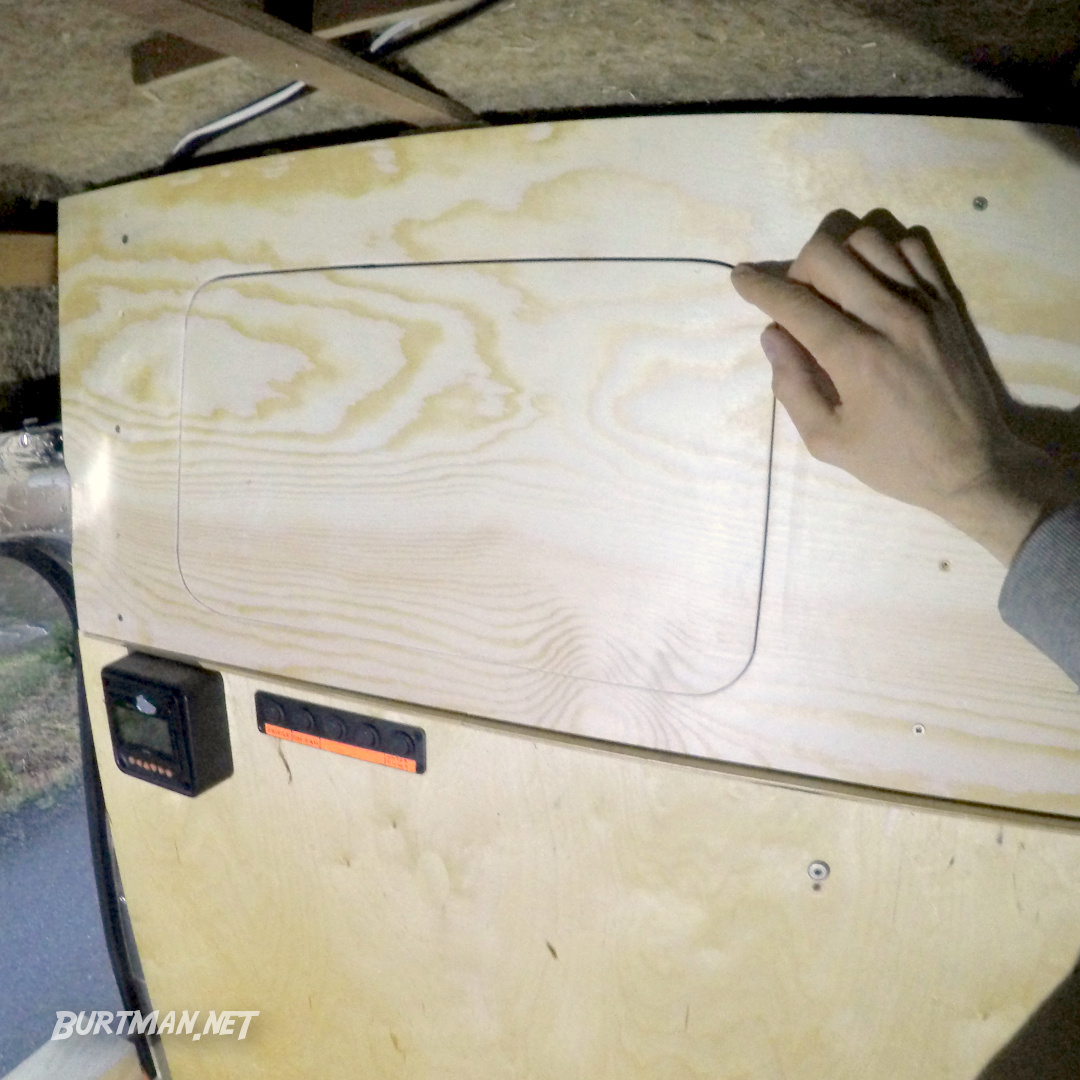
The first door in position to get a look at it.
Once the doors were cut out, I sanded the edges smooth and rounded them a bit, going up to 320 grit sand paper, which gives a pretty smooth finish and makes sure there won't be any splinters. Next, using a very sharp knife to position the doors in their ports as accurately as I could, before placing hinges and marking the positions for drilling.
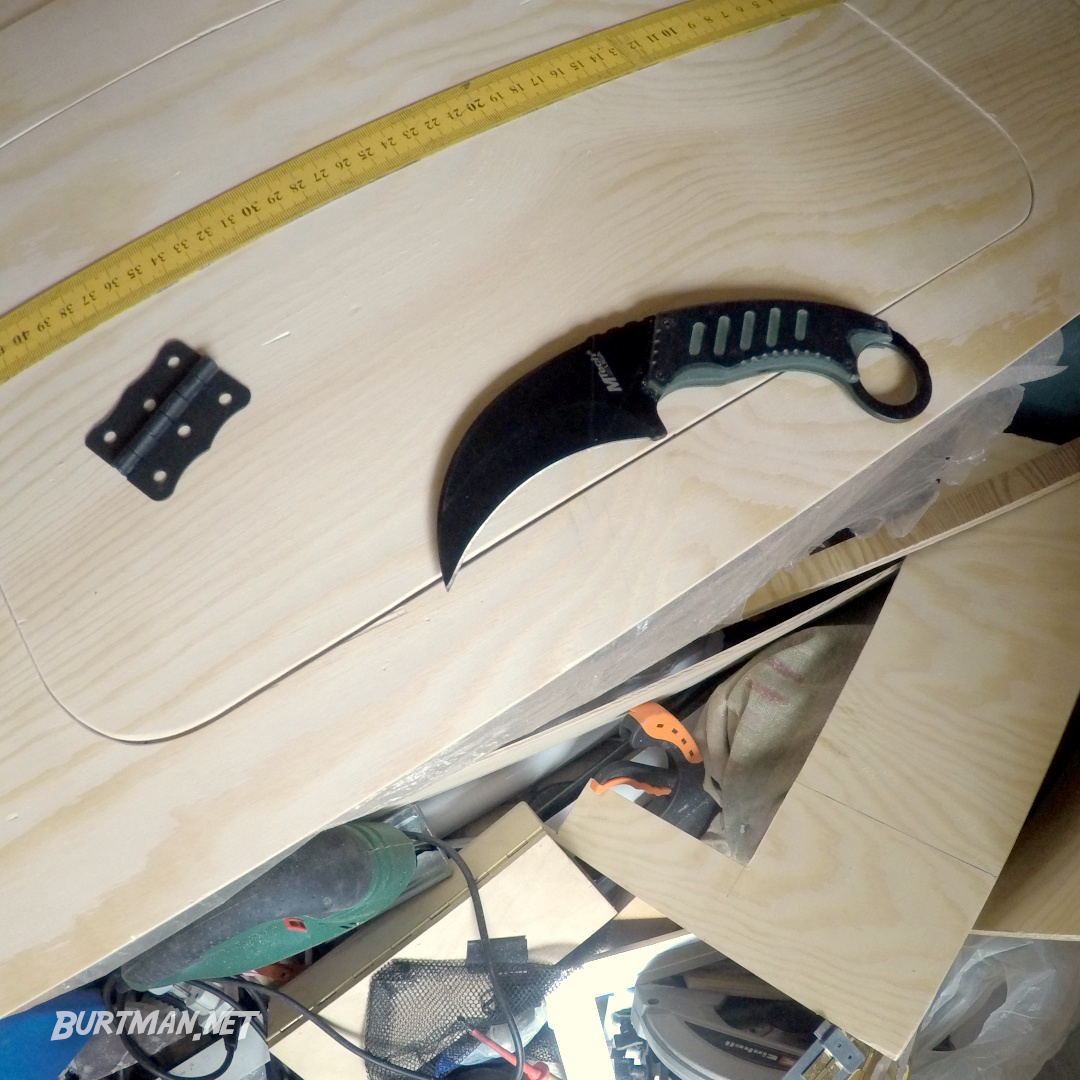
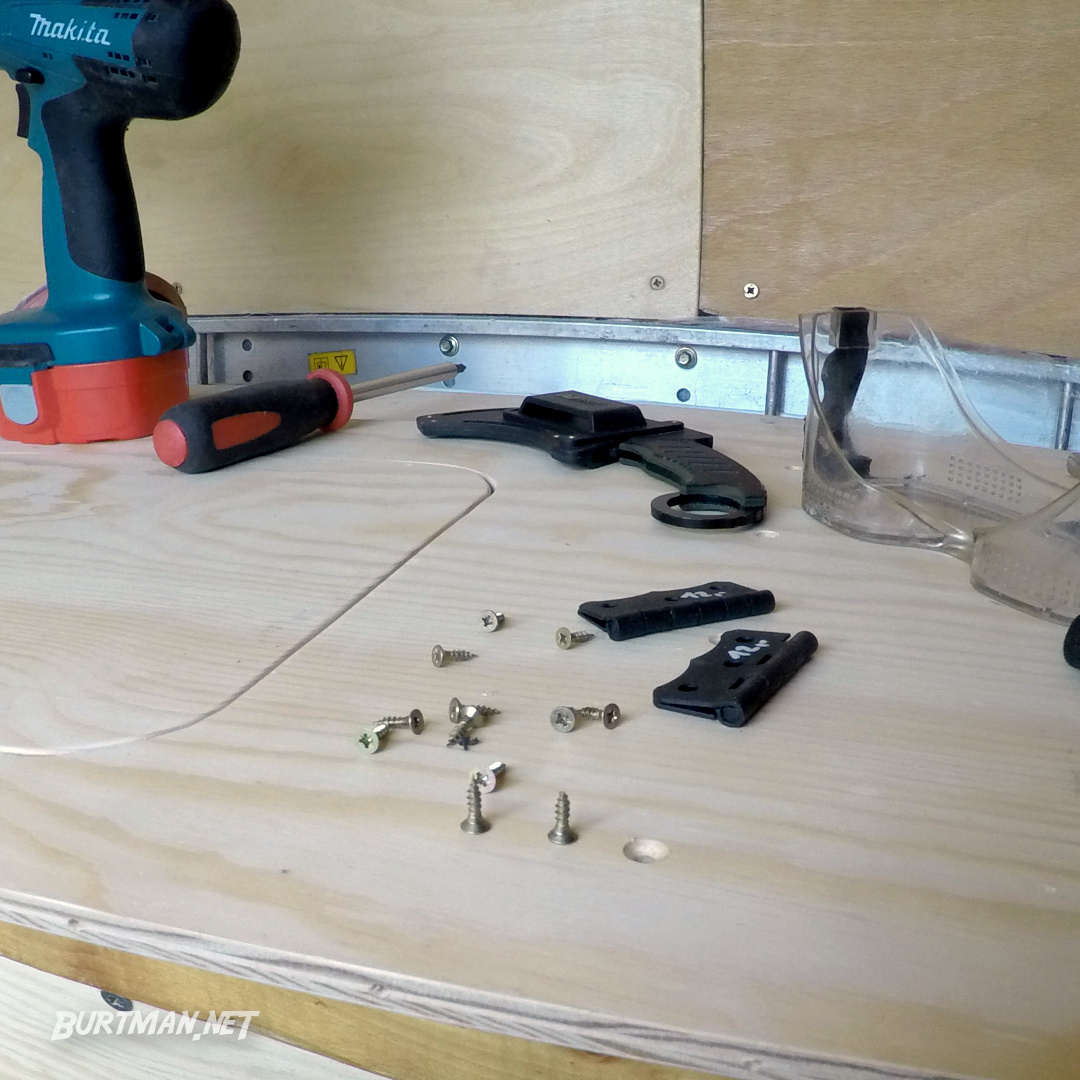
With the hinges added, as symmetrically as I am able, I rounded off some off-cuts and glued them to the back of the frame to stop the doors going inside the unit.

Using the soft side of sanding discs as pads to prevent the clamps from marking the wood.
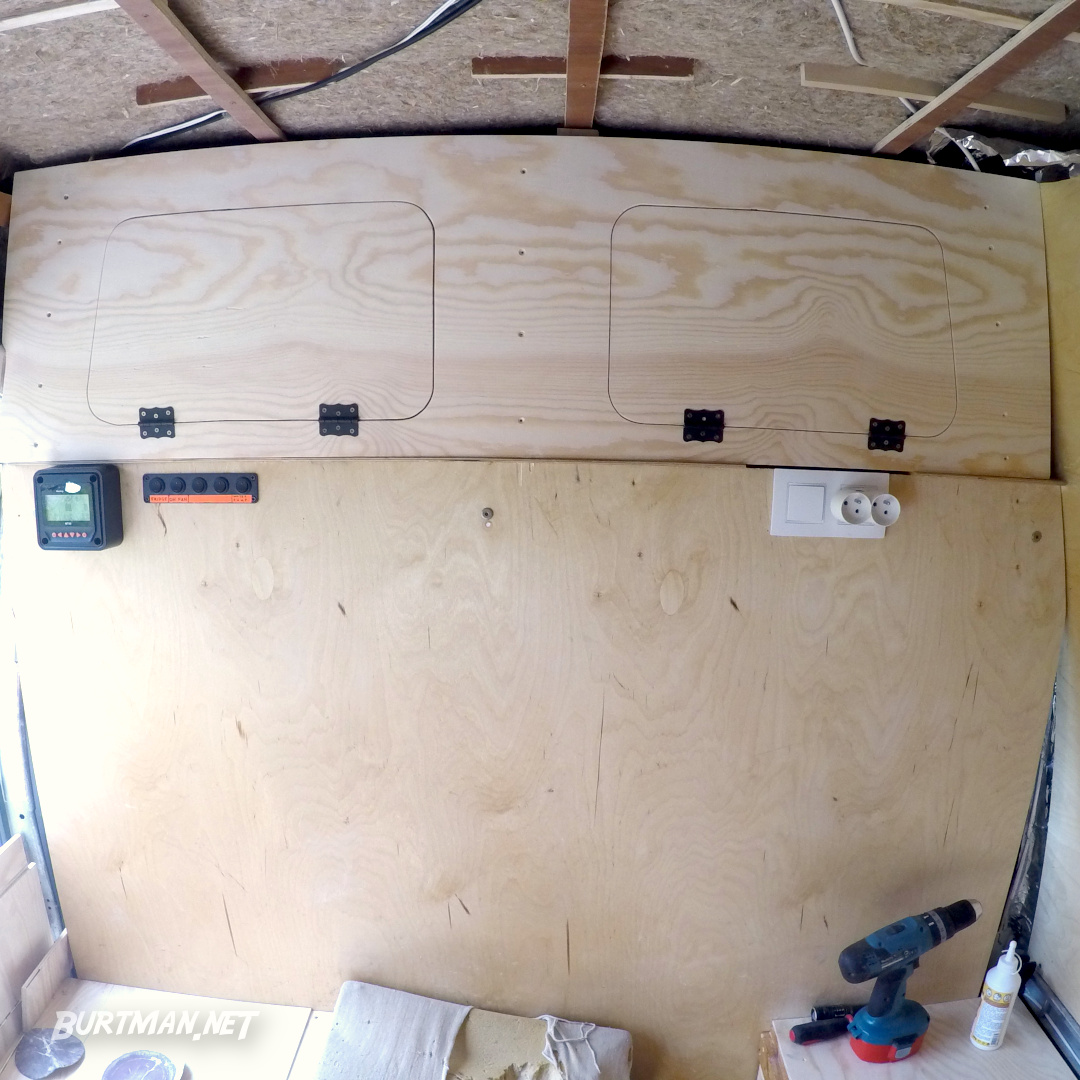

Back in position to see how it looks so far.
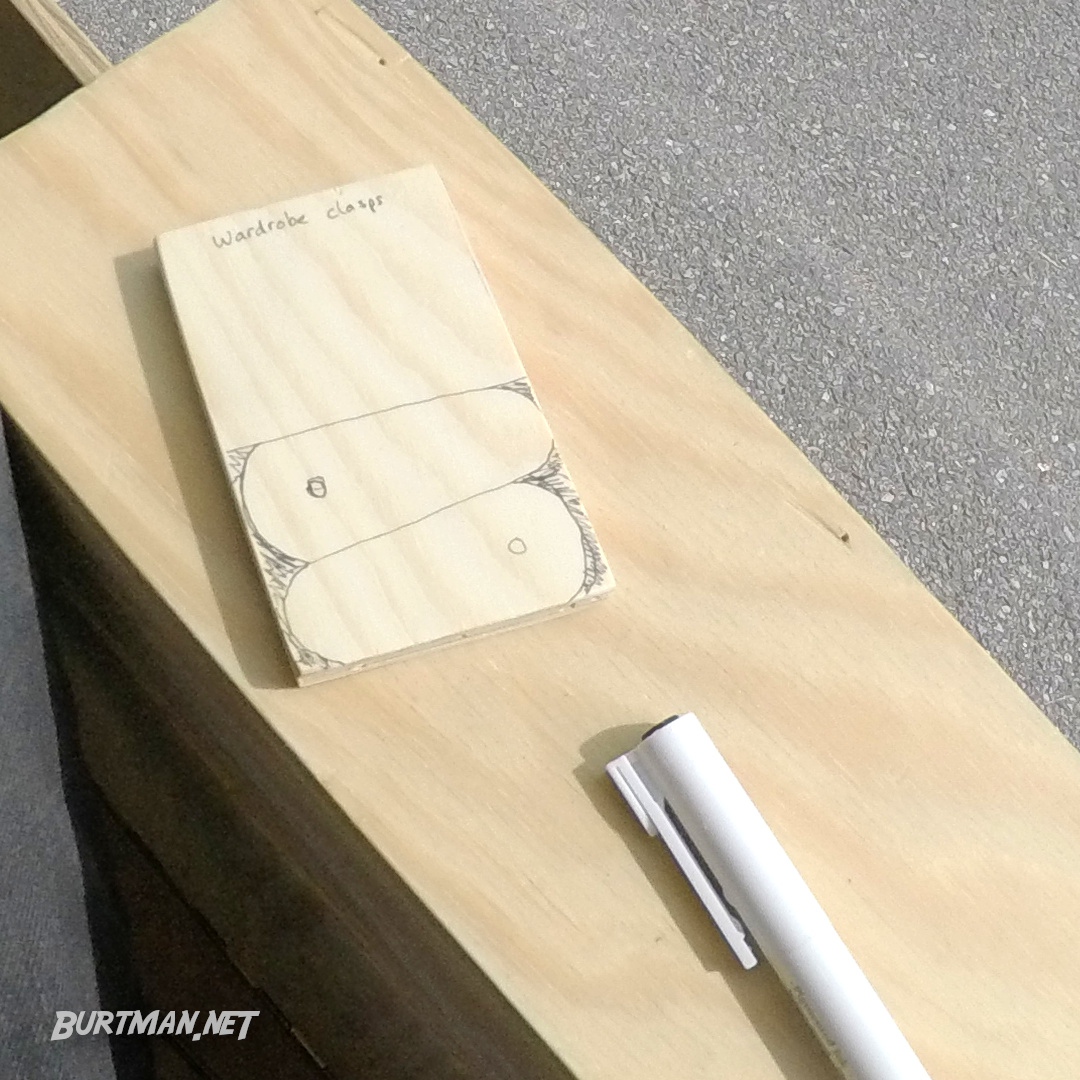
Next, to make some clasps to keep the doors closed. I wanted this unit to look hand-made, since it's the center point of the build, so I drew the clasps' general shape on another off-cut, then cut and sanded by hand, rounding off the outer edges and sanding smooth with 320 grit.
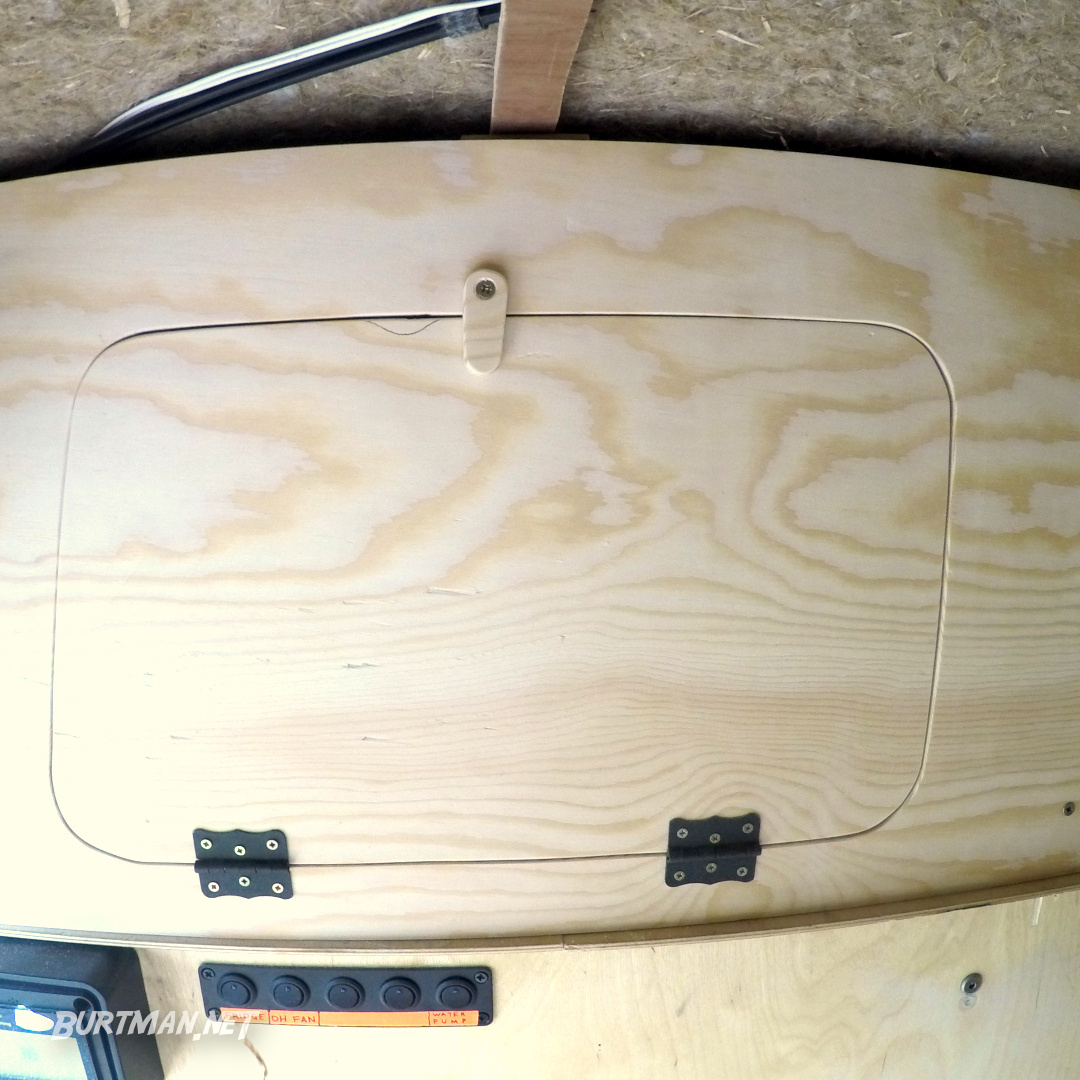
Last off all, I marked some finger holes on the doors and cut them freehand, finishing them off with 320, again.

Sign In To Leave A Comment
There are no comments marked as public for this item.
Stay Up To Date


 Mark 4
 Read around 2,100 times
 For Everyone