Kitchen Refurb: A Custom Sink
Updated:

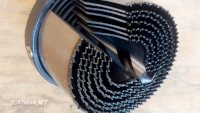
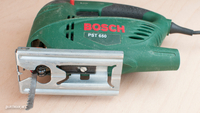
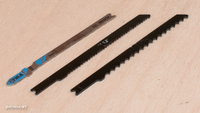
The old mk3 sink was great. It was big, it had a draining board, and I liked it. But that sink's generous size was to be its downfall. The problem is always space. Well, no space, to be specific. So the sink is out with the old kitchen unit, and now I have the bureau in place, there's less space for such a unit. Of course, a change in an opportunity, and that bureau does afford me a convenient location next to the back door where a small sink would fit just right. But search, though I did, could I find a small sink to put there? You know the answer, and not being a mug, I couldn't watch myself part with better than a hundred euros for a small corner sink. There was only one option left. I decided I'd had it right in Mk 2.
To The Kitchen Store
Specifically, to the cheap kitchen tat.
Let's get into building a small sink to fit into a small corner without blocking a crucial doorway.
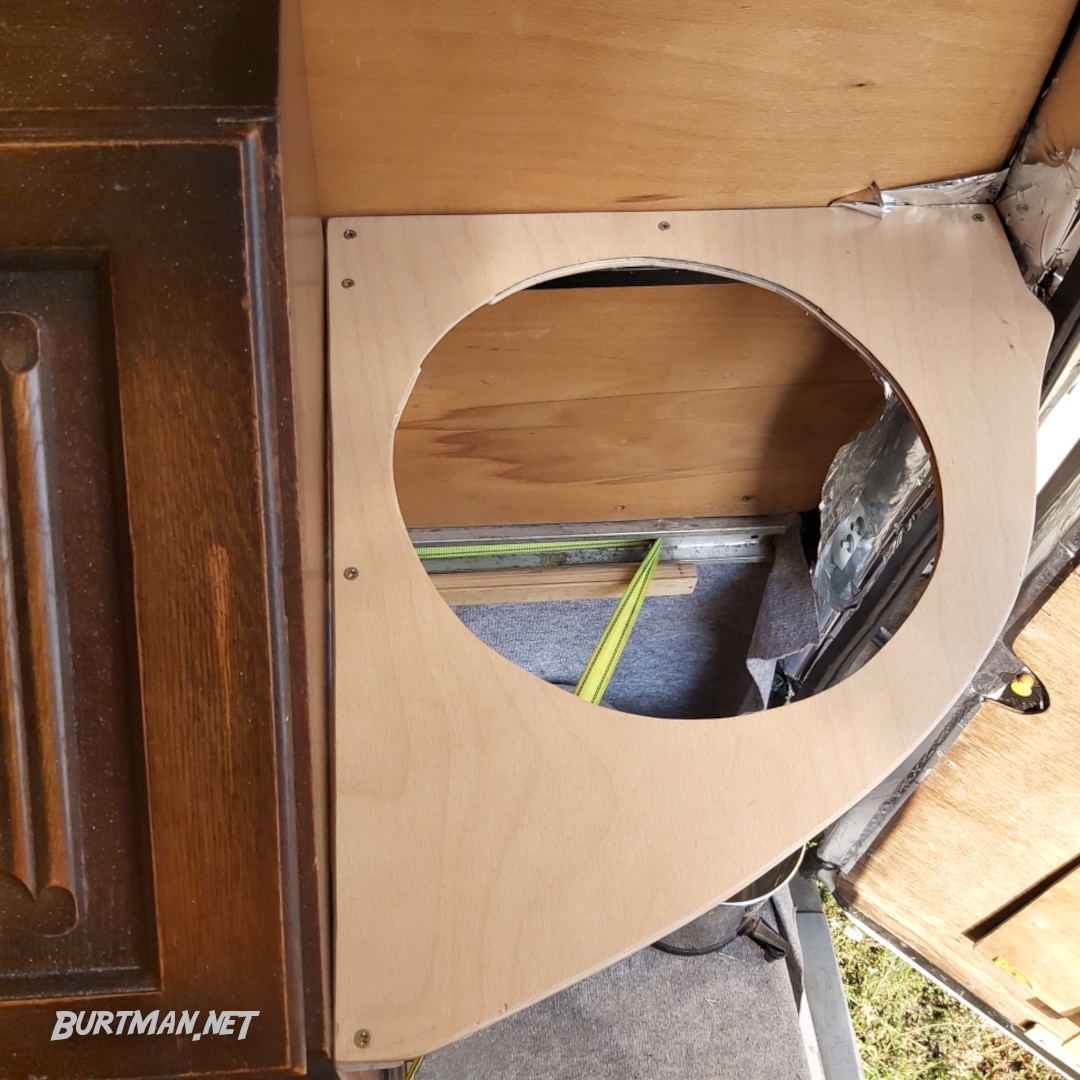
Firstly, I located some reasonable plywood from my limited stock of re-use wood. It was just thick enough to pass the flex test, so I set about finding the most efficient (least lossy) way to cut a corner from it (it wasn't square, you know). I came up with this shape to fit between the bureau and the back door with enough out-of-the-way-ness to ensure minimal irritation upon entering and leaving through the back doors. The old coat-snagging number wears thin real fast.
On the flip side, I glued some off-cuts, using the same technique I found on the inside of my acoustic guitar, for the purpose of attaching a curved plywood trim to hide all the nastiness.
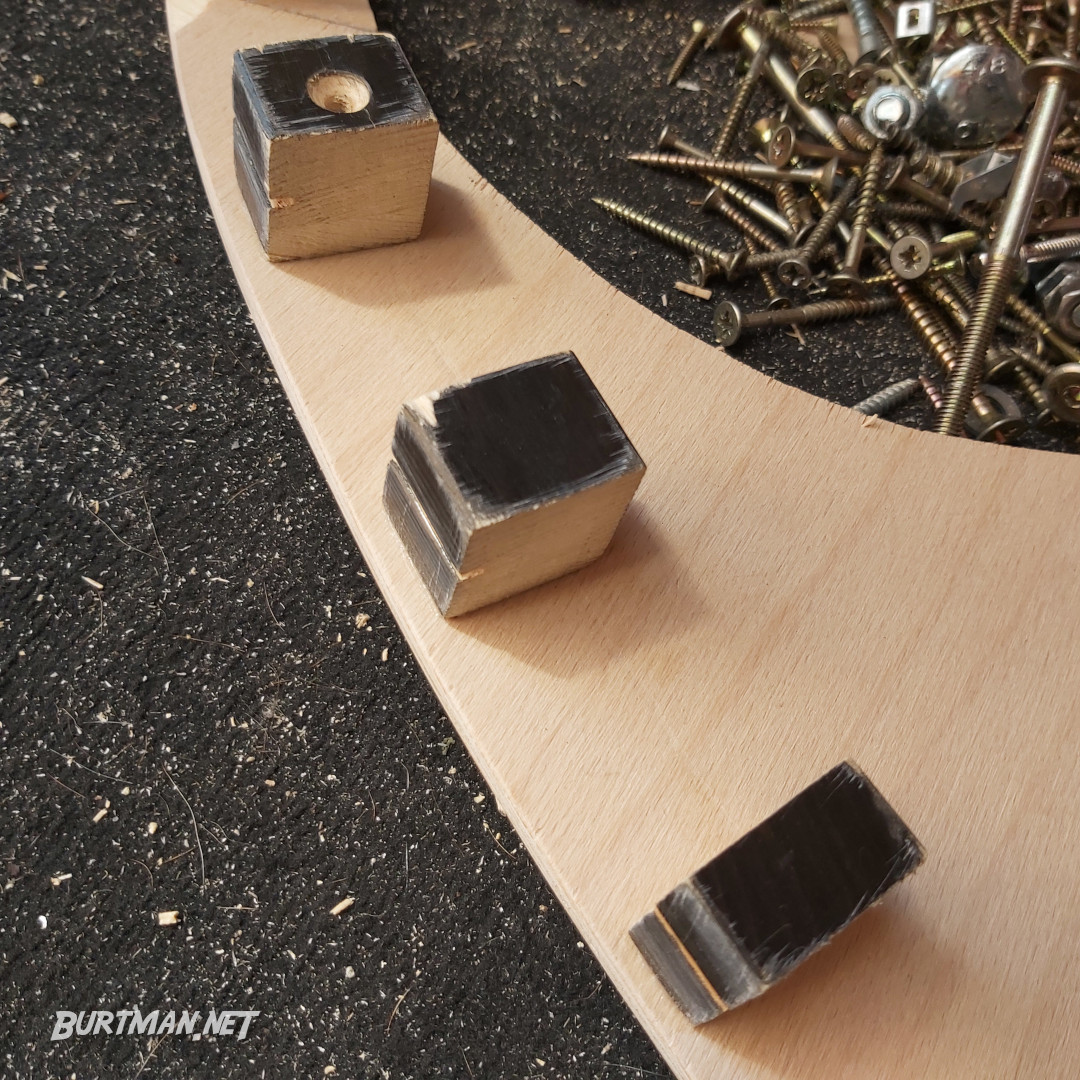
Nastiness-hiding blobs.
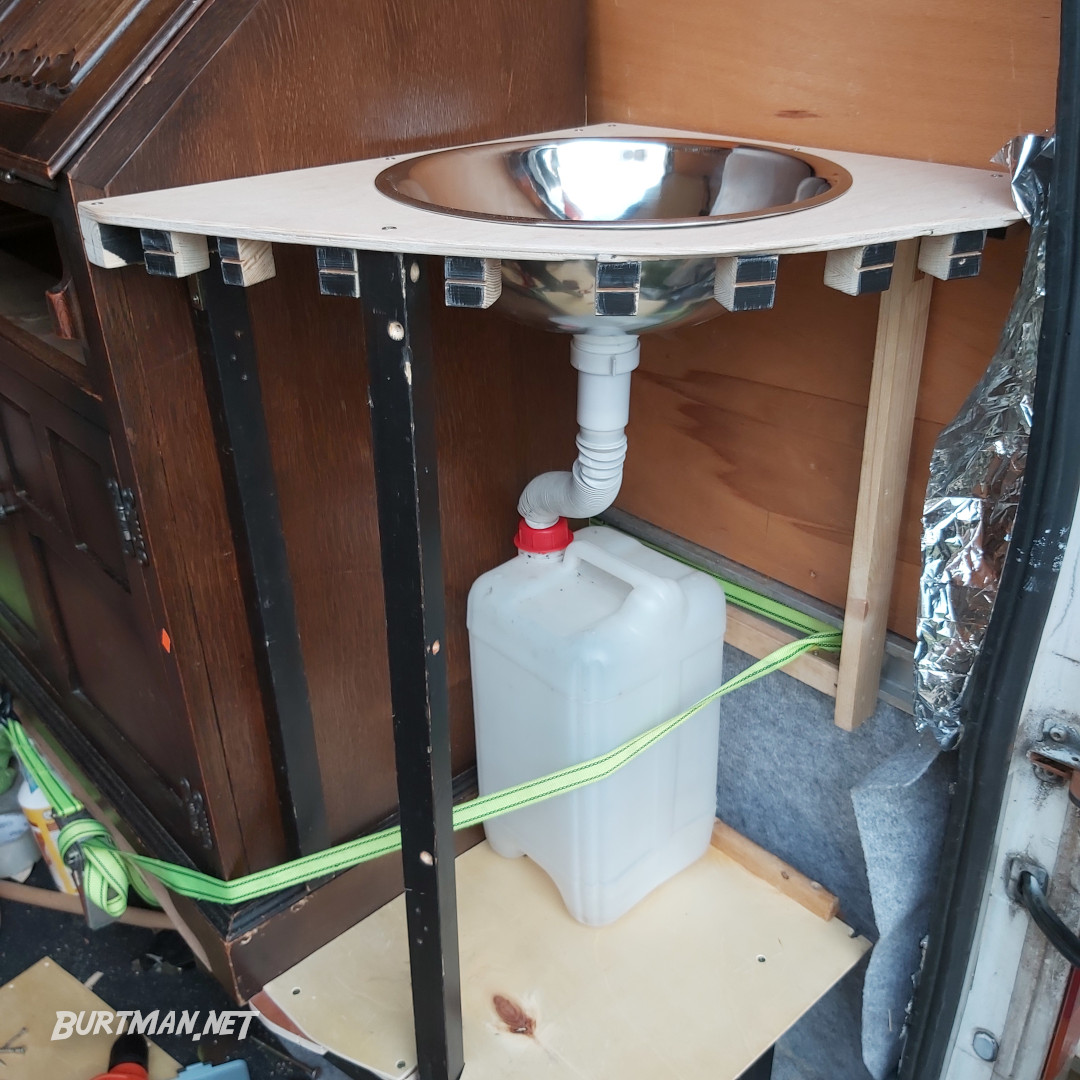
Next, I cut some legs from what used to be a privacy screen and attached them with screws to the new outline.
Simple, but not yet sturdy.
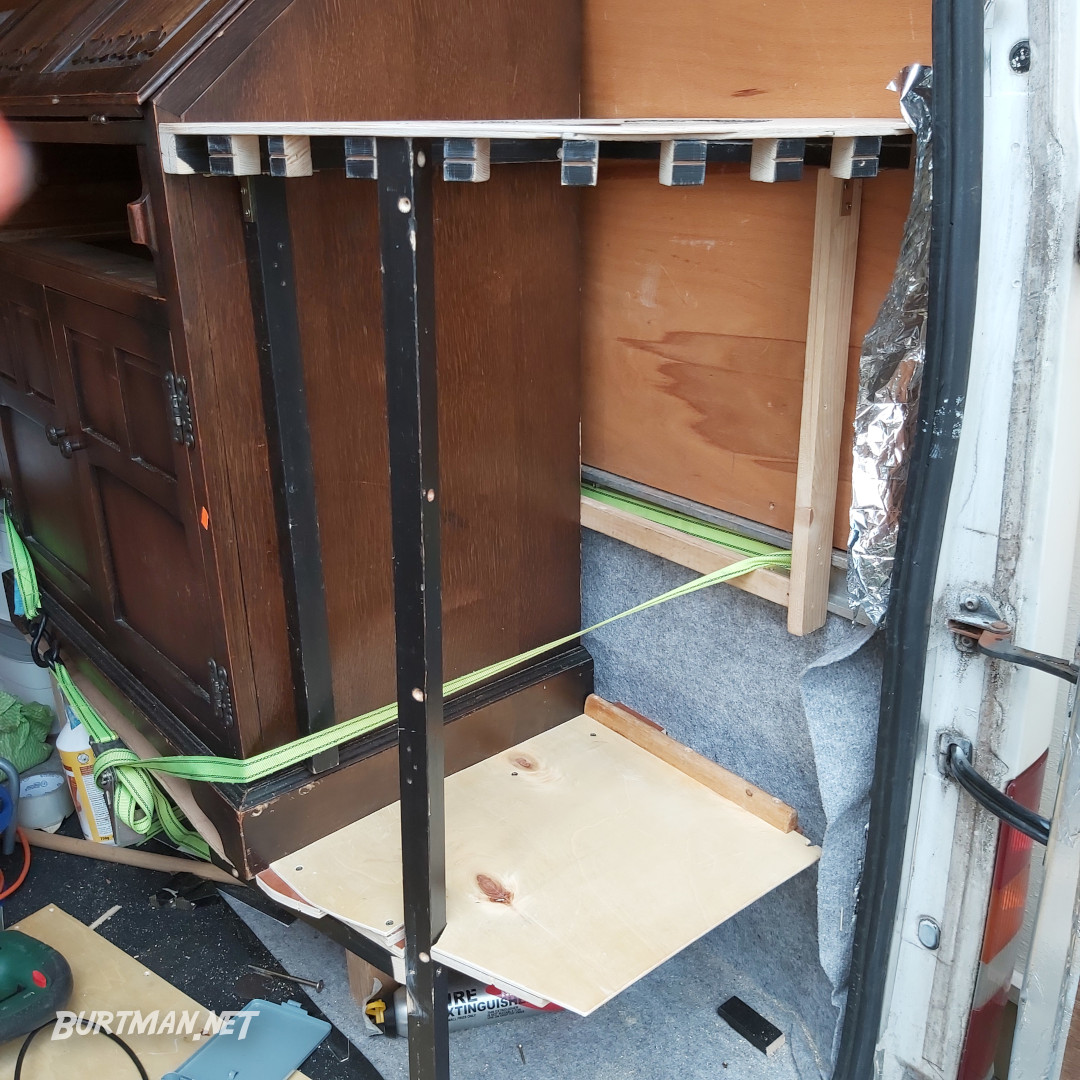
I've kept the frame free-standing, because I don't want to put any screw holes in the bureau, in case I later decide to put it in the house. So, with the frame tied into the cargo rail and attached to the plywood beam that's attached to the back of the bureau, I put in my old water bottle, cut a hole in the bottom of my new salad bowl sink, and attached the old water pipes (to be replaced) - just to see it coming together and check for measurements.
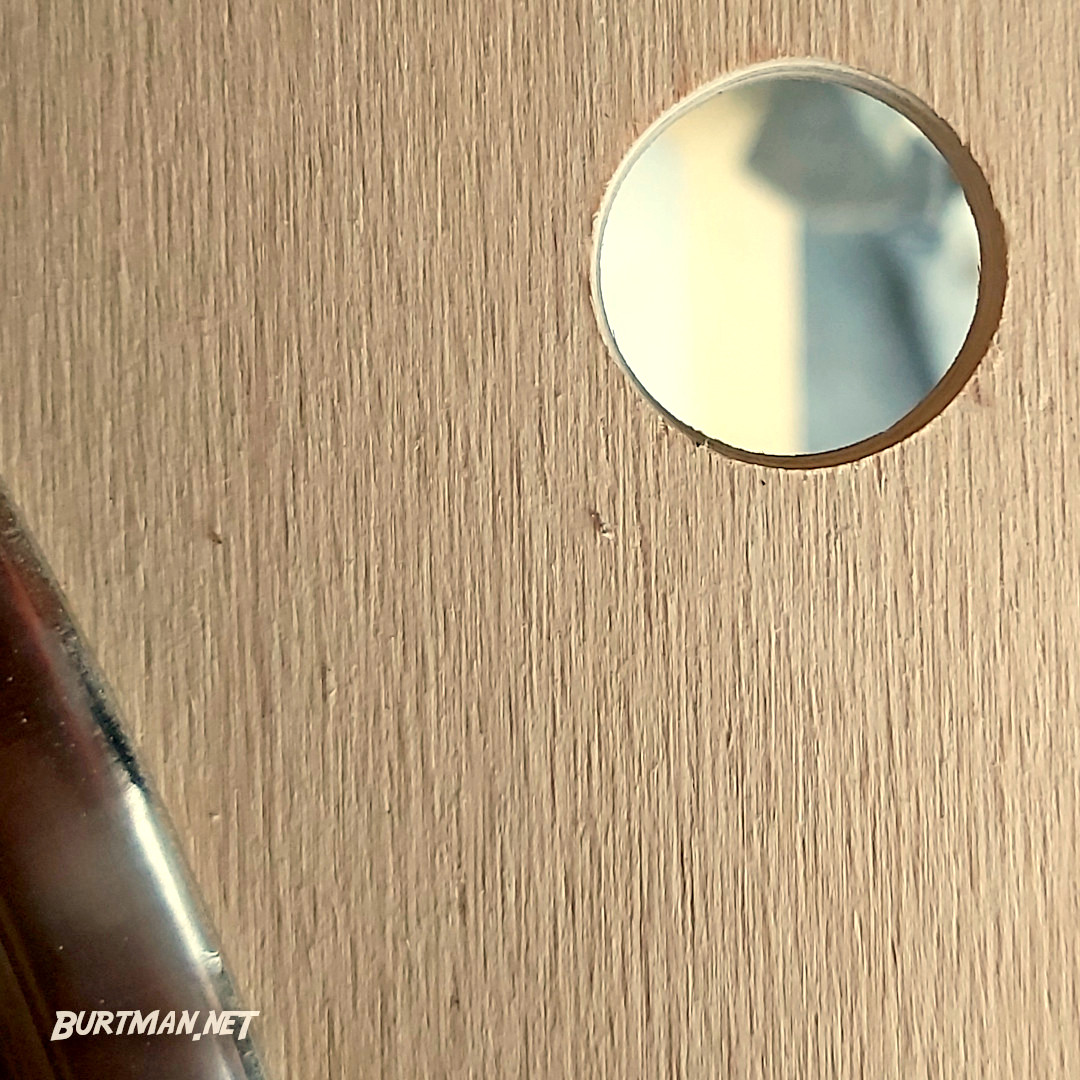
Then, I glued an off-cut of the same wood to the bottom on the main layer, in one corner, just to double the thickness, so I could cut a hold for the tap (faucet).
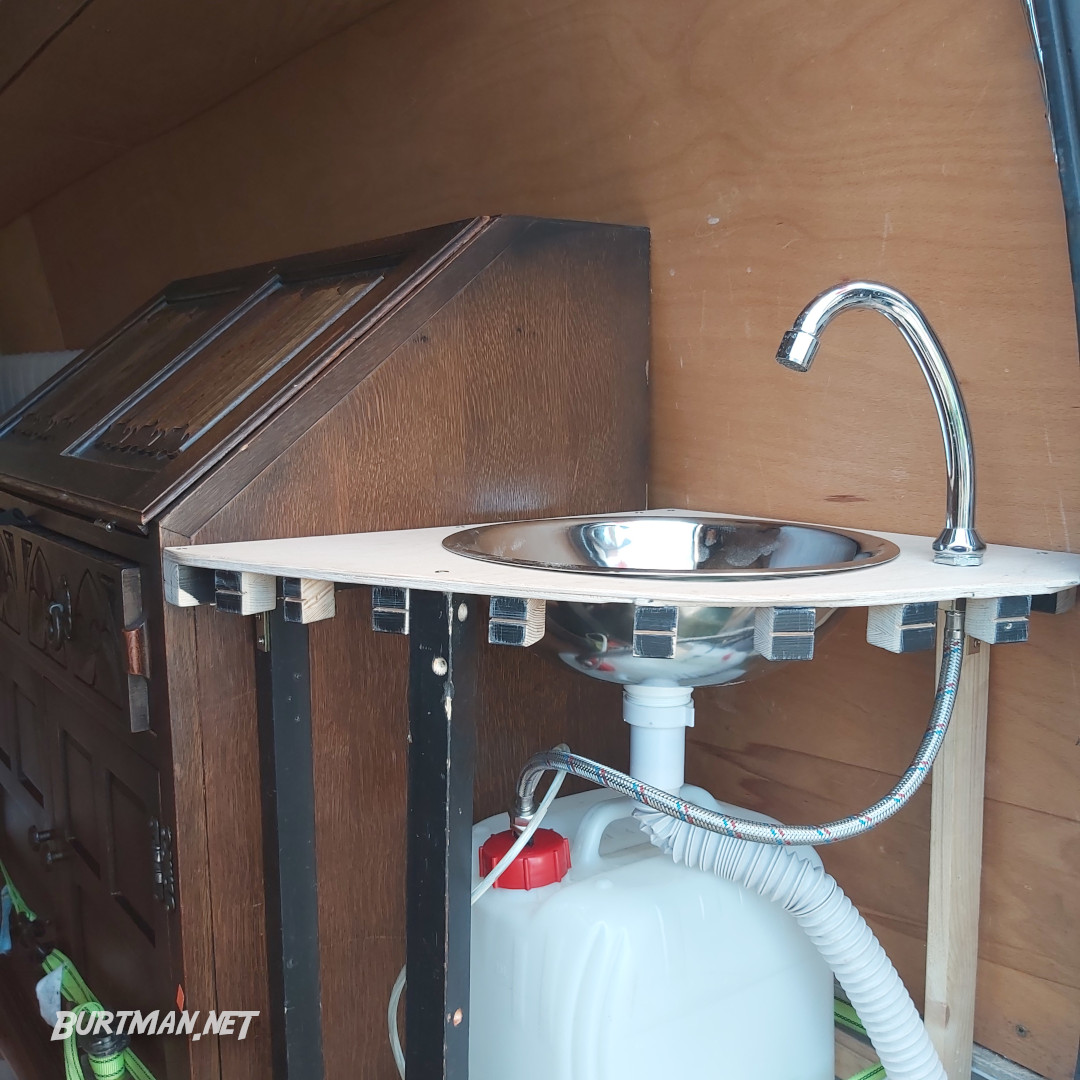
With that dried, I tested it out with the tap, not plumbed in - just to see.
And happy with the progress, I began the stinky job of waterproofing the wood, which is absolutely necessary for all watery areas, and highly advisable for all wood in a small space where steam and breath are guaranteed.

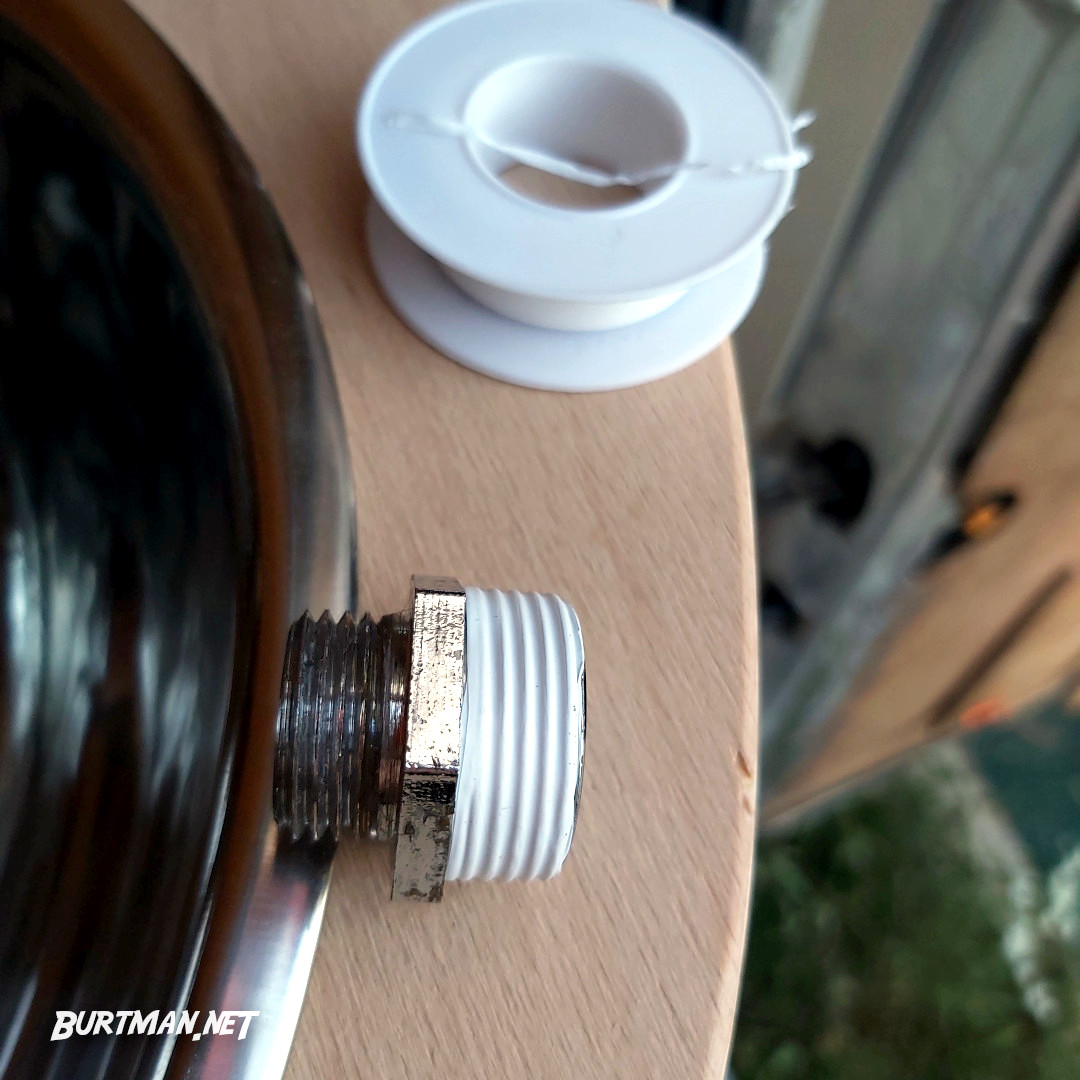
Plumbing joints are made watertight with a couple of layers of PTFE tape.
This post will be updated shortly to include the last steps: installing the water pump and covering it all with a nice little curtain.
Sign In To Leave A Comment
There are no comments marked as public for this item.
Stay Up To Date


 Mark 4
 Read around 2,100 times
 For Everyone