
Change Engine Oil & Oil Filter
Do Your Own Annual Service (Part 2 Of 5)
 Maintaining Your Van
 Read around 2,900 times
 For Everyone
Updated:

Before you start your service, make sure your van is securely parked in a place where it isn't blocking anybody's access, as you will not be able to move the van until the service, or at least the oil change, is complete.
Draining Old Oil
Depending on the height of your van, you may need to lift it, in order to get your oil drainage bucket underneath. Rear wheel drive vans are higher and usually don't need to be lifted to drain engine oil. See
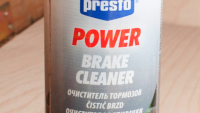
Don your oil resistant gloves and work outfit. Oil can easily splash on clothes and will be extremely difficult to remove from some fabrics. If you do get engine oil on clothes, shoes or skin, you can often remove it easily by spraying  Brake Cleaner on it quickly, but obviously, you do not want to do this on damaged skin or near eyes or orifices, and you should definitely not do this near any naked flames, etc.. Just... Read the label and use common sense. If you're not sure, don't do it. Some materials may be damaged by brake cleaner.
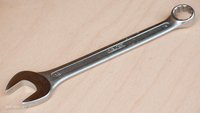
Make sure the engine is NOT running. Take the key out of the ignition. Place your bucket or bottle beneath the draining hole at the bottom of the engine and slowly loosen the drainage plug with your spanner or socket. Don't be tempted to take it out quickly, as the oil will go everywhere. Take your time.
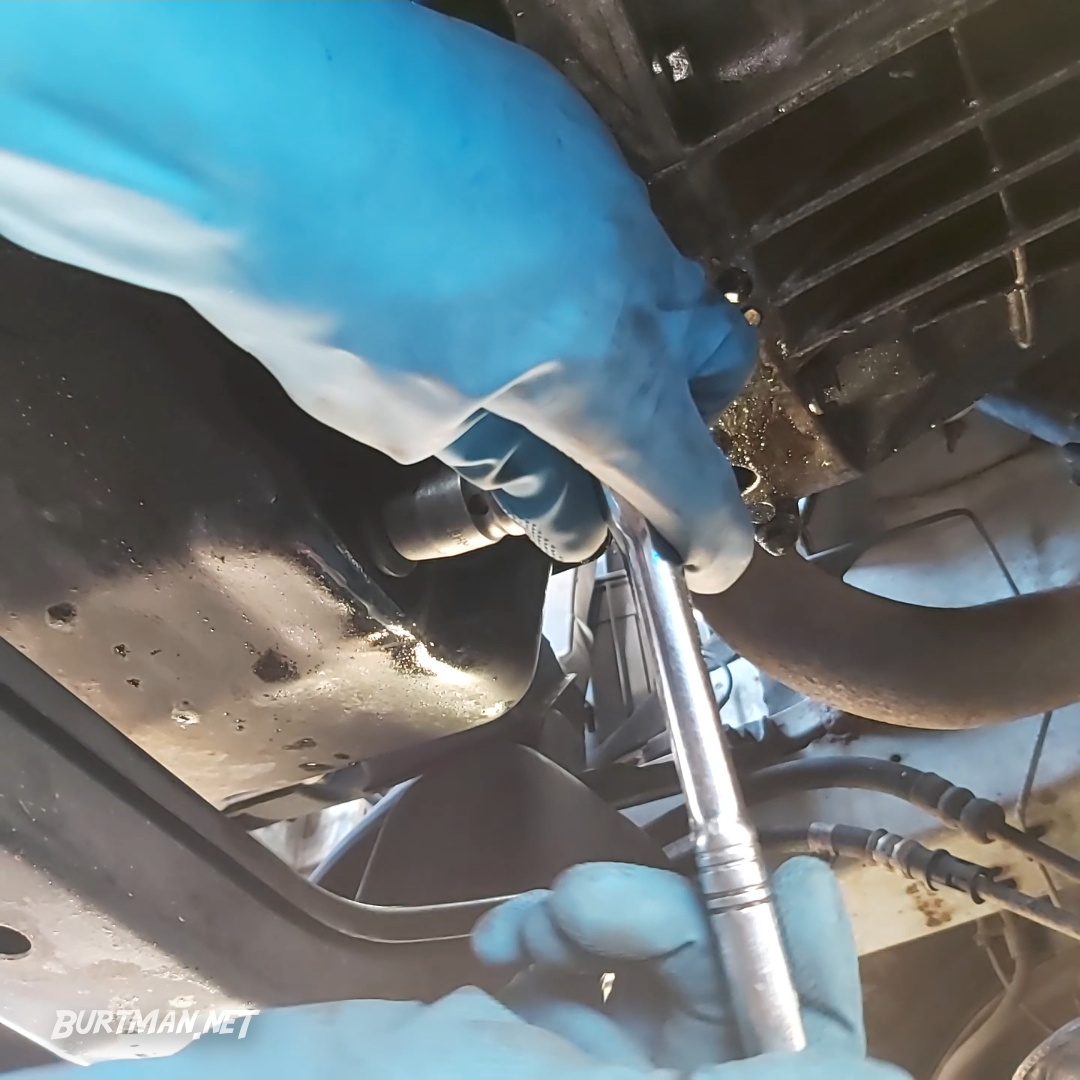
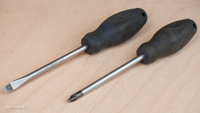
A 13mm socket works for me. Your plug might be bigger or smaller.
Keep loosening the plug slowly until you feel like it's about to fall out. If possible, lift the bucket right up to the drainage hole, so you can be sure to catch all of the oil, then drop it to the ground when you can see the direction of oil flow. It's not going to fall directly downward until it's almost completely drained. In fact, it's probably going to come out almost completely sideways for the first few seconds. Expect it and place the bucket accordingly.
When you remove the plug at the last moment, take it out of the path of the oil in an upward direction and do it quickly, so the oil doesn't splash off the back of the plug and splatter all over you. Leave the bucket under the oil and check on it every minute or so. When it's almost drained, you might need to move the bucket to catch the last drops, as the pressure falls and the direction of flow becomes more vertical. While the oil is draining, you can prepare the other parts for replacement.
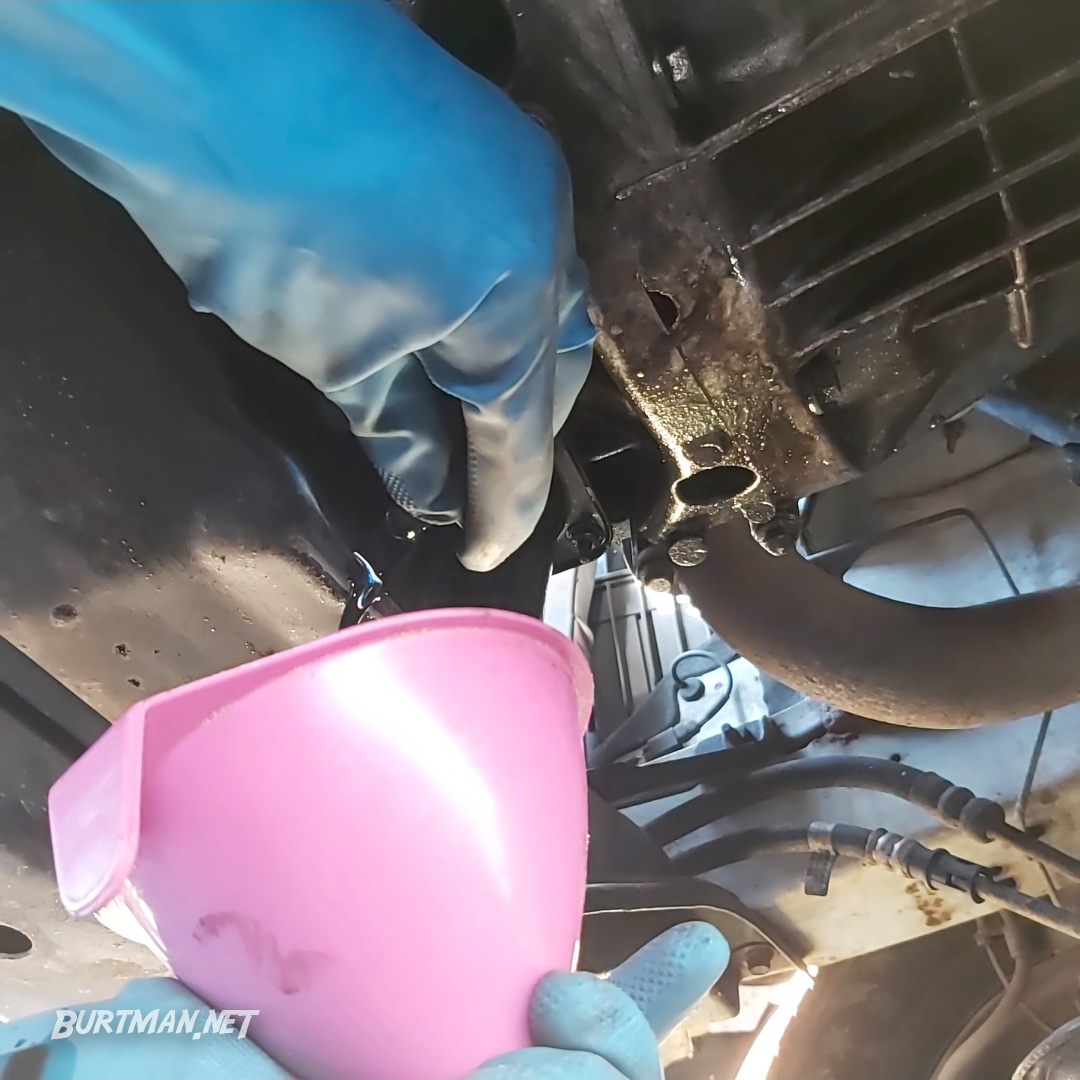
Oil will flow fast to begin with, so keep the plug partly in the hole to control the flow.
Once the oil has stopped dripping, replace the old drainage plug with the new one, or just replace the rubber O-ring on the old plug and give it a wipe to get the old oil off. Using a fingertip, smear a few drips of new engine oil around the rubber ring to help it seal properly before hand-screwing it back into the oil pan. If you encounter resistance when putting the screw back in, do not force it. Chances are, you've inserted it at an angle, or there is some grit on the bolt. Forcing it in will strip the threads and you'll be sorry. Just remove it, clean it and try again.
It helps to start the screw off in the counter-clockwise direction (yes, the same direction you removed it in). This way, you will feel a click when the threads align, and at that point, you can start turning the screw the right way and you shouldn't have any further problems. Tighten the plug by hand and then nip it up a bit tighter with the spanner or socket. It doesn't need to be super tight. Once you feel like it won't leak, it's good enough.
Changing The Filter
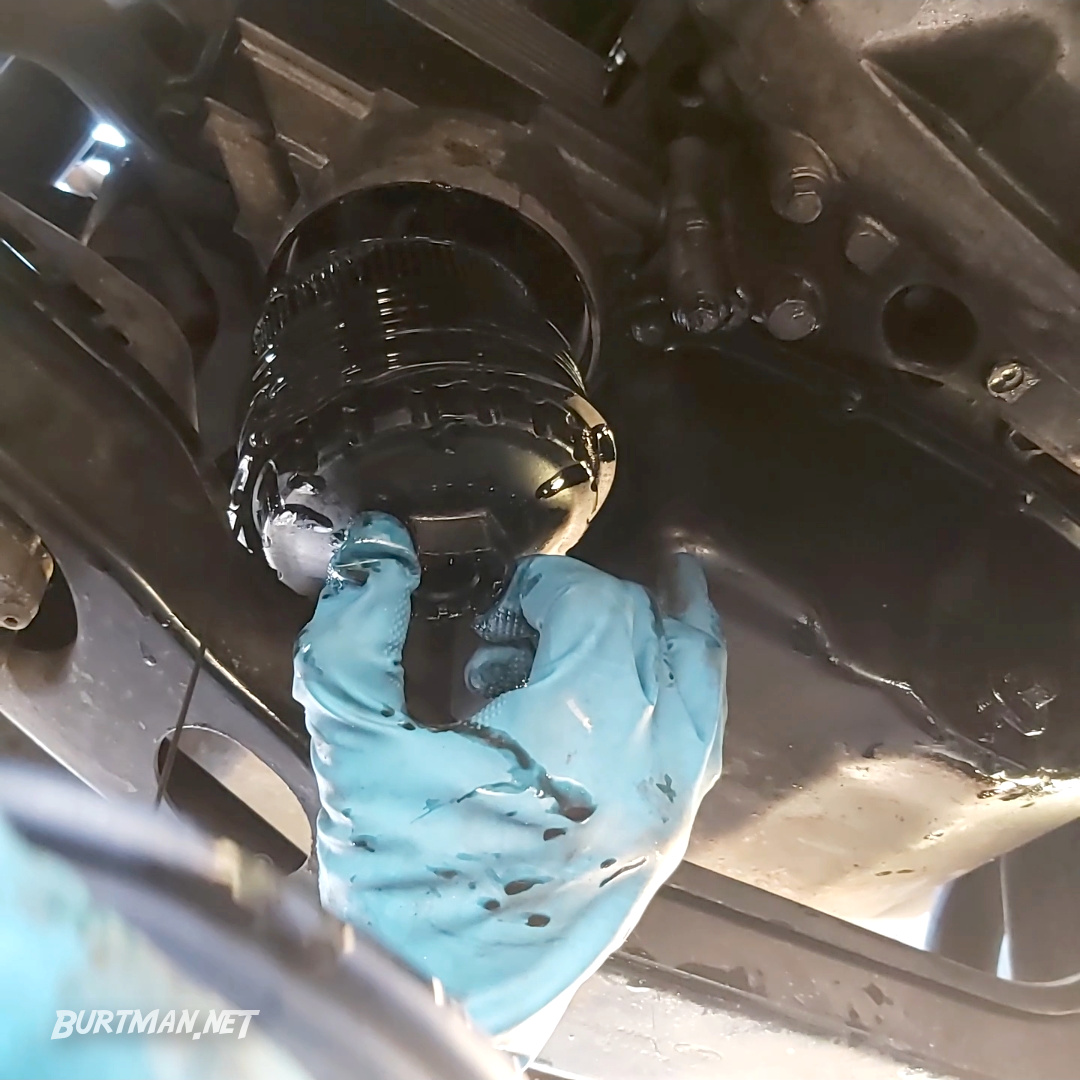
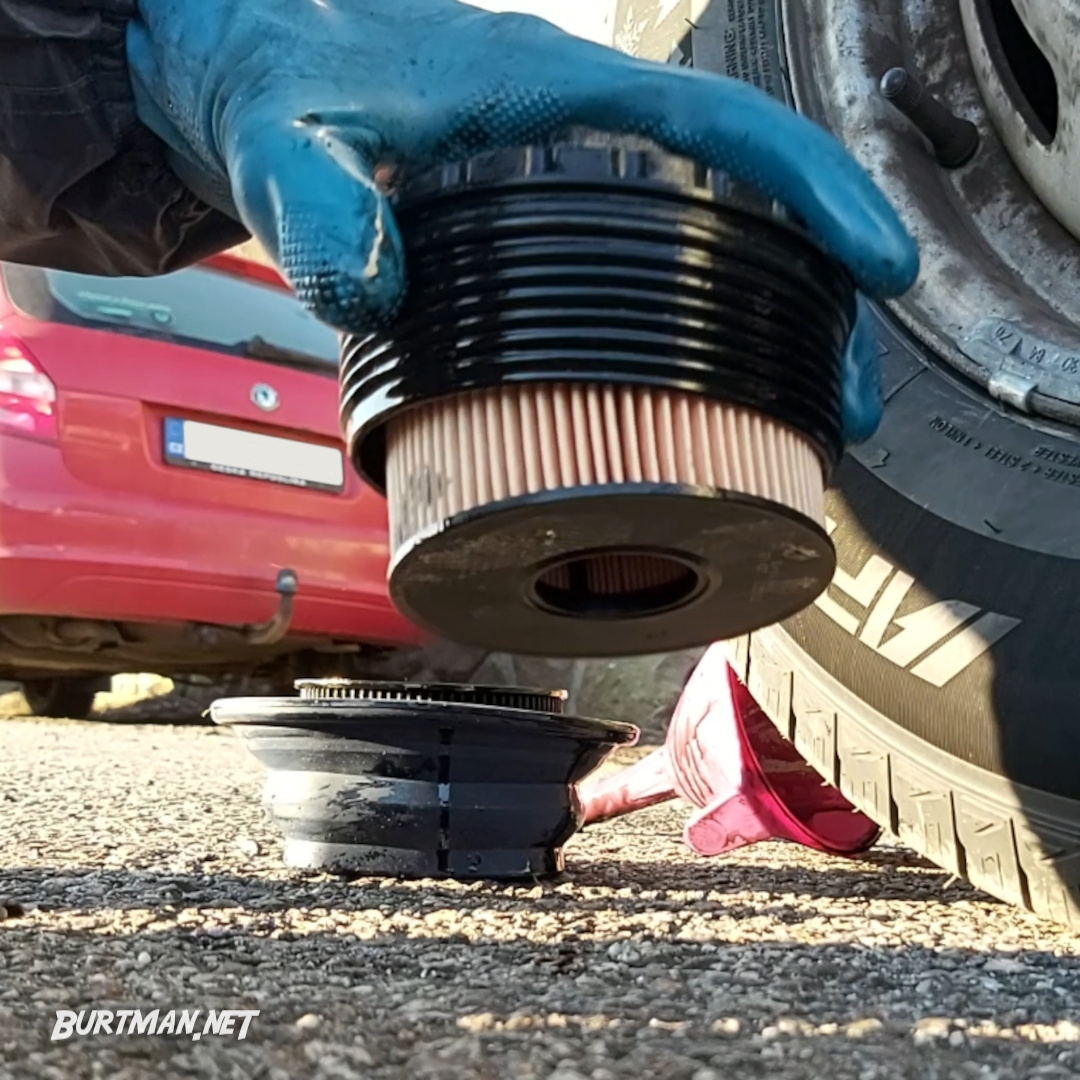
With the drainage plug firmly sealed, you can carefully move the bucket of old oil to sit beneath the oil filter, which will also be full of old engine oil when you remove it.
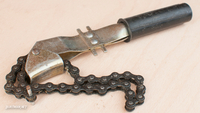
Depending on the type of filter you have, removal may require the use of an oil filter remover. If the filter is extra tight, expect the use of such tools to crush the filter before it starts to come loose. This is normal. For this reason, never use the removal tool to tighten up the new filter.
The paper insert type may require use of a large socket or adjustable wrench in order to remove the plastic lid. Do not force it; it will break, leaving you unable to finish the service.
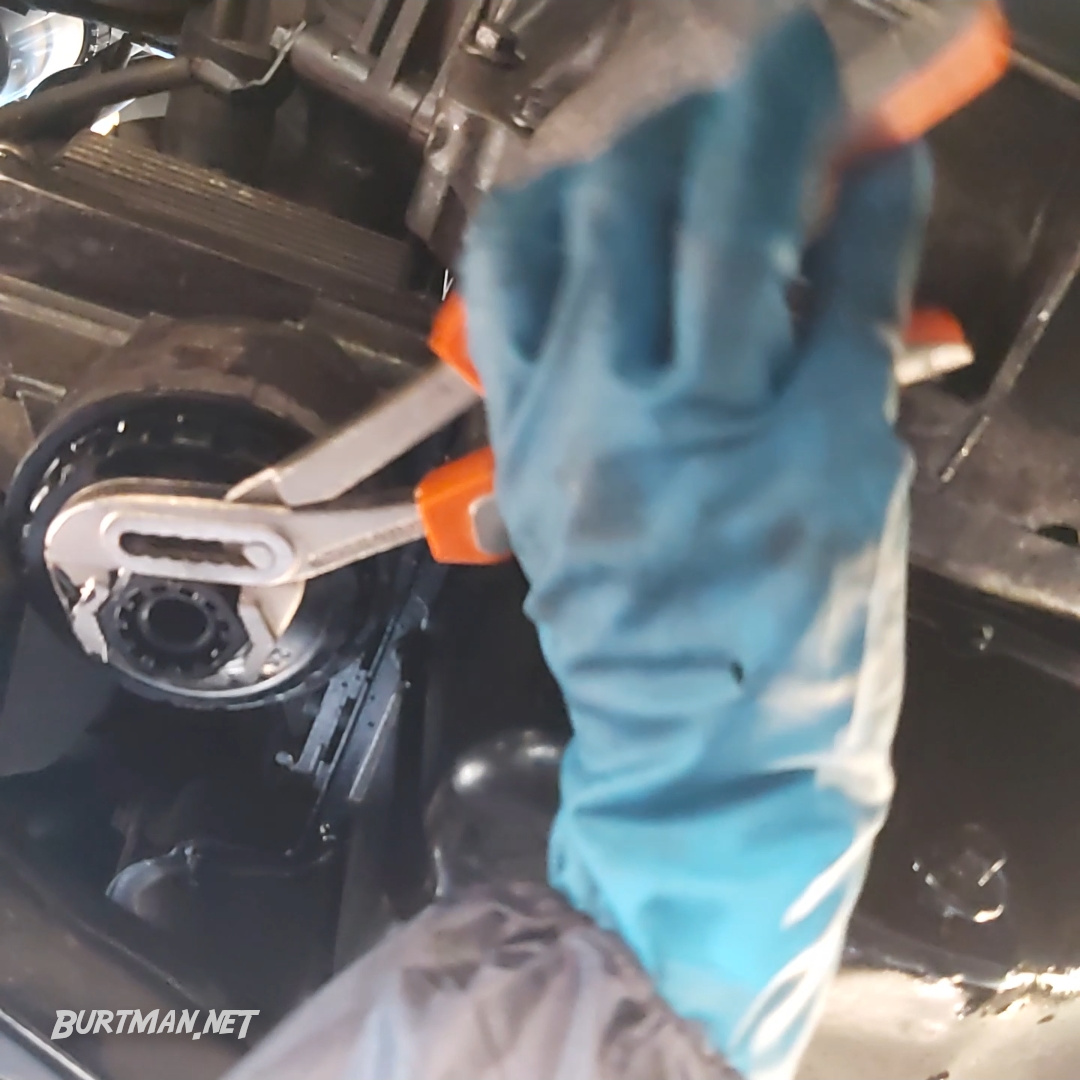
For the plastic cap and paper filter type, an adjustable wrench does the job nicely.
Always hand-tighten new filters. Don't over-tighten with a tool. The rubber seal will prevents leaks and the cap will not fall off.
Removing the oil filter slowly to avoid oil splash.
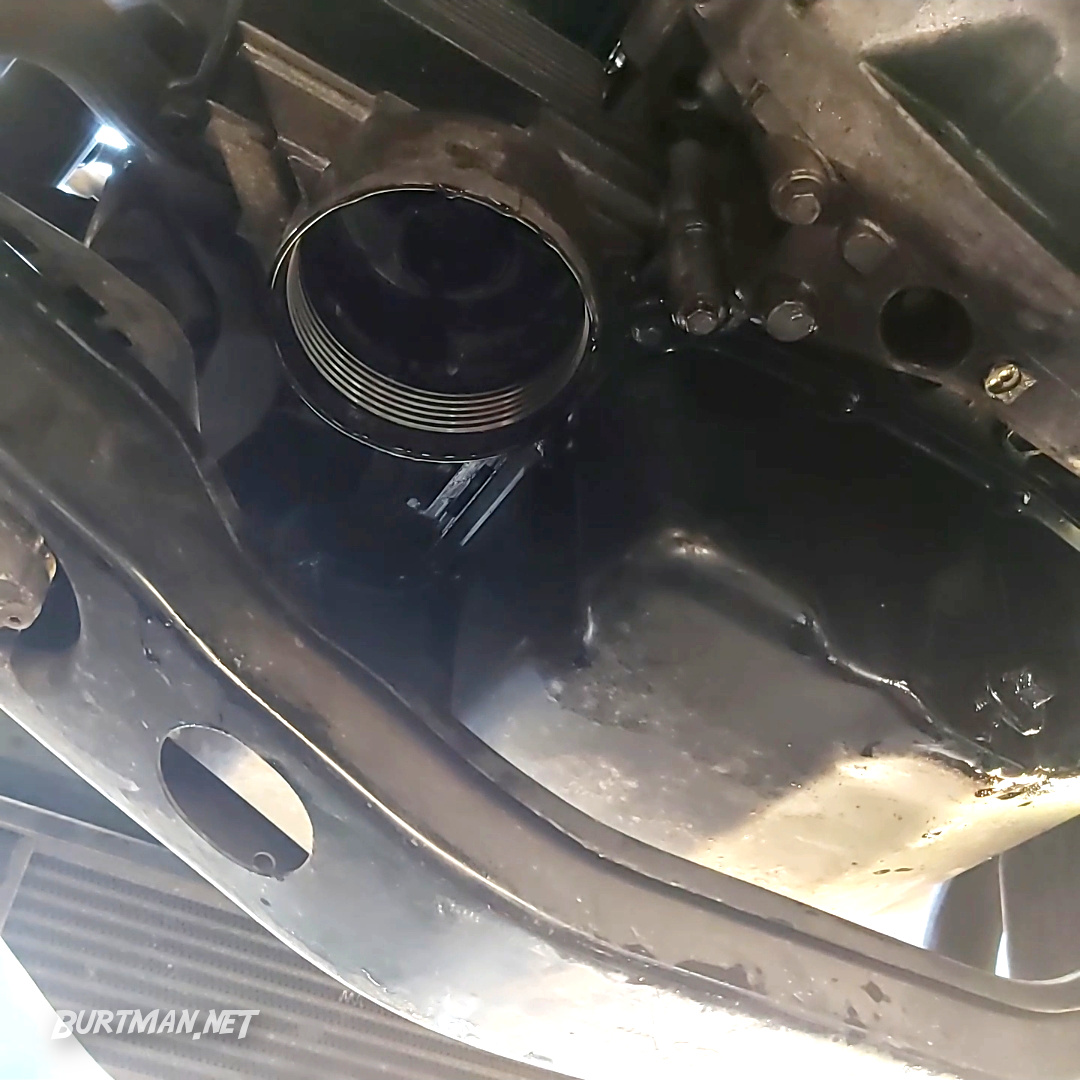
As with the drainage plug, remove the oil filter slowly, to avoid oil spatter, and let it drip for a while into the bucket before putting the new filter in. It's best to get as much dirty oil as possible out of the engine before fitting new filters, to give them the longest life. Once the oil has finished dripping, you can fit the new filter. The paper type will snap into the center of the cap and will require a new O-ring to be fitted on the outside of the cap. Clean the filter cap threads with a dry cloth after removing the old O-ring and smear a few drips of new oil around the O-ring, like you did with the oil pan screw, then carefully screw the cap back on with the new paper filter inside.
Let the last oil drip out before replacing the filter.

Use a flat-bladed screwdriver to pry the old O-ring off the cap.
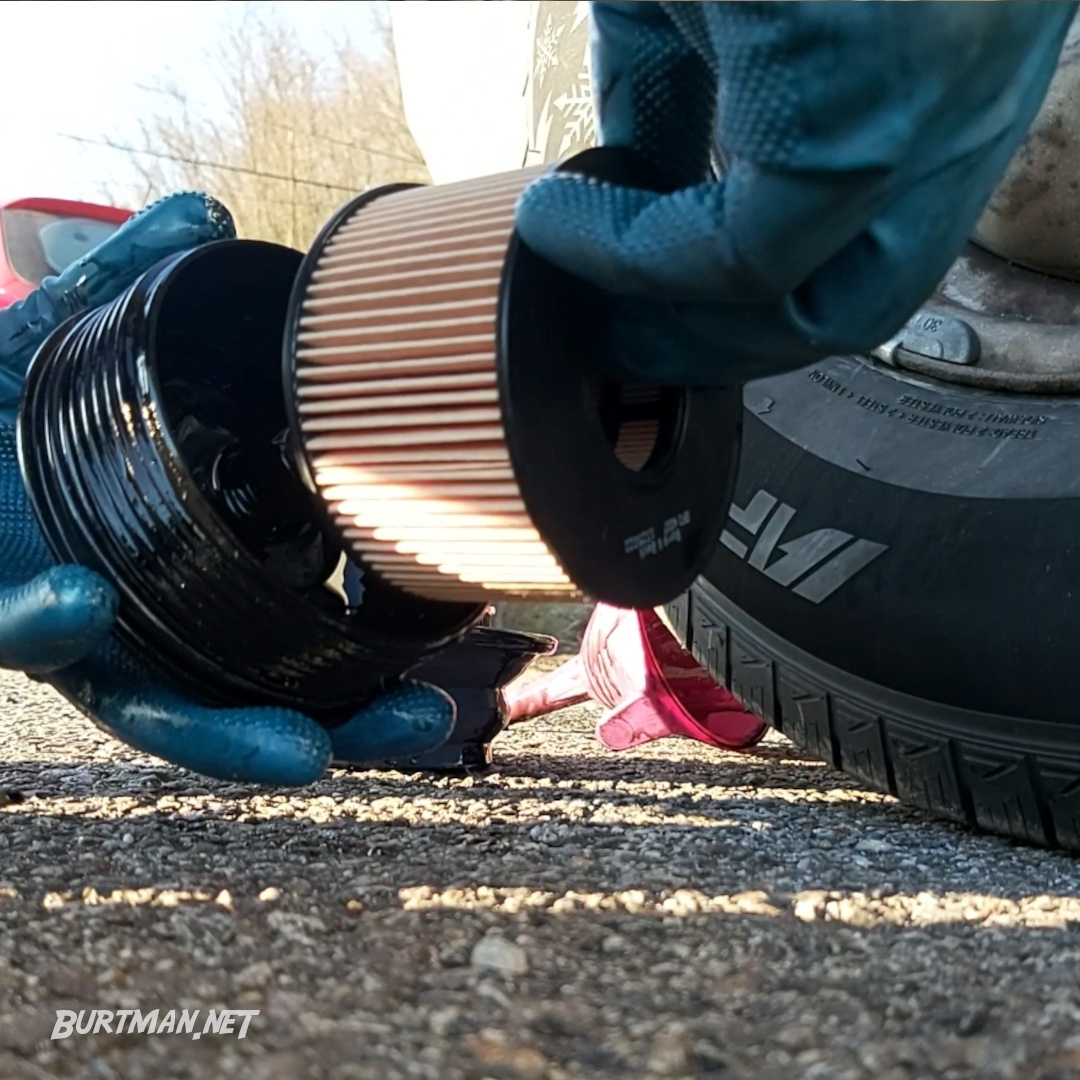
Clip the new filter into the cap.
When properly fitted, the filter will stay in when upside-down.
When you've tightened the filter up, you can go up to the engine bay and start replacing the oil.
Add New Oil
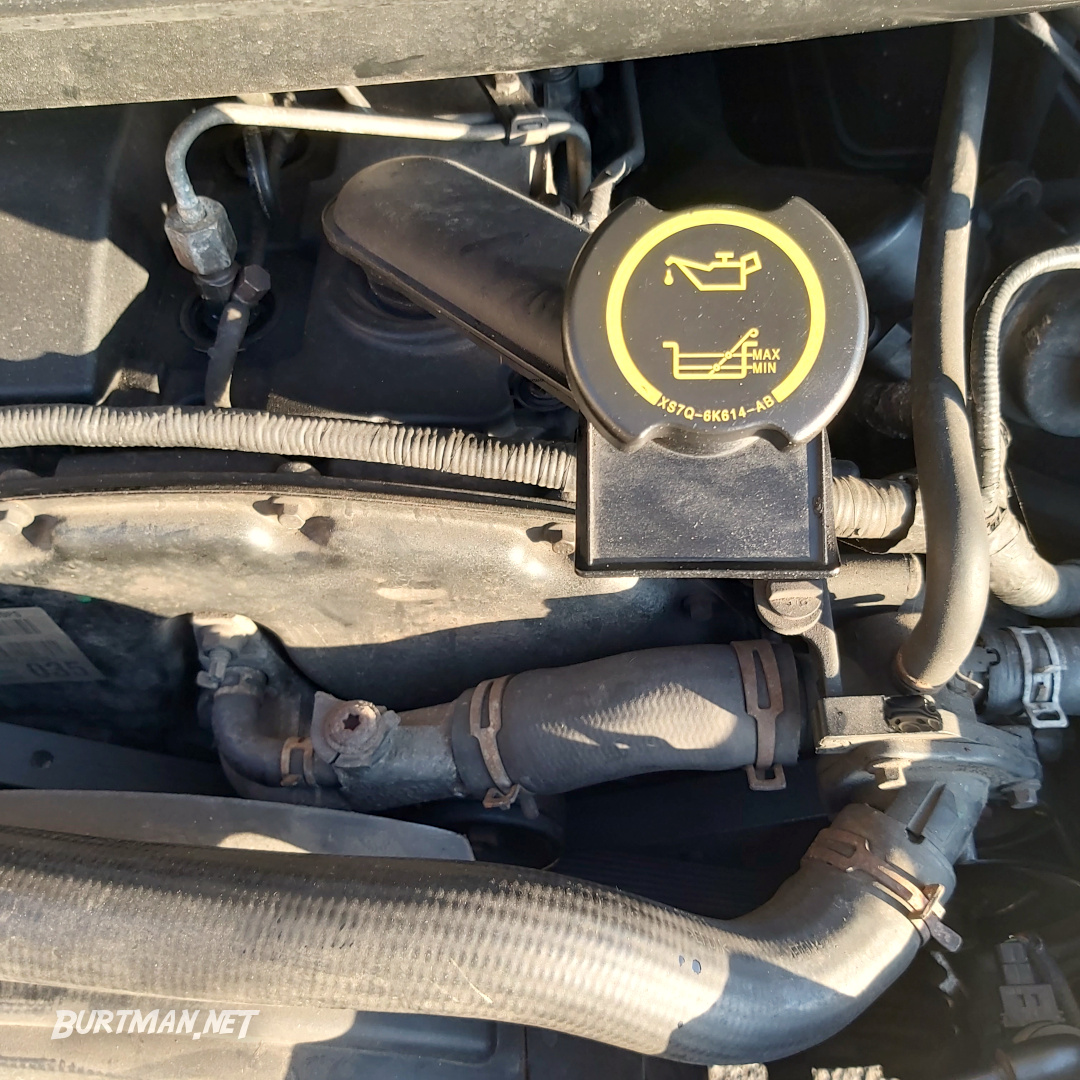
First, remove the oil filler cap.
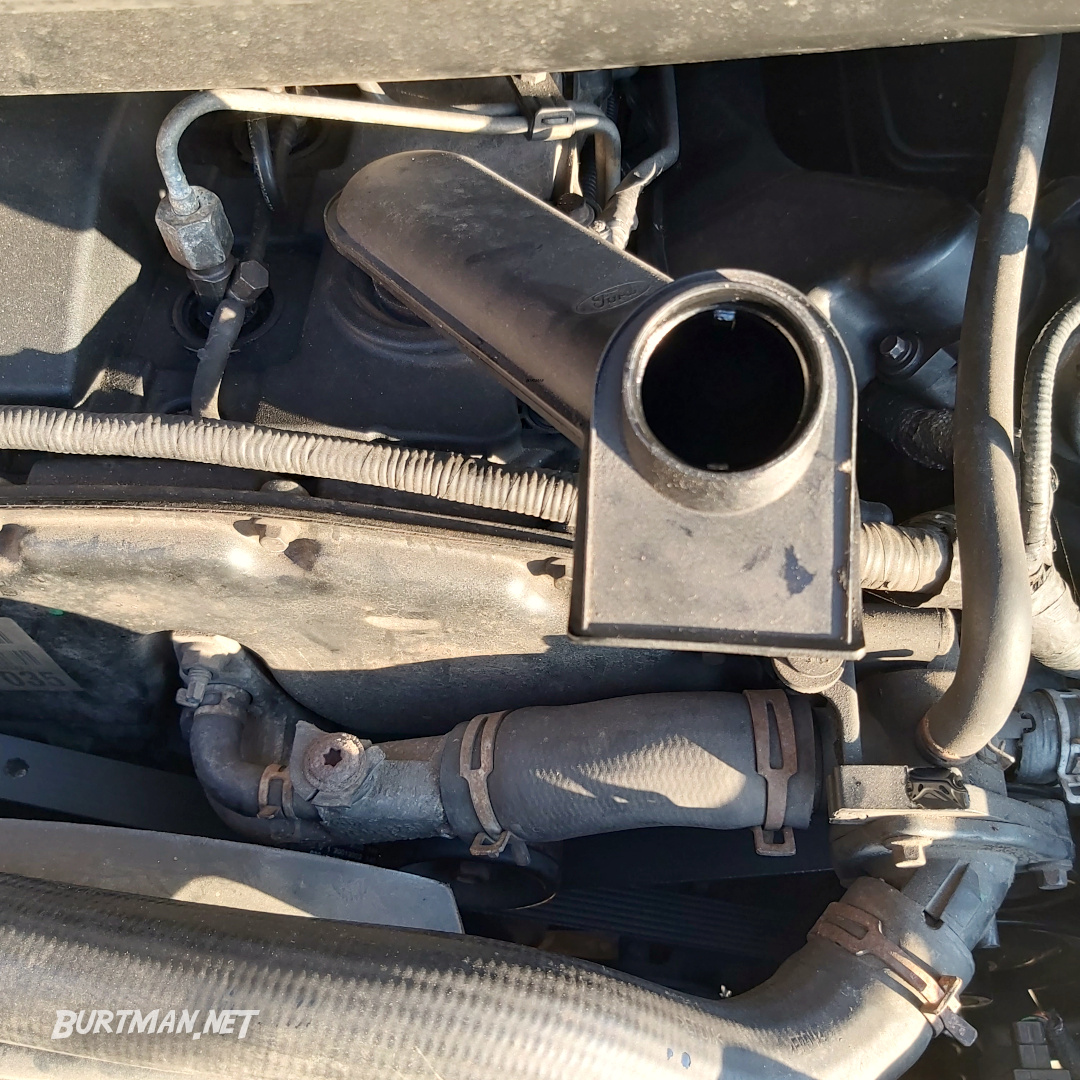
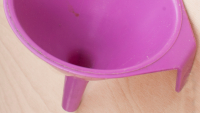
Place the funnel into the filling port.
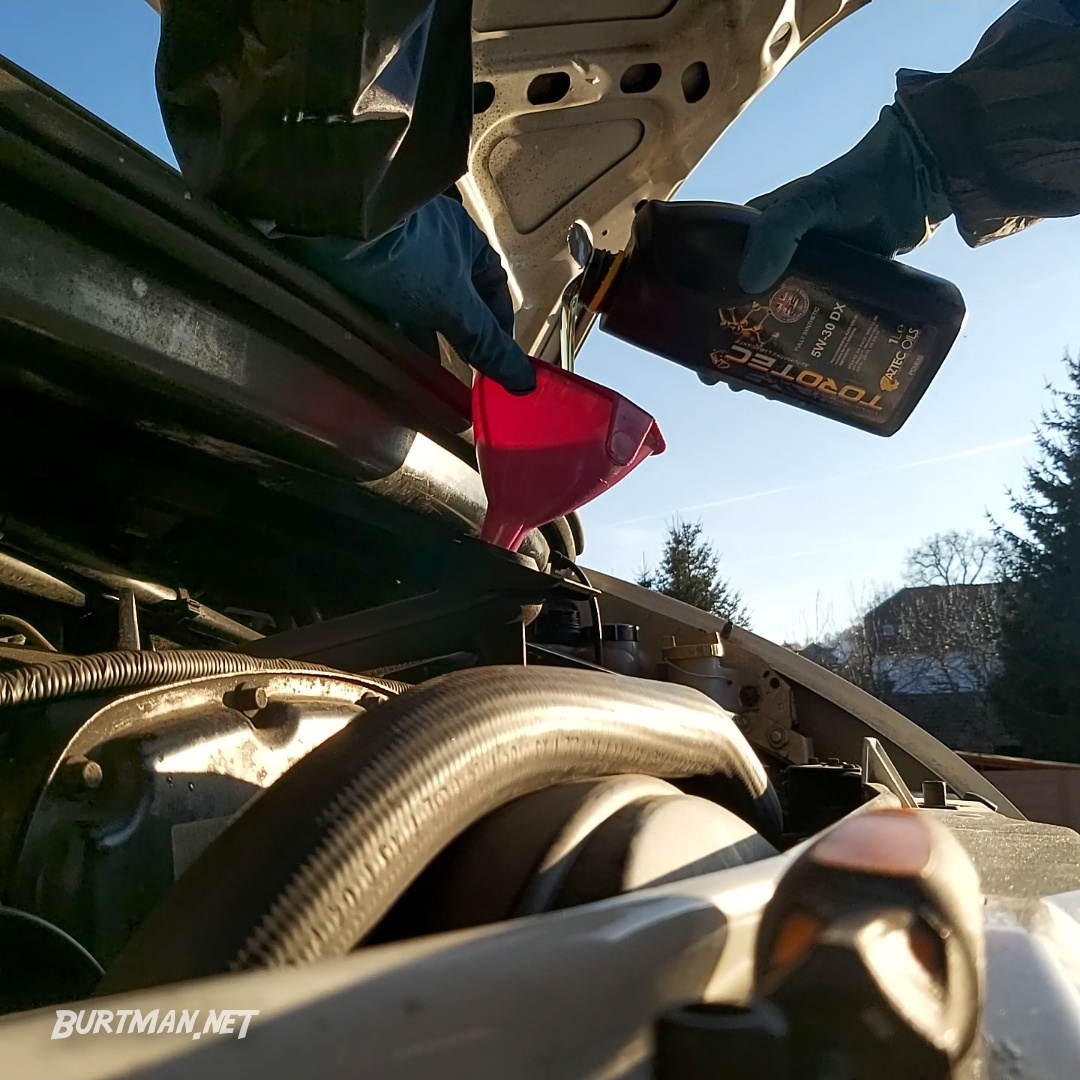
Slowly pour the new oil into the funnel and wait for it to run into the engine.
When you have poured in the correct amount of oil (7L for my engine - may be different for yours), you can refit the oil filler cap and make sure there are no tools in the engine bay. Then give any oily areas a quick spray with brake cleaner and wipe them with a clean rag. When you're happy the job is done, start the engine and check that there is no oil leaking from the oil pan screw or filter. Assuming no leaks, your oil change is complete.
If you do see leaks, keep an eye on them for 30 seconds or so. If there is excess oil on the outside of the filter housing, for example, the dripping will slow down and stop fairly quickly. If the dripping is continuous, you may need to further tighten the oil pan bolt or filter. Turn off the engine, check and tighten as necessary, clean again, and repeat the last step. When oil stops leaking, you're done.
If you have a serious oil leak, you will need to investigate further, especially if the leak is not coming from the area you just worked on. That, however, is out of the scope of this guide.