Bleed The Brakes / Change Brake Fluid
Change Brake Pads (Part 3 Of 3)
 Maintaining Your Van
 Read around 2,700 times
 For Everyone
Updated:

If you've replaced brake fluid, calipers, lines, pistons or other components, or for any other reason, allowed air to get into the brake system, you're going to need to bleed that air out and make sure the brake fluid is topped up, to be sure the van is safe to use. Because air is easily compressed, any air left in the system will significantly reduce your braking power, as pressure on the brake pedal will compress the air instead of pushing the brake fluid to the brakes.
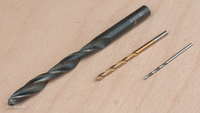
Bleeding the brakes is a simple job but it's usually a good idea to have someone sit in the driving seat to help you. Before you start, find two plastic bottles and a short run of clear plastic hose with an internal diameter of 3/16" / ~4.75mm. A slightly smaller size should be fine, as it will stretch slightly as you press it onto the bleed valve.
There is a way you can do this job alone, and it's thanks to a simple
 One Way Valve. You attach it to the brake bleed nipple, open it up a little, and start pumping. The valve prevents the air from getting sucked back into the system, so you can get the job done quickly.
However, if you don't have this, read on.
If you want to make the draining tool yourself...
Make The Draining Tool
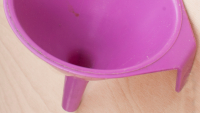
First, you'll need to drill a hole through the lid of one bottle, so that you can thread the plastic hose through it. Push the hose through until it can reach the bottom of the bottle, then wrap a cable tie or jubilee clip around the hose just below the lid, so the hose can't be pulled back out.
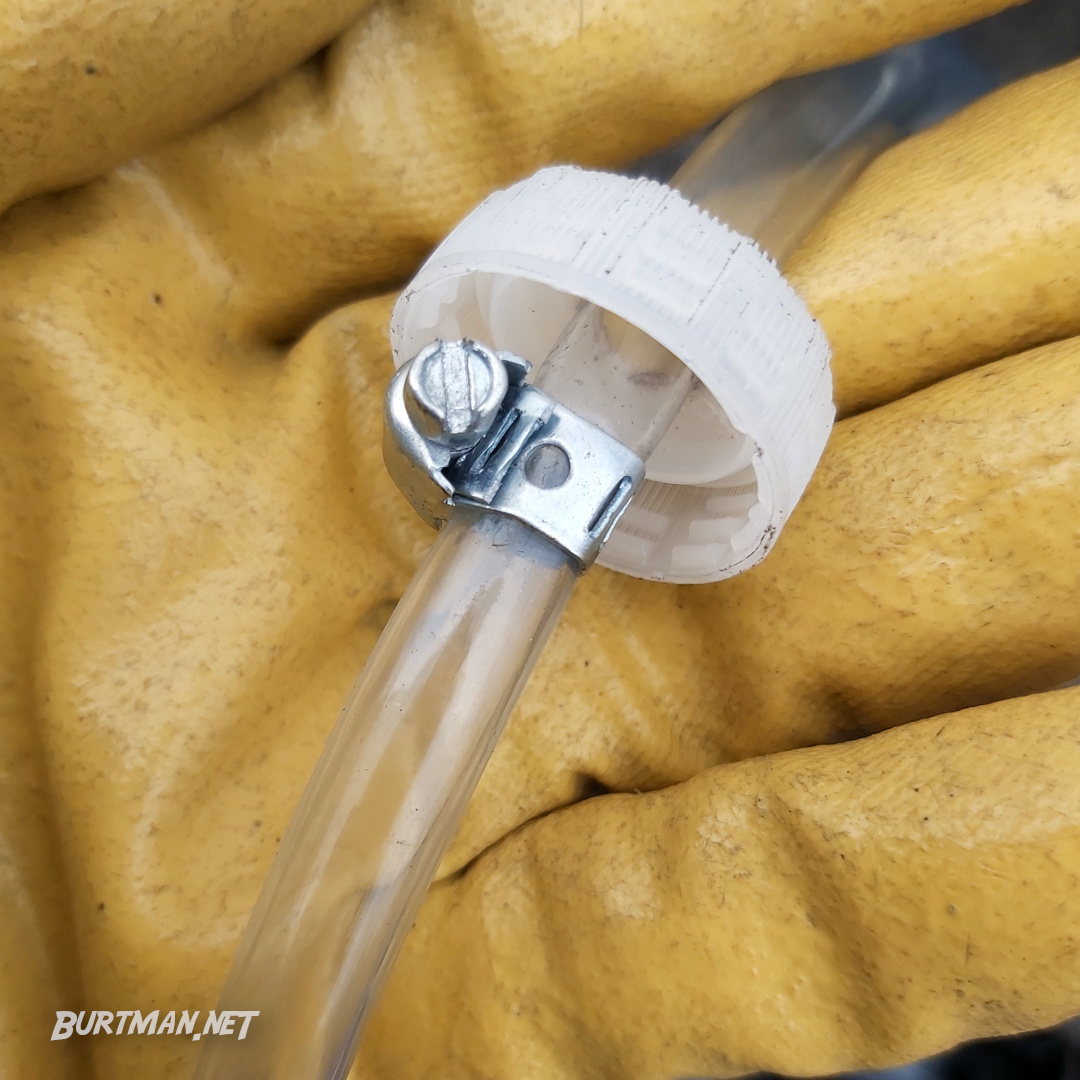
A jubilee clip on the underside of the bottle cap.
Now, pour about 3" / 6-7cm of new brake fluid into the bottle with your funnel and screw the lid on. You should be able to pick the bottle up by the hose without any spillage and the hose should touch the bottom of the bottle.
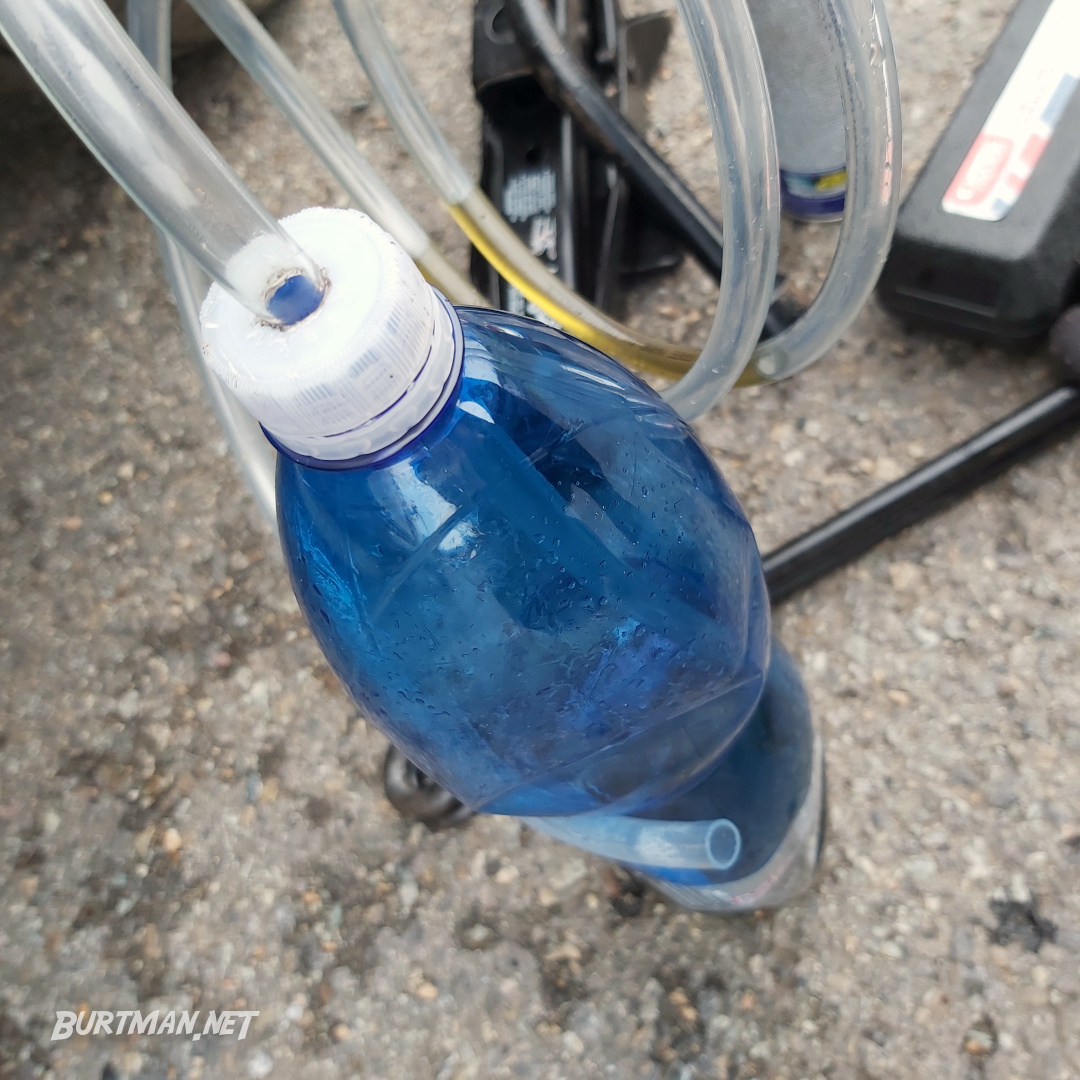
This is your draining tool. Enjoy it.
Locate The Master Cylinder / ABS Module
Pop the hood and check which side the master cylinder is on. If your van has ABS, check, instead, which side the ABS unit is on. The brake master cylinder is the unit with the brake fluid filler bottle on top of it. The ABS module is the unit that the four brake lines are connected to.
If the relevant component is on the left side, start the bleeding process on the right rear side, and vice versa. The aim here is to bleed the brake that is farthest from the master cylinder or ABS unit first, then next farthest, finishing with the closest brake.
If you know your van has ABS, but you can't locate the module, check your manual. On some vehicles, the ABS module is mounted closer to the back wheels, in which case, you'll need to start bleeding from the front. This is important, so take a few minutes to find out.
Bleed The Brakes
To bleed the brakes, locate the bleed valve on the back of the brake caliper or drum. Your van's ride height and wheel clearance will determine if you need to lift the van or remove the wheel. In most cases, you will be able to do this job with the van parked normally.
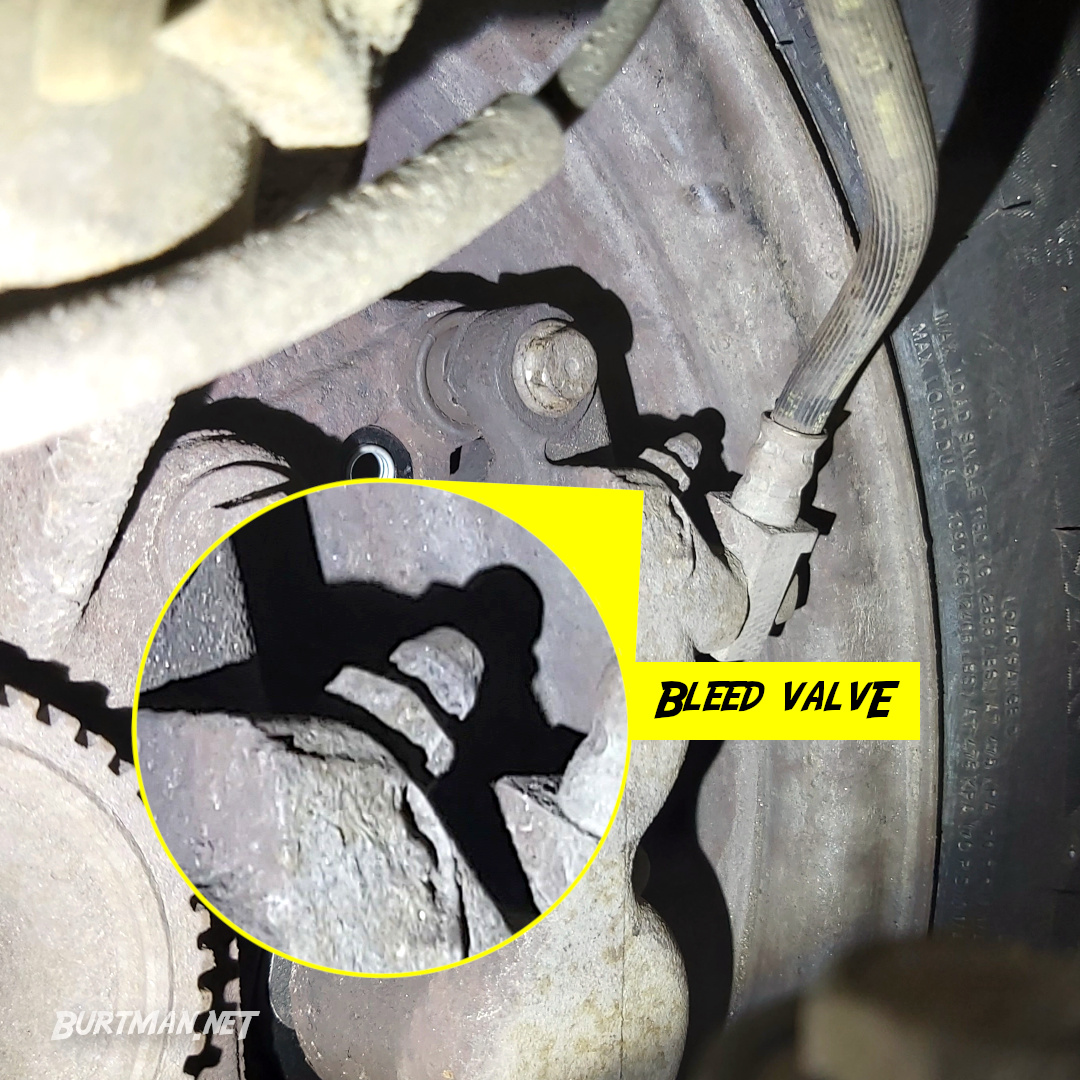
Front disc brake caliper bleed valve. 11mm nut.
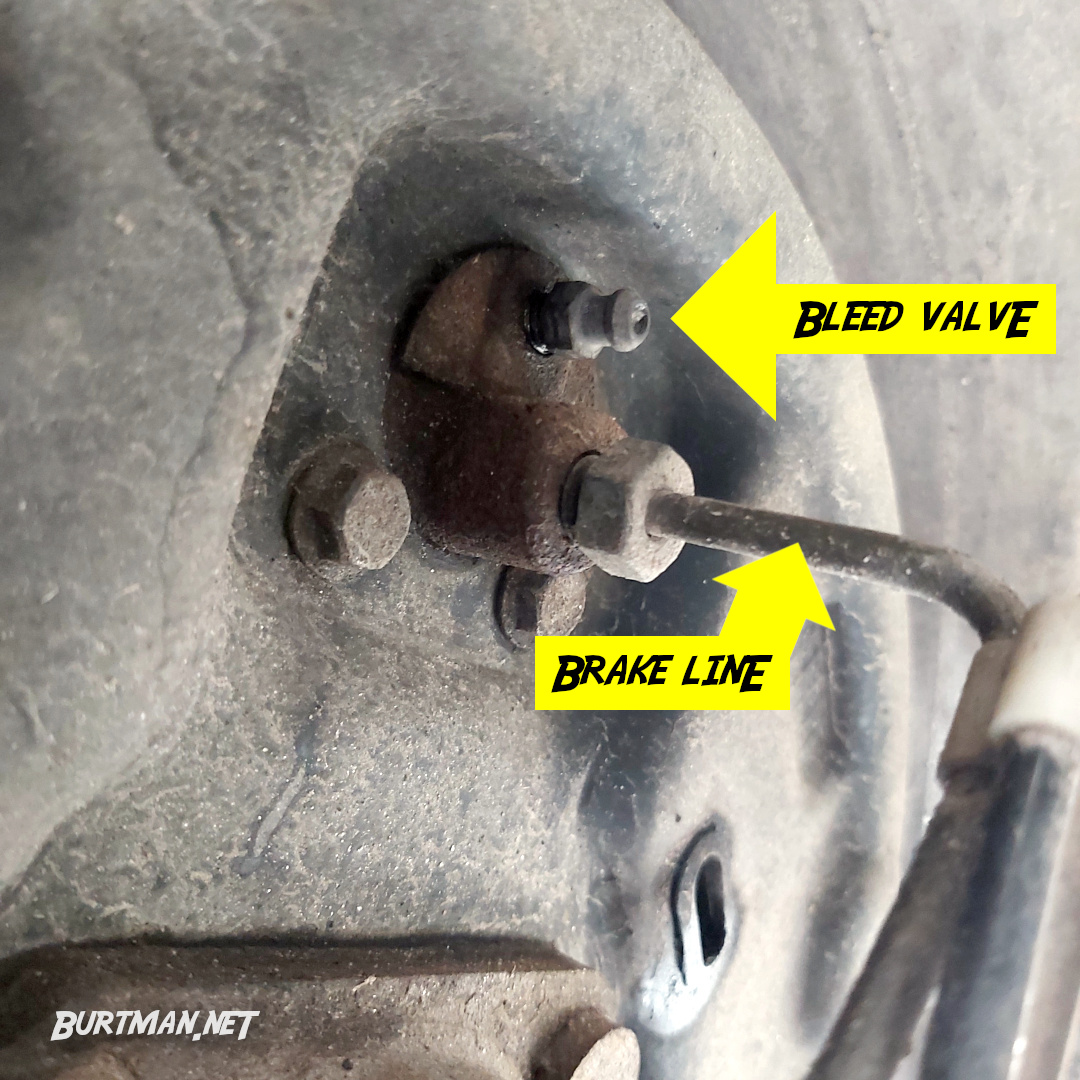
Rear drum brake bleed valve. 8mm nut.
1. Remove the filler cap on the brake fluid reservoir.
2. Suck out as much brake fluid as you can with the hose and deposit it into the dirty fluid bottle. You can suck the hose by mouth - just don't let the fluid get all the way up the hose or you'll be sucking poison. Seriously.
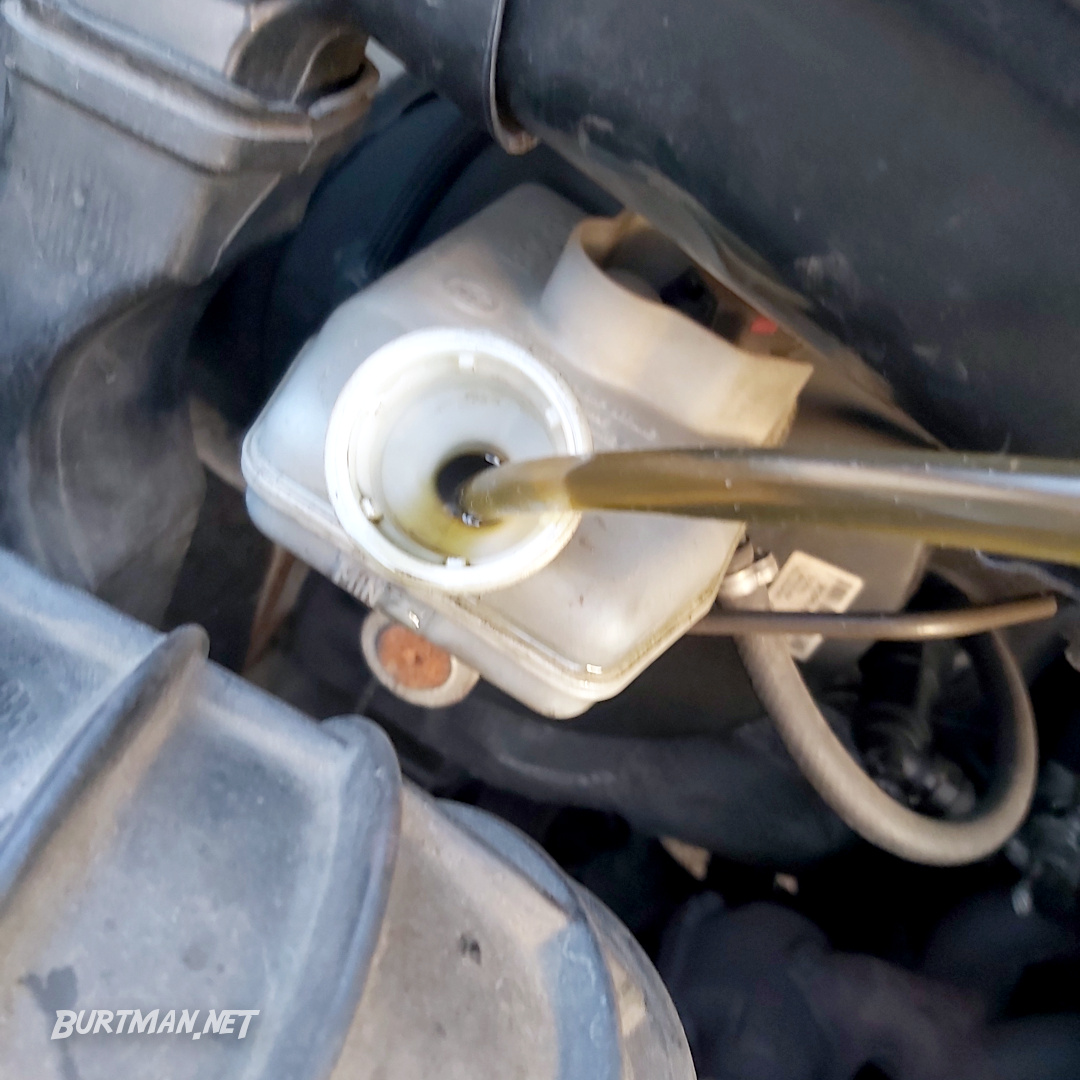
3. Top up the fluid reservoir with fresh brake fluid. You can go all the way to the top (beyond the maximum mark) because you will be removing old brake fluid, so the level will come down again.
4. Starting at the farthest wheel, Attach the draining tool you just made to the bleed valve (just push the hose over the top of the valve). Make sure it's a good fit, otherwise most of the brake fluid is going to end up on your tire and driveway instead of in the bottle. Hang or sit the bottle above the draining screw.
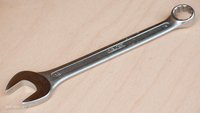
5. Carefully loosen the bleed valve about ¼ of a turn with an open-ended spanner. You might have to put a bit of pressure on it to get the valve open, so be careful not to damage it. Also be careful not to slip off the spanner, so you don't punch something sharp. That always sucks.
6. Signal your glamorous assistant to press the brake pedal slowly. The old brake fluid will begin to drain from the brake unit into the clear pipe. When the brake pedal is near the floor, they should tell you, and you should close the bleed valve before they release the brake pedal. This just makes sure none of the old fluid or air gets sucked back into the brake line.
Repeat the process, and after every three or four pumps, go and top up the brake fluid again. You don't want the fluid to go below the minimum line at any point during this process, or you will introduce air and have to start over. This could also mean having to bleed the master cylinder.
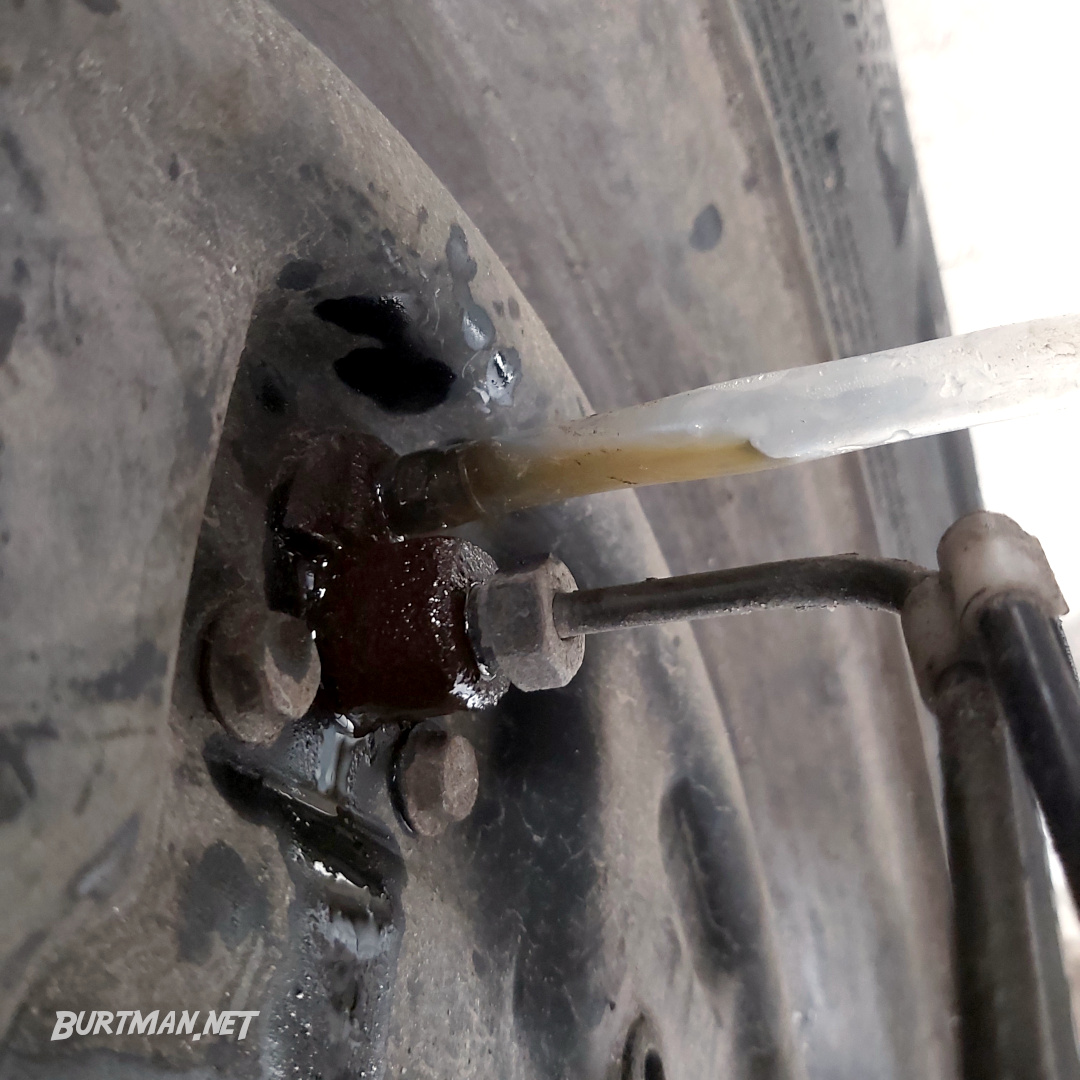
Dirty fluid coming out.
With the fluid back to max, continue pumping the brakes until there are no more air bubbles and the fluid starts to come out clean (it will look like cooking oil). At that point, tighten the bleed valve again, so no more fluid can escape, and remove the draining tool. Make sure your bleed valve is firmly hand-tightened (not so tight that it can snap, but tight enough that fluid can't leak out when braking). Spray brake cleaner liberally over the entire area and wipe off with a clean cloth.
Now go to the second wheel and repeat the process exactly the same, remembering to keep the brake fluid topped up throughout. When all brakes have been bled, top up the fluid to the maximum line and put the cap back on. You should find your brake pedal very firm. Start the engine and pump the pedal a few times. It should stop firmly and not continue to go down to the floor.
If you brake pedal feels firm to begin with, but slowly goes to the floor, go and look for signs of leaks from the bleed valves. If you find any, they need to be tightened more. Repeat the cleaning step and pump the brakes again. However, if you do not see any signs of leaking at any wheel, or around the brake fluid reservoir, you may have another issue (see master cylinder overhaul).
Test Your Brakes
Assuming you have a nice solid pedal, with the engine running, you're ready to go for a test drive. Before you do, just drive forwards and backwards a few times, braking normally, to check that the brakes feel solid and responsive. If so, take it round the block and give it a bit more speed. Where safe, try braking a bit harder to make sure everything feels good.
As always, ans especially with brakes, if you have any unexpected behavior that you can't diagnose, consult a professional mechanic. You don't want to take any risks with your brakes.
Sign In To Leave A Comment
There are no comments marked as public for this item.
Stay Up To Date