Preparing The Beds
 The Burt-Garden
 Read around 600 times
 For Everyone
Updated:


Now that I've got my raised beds, I need to prepare the site. Thankfully, the area I want to use is already very flat, so all I really need to do is cover the ground with a weed-blocking fabric, mainly to separate the toxic soil from the clean soil I'm going to be filling the beds with. Chemicals and heavy metals can be absorbed by plant roots, which is why it's so important to grow in raised beds, where you can control and clean the soil much more easily.
Another benefit of raised beds is that they warm up faster, so you can effectively extend your growing season into the cooler months.
I've chosen to put my planters along this fence, as it gets the early and late sunlight, with only a short period of shadow from a nearby house, during the middle of the day. This location's convenience is just a bonus (it's close to the house and it doesn't get in the way of the archery lane).
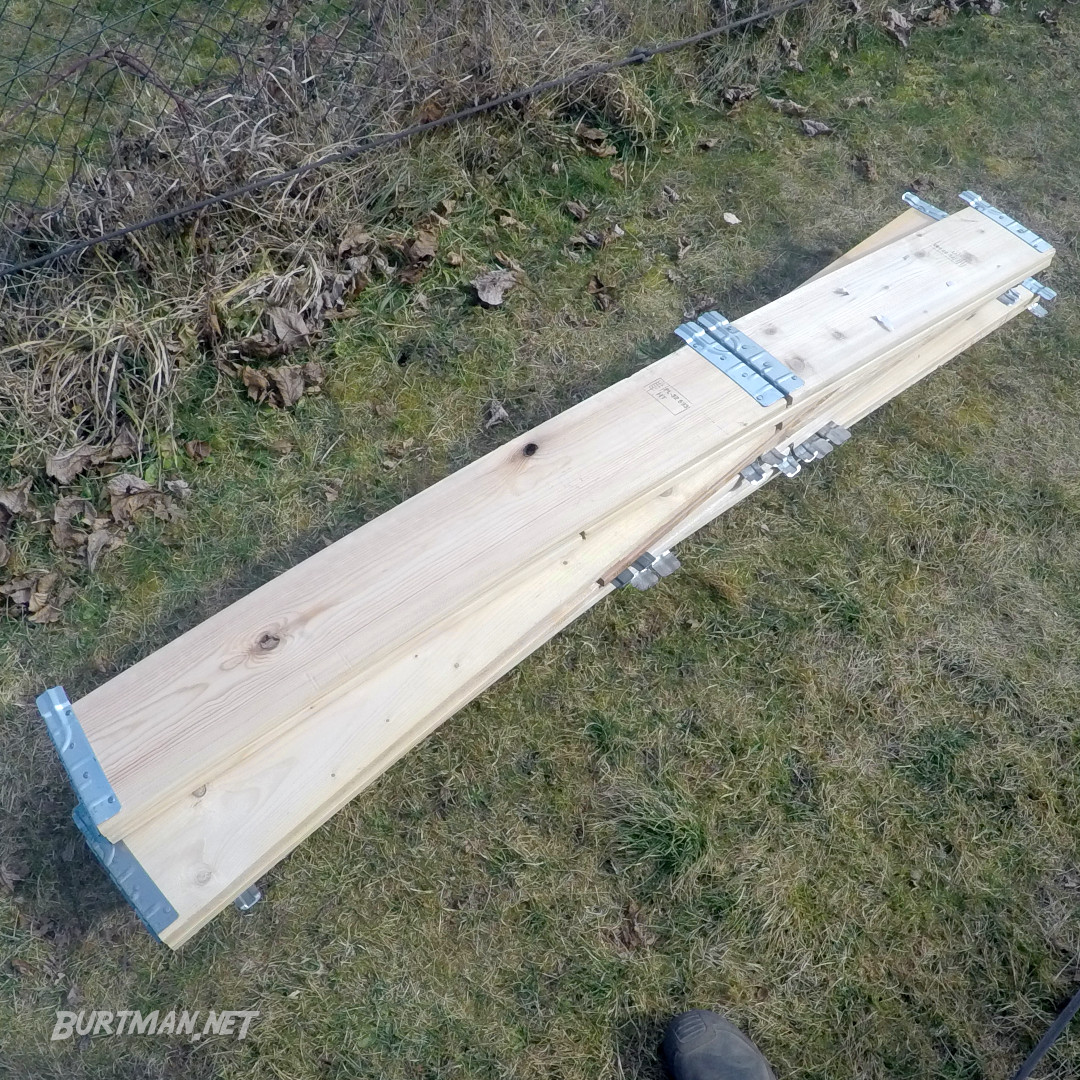
These beds are very simple. They're made from heat-treated pallet wood, which makes them resistant to rot and infestation. Chemical treated pallet wood is not safe for contact with food-producing soil, as the chemical in question is Methyl Bromide, which is a carcinogen (more about that, here).
The hinges that hold the wood together extend beyond the wood, allowing them to easily be stacked, which I will be doing for my potato section, because potatoes need deep soil. Today, I'll just be preparing the 1U bed. This will be for herbs and cherry tomatoes.
I've got my weed blocker and my staple gun.
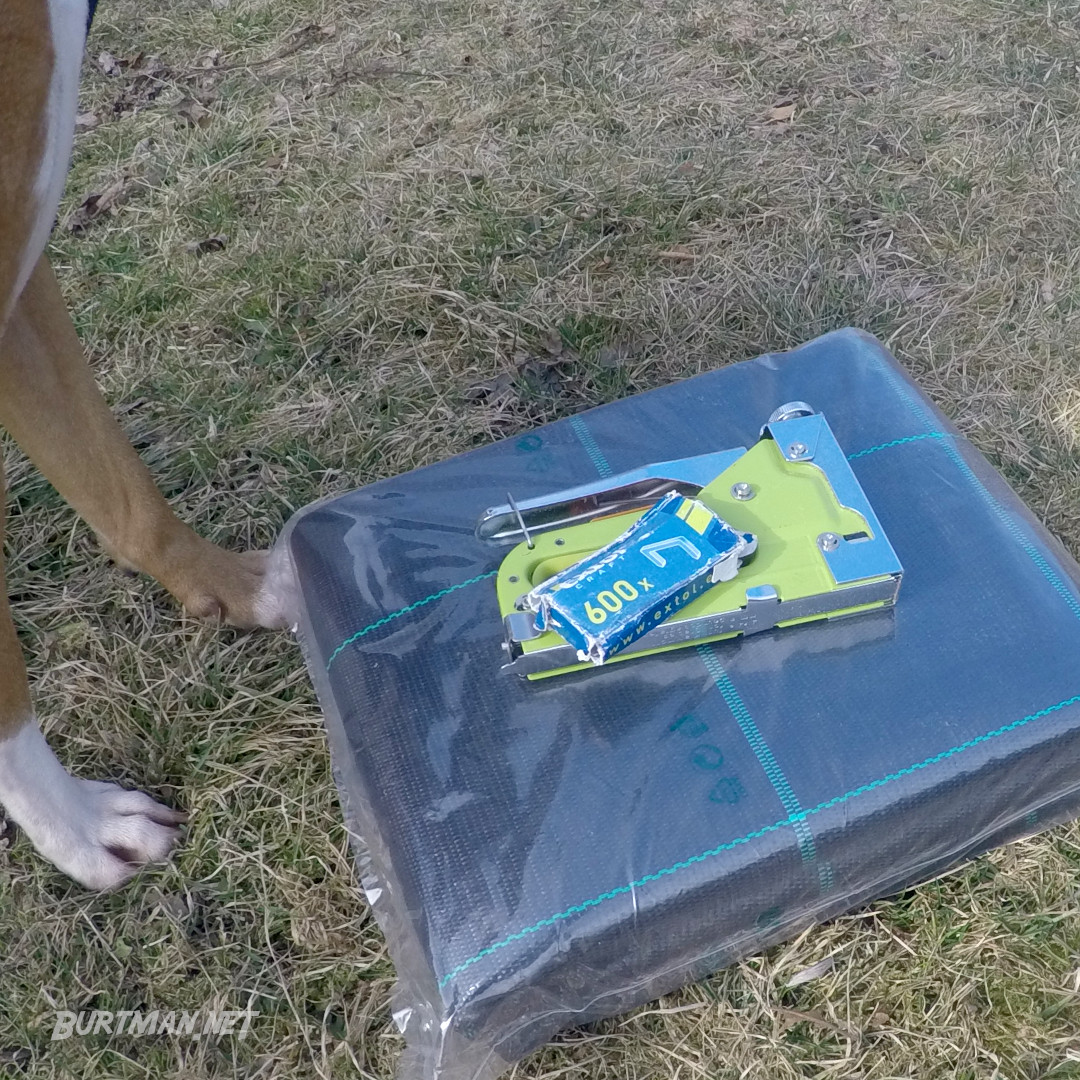

The weed blocker is a single sheet, 10 meters long, so I need to cut a piece of it, suitable for the base of the bed.
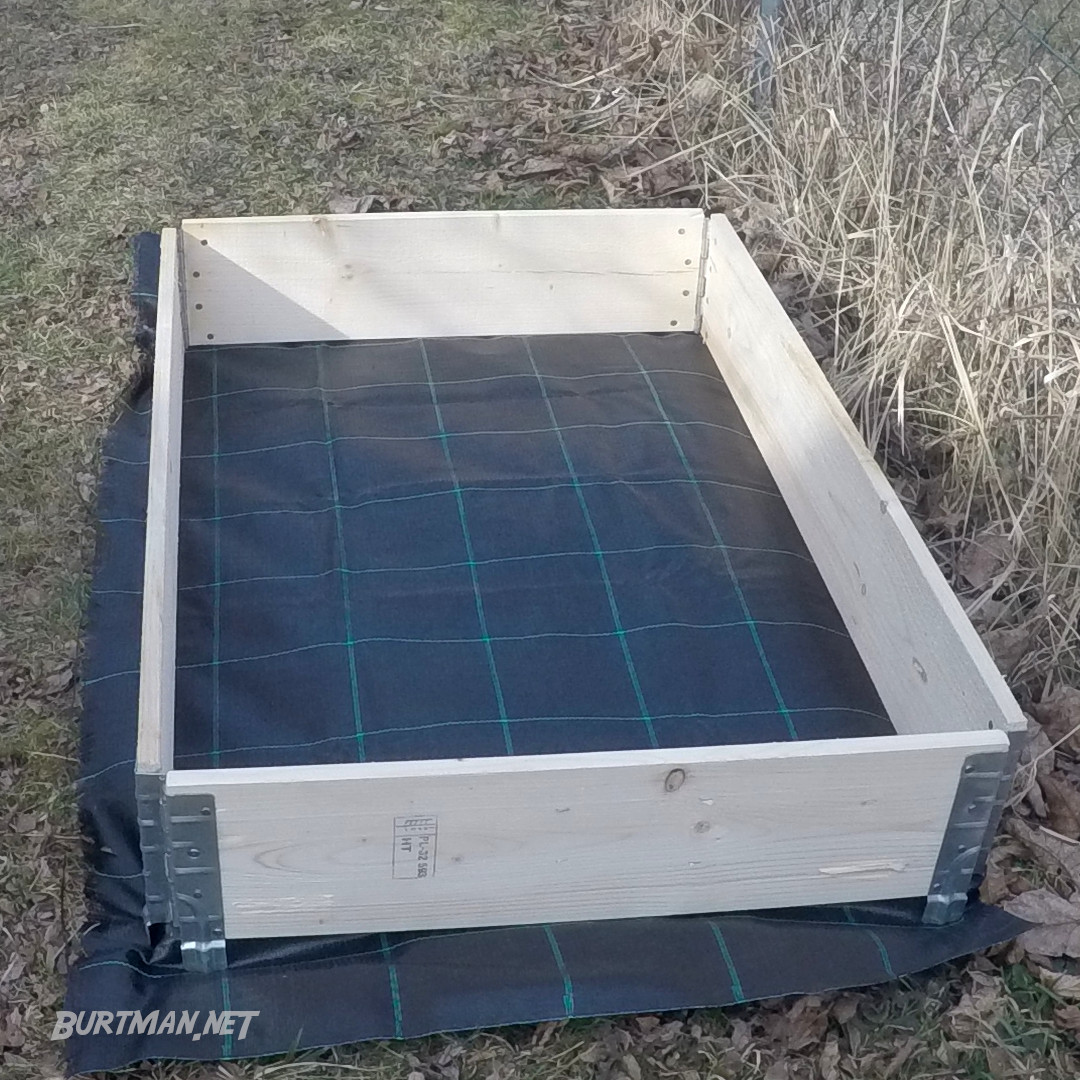
When I've done that, I use a giant set square to make sure the bed is square, then just staple the weed blocker to the bottom edge of the bed.
I've been very fortunate, because the end of my garden happens to have a huge pile of loose soil, so I don't have to dig much to get enough to fill up the planter.
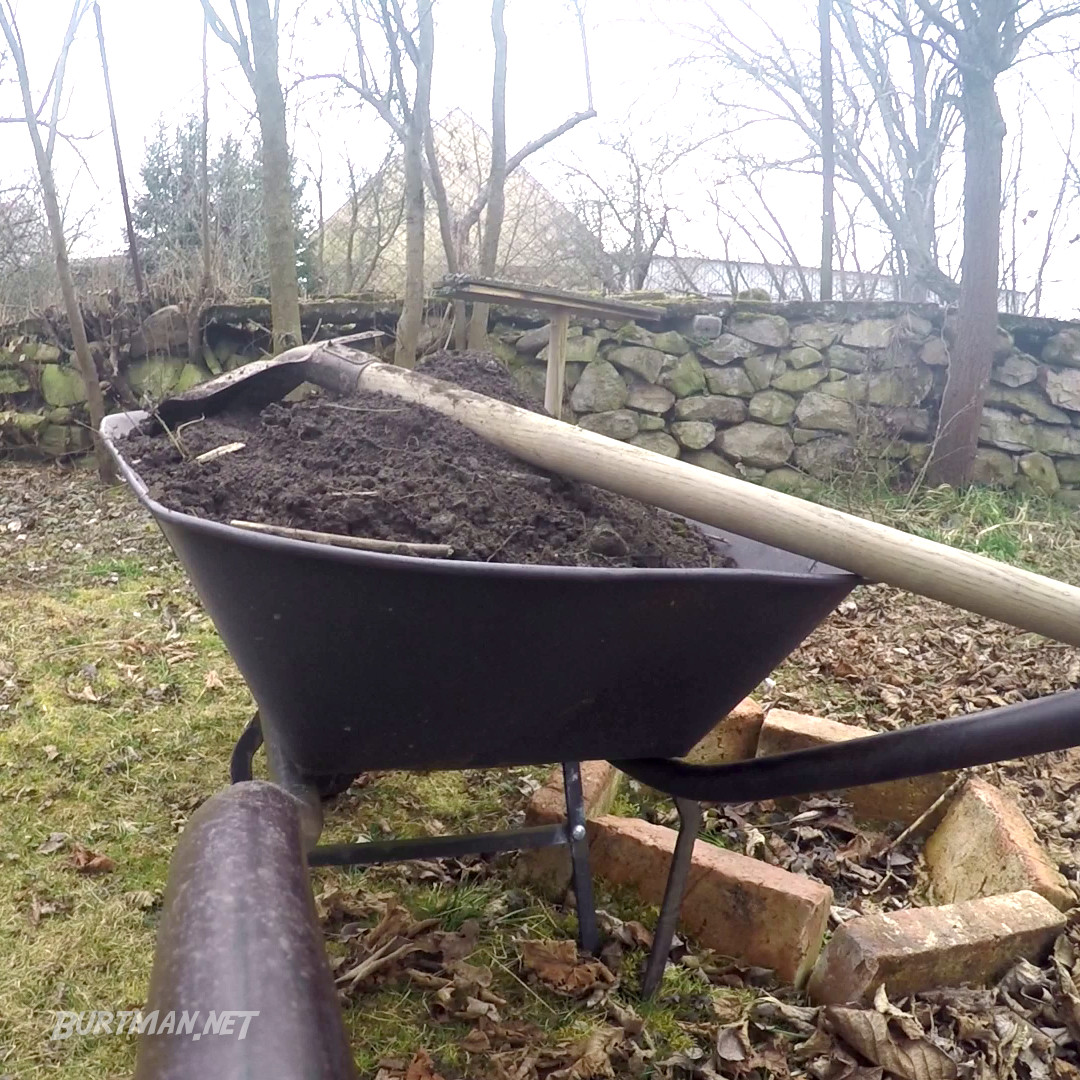
The shallow planter took three wheel barrows of soil to fill it up. The soil's been covered, so it's lovely and moist, and full of worms. Perfect! This is the best part, so far; It really feels like my garden is finally happening.
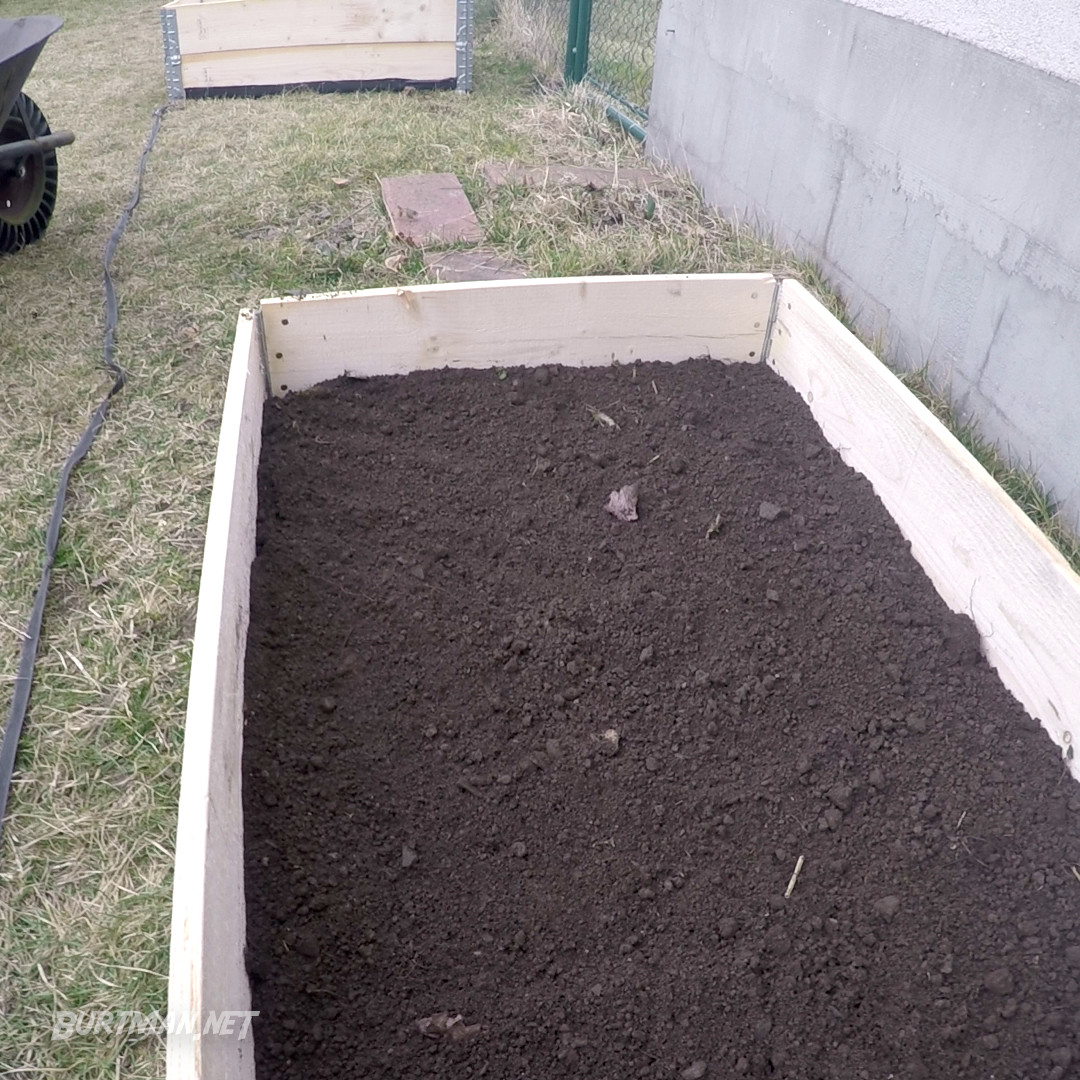
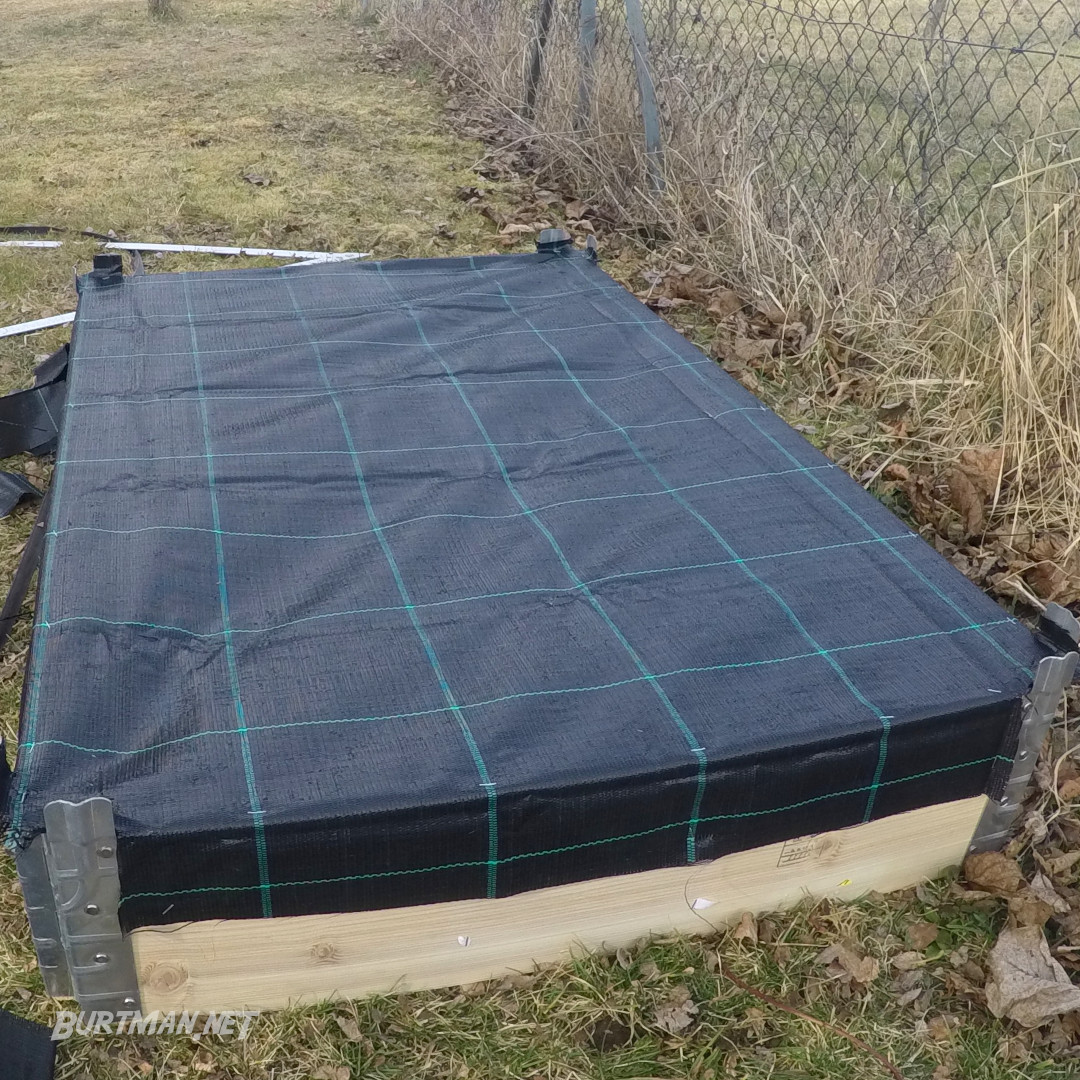
With the first planters ready, I've covered it up, so the sun doesn't dry out the nutrients in the soil. When the seeds are planted, I'll use mulching and light foliage to keep the soil covered, while the plants grow, and I'm going to put together some lids, to keep the heat in.
Now, it's time to do some research about growing times and conditions for the seeds I have. I'll check the "Plant For Change" Telegram channel (my go-to), for advice, before starting to grow anything.
Stay Up To Date