Overview Of Solar Components
All About Solar Power (Part 1 Of 8)
 Power & Water
 Read around 3,500 times
 For Everyone
Updated:
Always exercise caution when working with electricity. Always check safety labels and product documentation before installing or powering on any electrical device and make sure you have correctly connected and insulated all live wiring before powering on.
Practically every van dweller requires electricity to charge electronics and provide light at night. The most popular way to achieve this without killing your starter battery is to install at least one solar panel. But if you've spent any time searching for one, you will have noticed that the many different types can make it difficult to commit.
In this guide, I will shed light on the most important factors to consider. Yes, I saw the pun.
Your solar system will include many components, so I have to make some assumptions. They are:
1. You have only one dedicated battery for your system.
2. You have only one solar panel.
3. You do not expect to run any unusually high-powered devices, such as power tools or convector heaters.
If you can't say yes to all of the above, you may need to make some extra considerations, which I will address in a later article.
Buying Your Kit
The easiest way to get yourself up and running with solar power is to buy a full kit. There are offers all over the internet for full solar kits, and the prices vary a fair bit, but if your needs aren't out of the ordinary, most people seem to be happy with a 200W system, and for that, you will probably spend around 400-600 euros. If you decide to buy individual components, you will need at least those listed below. Buying individually could save you money, but it will most likely cost you a lot more time, as you will need to check each item for compatibility with each other item that it will be used with. Depending on your needs, you may or may not find this beneficial. If you are building a more complicated system than the single-panel, single-battery system described here, it might pay to consult a specialist.
Components
Your solar system kit should include, at the least...
* 1x 200W Solar Panel (or 2x 100W + MC4 connector to join the panels together) - ![]() Solar Panels: Mono Or Poly Crystalline? Brief Answer
Solar Panels: Mono Or Poly Crystalline? Brief Answer
* 1x Solar Charge Controller (CC) - ![]() Charge Controllers: Mppt Or Pwm?
Charge Controllers: Mppt Or Pwm?
* 1x Solar Charge Cable (usually around 4-6m in length)
* 1x AGM Battery - ![]() Batteries: What Type And Why?
Batteries: What Type And Why?
* 2x Battery Terminal Clamp
* 2x Short Battery Cable
* 2x 30A Fuse - ![]() Short Guide To Fuses
Short Guide To Fuses
* Panel Roof Mounts
* 1x ![]() Inverters
Inverters
Depending on your needs, you might also want a DC fuse box to provide individual fuses for fixed DC devices like LED strips, cool box, fans, USB feeds, and so on.
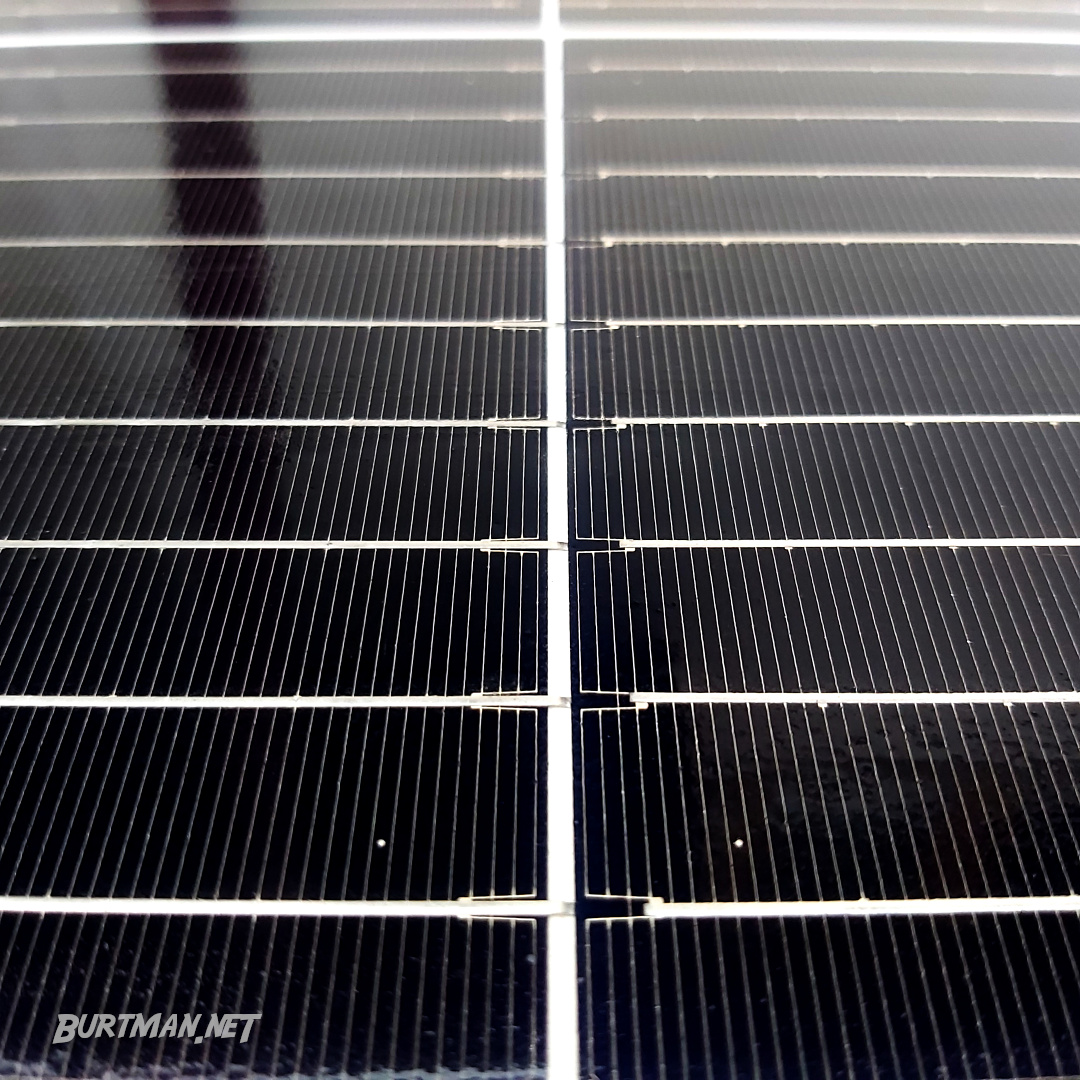
Solar Panel
Solar panels turn light into electricity with varying output dependent on the amount of light at any given moment.
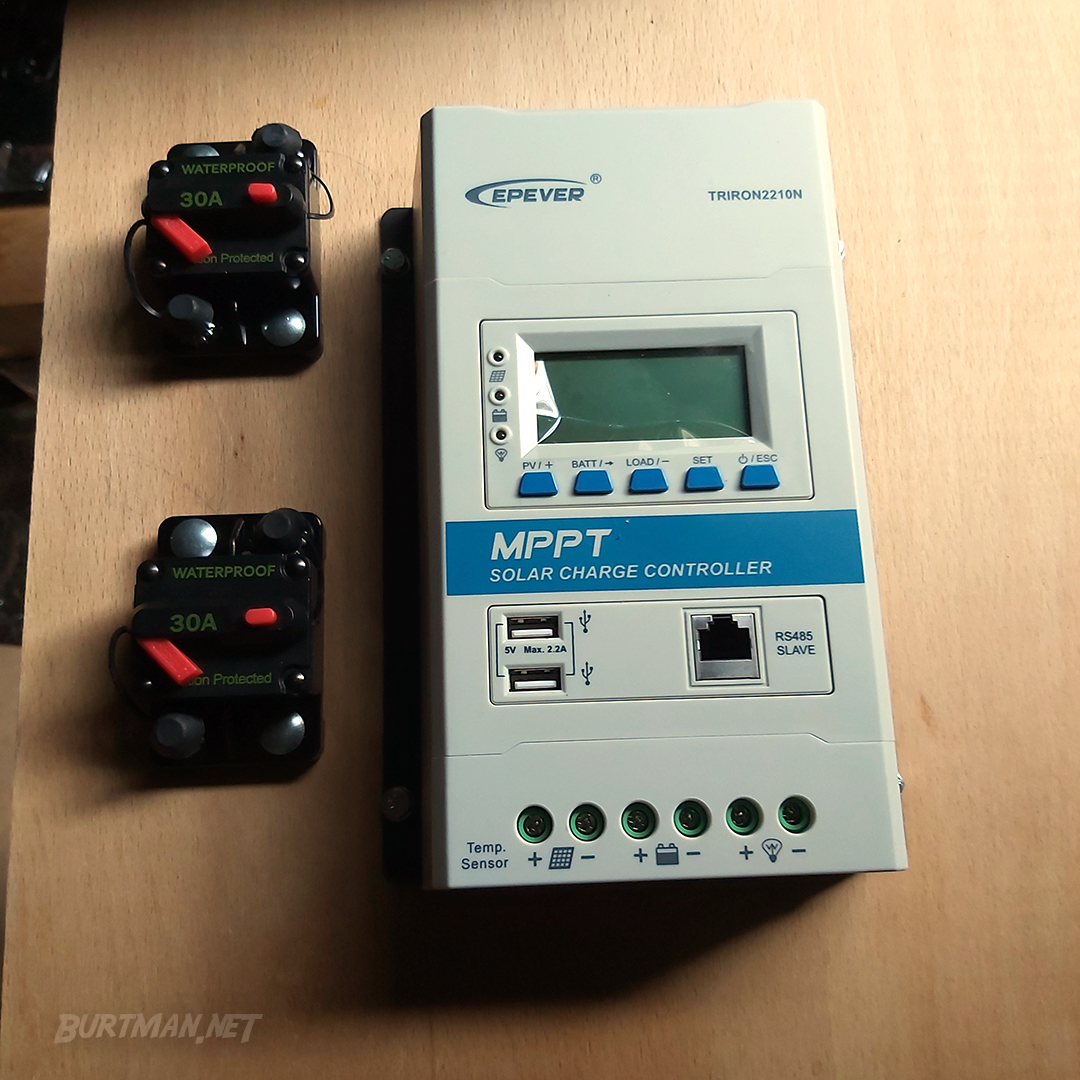
Charge Controller
A charge controller (CC) takes the variable power and regulates it for safe battery and stable battery charging. Here, I have mounted my CC with two 30A DC fuses on a sheet of 4mm plywood. Mounting like this makes installation a little easier, especially if you are mounting these items in a hard-to-reach place, such as behind a seat, as in my case.
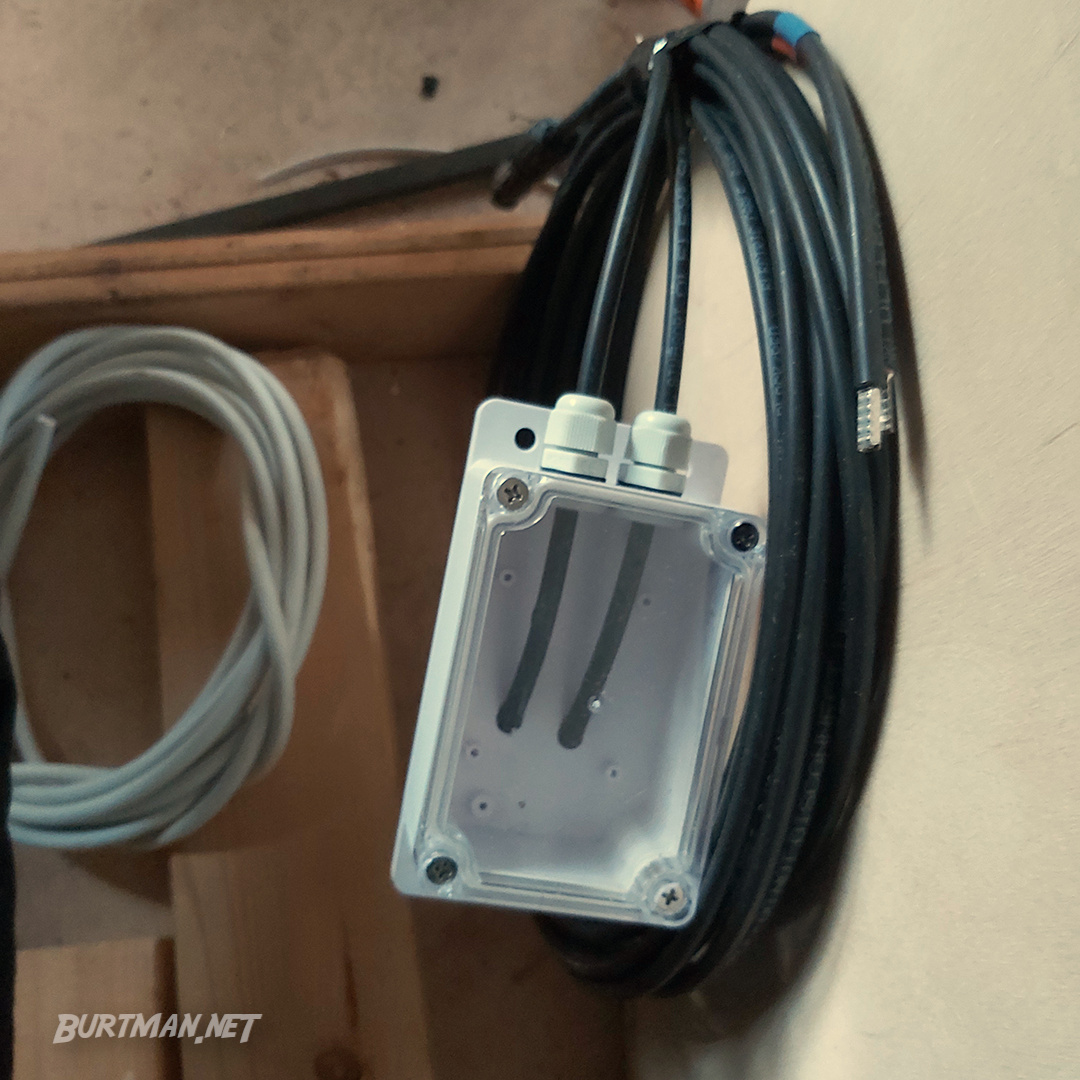
Solar Power Cable
This is the cable that connects the solar panel output to the charge controller input. Here, I have threaded mine into the junction box prior to installation, mainly to make sure the cable can be easily threaded without getting snagged or bending too tightly.
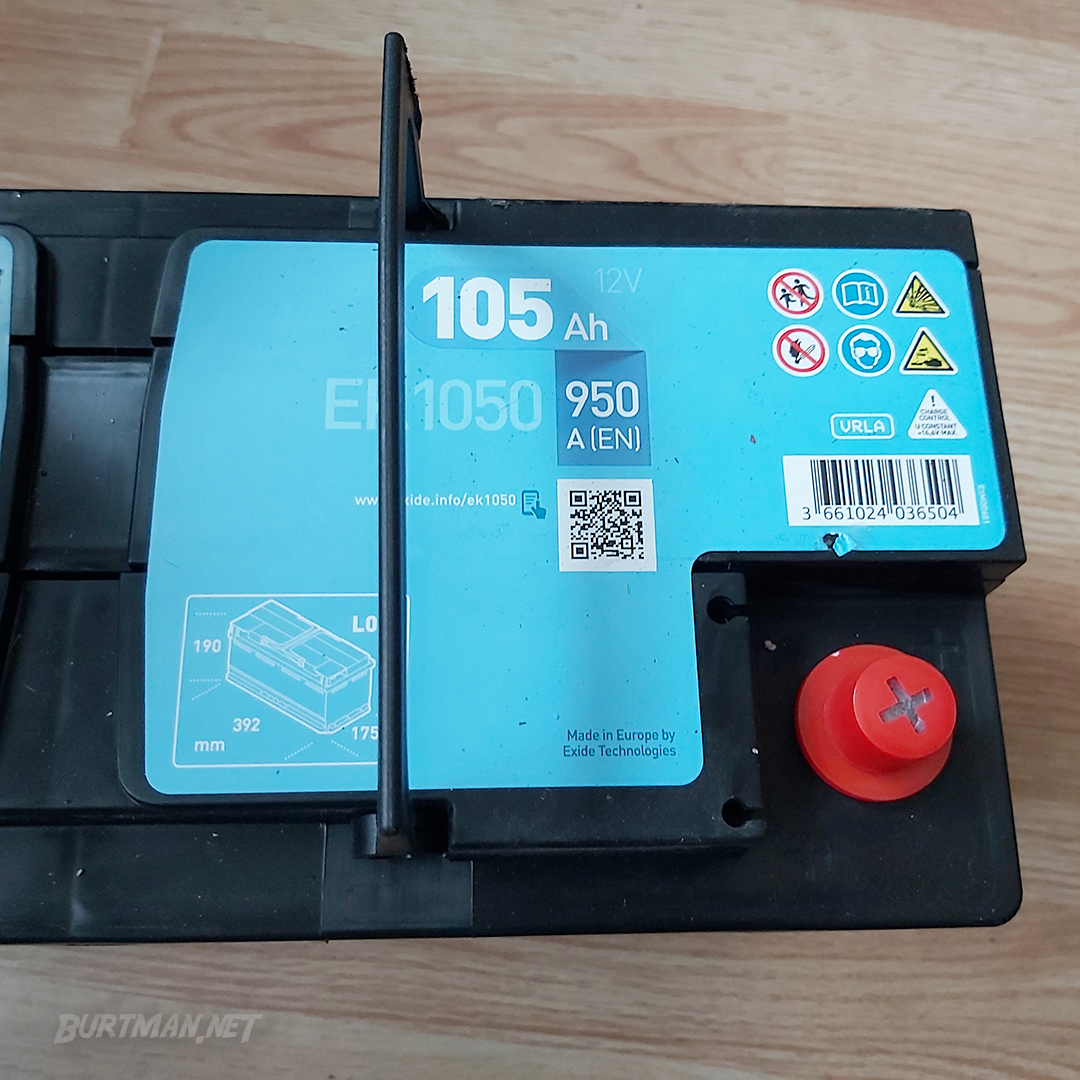
Battery
The battery stores the power generated by the solar panel and uses it to power your DC devices directly and/or your AC devices via your inverter. You may only need one or the other, but most people have DC and AC devices.
Battery Terminal Clamps
These clamps allow you to safely and securely connect your new wiring to the battery. Just wrap your positive (+) power cables around any of the screws on the larger (+) clamp, and your negative (-) cables to any screw on the smaller, (-) clamp and tighten them securely. Then slide the positive clamp onto the battery and secure it with a 13mm / ½" socket. Do the same with the negative. Do it in that order to avoid dangerous sparks.

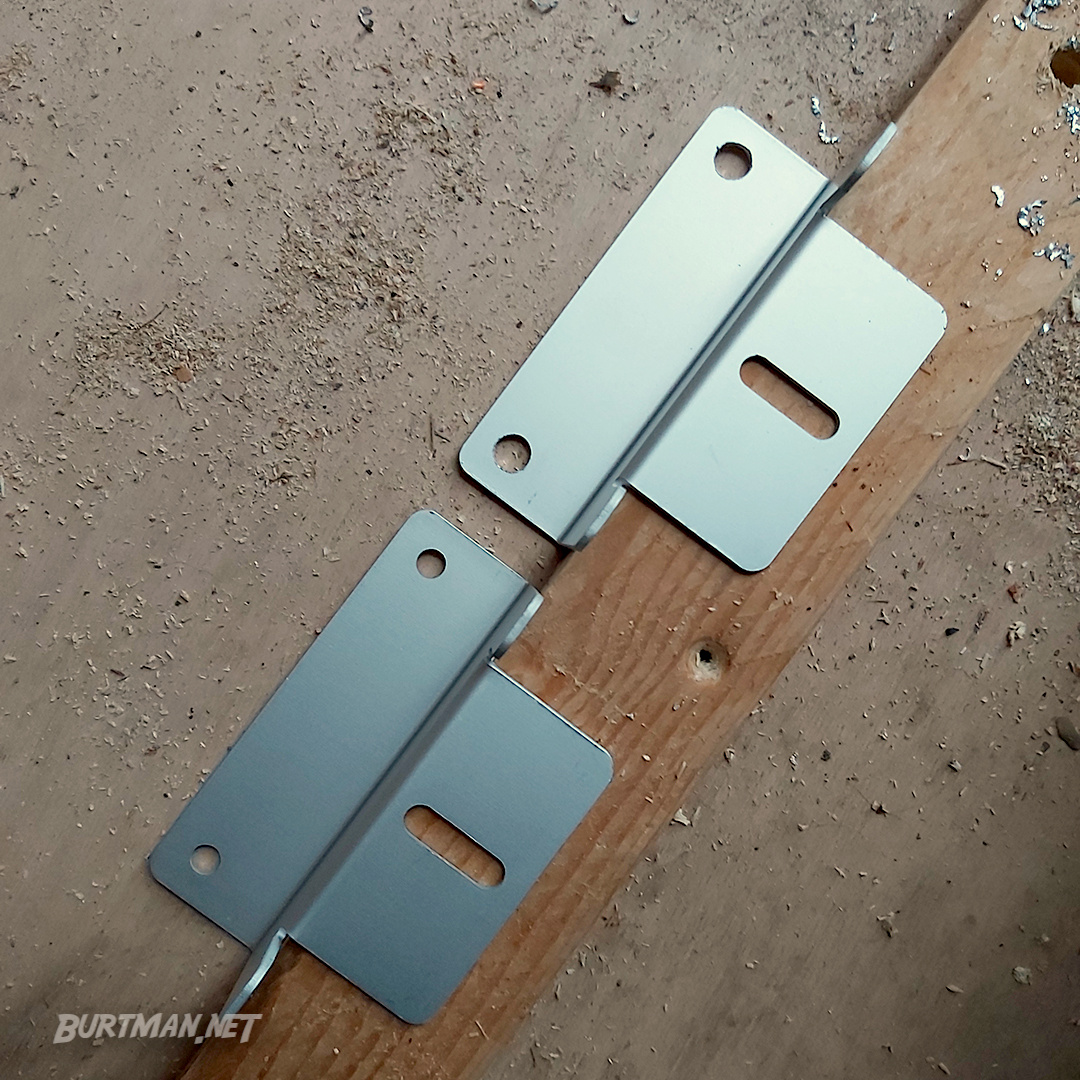
Panel Mounts
There are various types of brackets to hold the solar panel securely to your roof and provide a bit of clearance beneath the panel to allow heat to escape, which makes the solar panel more efficient. Left: Original, Right: Drilled for larger bolts.
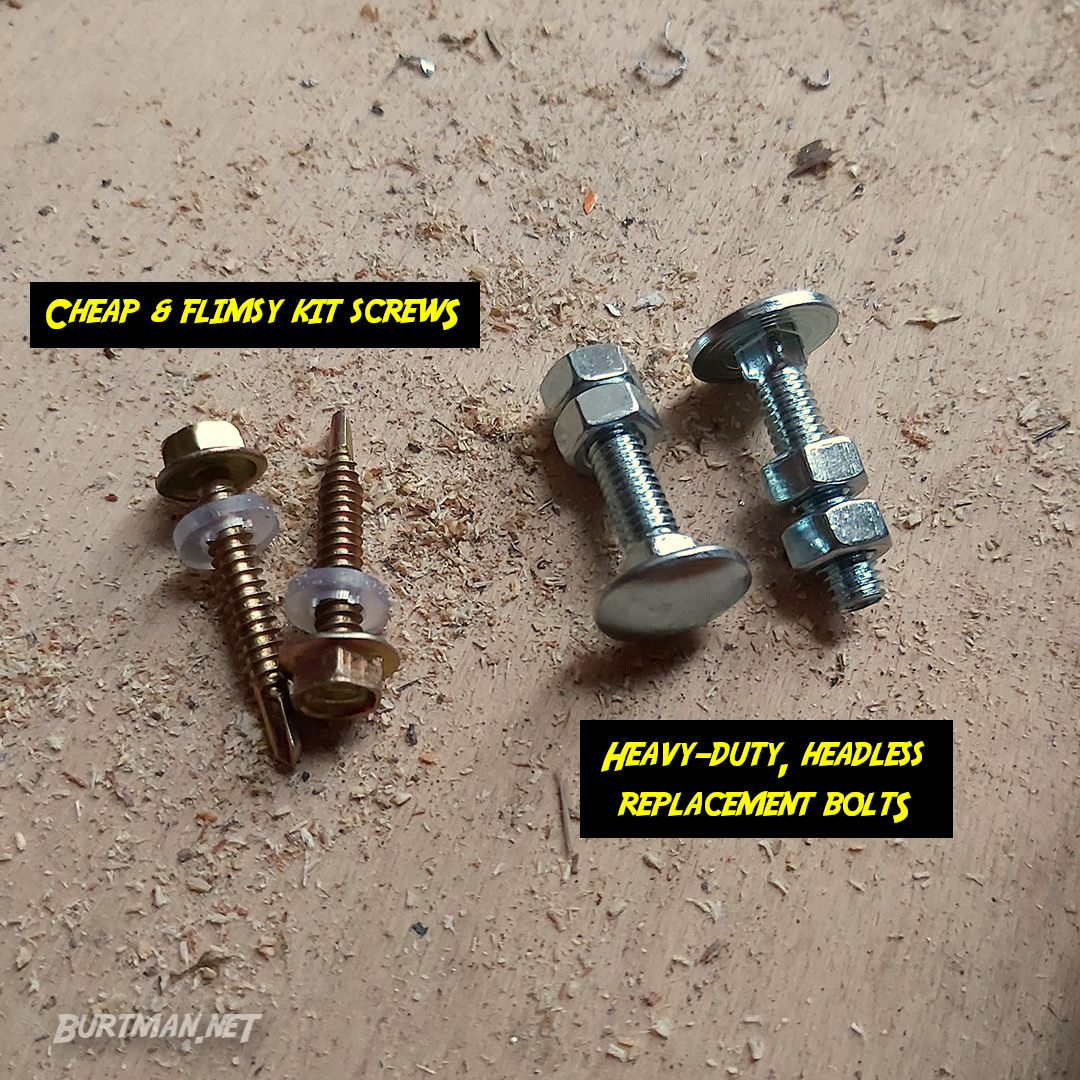
Mounting Bolts
The bolts you use to secure the panel mounts to the roof of your van. You might want to upgrade them, if you think the ones that come with the mounts are too small for your panel, which I suspect will usually be the case. Left: Original bolts supplied with mounts, Right: Wider, headless, hardened-steel bolts for better security and rigidity.
Optional Inverter
The Inverter is an optional component that turns the DC current from your battery into AC current, like the wall sockets in a house. This allows you to power household equipment like hair dryers and toasters from your battery. I chose a 600W pure sine inverter because I don't have power-hungry devices. Your inverter only needs to be as powerful as the most power-hungry device you will want to power (plus at least 15%, to ensure you are not operating near to the maximum capacity at all times).
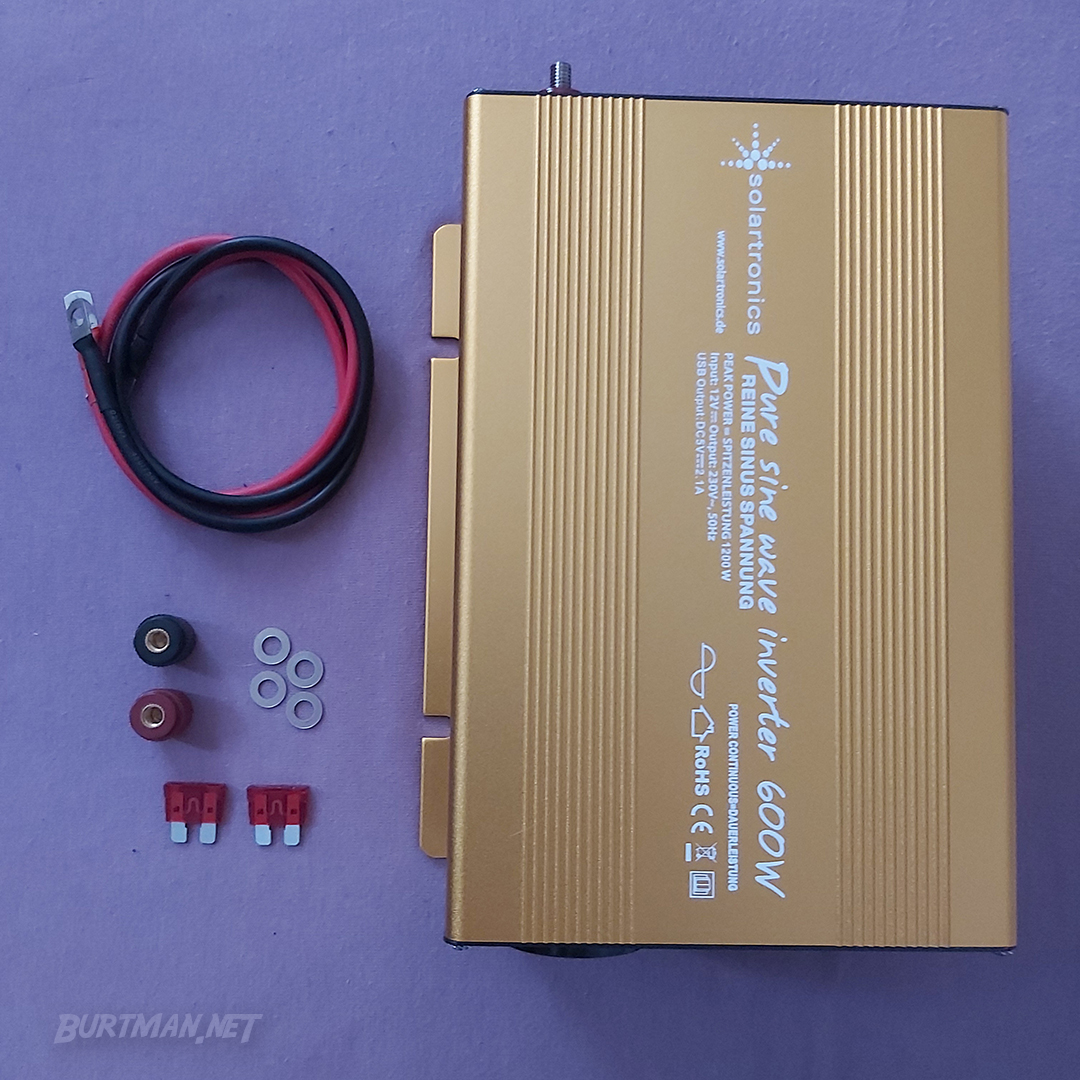
Find out about inverters in my guide: ![]() Installing Your Inverter
Installing Your Inverter
Optional DC Fuse Box
A DC fuse box allows individual fusing of DC appliances, such as LED strips, cool boxes, fans, USB ports and other low-powered things. There are several types. This one takes 8 blade fuses - the same type you find in your van's own fuse box. This works for my relatively compact electrical system and takes up very little space, with the bonus that I can borrow from my van's fuse supply in the event that I pop a fuse and it's fairly easy to find replacements of this kind for very little money.
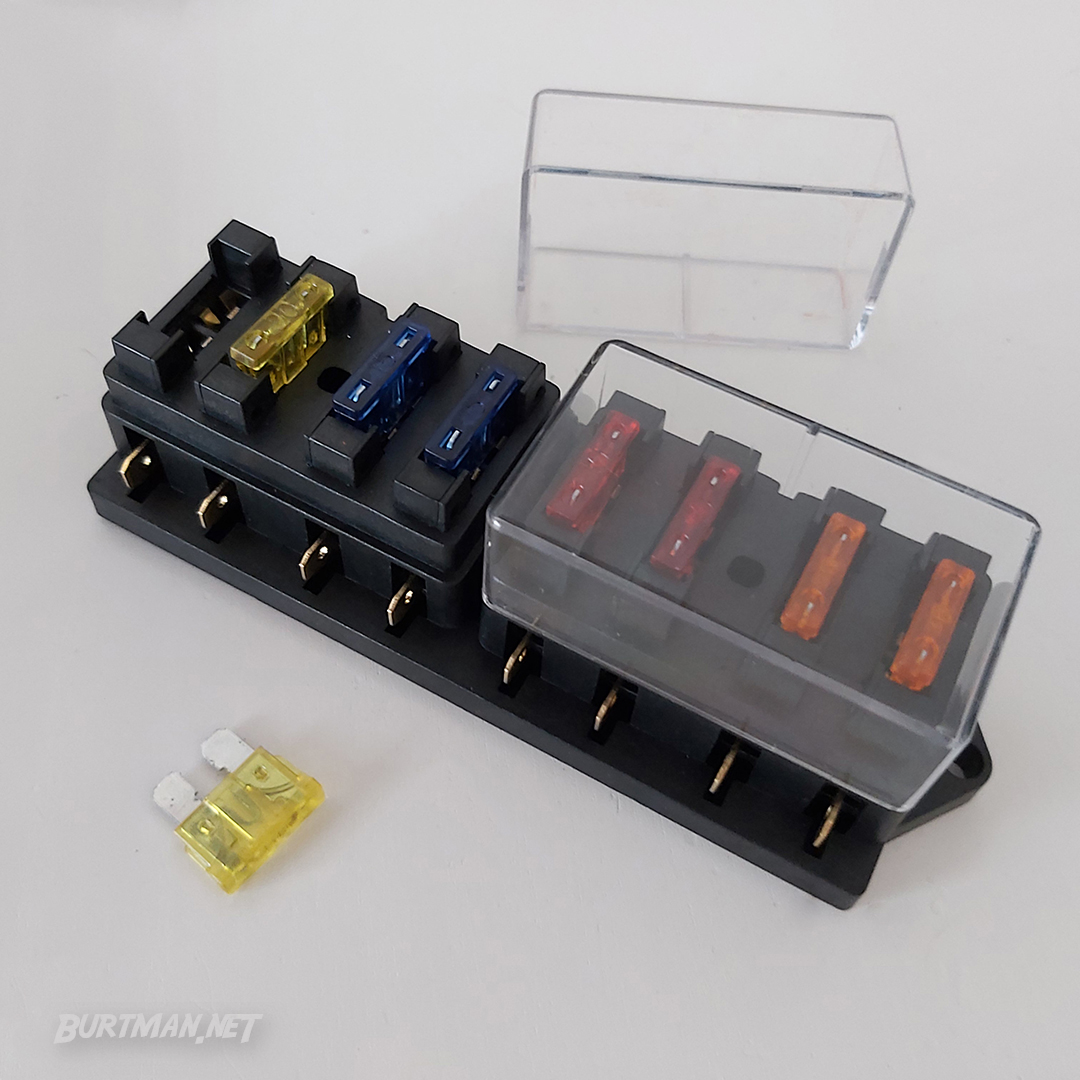
Find out more about fuses in my guide: ![]() Short Guide To Fuses
Short Guide To Fuses
Sign In To Leave A Comment
There are no comments marked as public for this item.
Stay Up To Date