
Fitting The Panel
 Power & Water
 For Everyone
Updated:

1. Panel Mounts
Depending on your panel mounts, you may need to attach them to the panel before you attach them to the roof. It might also seem to make sense to connect the charging cable to the panel at this point, as it can be very difficult to connect once the panel is bolted down, however, it's much safer to just pull the panel connectors out and leave them disconnected. That's because the panel begins producing an electrical charge as soon as light hits it, and that charge can be very powerful on a sunny day. The connectors should have caps on them to prevent accidental metal contact. If they don't, cover the ends with tape for now.
Remember: Do not connect the power cables until the END of the installation.
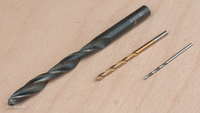
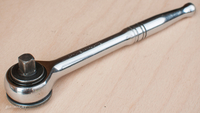
2. Drilling The Roof
Once you have your panel and mounts connected, and you are ready to drill, I suggest making the first hole in the corner nearest to the edge of the roof and following the ridges on the roof to make sure the panel goes down straight. This will not only look nicer and be easier to fit, it will also minimize the negative effect that fitting a panel has on aerodynamics (however minimal in reality). Drill a smaller (pilot) hole first, then use progressively larger drill bits until you reach the correct size for your mounting bolts. This makes it extra unlikely that you will make the holes too big and also makes cutting the metal easier.
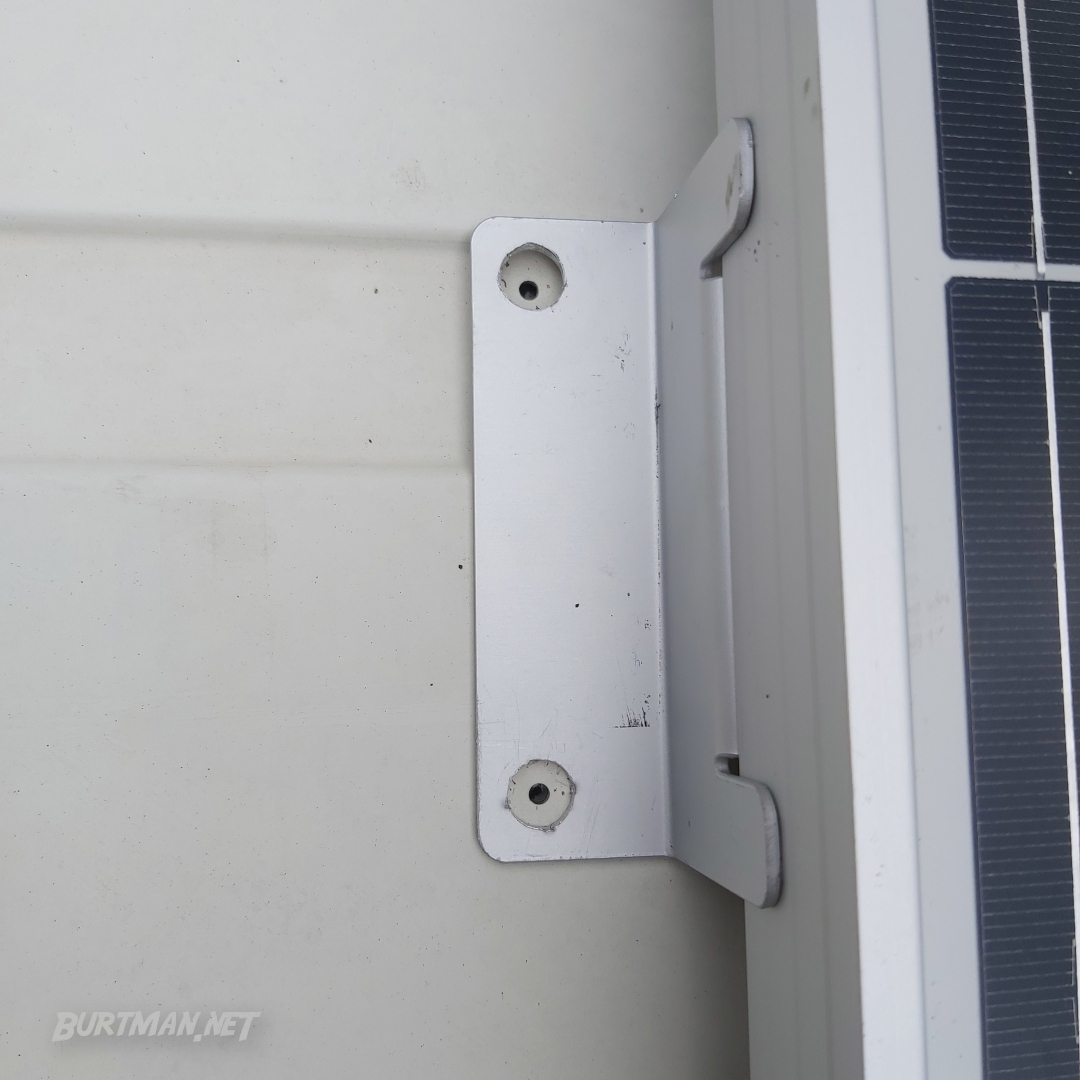
Pilot holes in the roof, lined up with a solar panel mount.
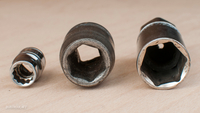
After drilling the first hole, fit one of the mounting bolts and then move to the mount diagonally opposite. Once the second mount is bolted in, all the rest will line up and shouldn't move, which makes fitting them correctly an awful lot easier.
When your panel is securely fitted, choose a good location for your junction box, again checking the inside of the roof to make sure you won't drill into something important. When you've found a good spot, clean it well and let it dry, then use a waterproof sealant to stick the junction box in place on the roof. When the sealant is dry, you can drill your cable holes straight through the junction box and roof at the same time. These are the holes that the power cables will go through to take power from the solar panel to the charge controller.
Solar power cables are quite thick and fairly rigid, so you will need to make sure you don't bend them too much during installation. You may need to drill the holes at an angle to ensure there is no undue pressure on the cables, or you can make the holes a bit bigger than the cable to allow them to move a bit. Don't forget, these cables can carry high currents, so you want to look after them for safety reasons, as well as to protect your investment.
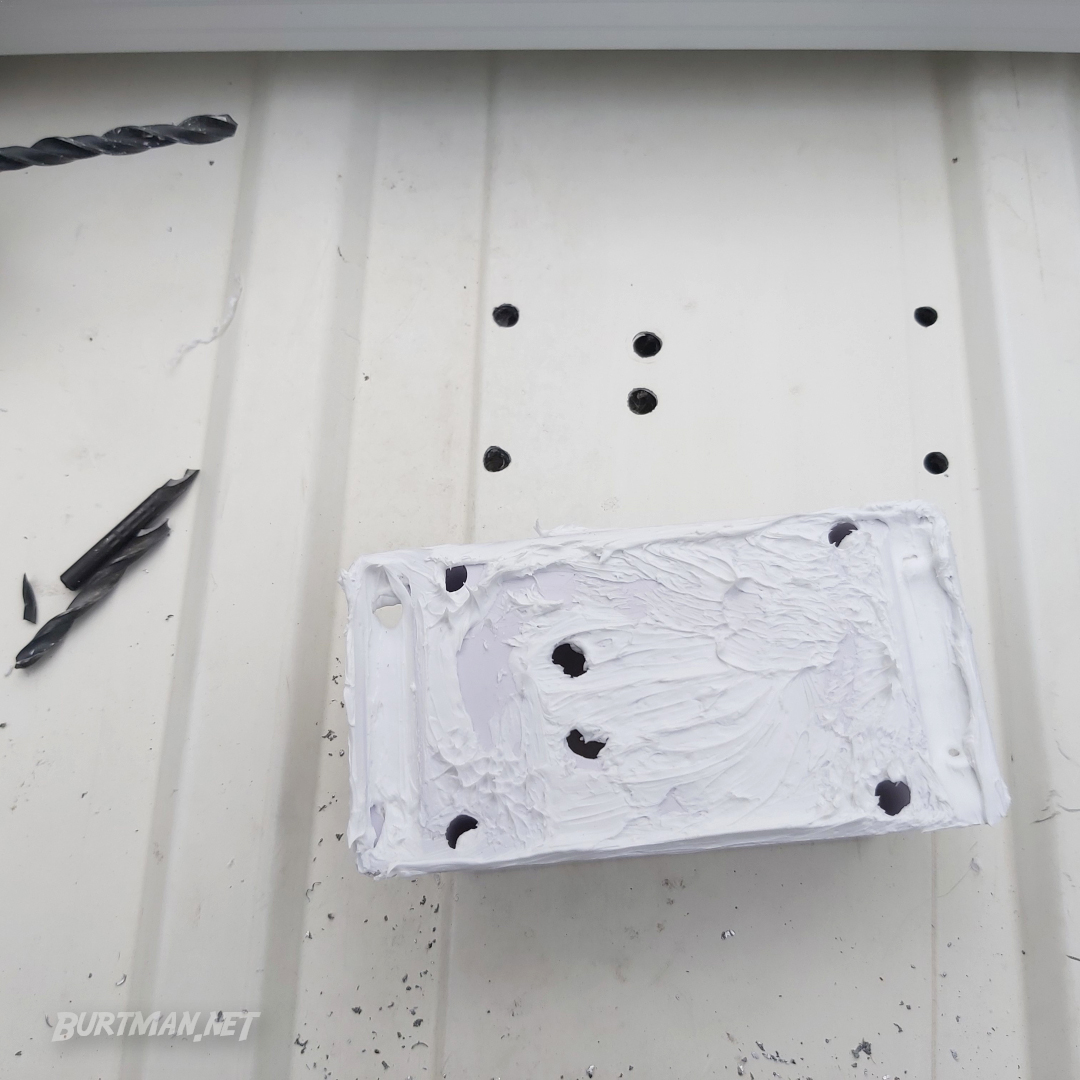
A junction box showing its four mounting holes and two power cable holes, cut at an angle to relieve cable strain.
3. Thread The Cable
Once the cable holes are drilled, clear away any swarf (metal and plastic shavings from drilling) and thread the cables through the cable ports in the side of the junction box, keeping cable tension to a minimum. You might need to unscrew the cable ports a bit in order to allow the cables to move easily through them. With the cables fully pulled through, you can now push them through the roof. You might need to carefully twist the cables as you come to the ends, in order to get them through the roof without pressure.
Next, you can carefully thread the power cables along the desired path inside the van, until they reach down to the charge controller. Allow for extra slack to be taken up by whatever brackets you may have in place to keep the cables in position. Do not cut the charging cable until it is ready to be connected. Only then will you know how much shorter it needs to be.
The bolts on the underside of the junction box will need to be tightened firmly. I used two nuts on each bolt to lock them up and then applied a blob of sealant to make sure the holes were completely water-tight.
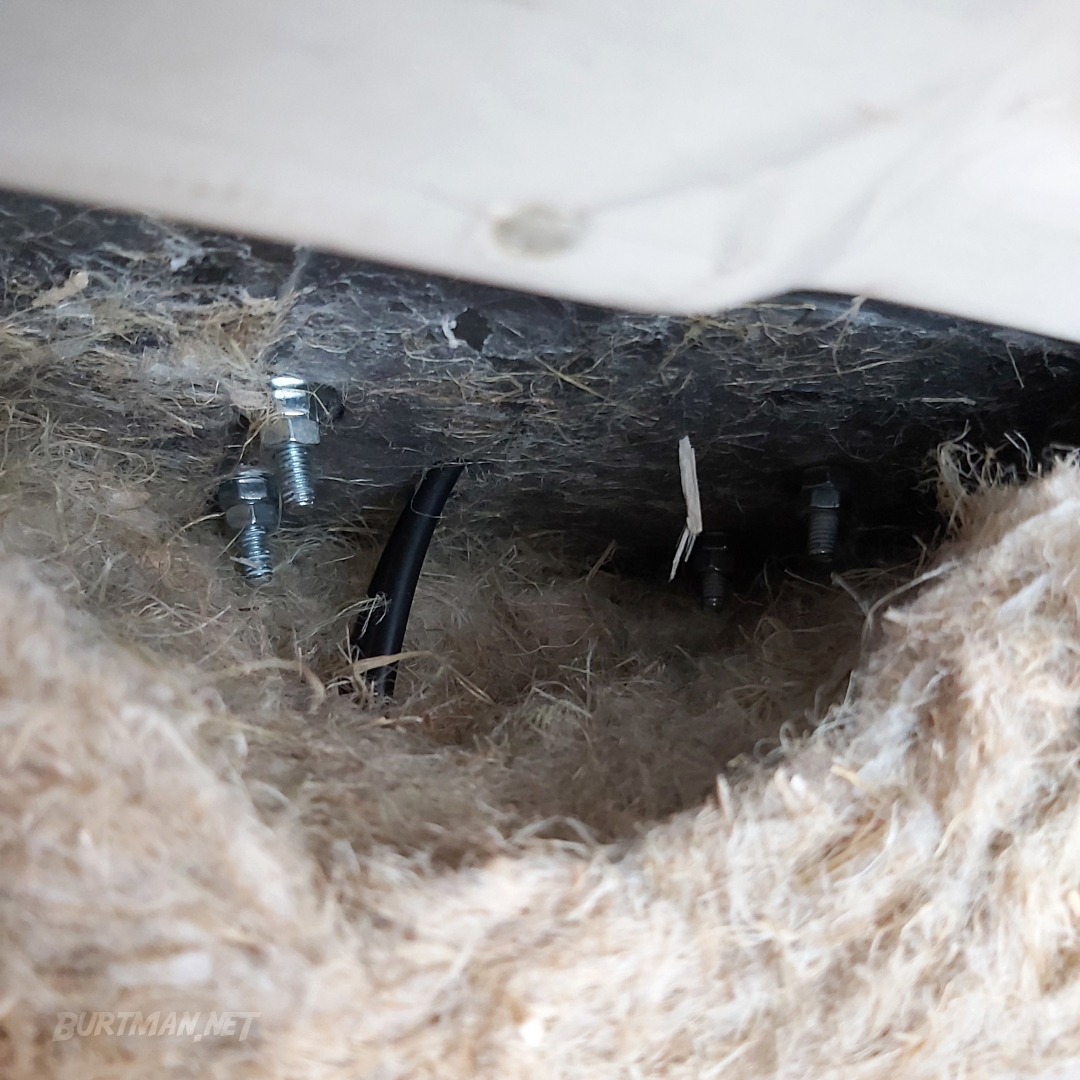
Junction box mounting bolts with two nuts each for security and vibration resistance.