
Change Coolant / Anti-freeze
Do Your Own Annual Service (Part 5 Of 5)
 Maintaining Your Van
 Read around 700 times
 For Everyone
Updated:
Engine coolant circulates around the engine, drawing heat, which it dissipates through the radiator. Replacing it is easy.
Drain Old Coolant
1. Place a bucket beneath the radiator.
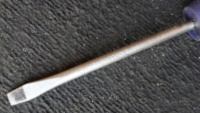
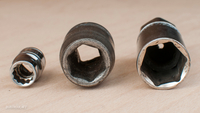
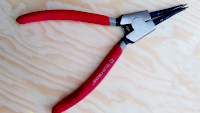
2. Locate the lowest hose going into the radiator. Depending on the type of fastener used on this part of your van, you may need to use a  Flat Head Screwdriver, Socket, or Circlip Remover, to remove it.
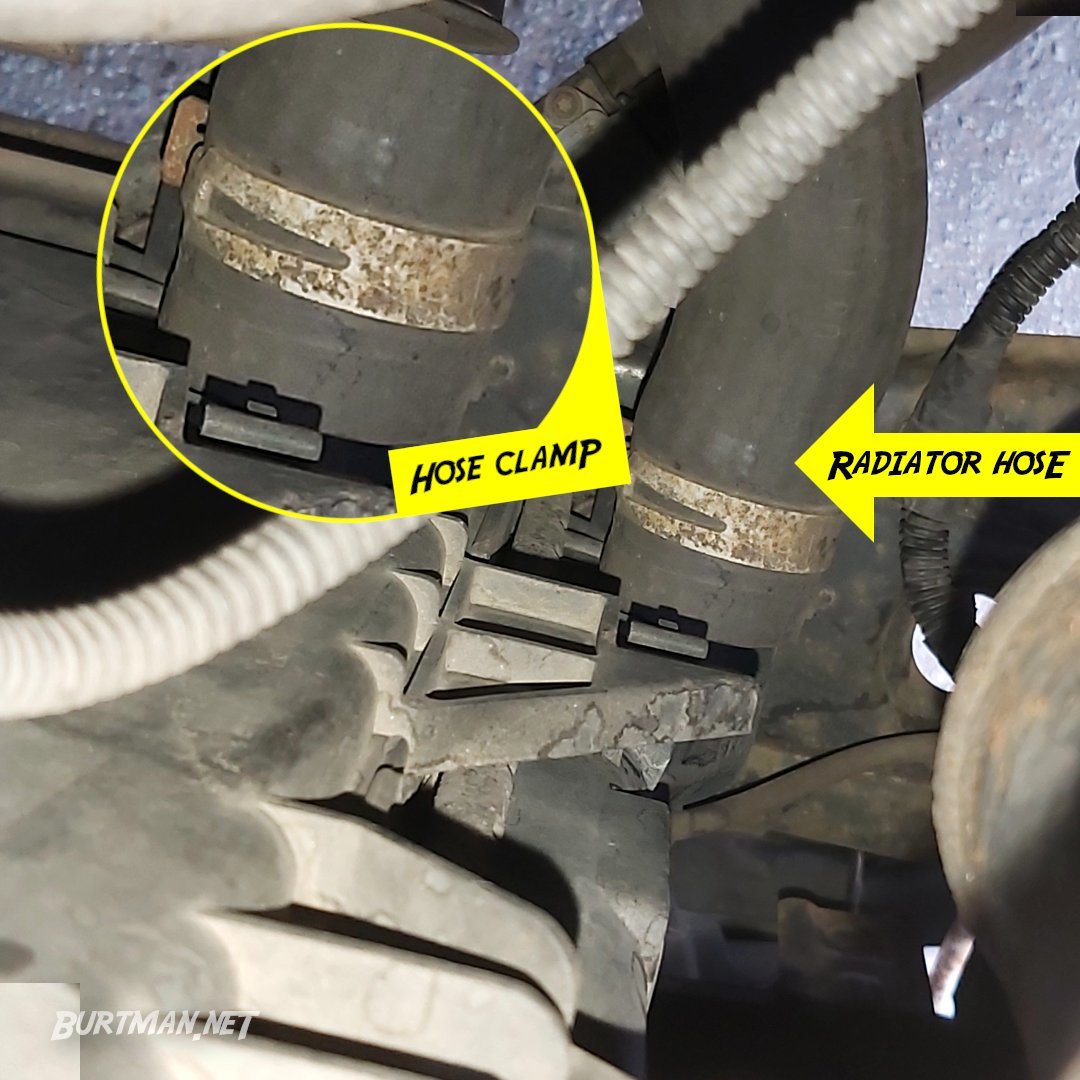
Lowest radiator hose and its fastener
NOT the radiator hose. This is the intercooler, which sits below the radiator. Don't confuse them.
3. Once the fastener is removed, wiggle the hose from side to side, while pulling it away from the radiator. If there's anything you can hurt yourself on in the vicinity (such as another clip, screw or other sharp item), take it into account, as you pull the hose, because the hose can be difficult to remove, and may pop off suddenly, causing your hand to whack into the nearest surface.
4. Let all of the water drain into the bucket. You might need to hold the hose in position, so that the water goes where you want it.
5. When there's no more water coming out of the hose or radiator, reverse the above steps, to refit the hose. Make sure it is tightly secured and cannot become disconnected.
Replace Coolant
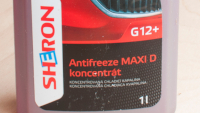
Check your van's manual, to make sure that you use the correct coolant for your engine. Some coolant needs to be mixed with water and some is already mixed. Check the container before use.
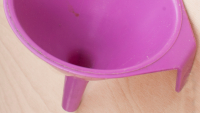
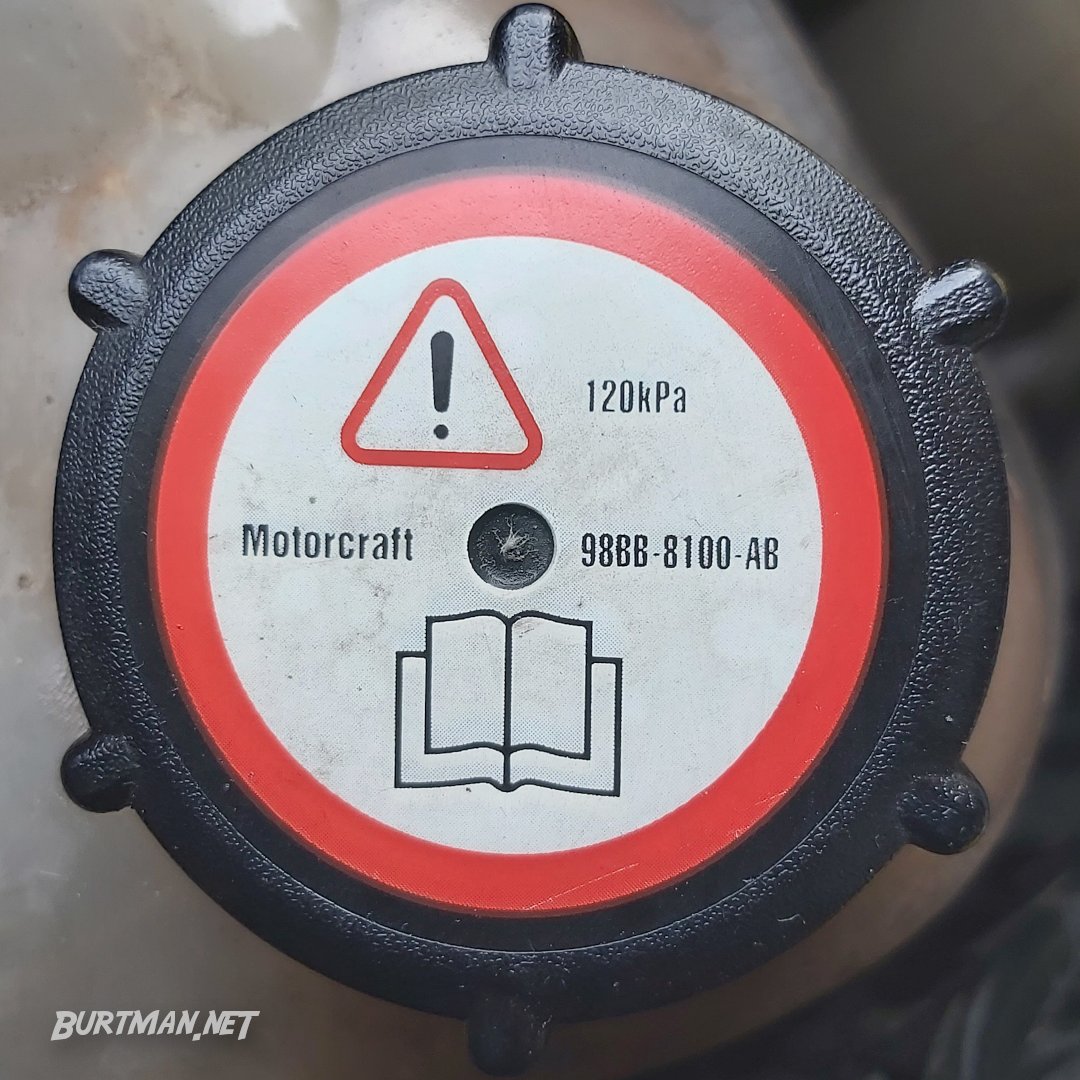
1. Locate the coolant filler cap. It looks like this:
2. Unscrew the cap by hand. If you are only topping up the coolant, and have not removed the hose, as in the above step, then do not remove the cap completely. Instead, loosen it until you hear a gush of air, then wait for that sound to stop before removing the cap completely.
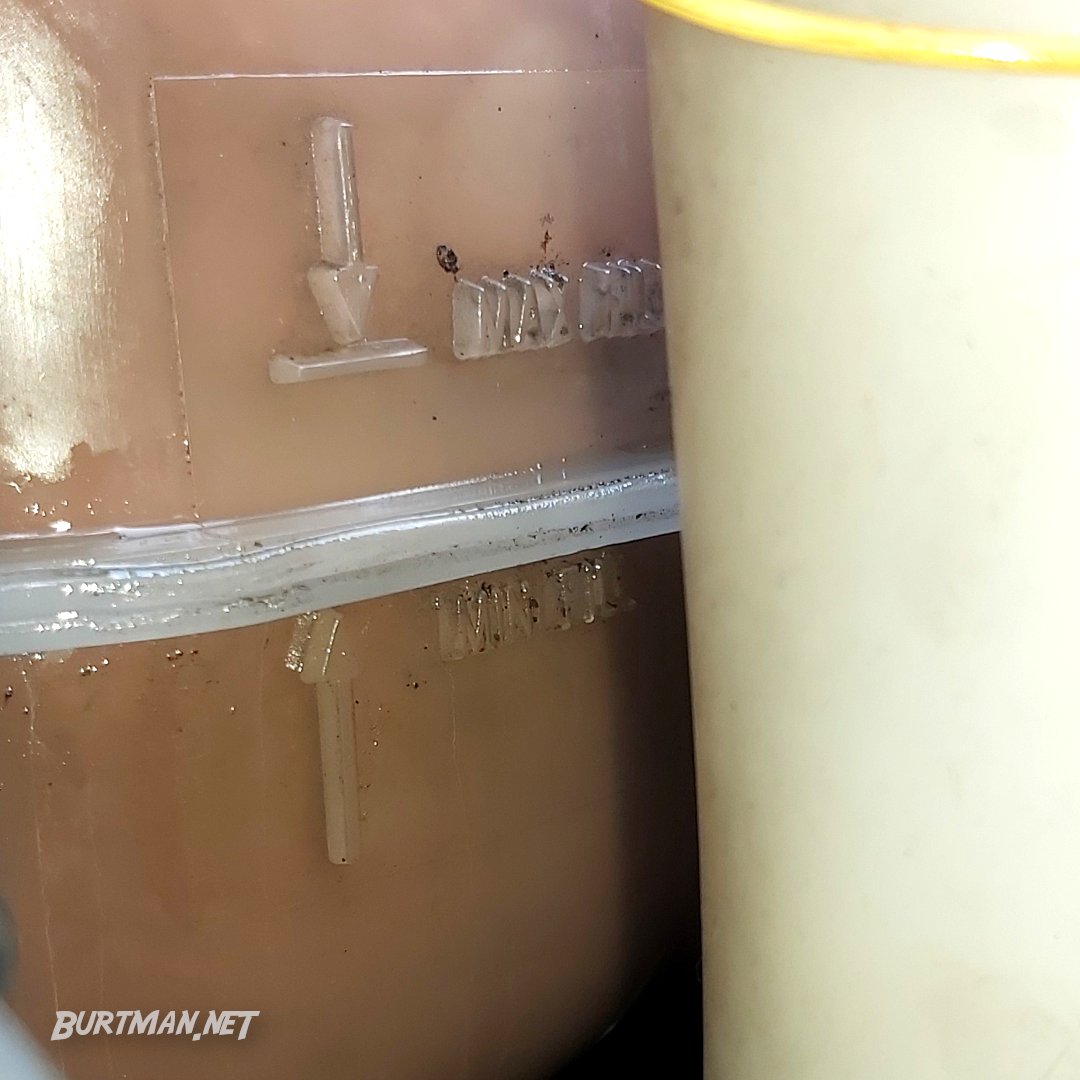
3. Use a Funnel to pour your properly-mixed Antifreeze into the coolant tank, until it reaches the maximum level indicated on the side of the tank.
4. Replace the filler cap and tighten by hand.