Disc Brakes
Change Brake Pads (Part 1 Of 3)
 Maintaining Your Van
 Read around 2,600 times
 For Everyone
Updated:
If your brakes are spongy, you may have air in the system, or you may be overdue a fluid change. In that case, go to the ![]() Change Brake Pads:3, to change your fluid and remove any air from the brake lines.
Change Brake Pads:3, to change your fluid and remove any air from the brake lines.
Ok, you're still here, so you've decided your pads need changing. There are two main ways you can tell when you need to change your brake pads; The first is when they start screeching like a banshee, and the second is when you fly off a mountain because they don't work at all. In the ideal conditions, you will usually change them somewhere between the two.
The disc and pad setup is common on modern vehicles but many vans continue to use drum brakes on the rear wheels, so this part of the guide will probably only see you through changing the front brakes. The second part is coming early next week.
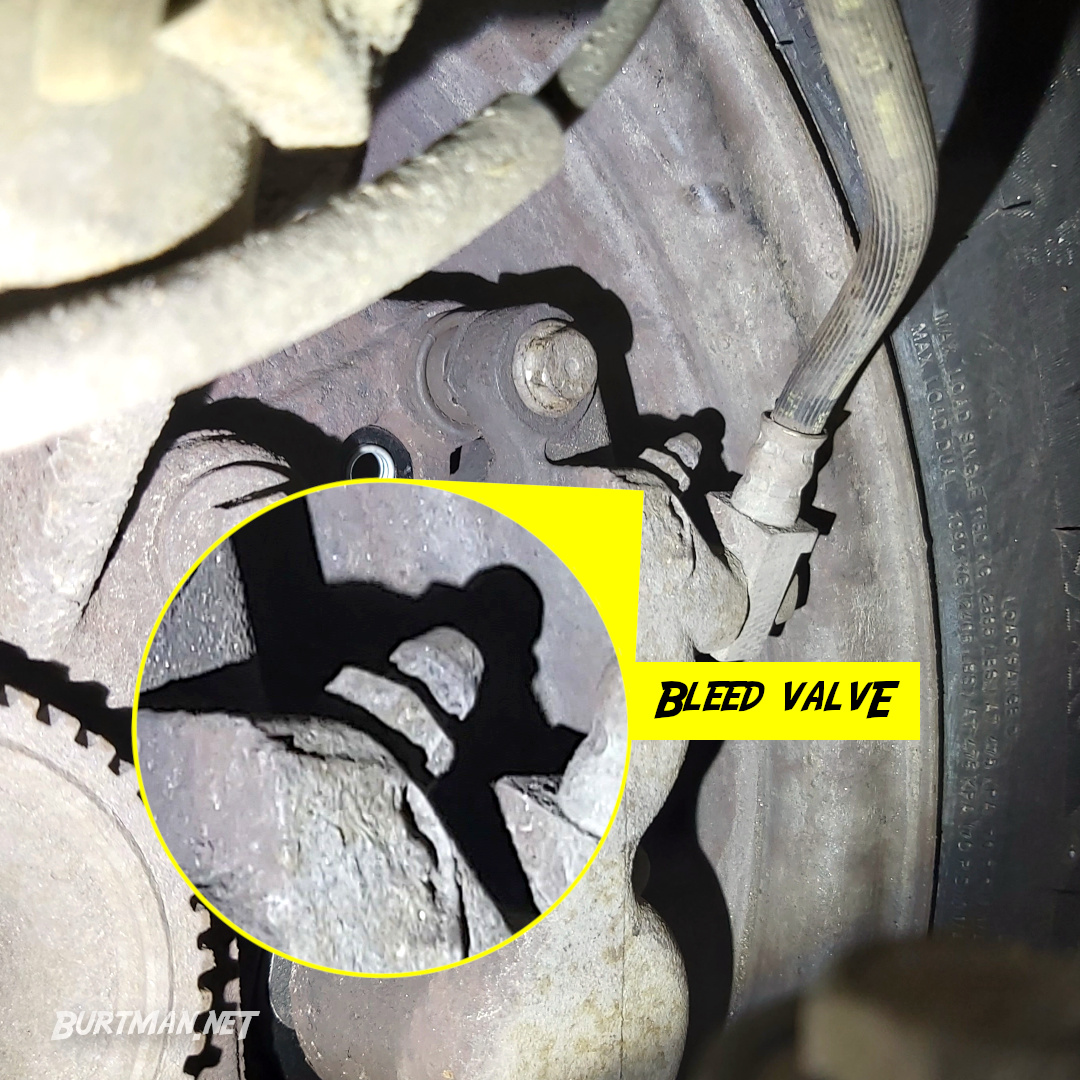
Before you start, ![]() Bleed The Brakes / Change Brake Fluid. This will later be connected to the bleed screw and you'll use the bottle to catch excess brake fluid when you compress the brake pistons.
Bleed The Brakes / Change Brake Fluid. This will later be connected to the bleed screw and you'll use the bottle to catch excess brake fluid when you compress the brake pistons.
1: Follow my guide for ![]() How To Change A Wheel, until your wheel is off safely.
How To Change A Wheel, until your wheel is off safely.
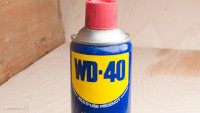
2: Spray some WD on the caliper bolts if they are rusty. It'll help tremendously. Try not to get it on the disc (but don't worry, we'll clean it off later, anyway).
WD40 is always going to be your friend.
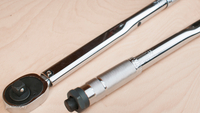
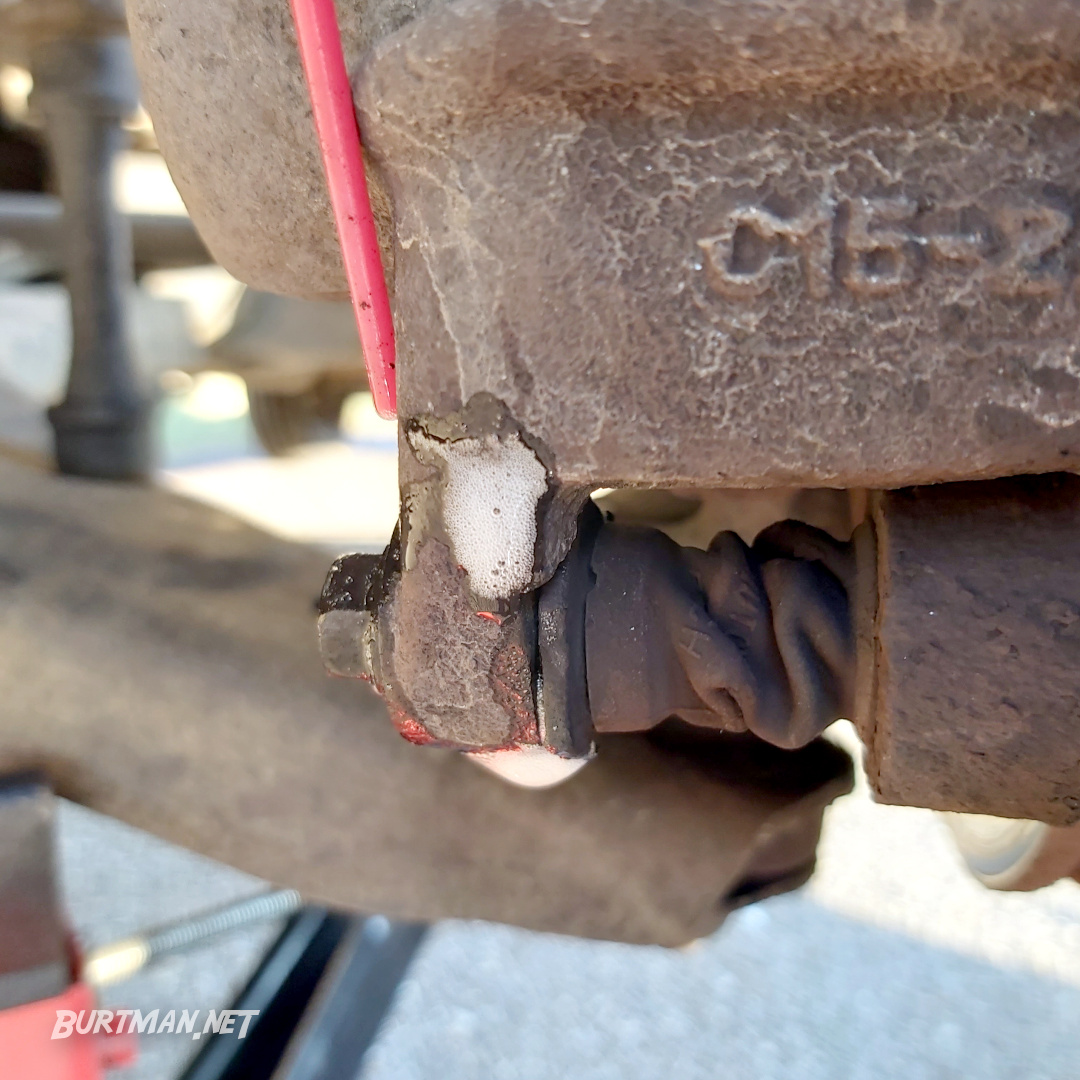
3. Find the correct socket size (mine are 13mm up top and 12mm at the bottom - different size prevents calipers being fitted on the wrong side). You may need to use an adjustable wrench to hold the receiver in place, otherwise it will rotate with the bolt and nothing will be achieved. Remove the caliper bolts and swing (or hammer) the caliper out of the way to reveal the break pads. It is usually possible to remove only the top bolt, then swing the caliper down. If the caliper is really stuck or for some other reason, you want to remove the caliper completely, those steps are below.
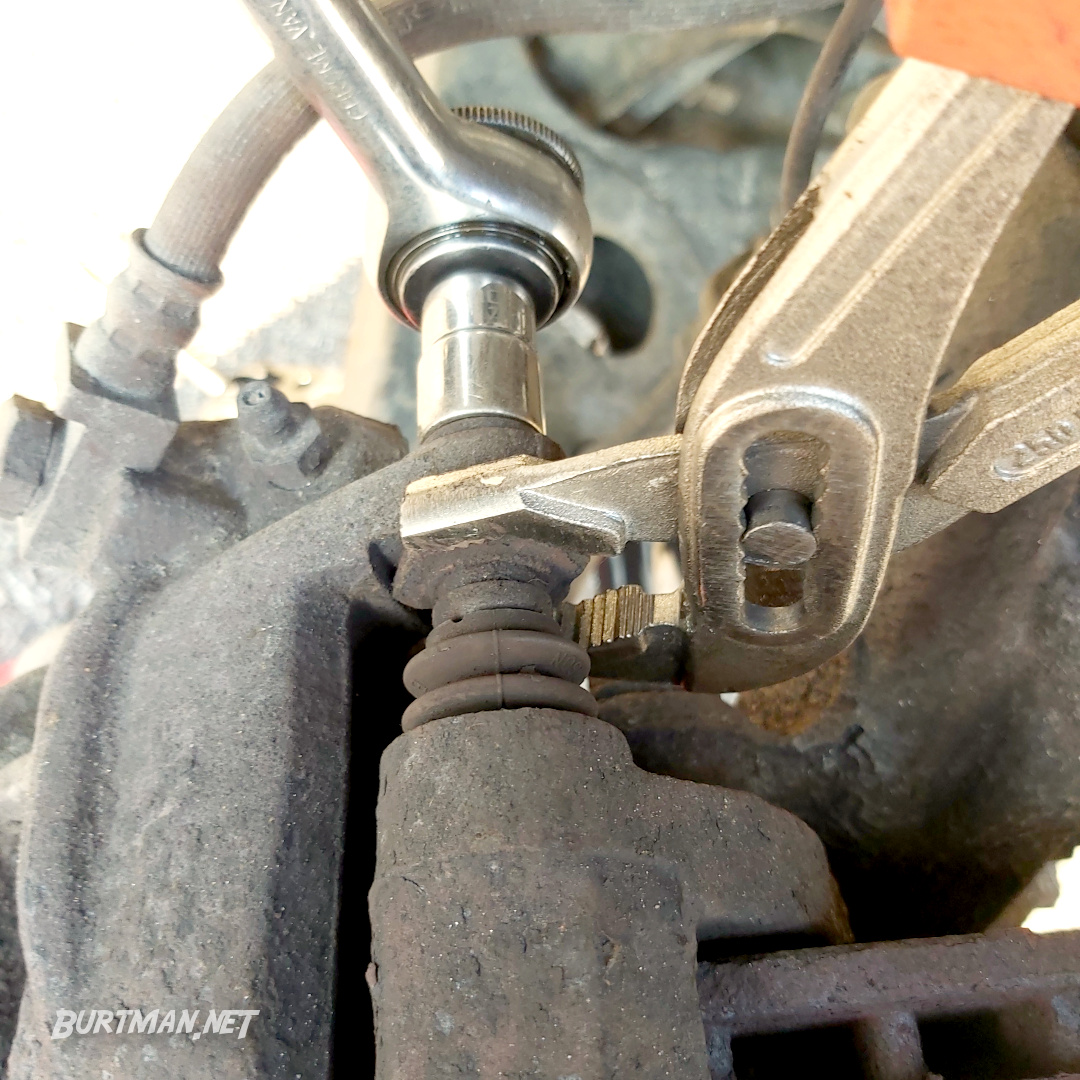
The receiver is a thin hexagonal nut. It might need to be held in place as you turn the bolts.
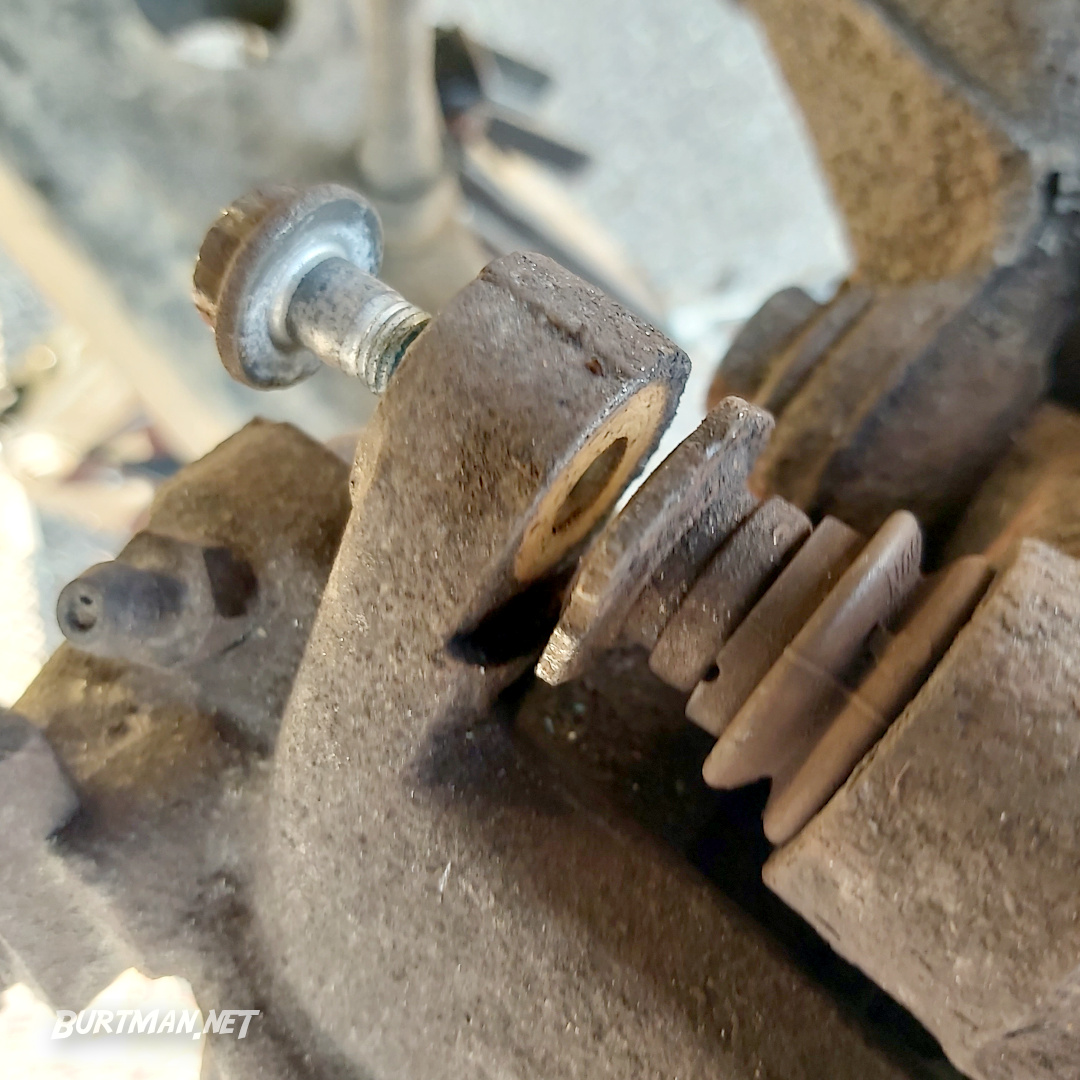
The bolts come out about this far and then can be pulled out by hand.
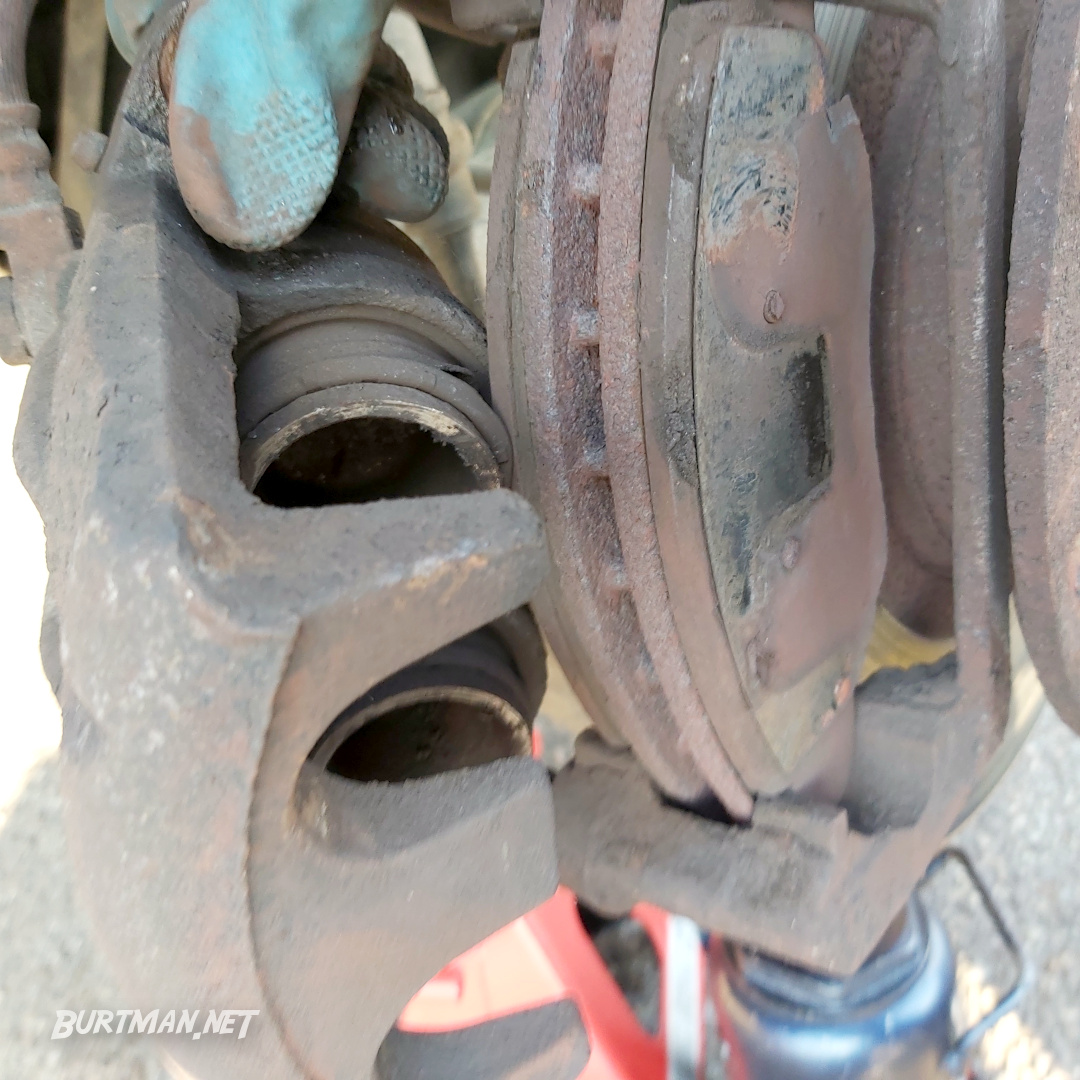
The caliper comes off easily once it's freed up.
Rest the caliper on the wishbone to take pressure off the brake pipe.
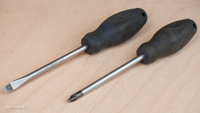
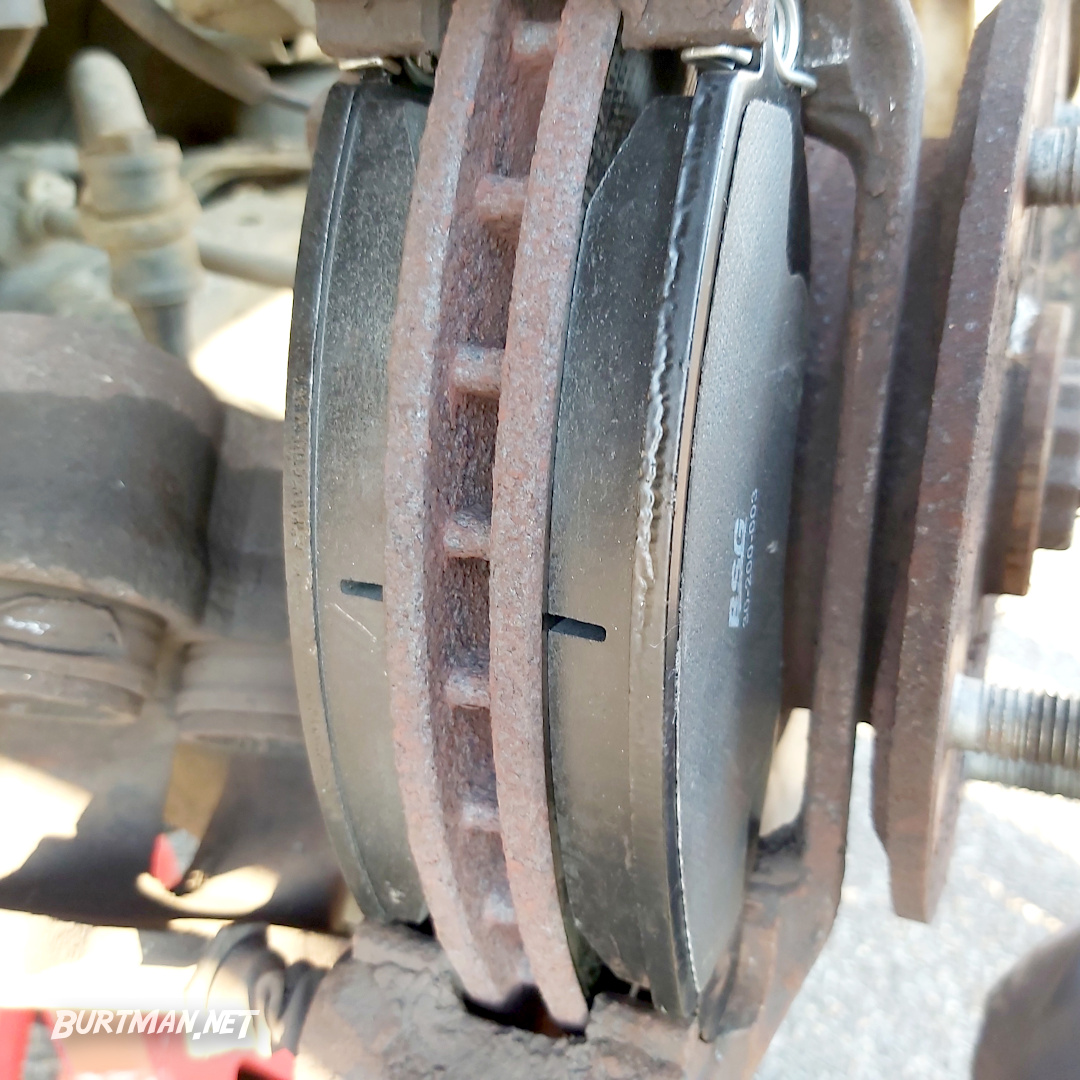
4: The old pads can be pulled out by hand. If they are stuck, use a flat blade screwdriver, but BE CAREFUL - you're in finger-slicin' territory, now.
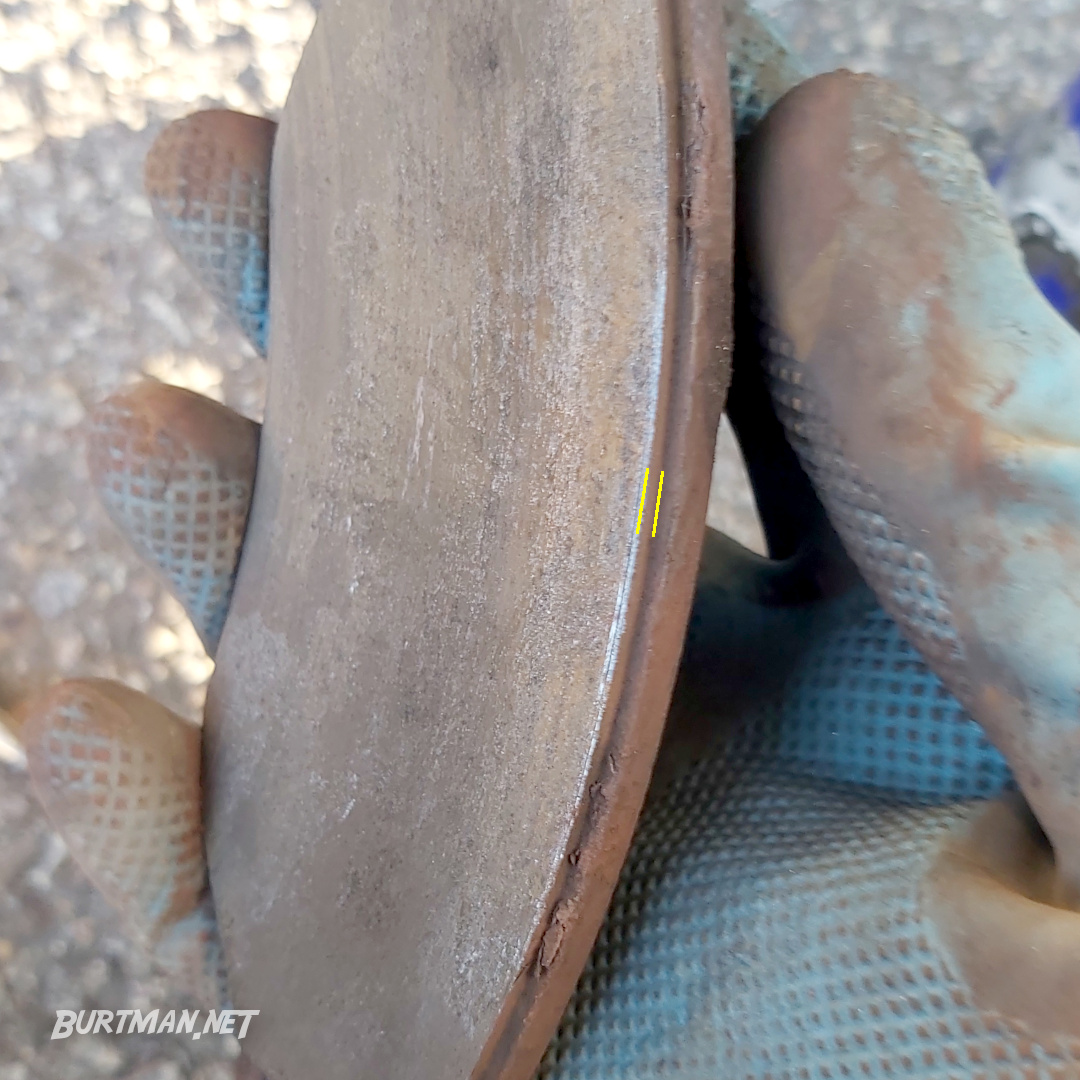
These old pads are pretty close to the end.
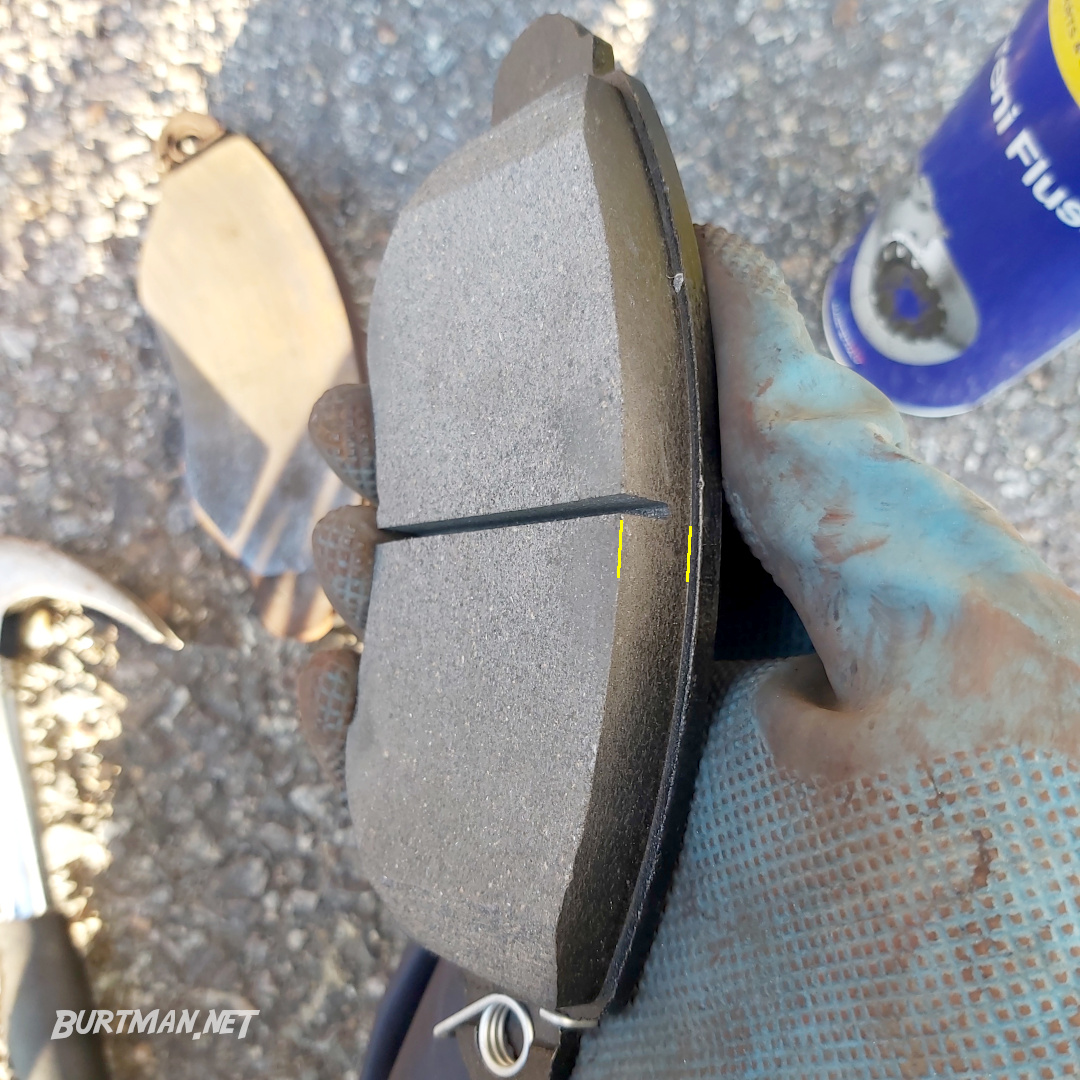
New pads have quite a bit of material on 'em.
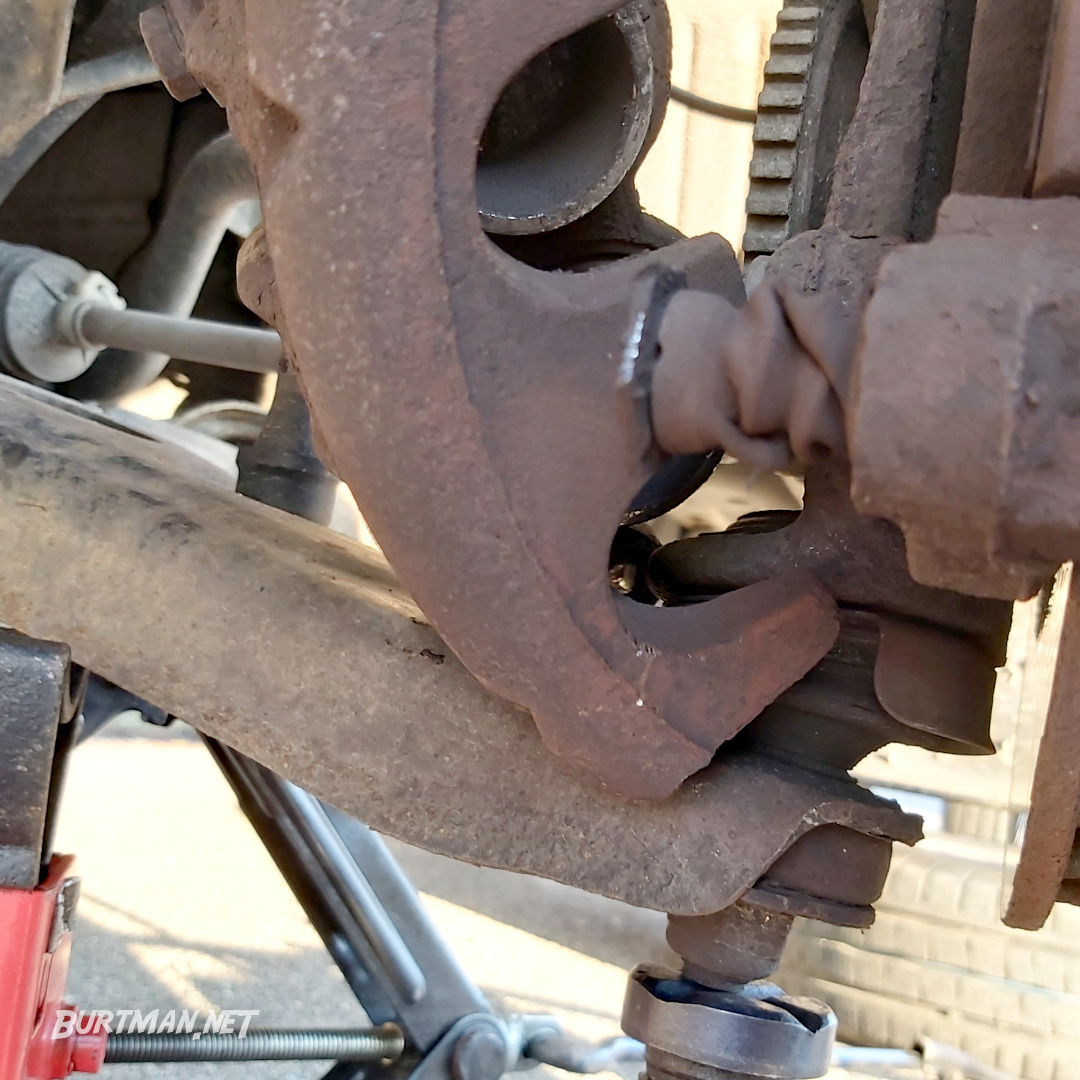
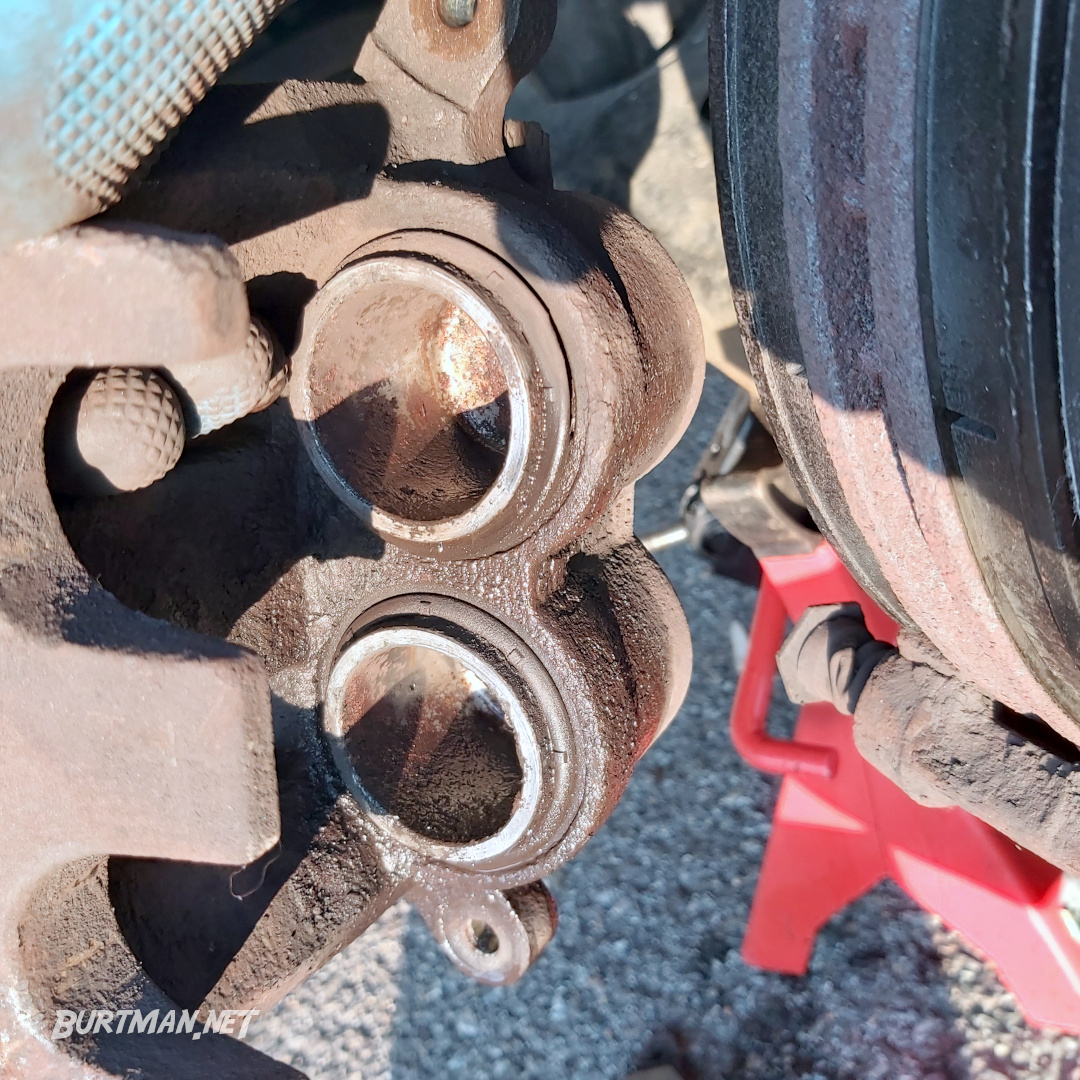
5. Take a look at the state of the caliper. You might find wear that could do with some attention.

We'll overlook this for now.
6. Spray the brake rotor (disc) on both sides with brake cleaner, then seat the new brake pads carefully into the frame.
New pads fitted.
7. Pop the hood and remove the cap from the brake fluid reservoir. The new pads being significantly thicker than the old ones means that the caliper won't fit back in place without first compressing the piston(s). This will push brake fluid back up into the reservoir, which will then overflow. You can buy a tool for compressing the pistons, but anything that squashes stuff will do the job.
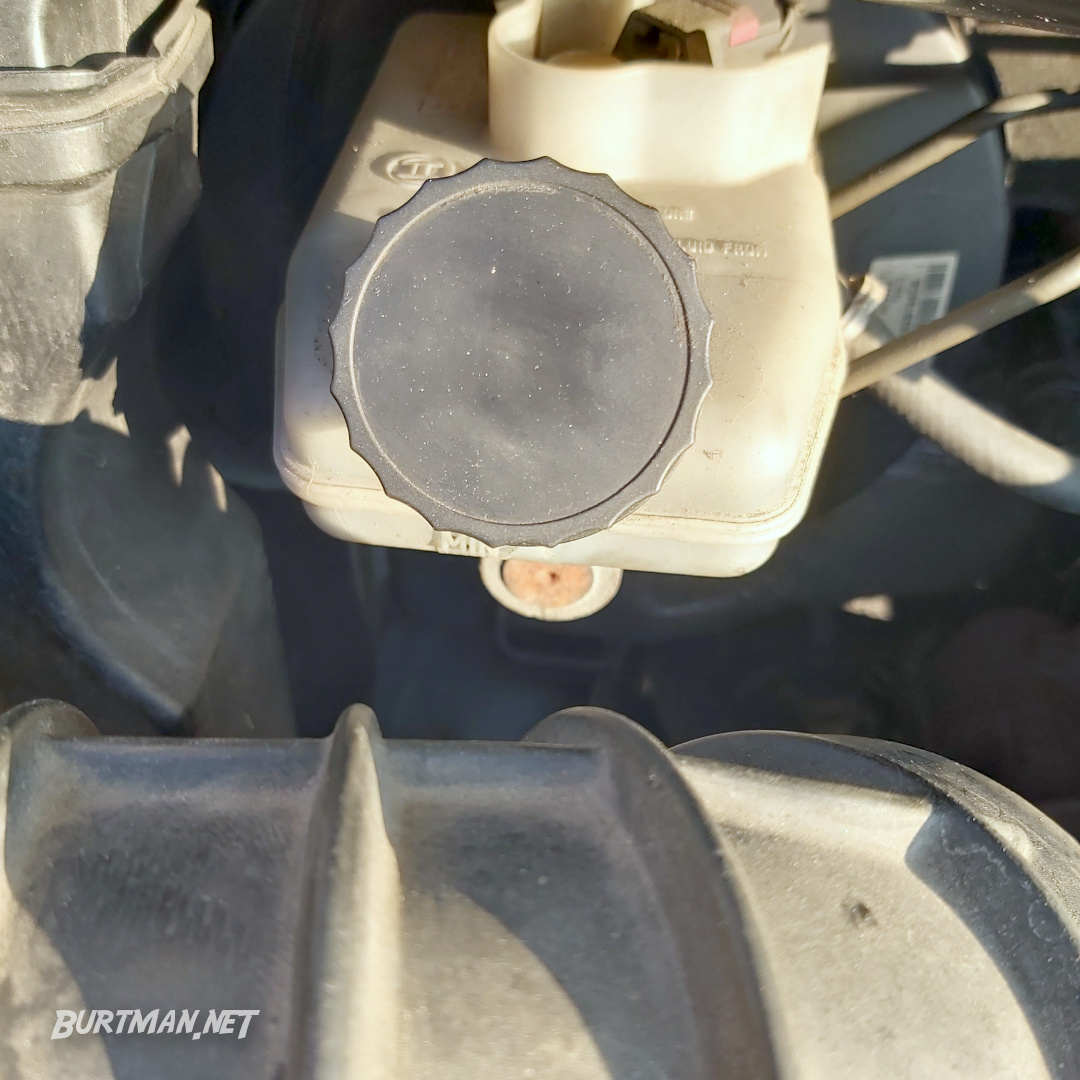
Brake fluid reservoir.
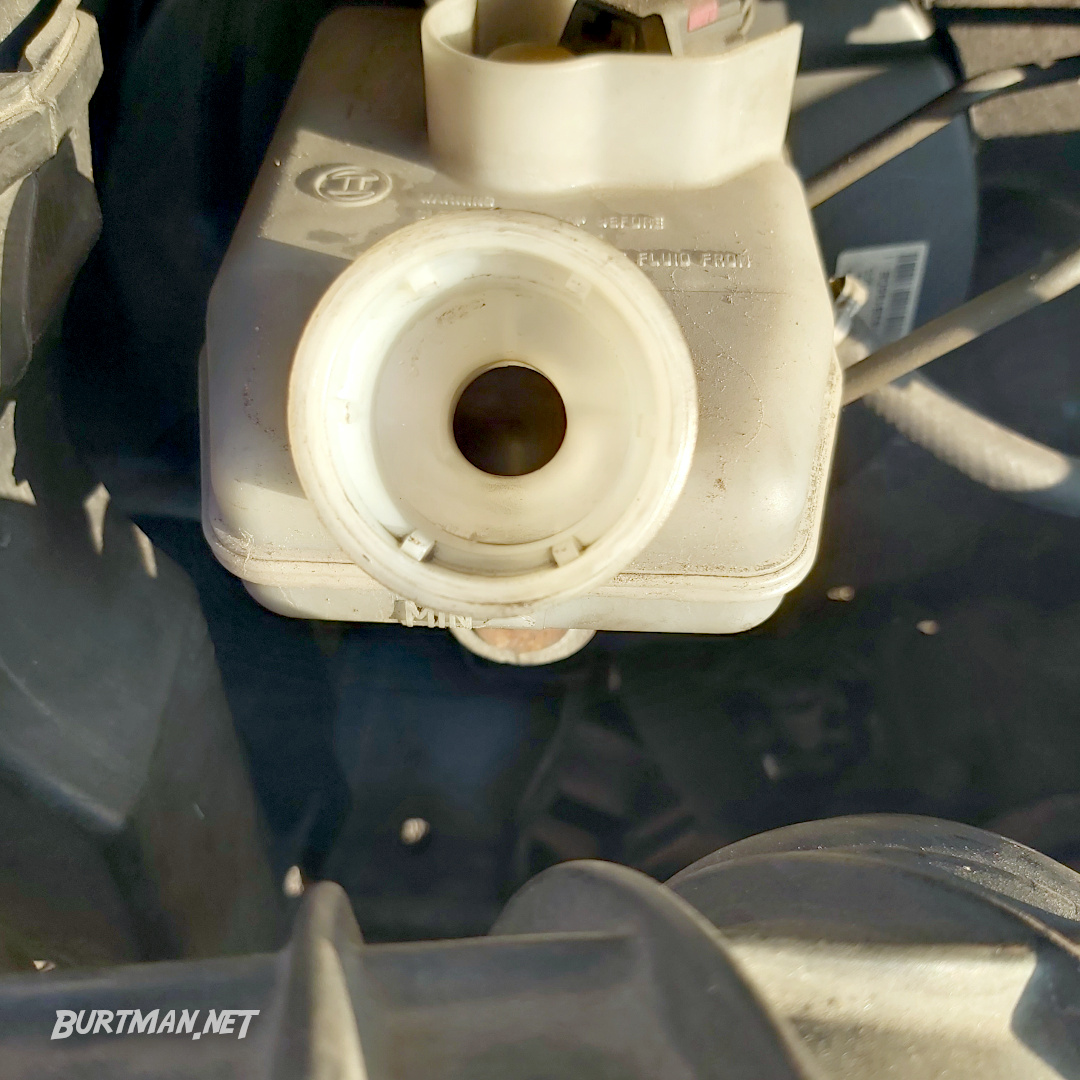
Cap removed.
8. Attach the draining tool you rigged up earlier to the bleed valve on the back of the caliper, then loosen the valve. This will catch the excess brake fluid and save you cleaning the driveway.
If you're not sure you need to do this, have a look at ![]() Overhaul Brake Master Cylinder, to see what could happen if you don't.
Overhaul Brake Master Cylinder, to see what could happen if you don't.
9. Get creative. Squash those pistons all the way into the caliper by any (non-stupid) means. The brake fluid in the caliper will drain into the bottle.
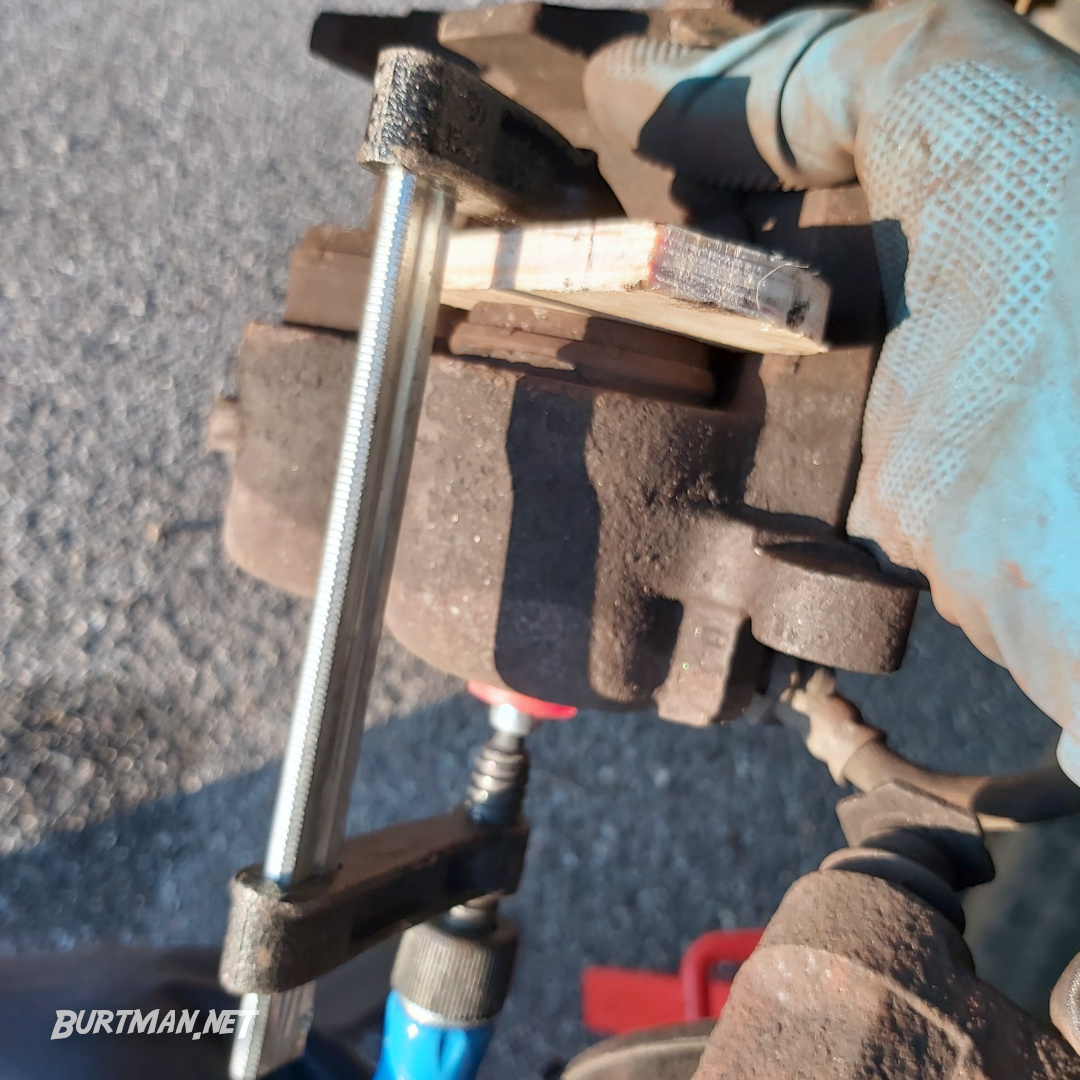
A wood clamp does the job nicely.
One piston compressed and one not - just to illustrate how far you need to compress them.
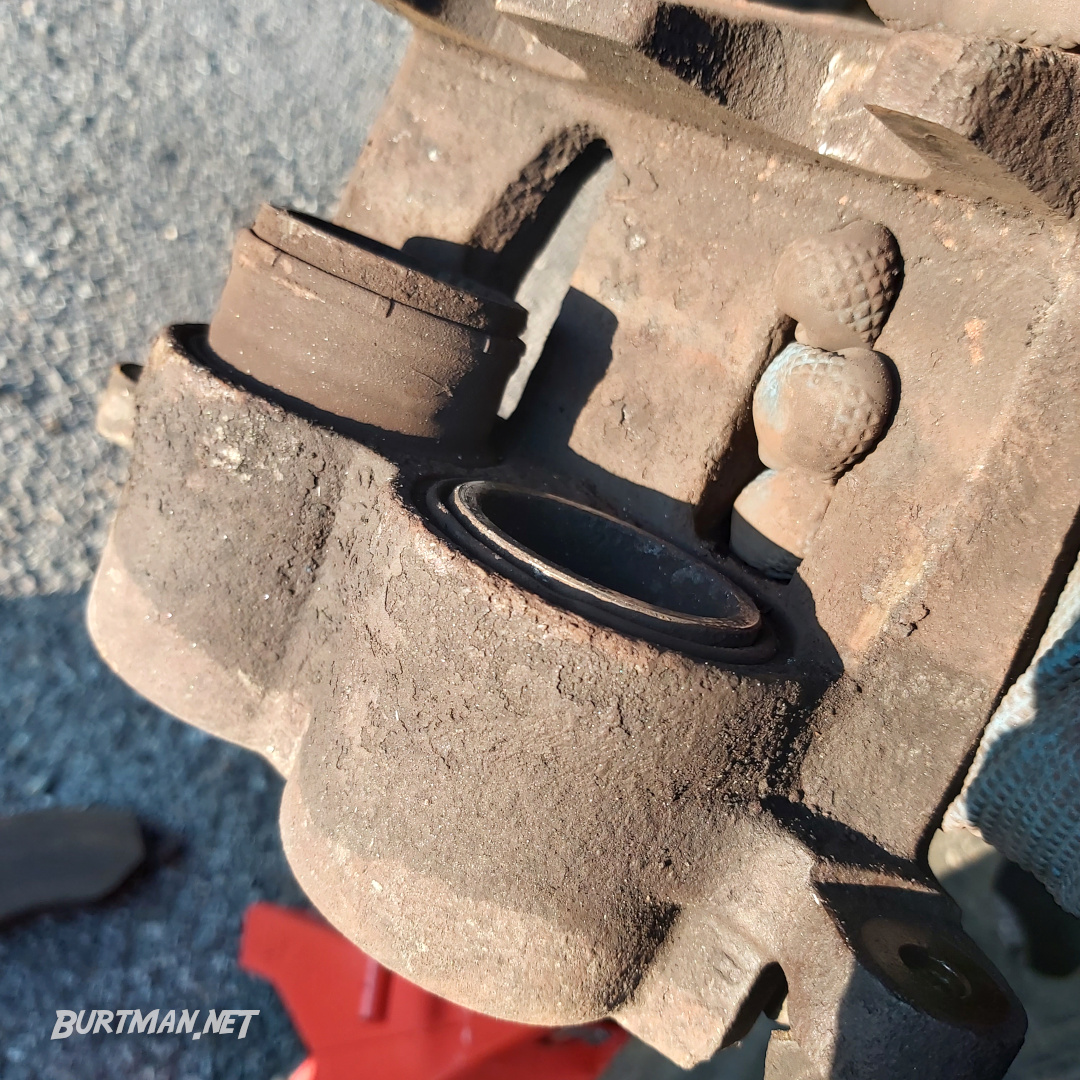
Both pistons compressed (for your OCD).
If you spill any brake anywhere, you can clean it off with brake cleaner, after you finish the job. Make sure not to leave brake fluid on rubber or painted surfaces, in particular, as it will eat away at them.
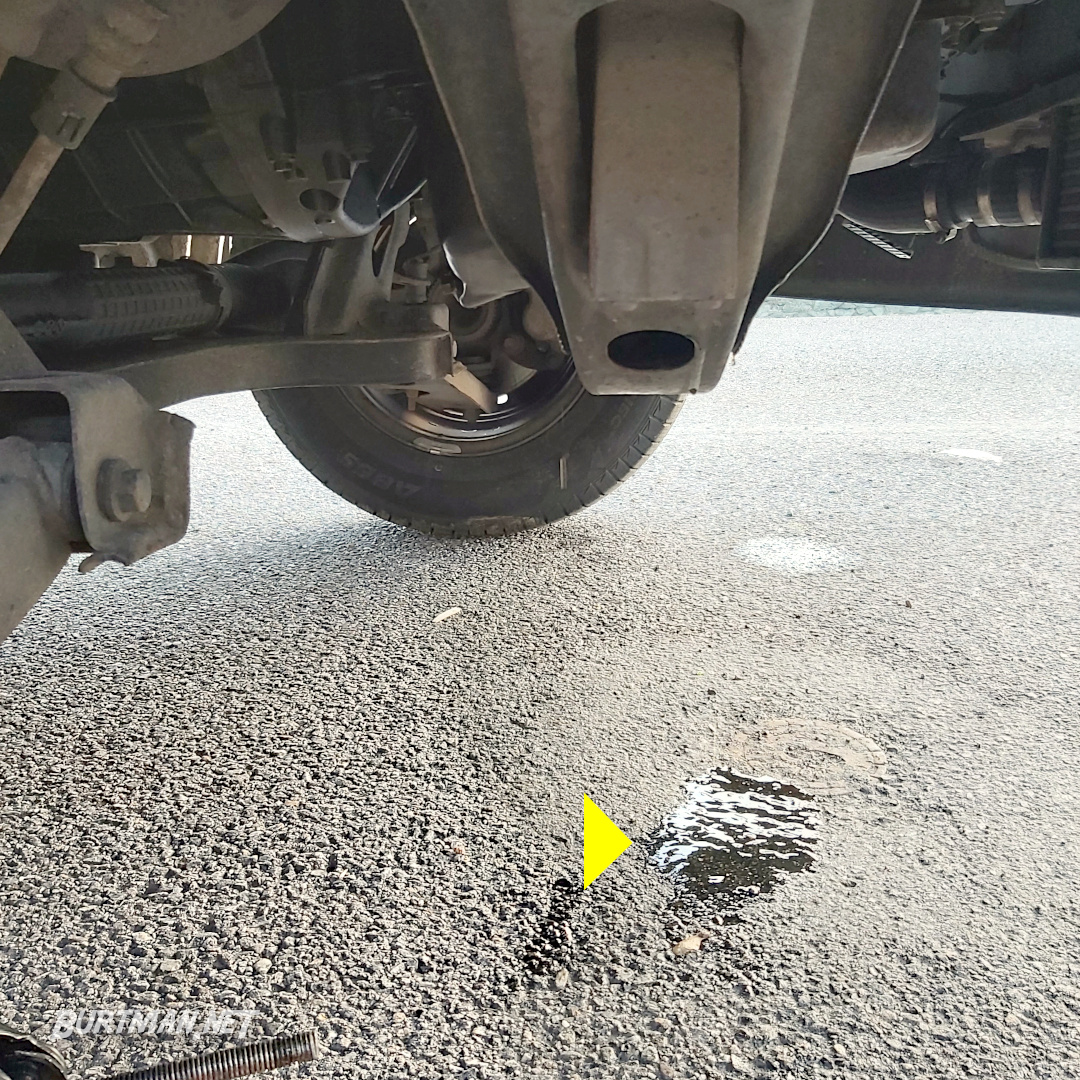
Ooooh. You got some cleanin' to do.
10. Once the pistons are compressed, slide the caliper back over the top of the brake pads and secure it with the bolts you took out in the beginning. Make sure not to over-tighten the bolts, or they may snap or become weak. A weak caliper bolt can cause the caliper to fall off during operation, leaving you with no brakes.
11. With the caliper securely refitted, pump the brakes a couple of times. You should find the brake pedal nice and firm. Now make sure the brake fluid level is topped up to the maximum line and refit the cap.
12. Now go back to the ![]() How To Change A Wheel, and refit the wheel.
How To Change A Wheel, and refit the wheel.
You shouldn't need to bleed the brakes after this job. Just take the van for a careful test drive and make sure to pump the brakes a lot to get the pressure back behind the brake pads.
Sign In To Leave A Comment
There are no comments marked as public for this item.
Stay Up To Date