Hacking Out A Chair
Updated:
Lesson learned from king size bed: Everything will live on the bed. It's gotta go. Well, it's gotta change, anyway.
For this part of the rebuild, I thought about the way I like to sit by the side door and look out over the view, ideally with a game of cards and a cuppa. This would require a small table of some sort, and seats with legroom independent from the bed.
And thus, the viewer's lounge was born.
The bed base was two long storage trunks, essentially. Great for storage and fine for supporting the king sized mattress that had to be trimmed to fit inside the van, but all that had to change. I set about removing the center of the outside trunk to make a small walkway that would serve as both, legroom for the seats, and an entryway to the living space from the side - an endeavor that, until now, hasn't been without great difficulty and frustration, owing to the height of the mattress compares to the outside ground (well over a meter).
For reference, from Mark 3, the full length bench before the rethink.
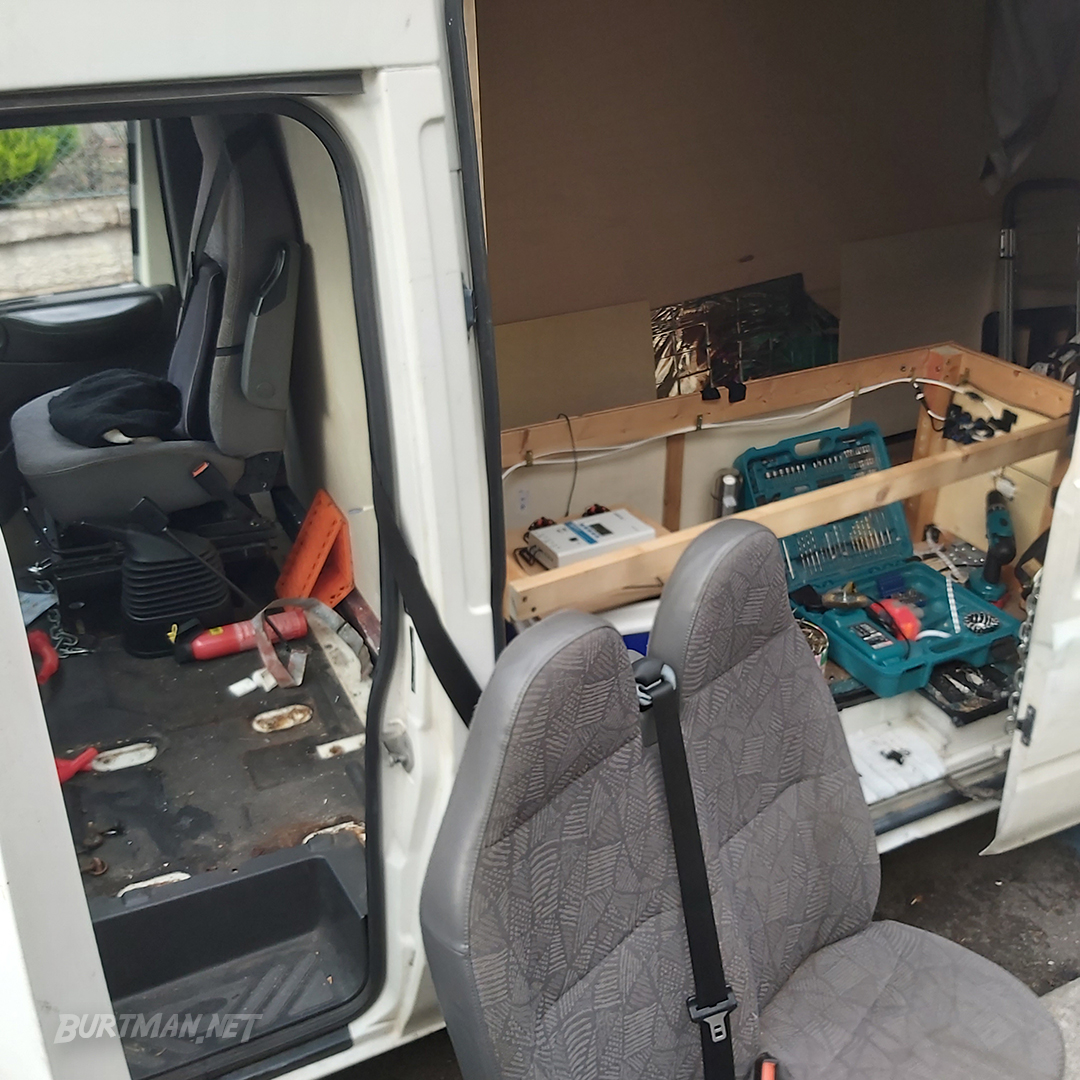
A long storage area for many, many beans and obscene amounts of tat.
The new design looks a bit like this:
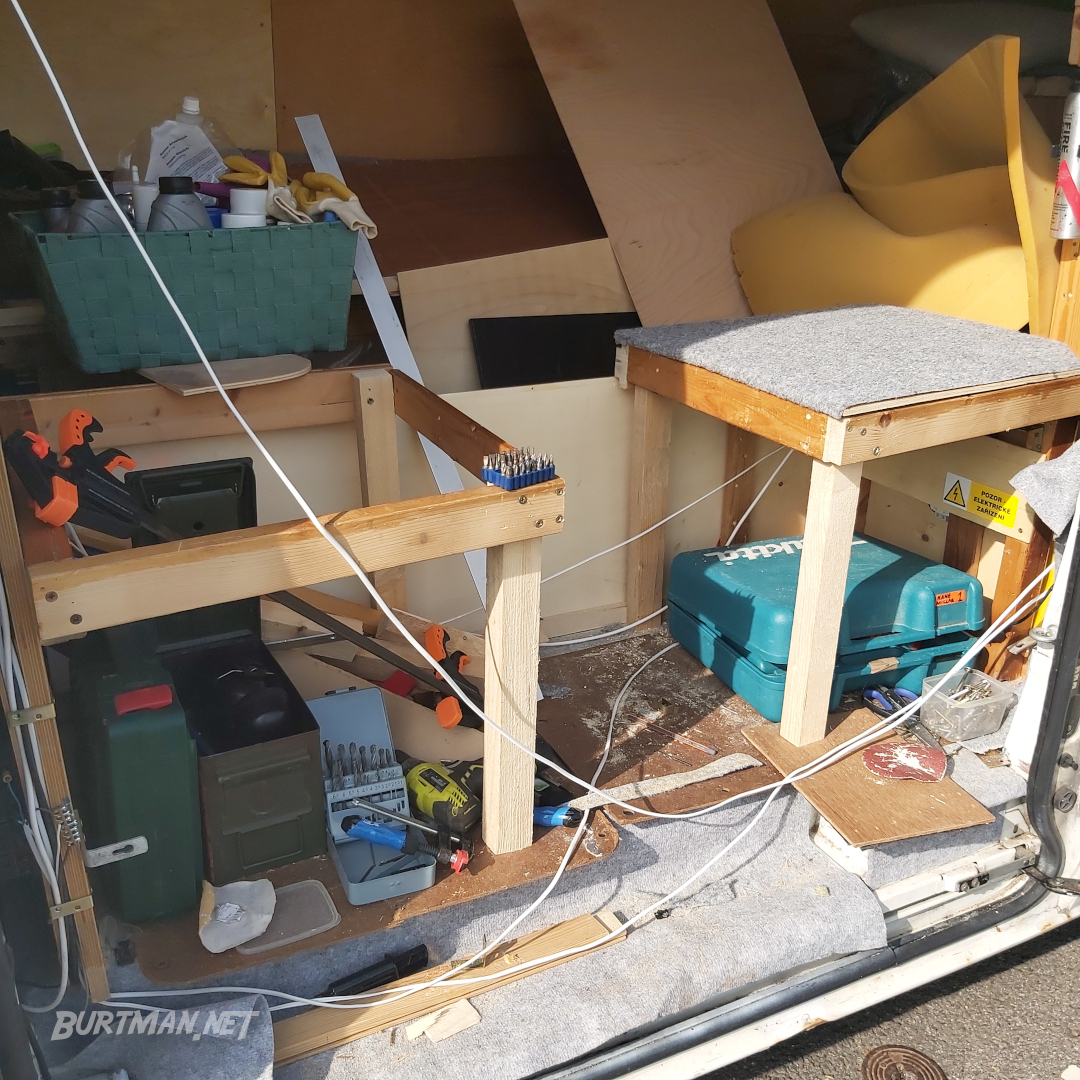
With the center of the frame removed, there would need to be more frame supports and all the power socket wiring would need to be extended by a meter or so and run down to the floor, along the step and back up to the sockets. It was previously running along the underside of the storage bench (see first image).
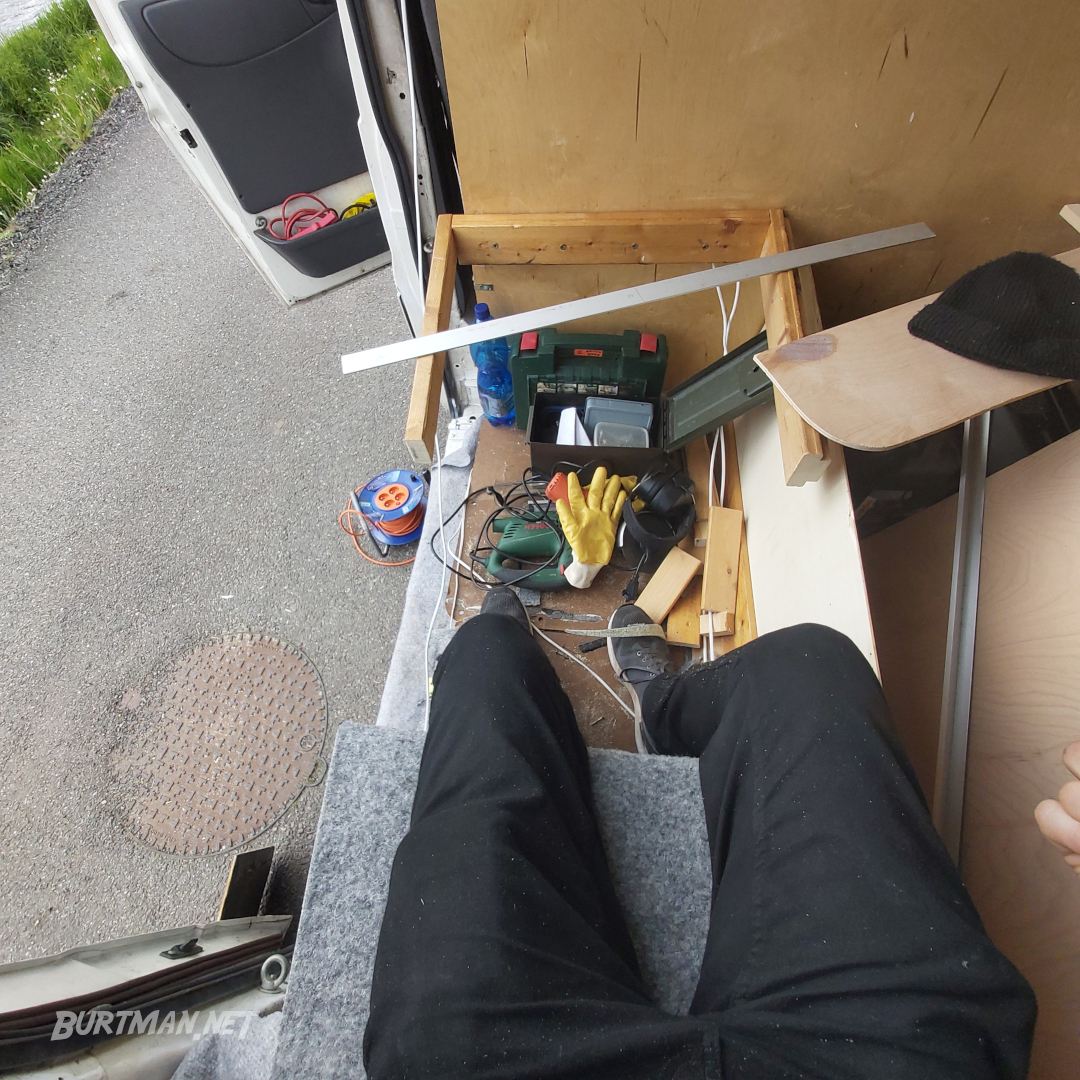
Trying out the seating.

General overview of the area. The central walkway and the trunk on the right make up the bed base with the help of a folding caravan table (not pictured).
With the new seats built, I began addressing the storage sections below, and decided that an exterior wall was required in order to contain the items in those areas, since they currently slide out when the side door is opened. The wall would serve other purposes, too, like providing an element of privacy (it feels quite exposed sitting on the seats with the side door open), and enclosing the new cable trunk, which connects all the important devices to the switch panel at the top of the divider (top left in this image).
Before I did too much more, I fitted a new flooring section to provide a solid base for the seats and wall. It would also make the area more heavy duty, since it would become the main area where feet would fall, and I intend to join it to a raised floor in the center for storing various bulky things like a 20kg dog food bag and all the leads, harnesses, toys and other dog-related paraphernalia that having a fluffy companion requires.
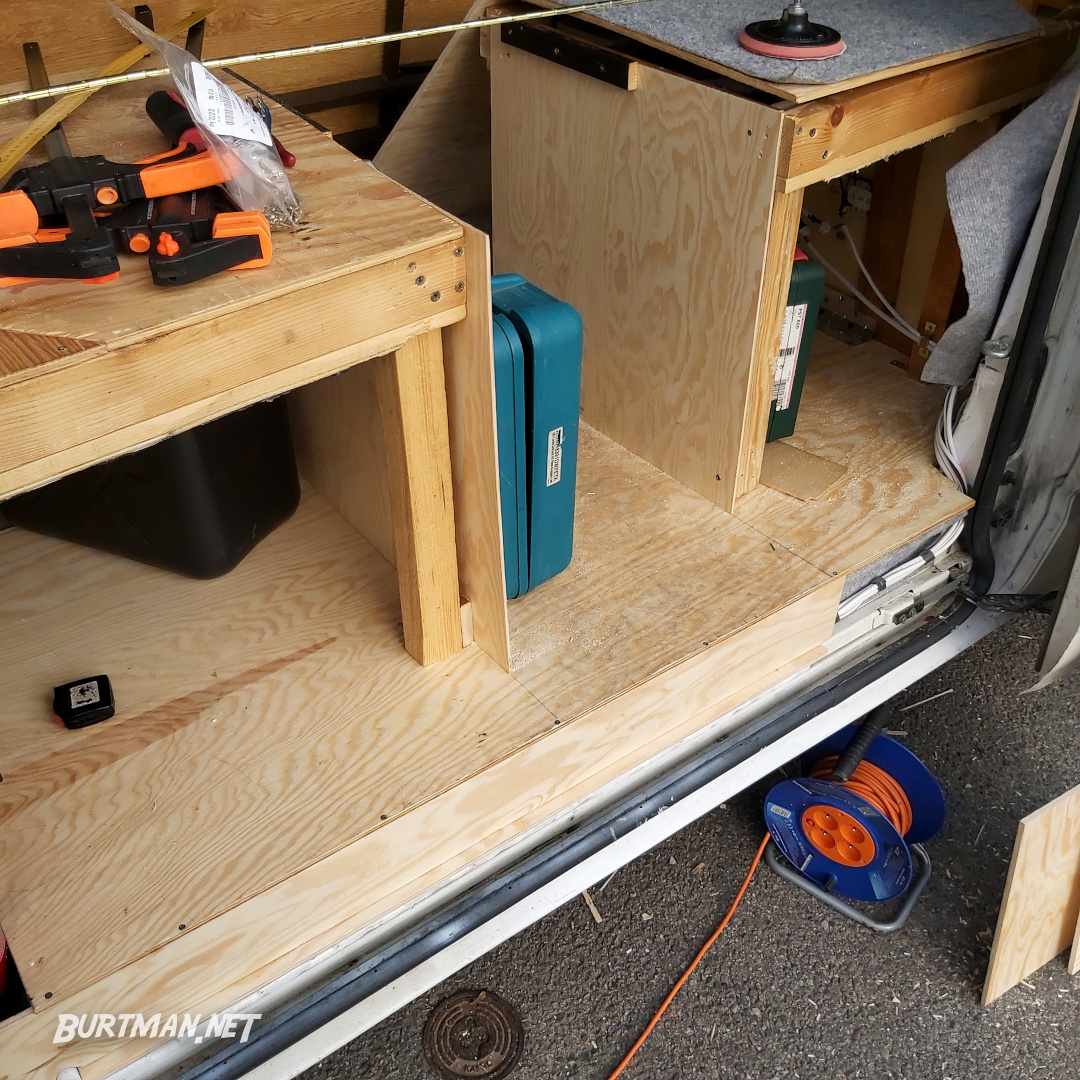
A new section of flooring for the heavy-footfall area. This is 8mm ply.

Power cables from the switch panel now run inside the step, which is extended to provide extra storage space.
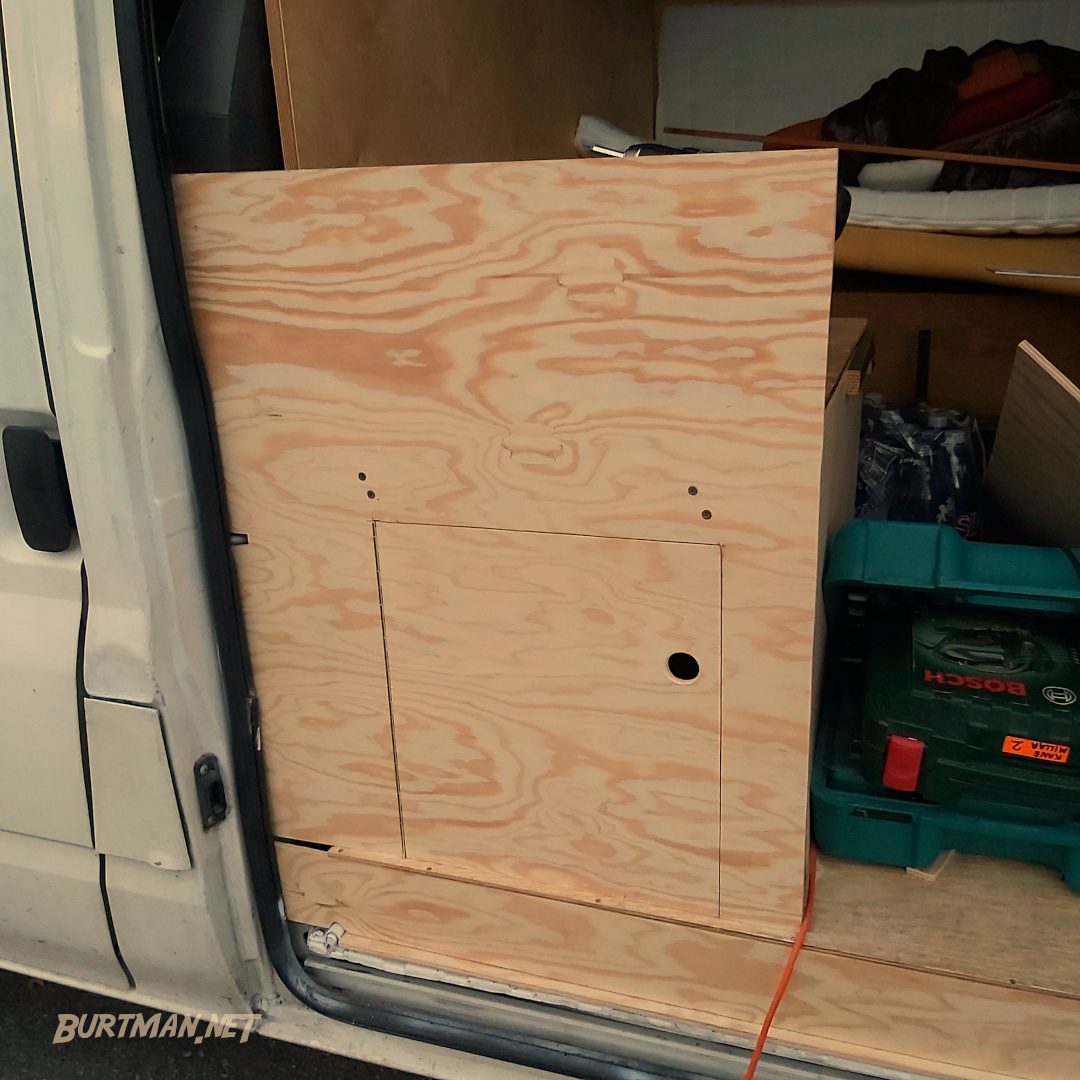
The first of three panels that will make up the exterior wall. The finger hole was made with a drill, using a hole-saw bit.
On the inside of the sliding door are several extrusions, such as the door handle for opening the door from the inside, and a few other things. I had to cut spaces for them in the wall, as the door pulls inward at the last moment of closing.
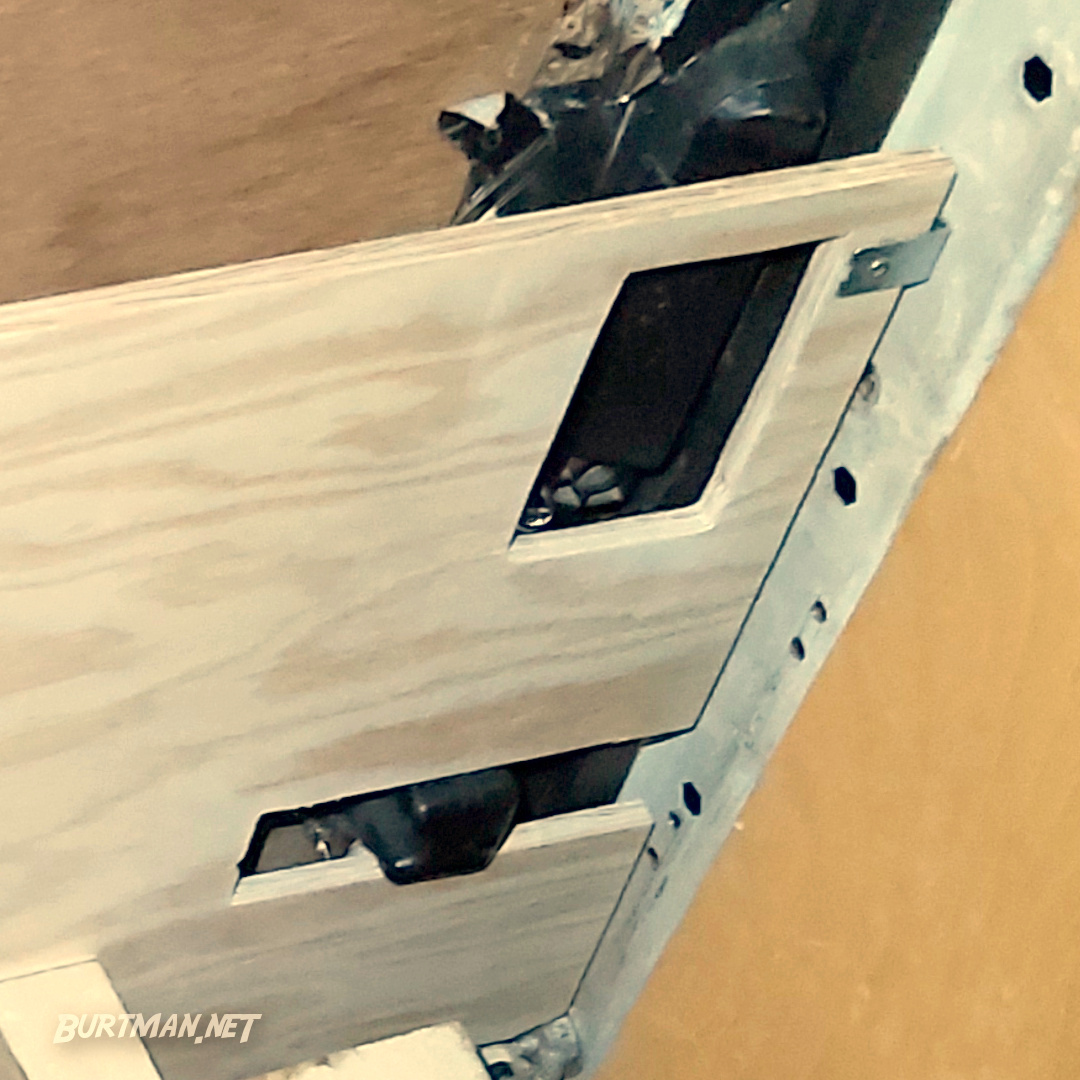
The exit handle and a rubber limiter now slide freely through the wall and the door closes easily.
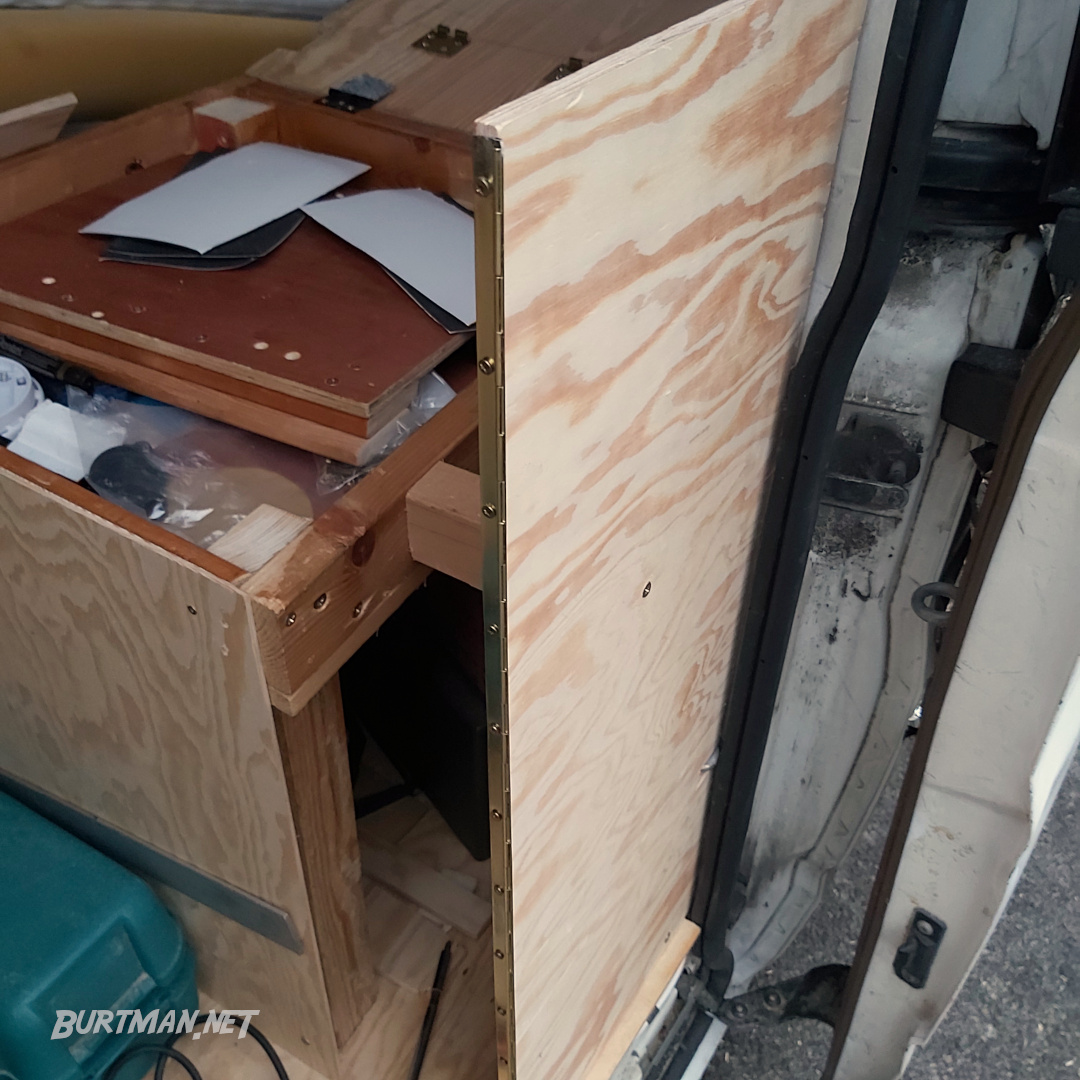
The other side of the wall doesn't open. It's for storing things that you don't need to get to from outside.

I added a long hinge to the right side of the wall to attach the door.

With the doors closed, a fairly private viewing lounge.
The main door tends to swing open at the moment, so I will be using old hard drive magnets to make it stick in the closed position. That little sanding disc is holding it closed for the photo. The keen-eyed will notice a very small (half-inch) lip above the wood at the bottom of the wall. That lip allows access to the screws that hold the bottom piece in position. Removing them reveals the cable trunk, allowing new cables to be added without having to mess about. The area is completely clear of obstructions and the cable trunk is clearly labeled inside (no pic at the mo).
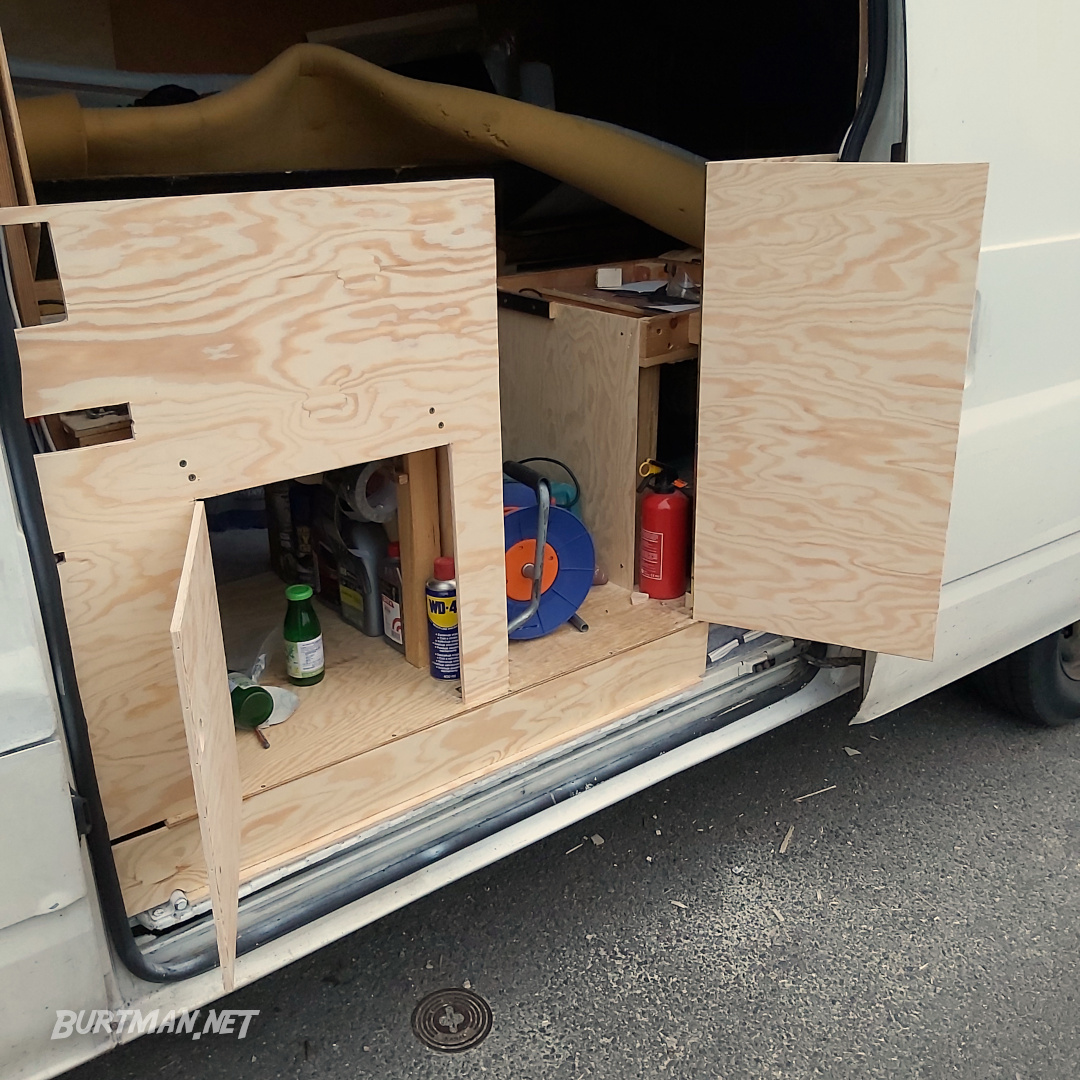
Fuel store and entrance open.
The completed store holds three 20L fuel cans (¾ tank) and a handful of useful items like engine oil, WD40, brake cleaner, a small fire extinguisher, a small tool box, flashlight, emergency triangle, and some tape rolls.
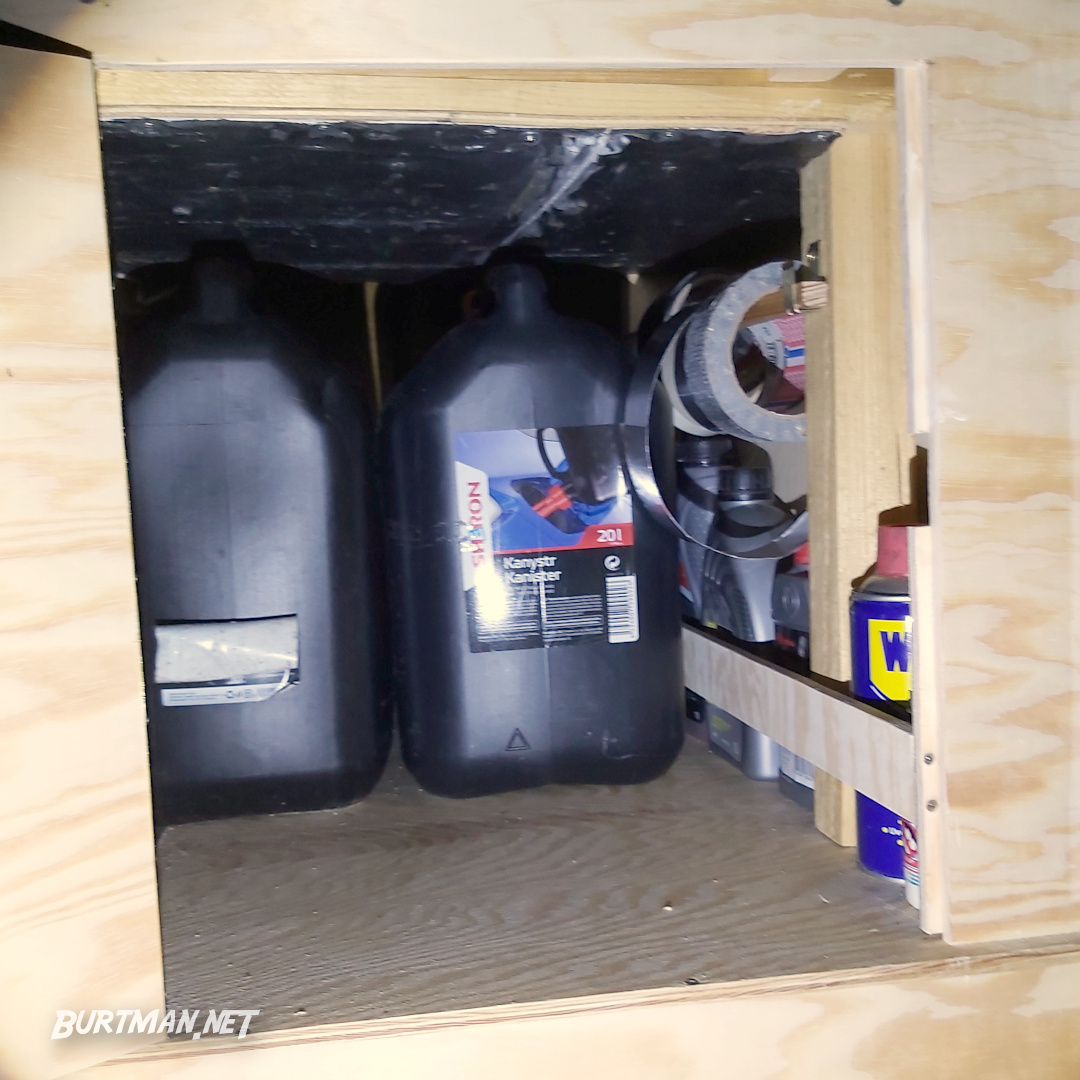
The new storage area makes great use of under-seat space.
Sign In To Leave A Comment
There are no comments marked as public for this item.
Stay Up To Date


 Mark 4
 Read around 2,300 times
 For Everyone