[Moved] Electrical Sockets
Updated:
Once you live in a space for a short time, you become aware of everything it lacks. And when you work there, too, the first problem appears approximately half-way through the first day, when your computer runs out of power.
In order to avoid trailing cables and give myself plenty of options, I built a power outlet at the end of the bed that allows devices to reach easily from anywhere in the living space, and then another one at the top of the divider, where the cables might be more out of the way, in the event that I want to work from the bed (I do). In order to make both sockets usable, they are connected to a power board that lives inside the door seating, giving me even more AC sockets and a USB outlet for charging a phone.
The power sockets were built from kits; I bought a neat little DC socket from ebay and an AC outlet from a local hardware store.
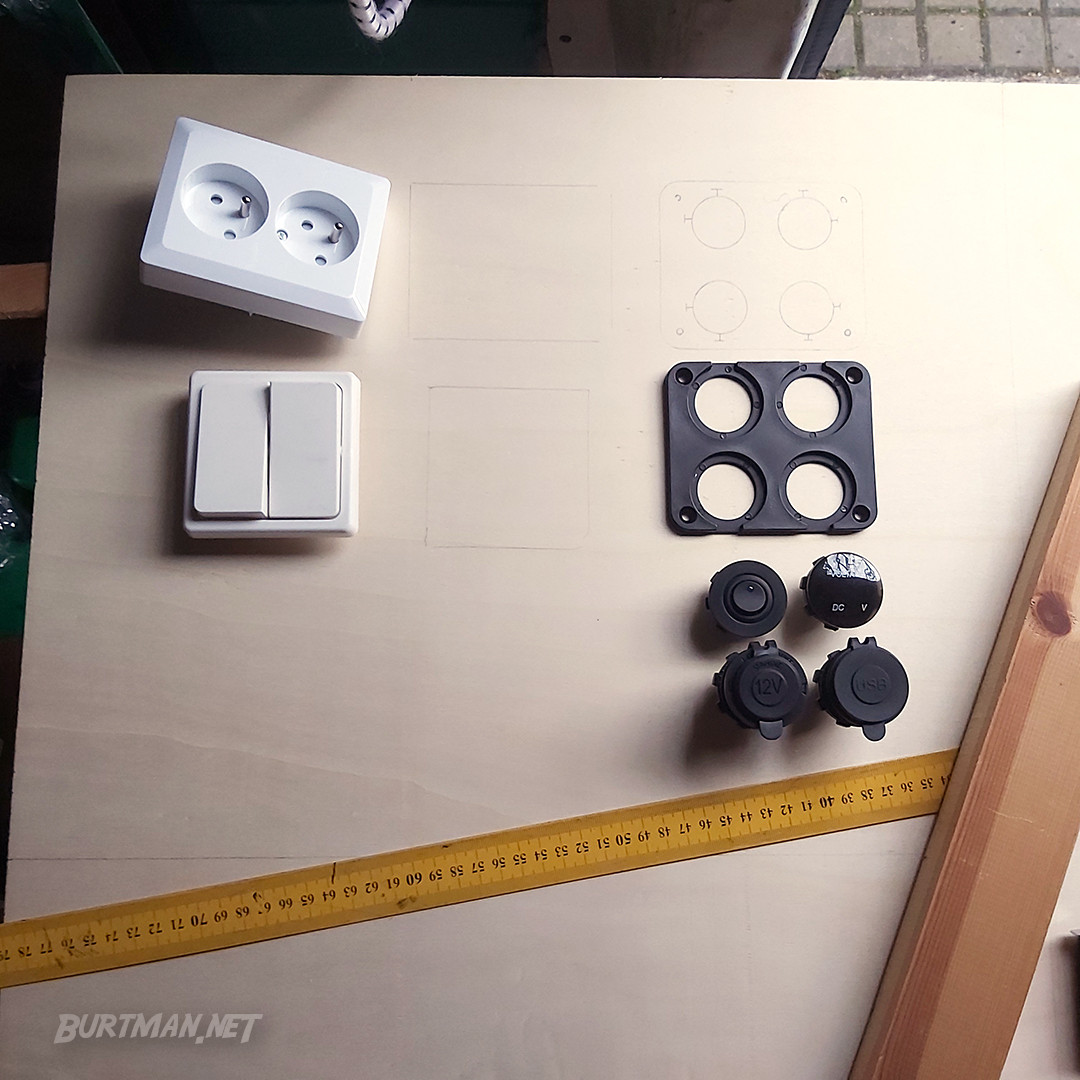
Black is DC, white is AC.
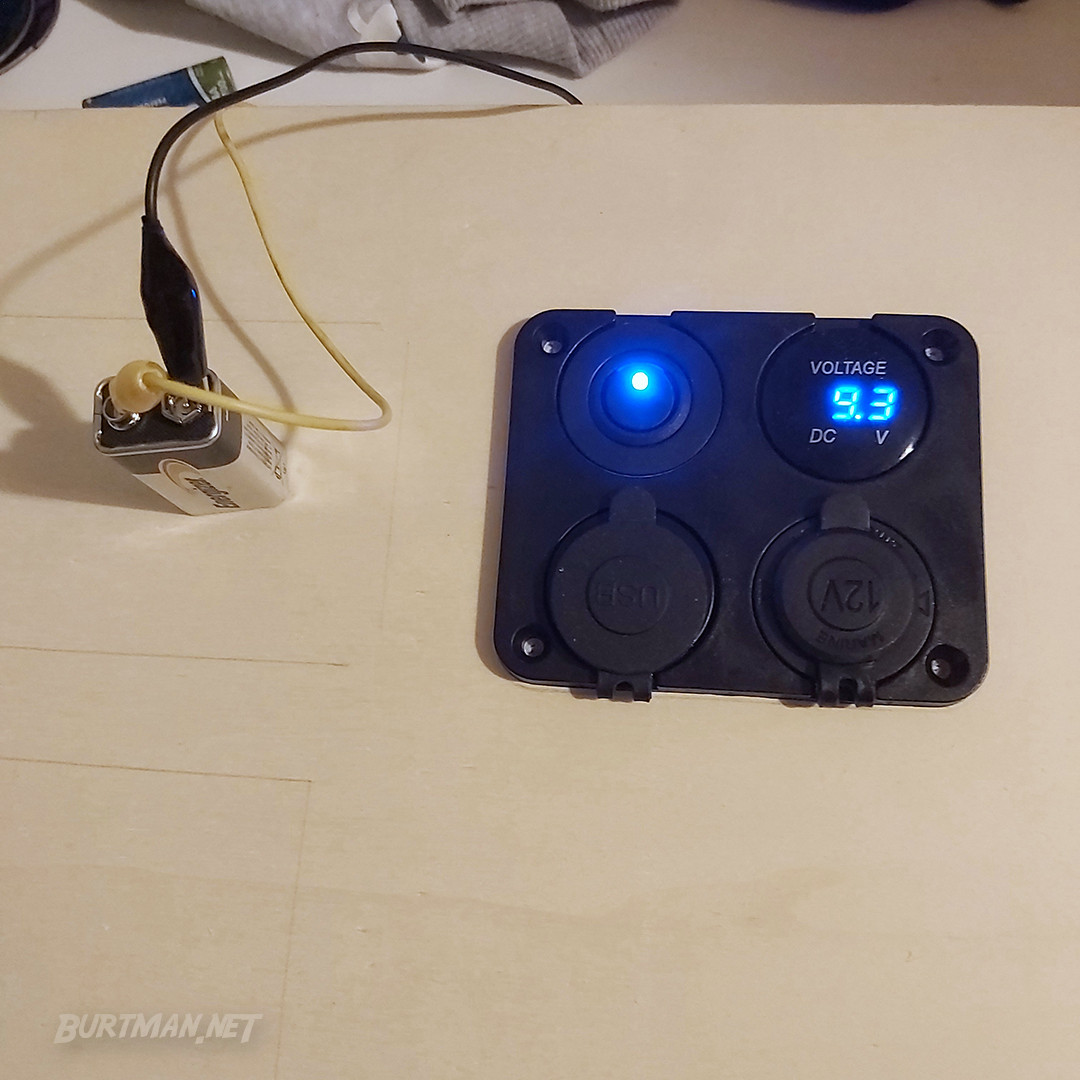
Testing the connections.

Mocking up the circuit. The AC lines are 1.5mm solid copper core.

Attaching the power board to the bed frame was a simple job. Just screw in and connect the wires (AC from inverter and DC from battery via DC fuse box).
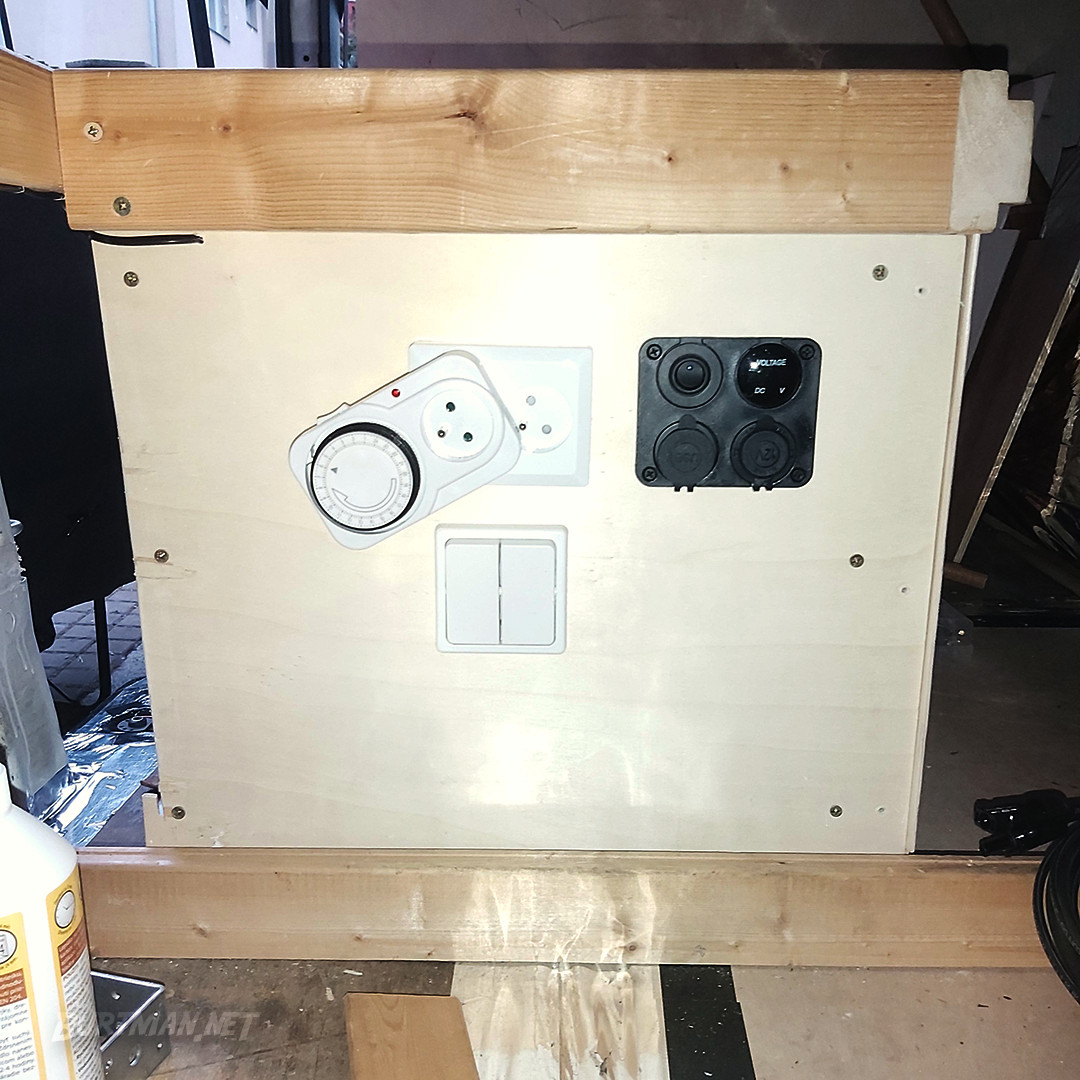
The primary sockets from the front.
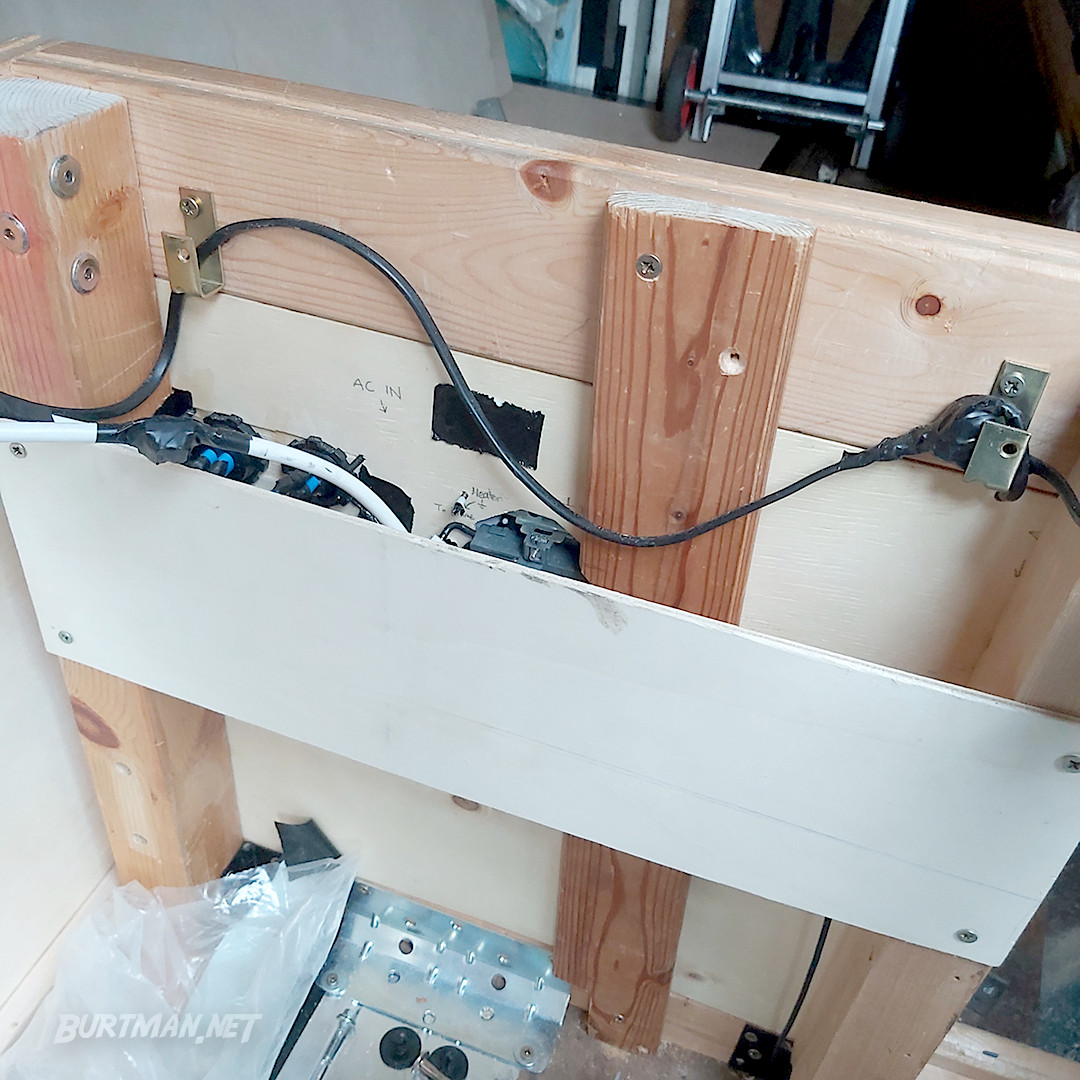
A strap to protect the back of the sockets (under the bed is storage, of course).
This power board has since been moved to the new viewer's lounge book store.
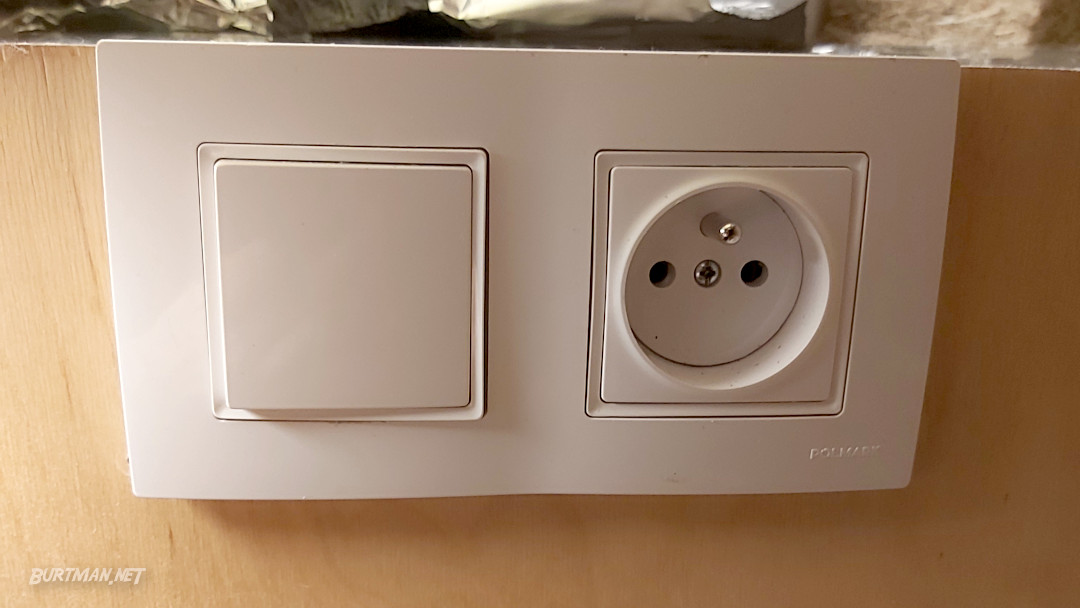
The secondary socket at the top of the divider.
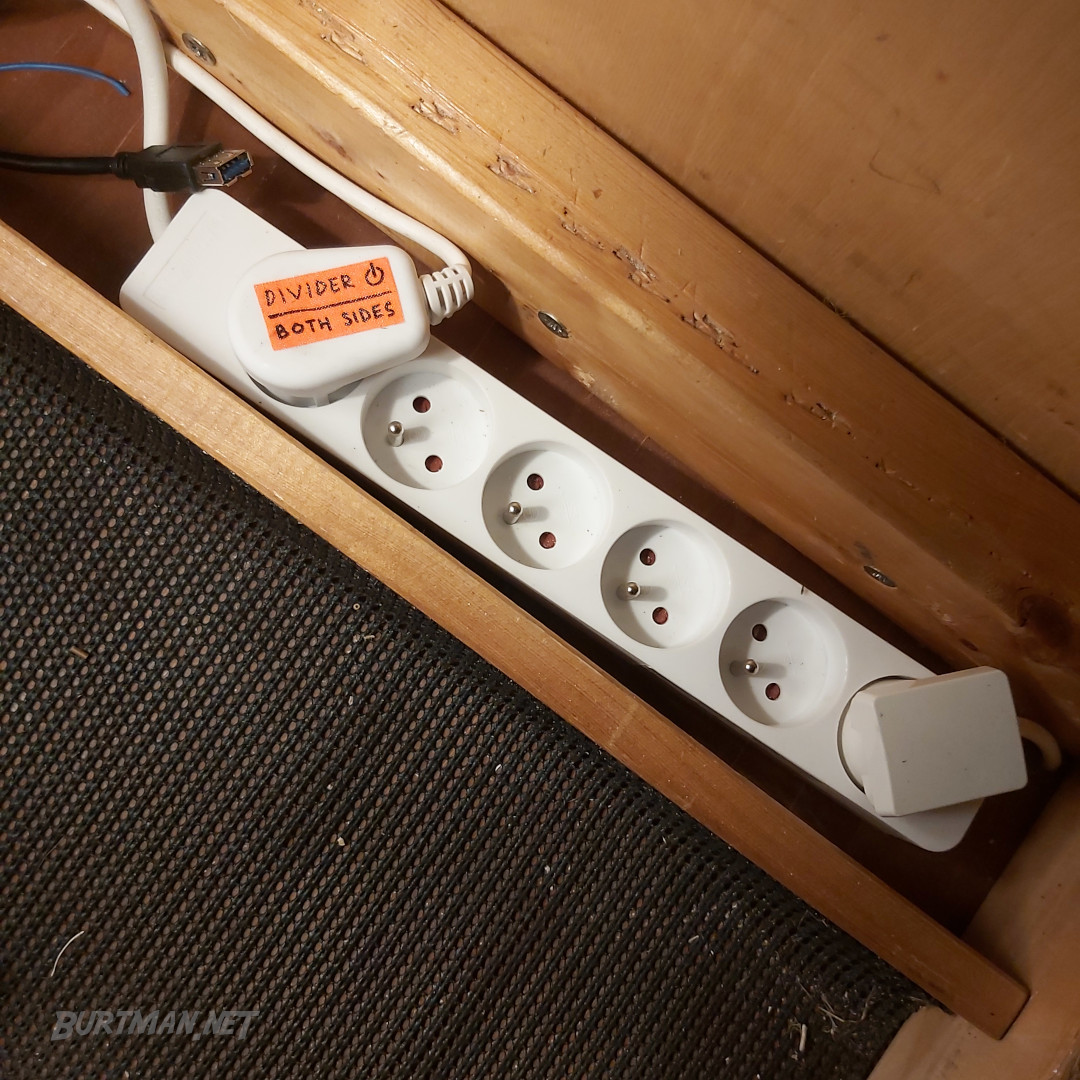
Out of the way in the bench store, a charging area with a socket extension and USB power.
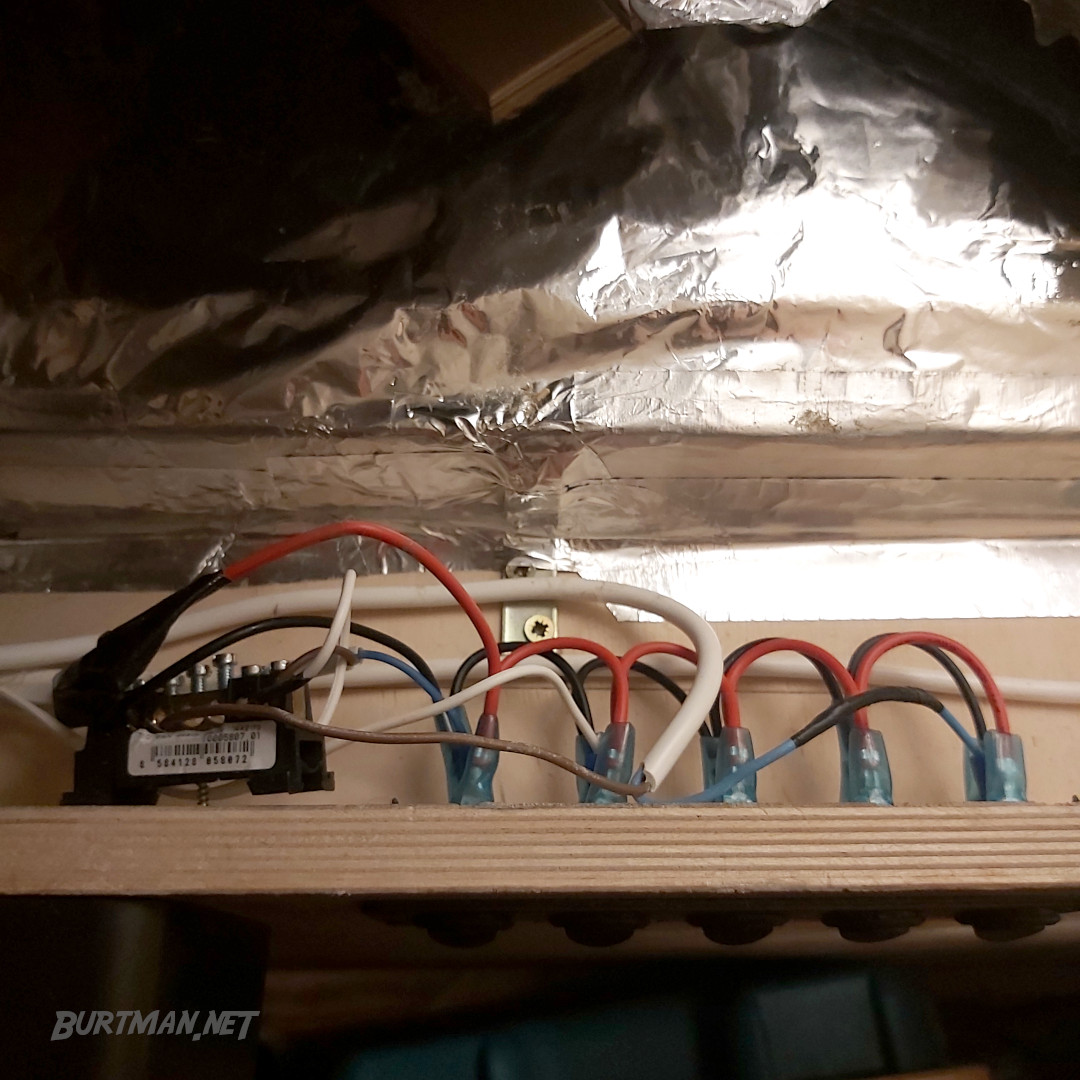
The back of the DC switch panel that, so far, controls the water pump, ceiling fan and fridge.
The block on the left (in the last image) is a ground block that provides a 7-point earth socket back to the battery. It's easier than running all those cables to the battery and then finding inventive ways to connect them all. The center of the block is wired to the negative side of the charge controller that is connected to the battery with 30A cable and solid brass battery clamps, so even if it looks a bit shady behind the panel, it's rock solid and safe as houses, so to speak.
Don't be fooled by all the tape. It's not structural! Everything is securely wired. The tape is just an insulative precaution to prevent contact between wires in the event that any of them touch (although they shouldn't be able to).
The foil you can see in some of these shots is the radio shield that wraps the insulation in the cabin shelf.
Sign In To Leave A Comment
There are no comments marked as public for this item.
Stay Up To Date


 Mark 4
 Read around 2,300 times
 For Everyone