Change Your Glow Plugs
 Diving Deeper
 Read around 2,800 times
 For Everyone
Updated:
One day, you will turn the key and one of two things will happen.
1: Your glow plug light will do something unusual - it may flash, refuse to light, stay on, change color, or something else, depending on your vehicle, and
2: Your engine will take a bit of effort to start, which will probably involve smoke and noise like you've never known.
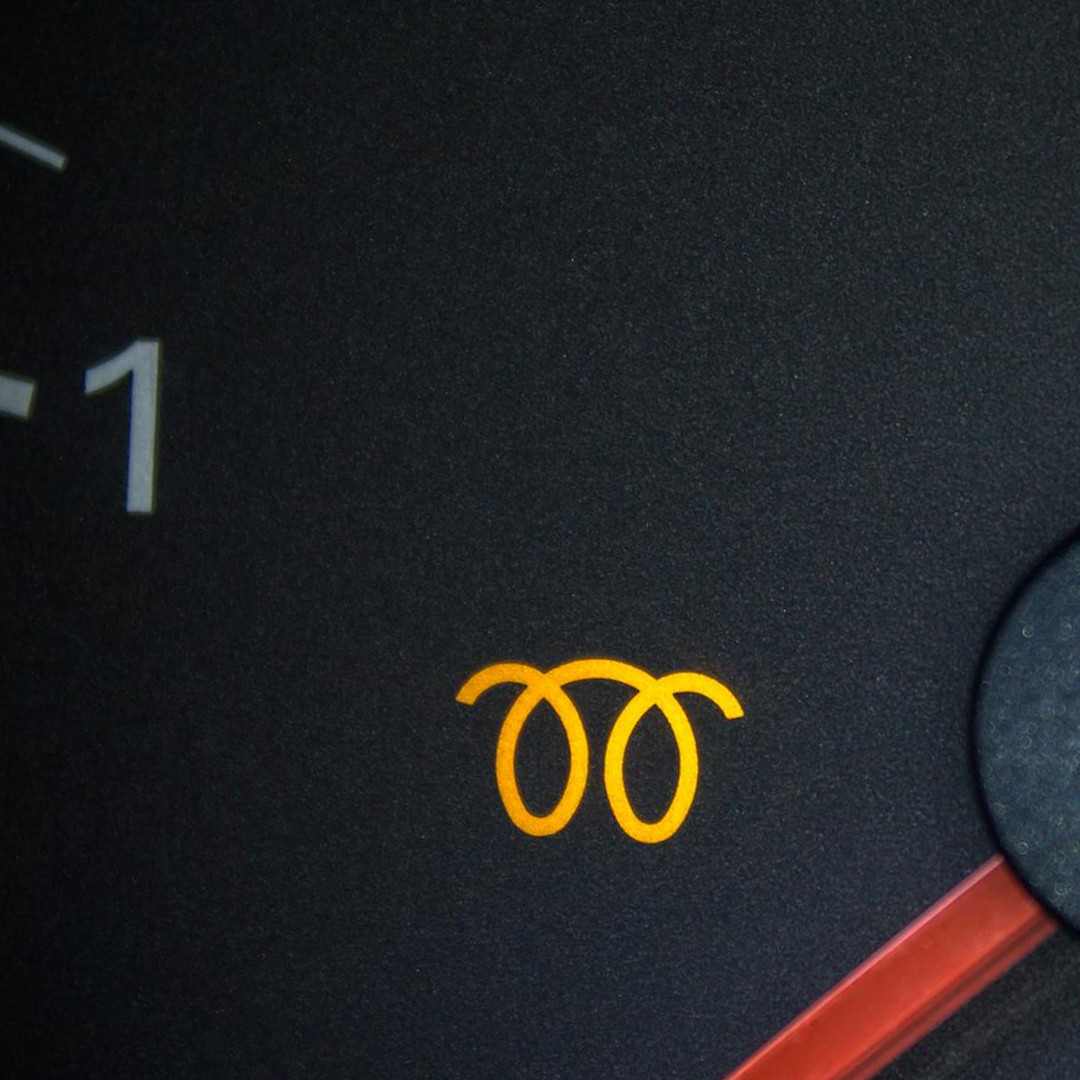
Glow plug light on the dashboard - temporary image.
When that day comes, and it will, you'll be hearing mixed reviews about how easy the problem is to fix.
That's because the problem itself is technically easy to fix, but the risk of getting it wrong is almost an engine rebuild.
Let me clarify.
The problem you have is that one or more of your glow plugs has given up. The fix is just to remove it and put a new one in. New glow plugs are really cheap and you will find the old ones seated somewhere near the inlet manifold, in the side of the the cylinder head, which is usually pretty easy to get to.
But here's where it gets dodgy.
If your glow plugs have given up, they've probably been in the engine for quite a while, and that means there's a good chance they're caked in burned crap and more fragile than they used to be. If you aren't careful enough, and by that, I mean extremely careful, the pressure required to turn the stuck plug will likely be more than the pressure required to snap it in half, leaving an irretrievable stump locked in the side of your engine. To remove that, you'd need to somehow get a drill into that tight space, drill the entire plug into dust, re-tap the ruined glow plug thread, remove the cylinder head, suck up all the metal shavings, have the cylinder head skimmed flat at a machine shop, buy a new gasket kit, fit it all back together and then install your new plugs. Sounds fun, doesn't it?
So how do we do this without trouble?
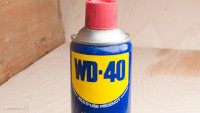
The answer is patience. Copious amounts of WD40 and patience.
Here's how it looks:
Days 1-6 - Preparing The Site:
Spray WD40 into the well where the glow plugs sit, flooding it completely, so the fluid overflows the well. Do this in the morning and come back to check on it in the afternoon. If the level has gone down, top it up.
Day 7 - The Operation:
From this point forward, everything is to be done slowly and attentively.
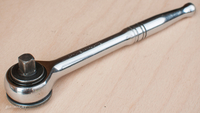
After making sure the key is NOT in the ignition and then removing the power leads from the tops of the glow plugs, use the appropriately-sized socket to gently persuade the plug to turn just a tiny amount. If it won't turn at all, you can give the ratchet handle a few gentle taps to see if it will budge. If it's still stubborn, you might need another day or two of flooding it with WD. If it moves, even the tiniest amount, you're good to go.
Before you start unwinding, remember, everything slow and attentive.
See if you can unwind the plug by just a millimeter or two, and then gently wind it back in by half that amount. This will begin to loosen the years of grit that have been burned into the area, with the help of the week of WD40 saturation. Repeat the backwards and forwards technique carefully until the plug moves without much resistance. At that point, you may be able to just unwind it - still being slow and careful, not applying too much pressure and making sure to keep the socket directly above the plug to avoid adding tension.
If it's all going well, and then suddenly stops hard, it's probably caught a piece of grit. Just go back to gentle rocking until the grit has been worked loose and then carry on. Once the plug is fully unwound, you can carefully pull it directly out. Make sure not to bend it - it needs to come out completely straight. Also be careful not to crush it (if using pliers - not recommended) and not to drop it back in the well. Depending on how old it is, it could be very fragile and you want to avoid any shock or tension until it's well clear of the plug cavity.
Since you're finally doing this job, you should change all of the plugs at the same time, especially if they are stuck - they aren't going to get less stuck if you leave them for another two years.
Have your new plugs ready to go and if you've got some liquid copper or other anti-seize thread fluid, now would be a good time to apply it to the plug threads. This will prevent the plug threads from sticking in future, so your next change will be easy and stress-free.
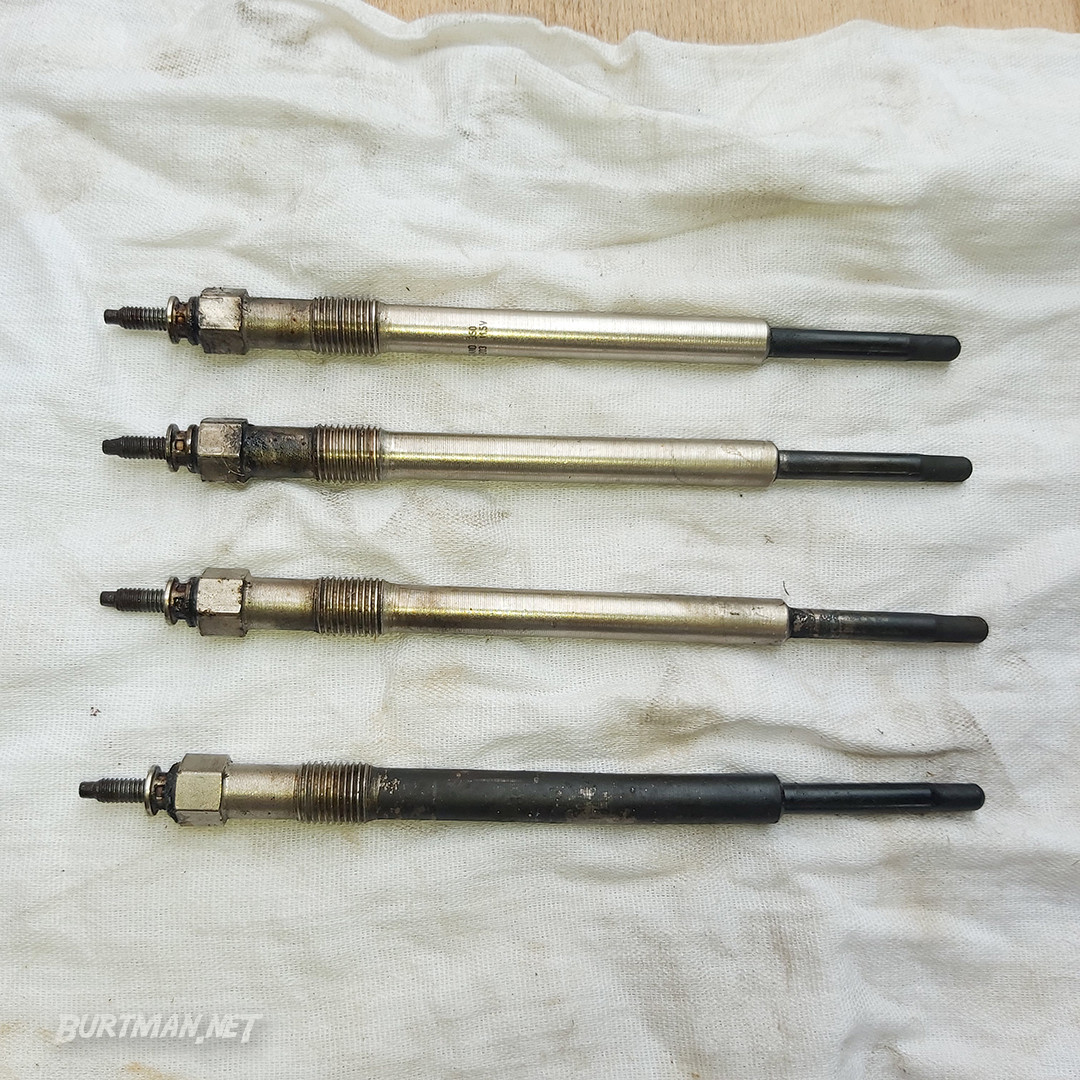
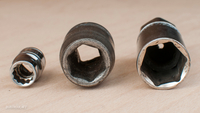
Can you tell which one popped?
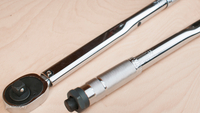
After successful removal of all plugs, wipe the cavities with a clean rag and gently place the new plugs into them. Turn them by hand, anti-clockwise at first, letting them find their threads without pressure. Once they click into the threads, start turning them gently, clockwise, until they won't go any further. Then you will need to use the socket or spanner (depending on how accessible they are) to nip them up. If you have a small torque wrench, use it. The torque values will be available online and might be printed on the box the new plug came in. If you don't have a torque wrench, you only need to nip the plugs up so they can't fall out. They don't need to be rock solid, so be careful not to over-tighten.
With that, you can reattach the power leads and put back any other parts you had to remove in order to get to the plugs in the first place. When you're happy that the job is done, hop in and turn the key. See if the glow plug light comes on for a second or two and then try to start the engine. If all is well, you're done. If you still have trouble starting and your glow plug light didn't come on, or it flashed, or stayed on (depending on your van), you may need to replace a fuse or Fusible Link. A blown glow plug usually pops a fuse, so expect to replace it. Check your owner's manual to find out which fuse you need to replace and make sure to use the same rating.
Good luck!
Sign In To Leave A Comment
There are no comments marked as public for this item.
Stay Up To Date