How To Change A Wheel
 For When Things Go Wrong (And They Will)
 Read around 3,800 times
 For Everyone
Updated:

Oooh. Puncture, eh? Good job you've got everything in the tool list above!
Before you go any further, just check what kind of puncture you have. If it's a small circular hole, like you drove over a nail, you might decide to do a temporary repair. In that case, try the ![]() Pinhole Puncture Repair Guide, instead.
Pinhole Puncture Repair Guide, instead.
Ok. You're still here, so I guess we're doing the wheel change. Get your tools ready (shown above).
Before you start, roll the van to a level surface (as level as you can find). It's much safer and easier than trying to ... just get to a level surface. Take the spare wheel down from the carrier before you begin, so you don't have to mess with anything when the van is up in the air.
The Wheel Carrier
Depending on your van, your spare wheel carrier could be any one of various designs. Hopefully, you've had a look before you left home, just so you know which it is. If not, there's no time like the present.

Well, this one's pretty obvious.
This one, not so much.
If you have the second type, you might need to open the back door in order to find the nut that needs to be turned to lower the wheel. Once the wheel is on the ground, you loosen a bit more to get some slack on the cable, then pull the cable out from the center of the wheel and slide the wheel towards you. It's a lot of laughs.
Come On, Then.
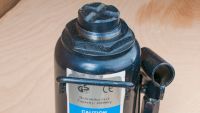
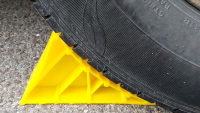
Before you start, pull out two of your finest wheel chocks and fit them into the outer sides of the front and rear wheel on the opposite side of the van from where the puncture is. No chocks? Use rocks. Yes, you can leave the vehicle in gear and pull the hand brake, but if you are lifting one of those drive wheels off the ground, it doesn't hurt to have a bit of extra certainty that the vehicle won't roll.
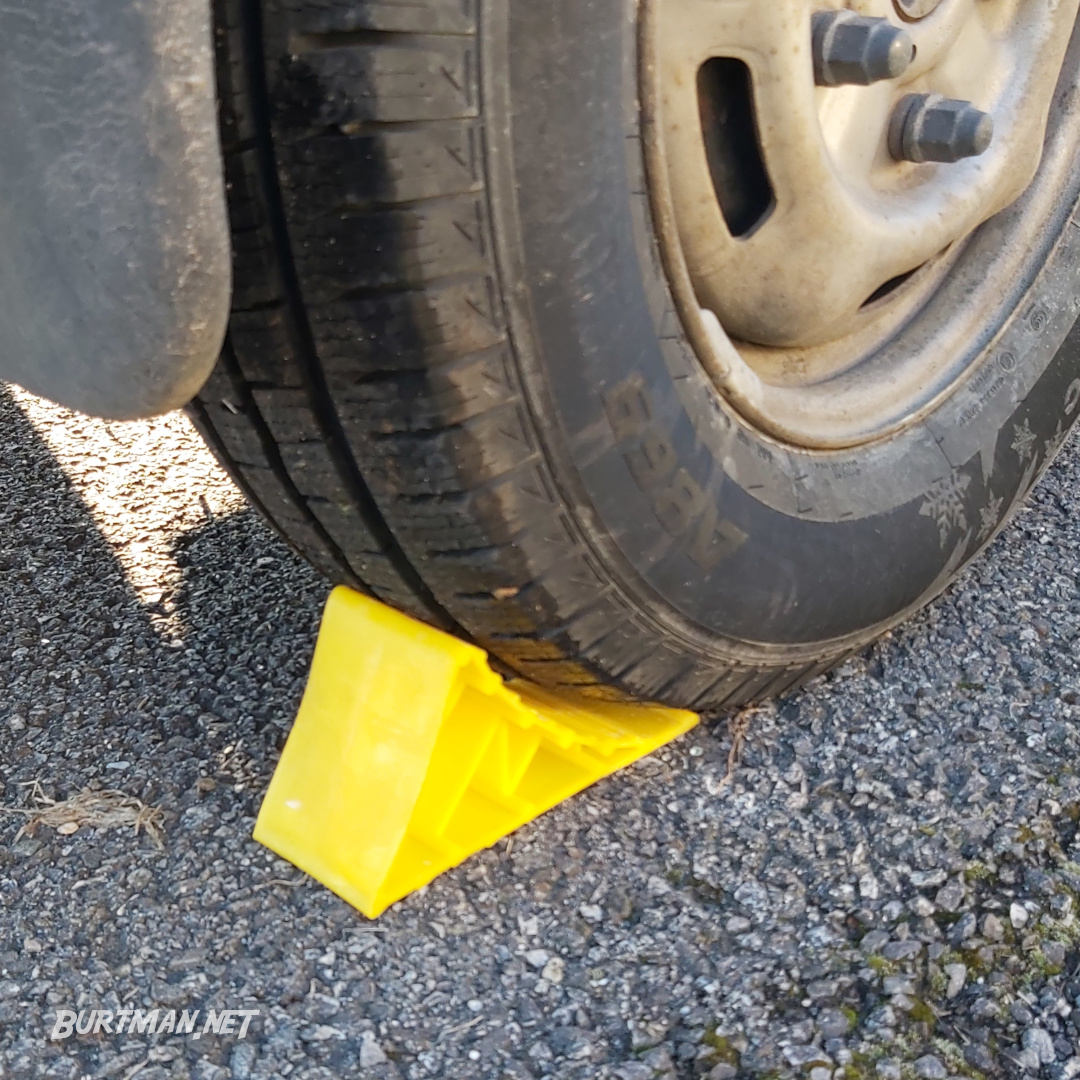
Plastic wheel chock stops vehicle moving when hand brake is off. Plastic ones usually break, so just splash out and get metal ones.
First of all, let's get that spare wheel down. I'm assuming you have the cable-retainer type, since that's what I've got and the door-mounted racks are much easier to figure out.
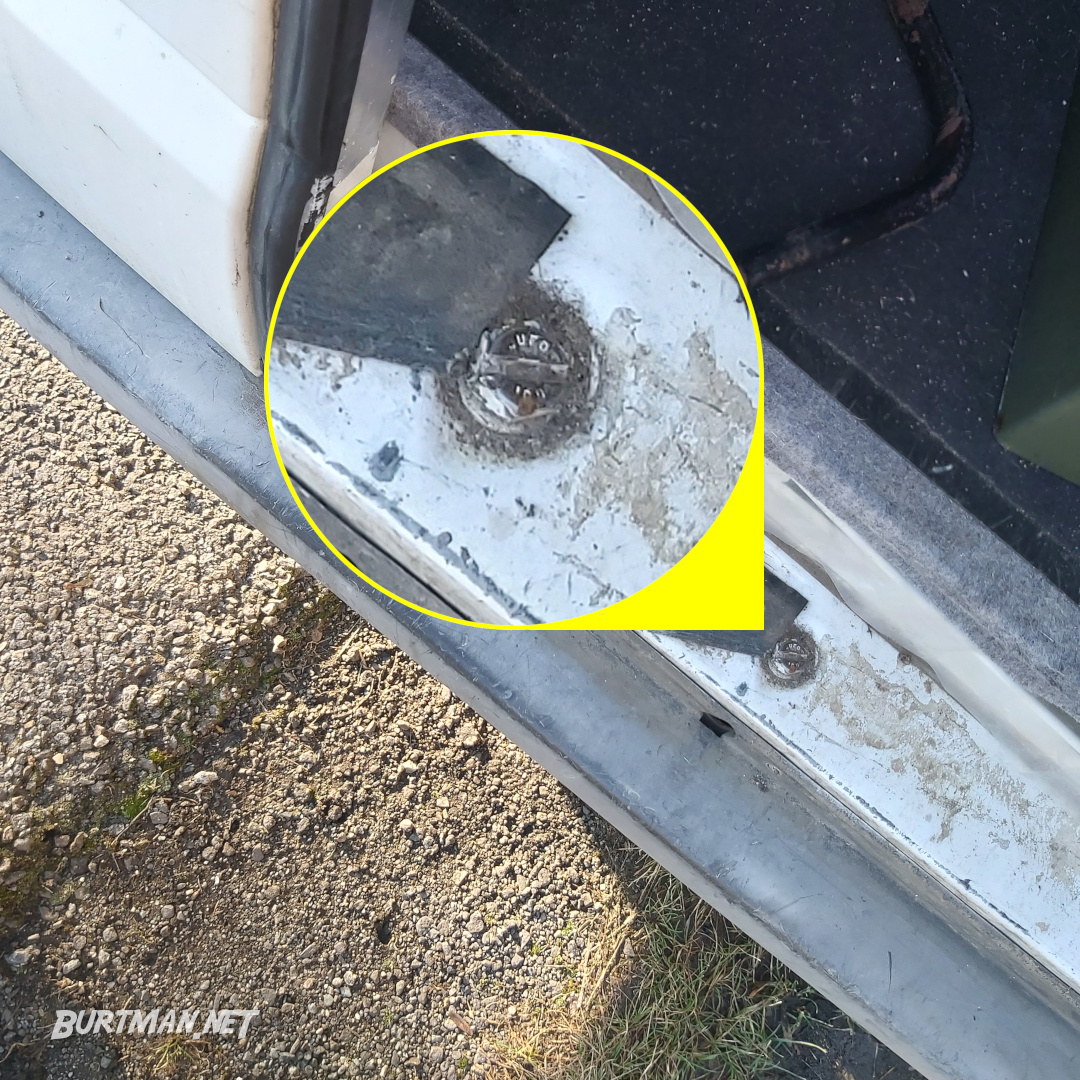
Open the back doors and locate the security bolt.
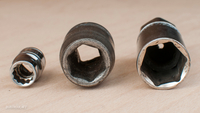
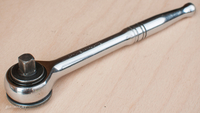
You can remove the security bolt with the flat end of the tire iron, but for the sake of not going insane, you can also use a socket. This one is 19mm, but they can be different sizes.
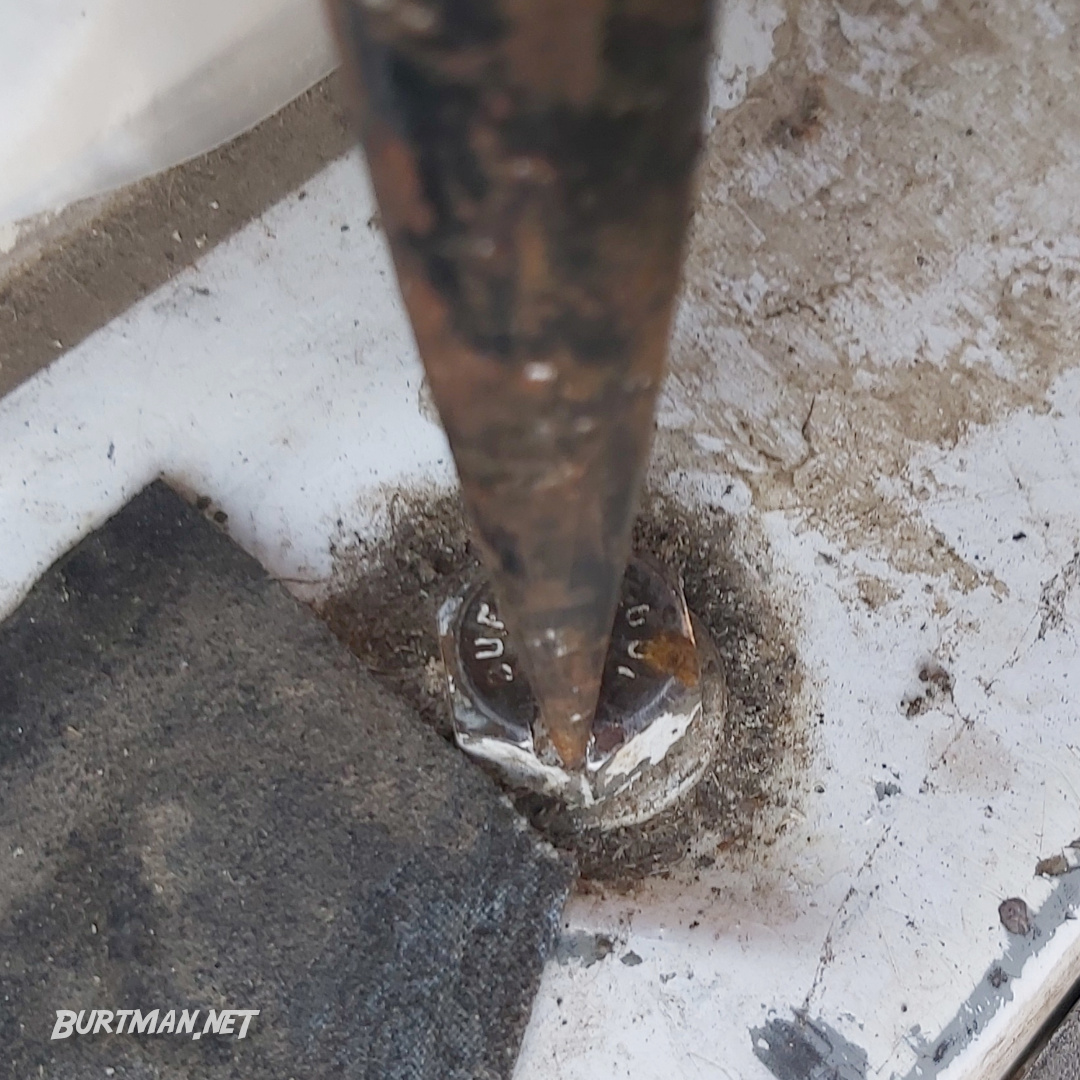
Possible, but stupid.

Optional and wise.
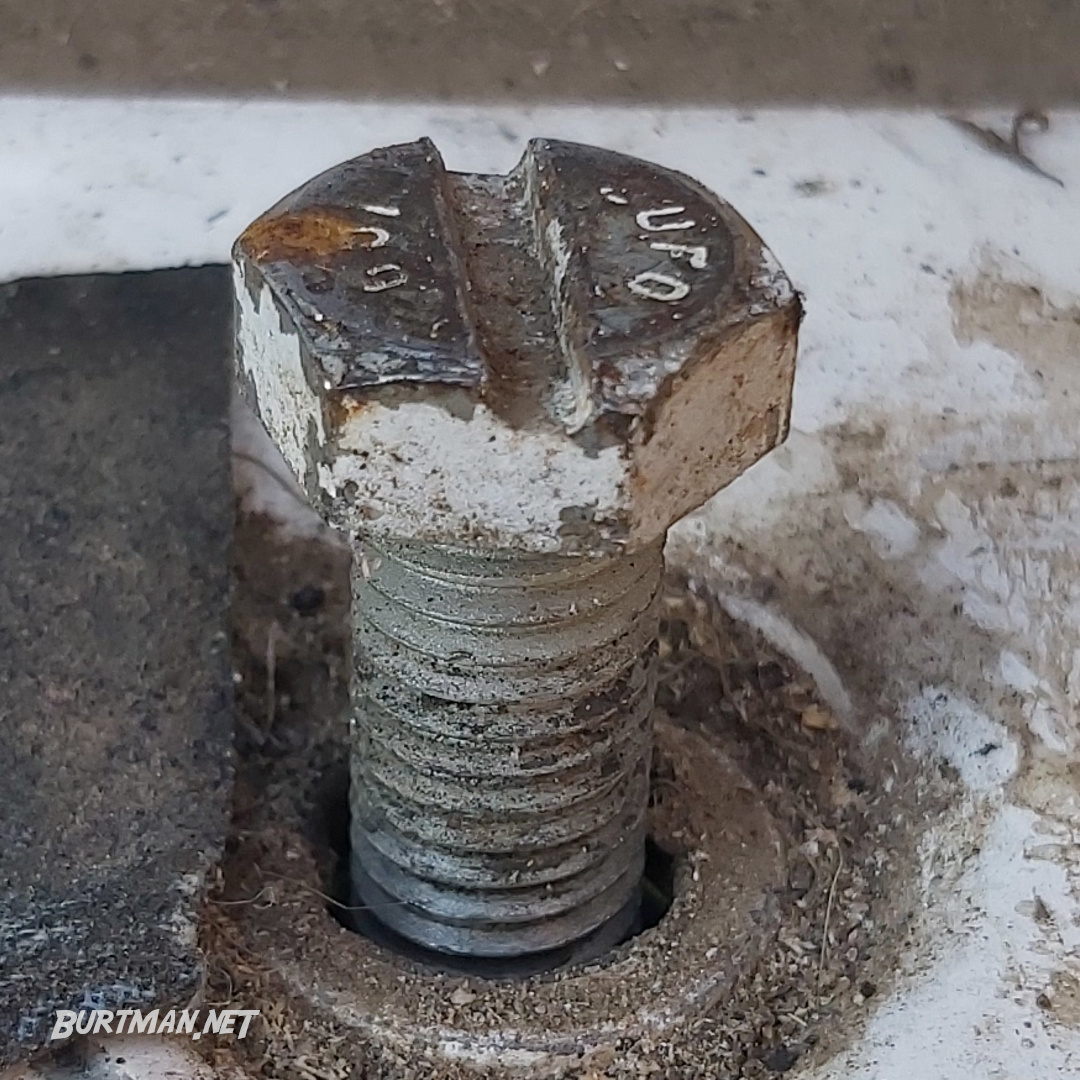
It comes up about this far and then slides out by hand.
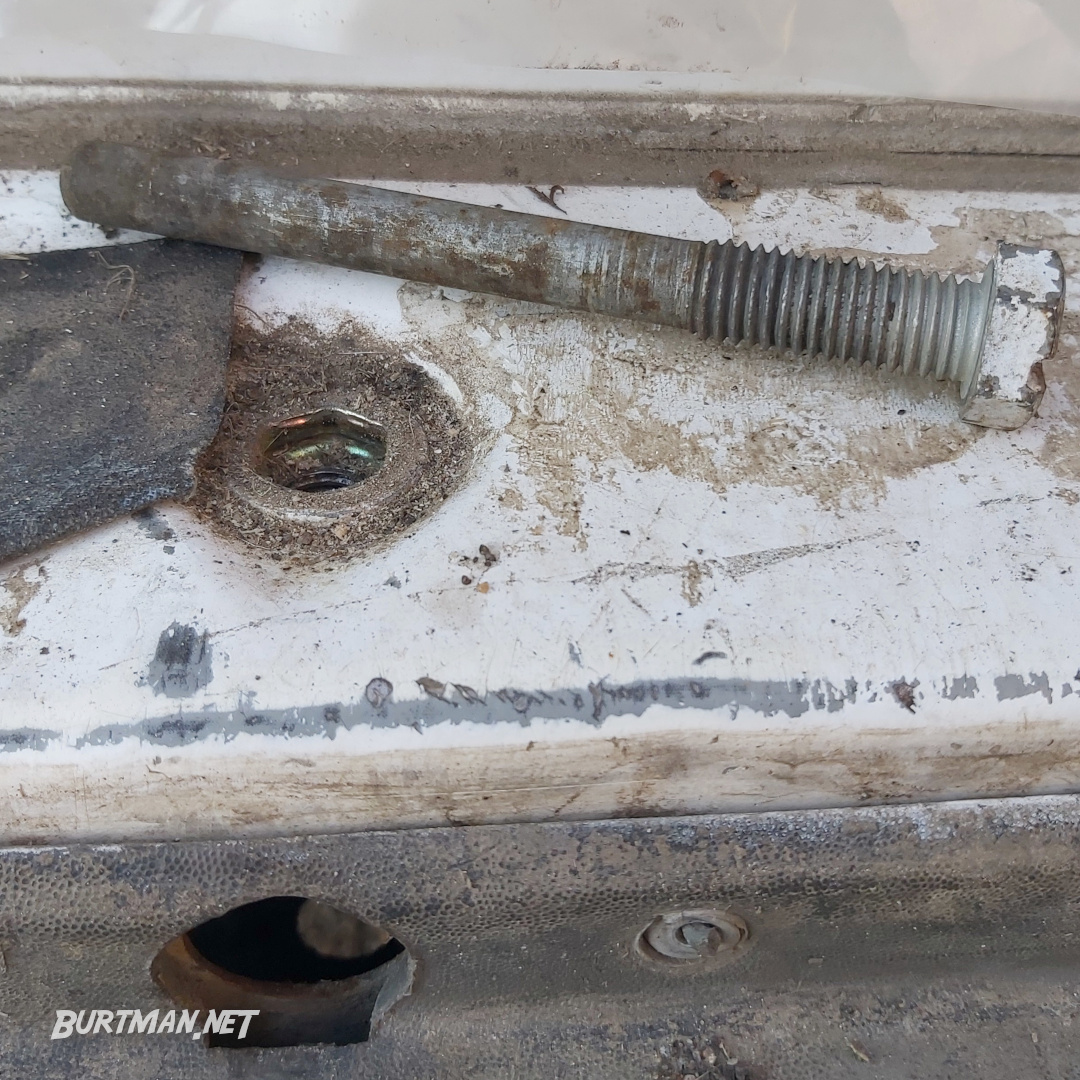
It's a long bolt, but someone's gotta... never mind.
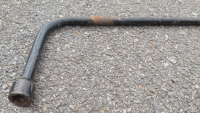
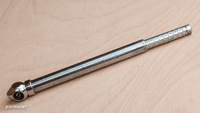
Once the security bolt is removed, you'll be able to stick the flat end of your tire iron into the horizontal hole and locate the winder.
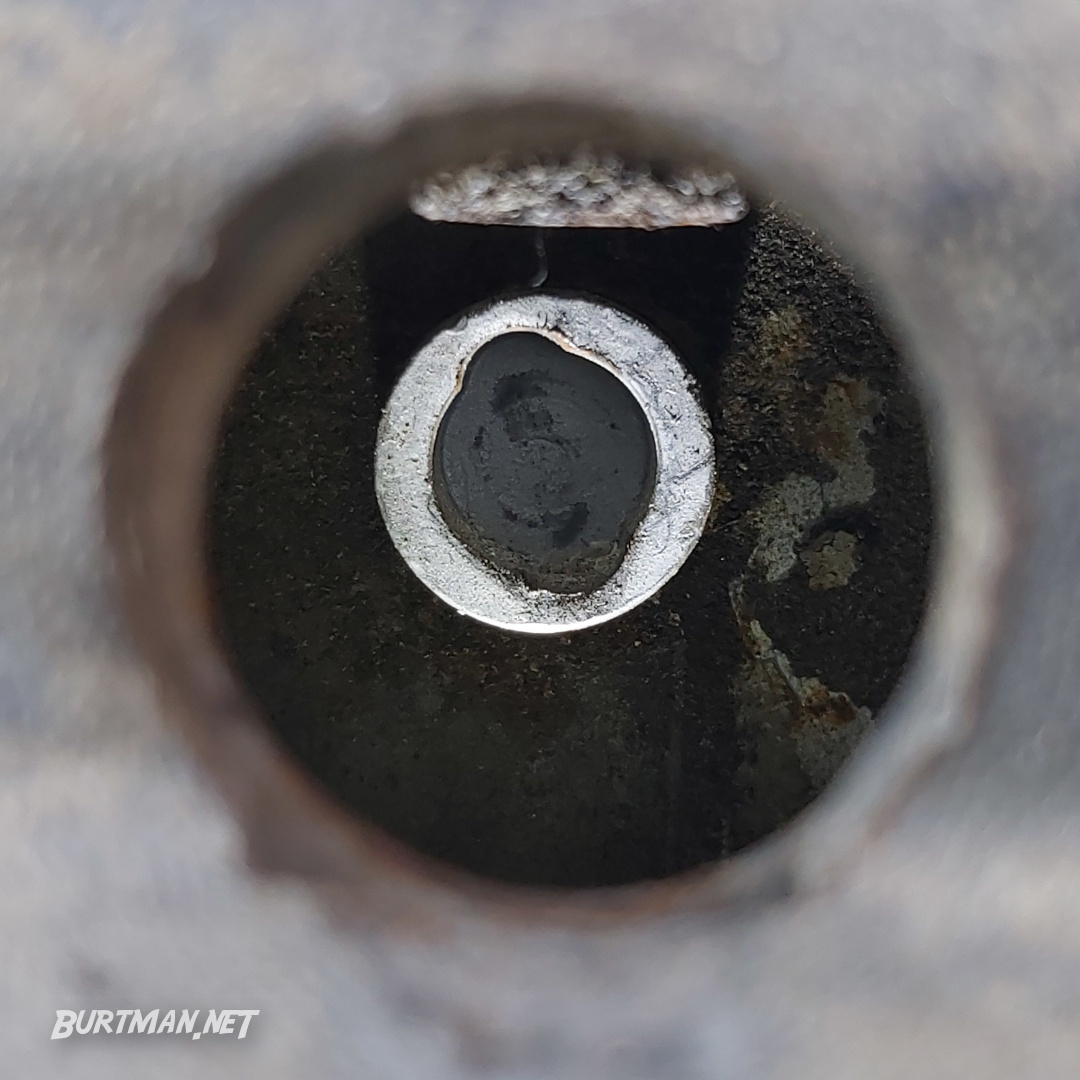
The winder is set back inside the bumper.
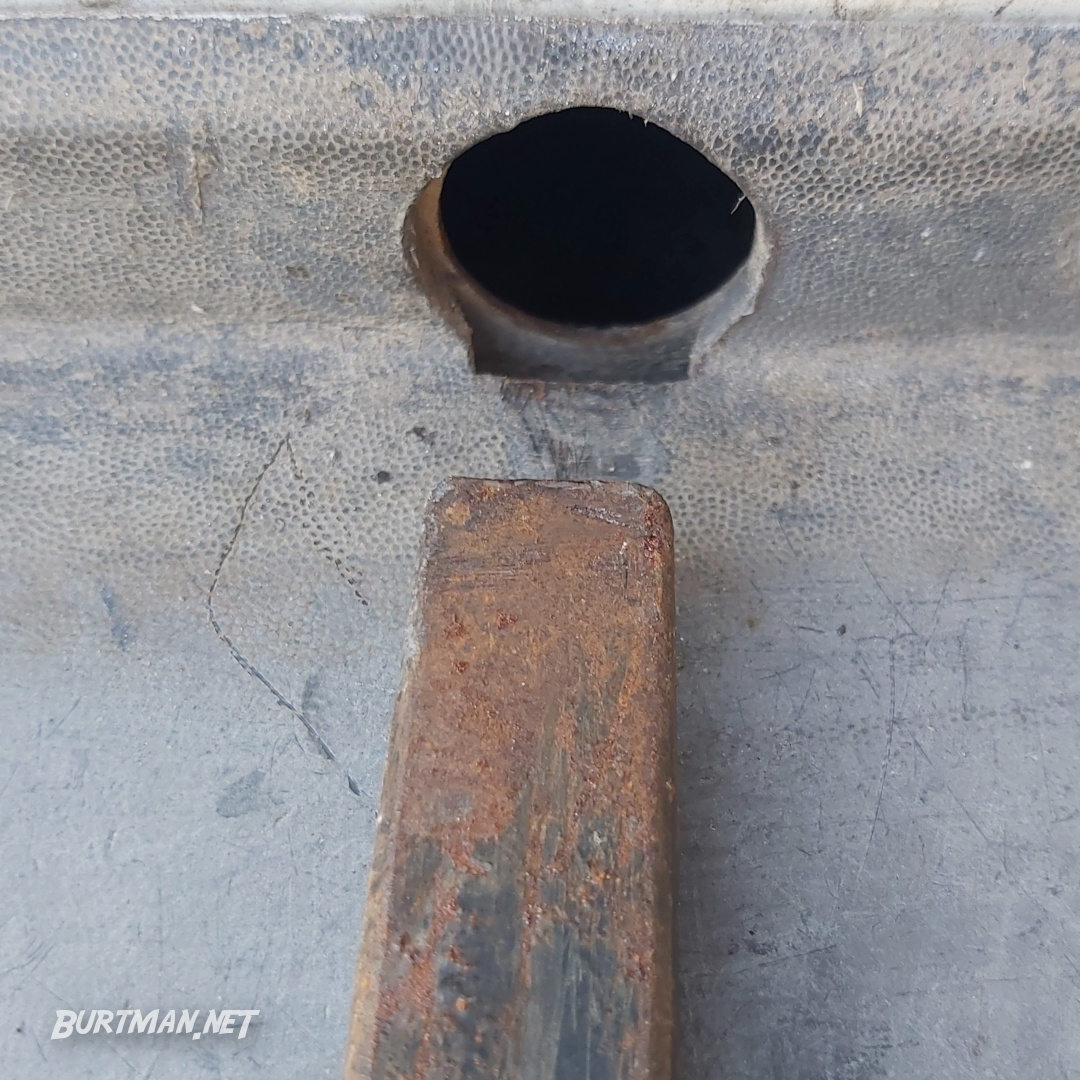
The flat end of the tire iron coincidentally fits into the winder.
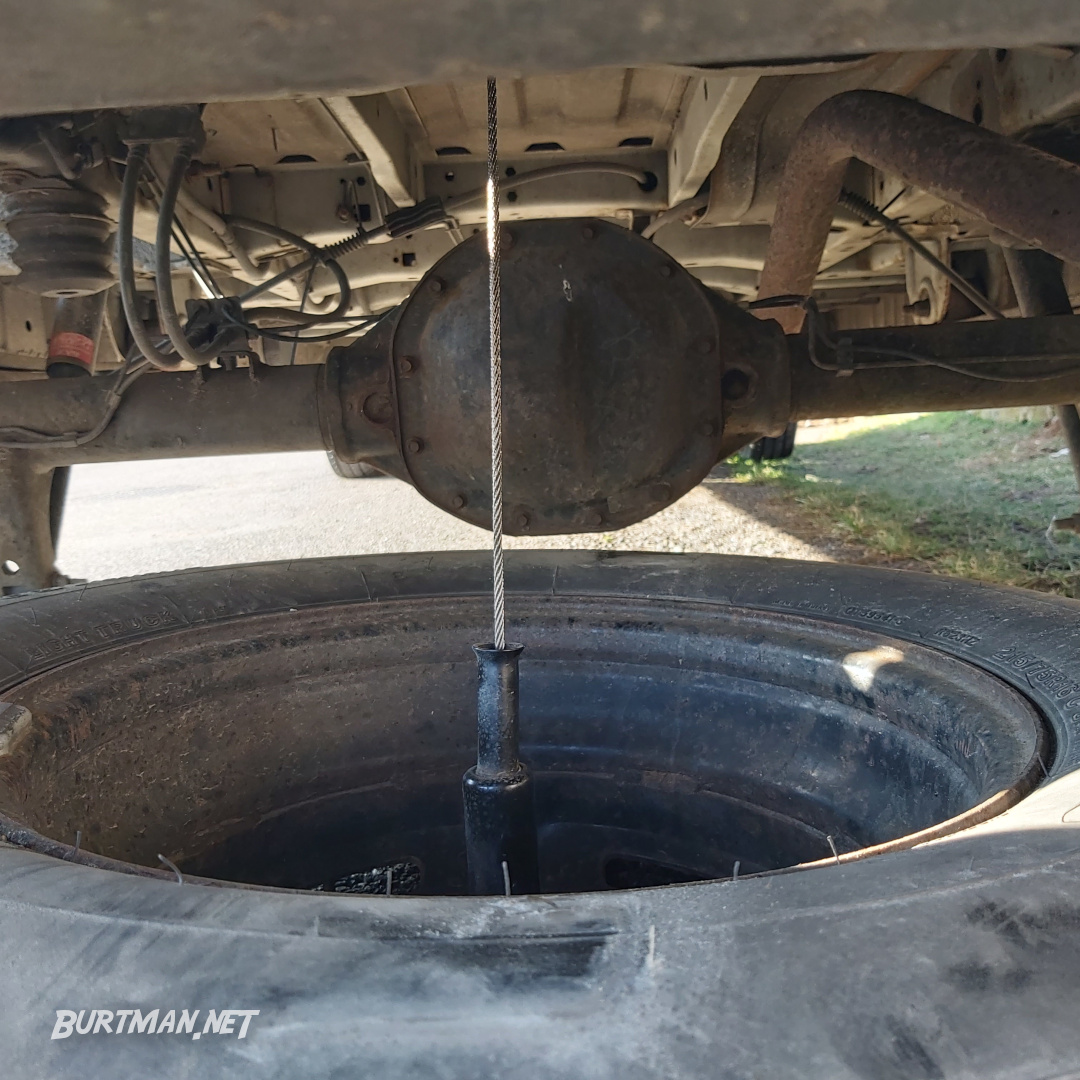
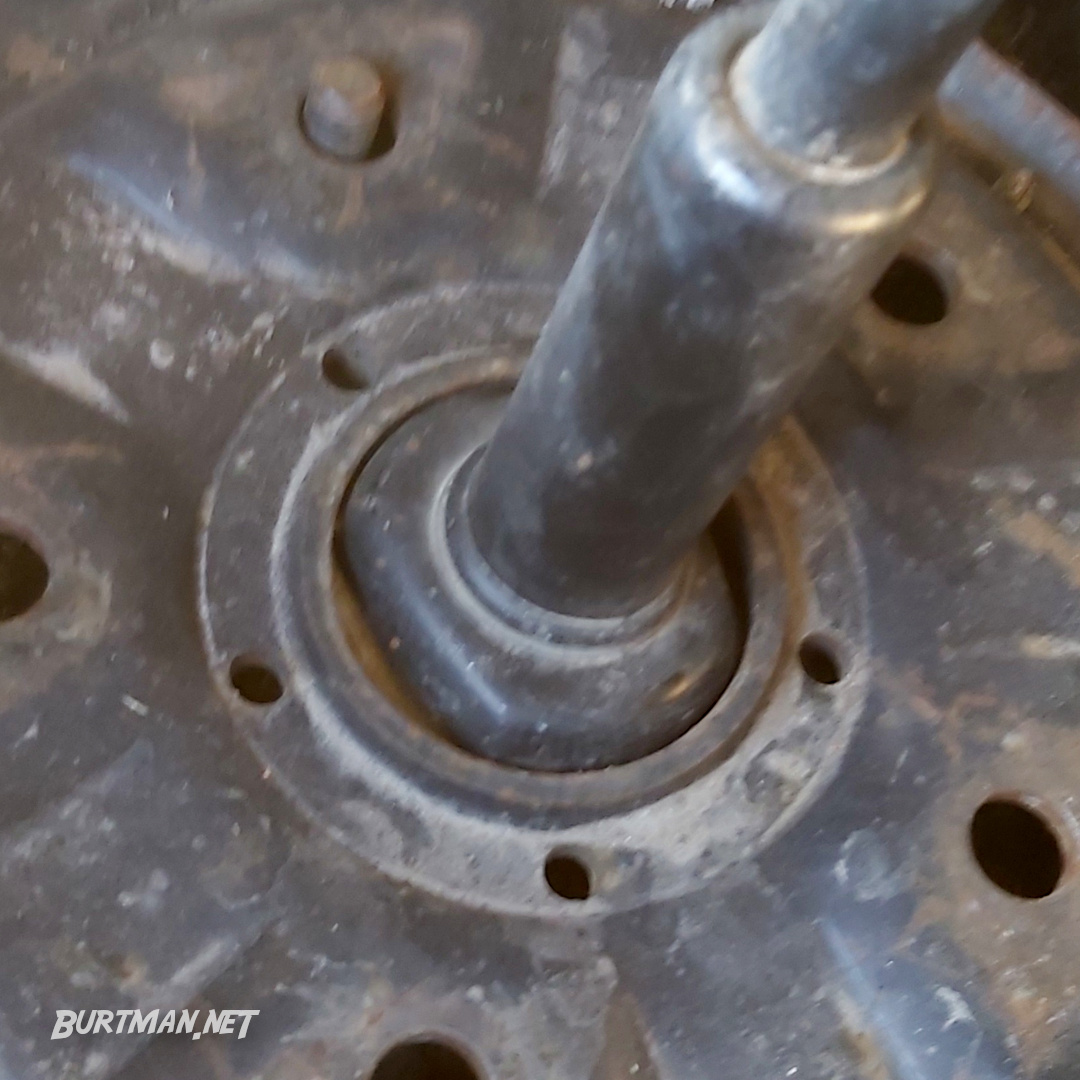
Start winding counter-clockwise and you'll soon see your spare wheel starting to descend. Be careful not to let it squash anything important, like toes. When the wheel touches the ground, keep winding a bit more, to make enough slack to remove the hook from the wheel.
As the wheel descends, the brand new winder cable from ebay shows itself for all the world to see.
The hook is still attached and needs more slack.
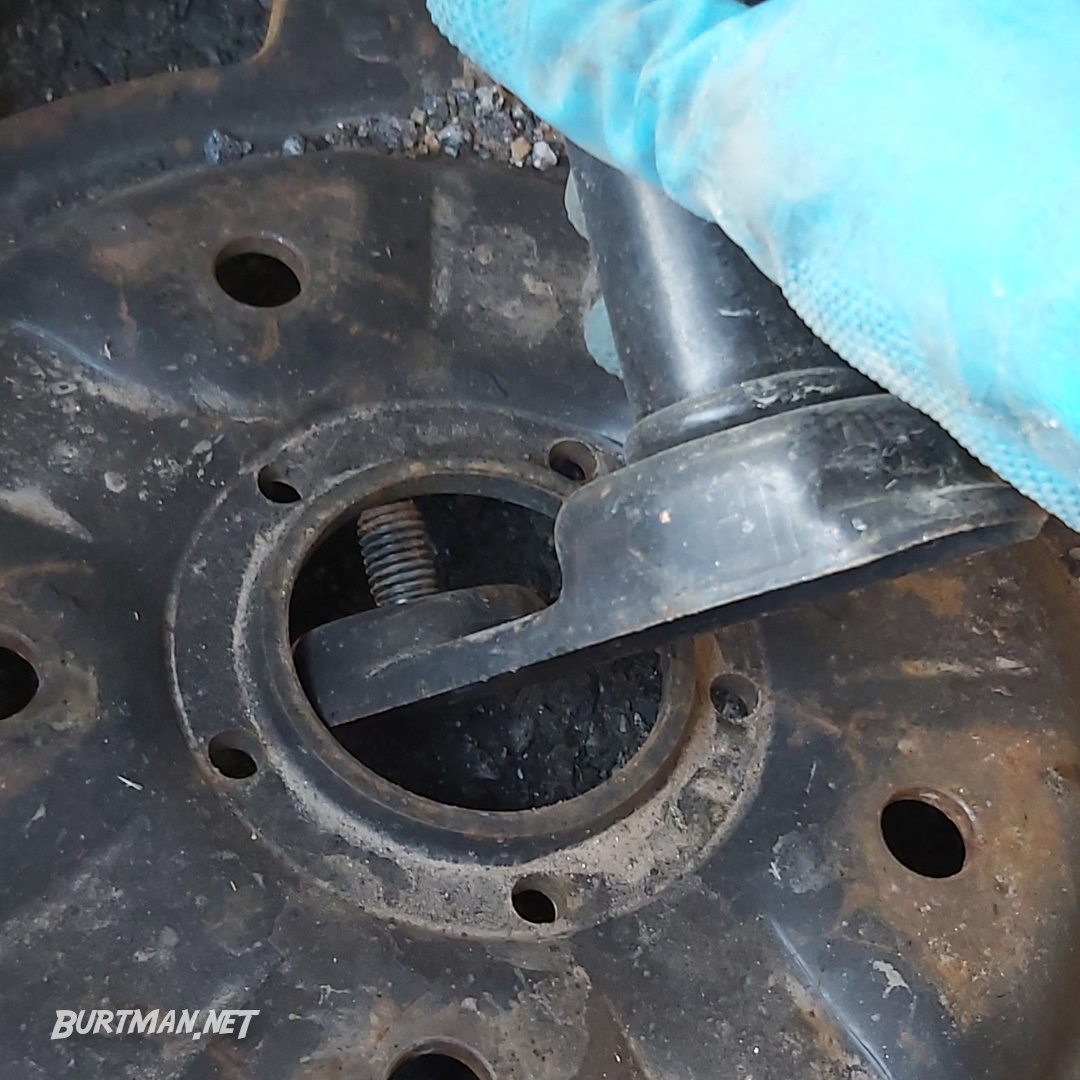
Closer. Warmer.
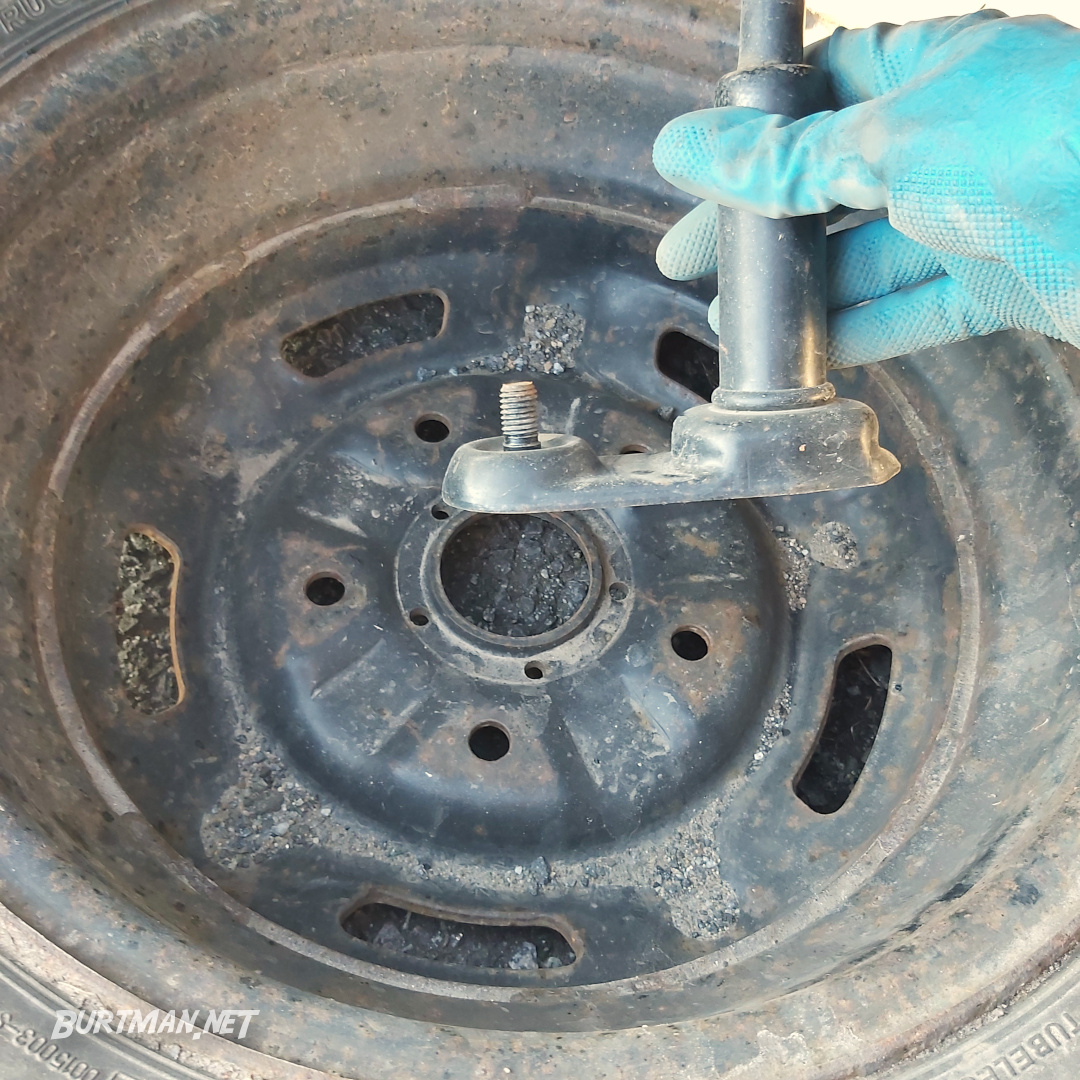
There ya go.
Now you've disconnected the hook, you can pull the spare wheel out from under the van and bring it round to where you will be working. Placing the spare wheel underneath the sill might provide a bit of safety in case the van slips (which it won't, because you followed the guide properly), but chances are, your van is much farther from the ground than your kid brother's Astra, so it's anyone's guess if it'll make a difference.
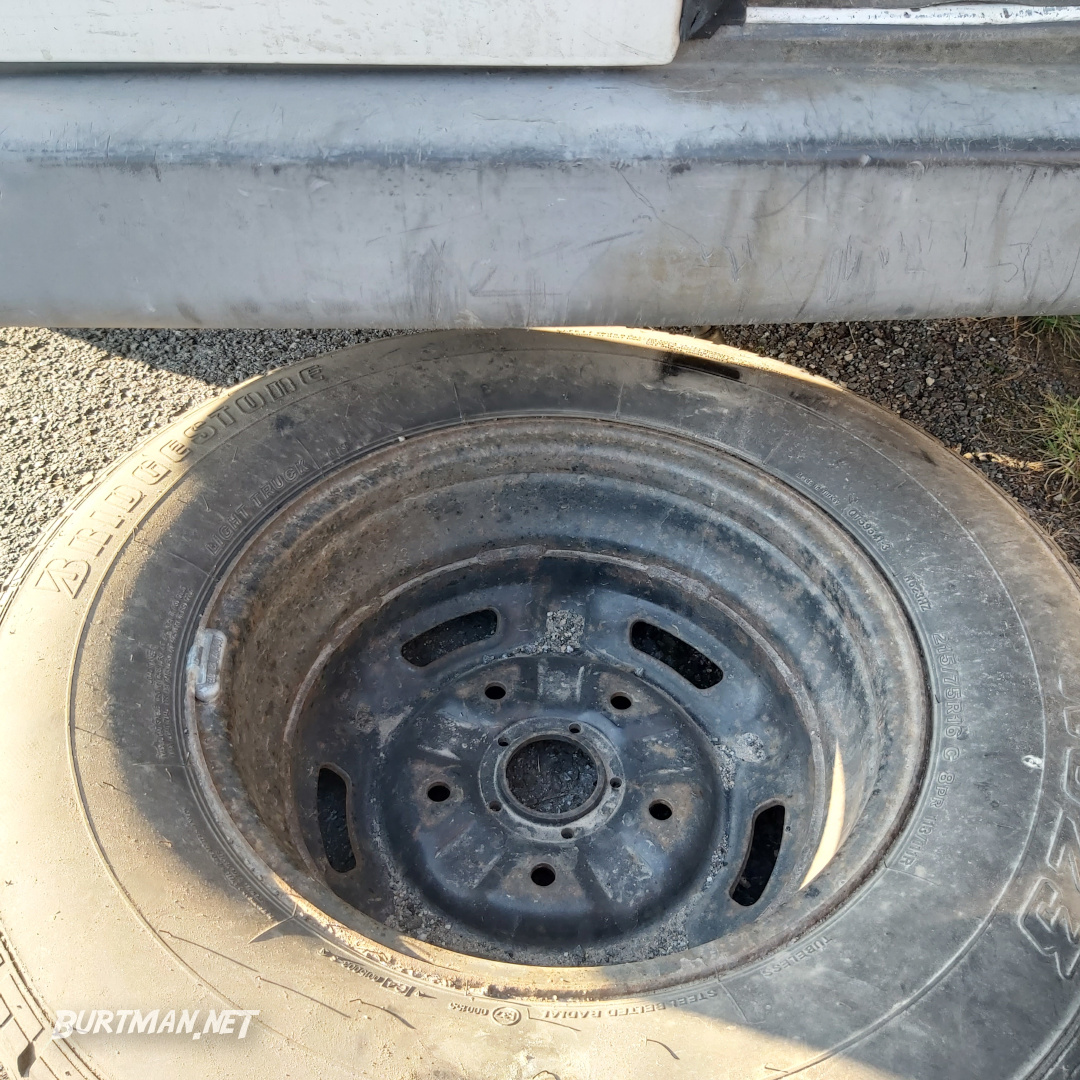
Slide the wheel out carefully and roll it to the work area.
Let's Get That Wheel Off
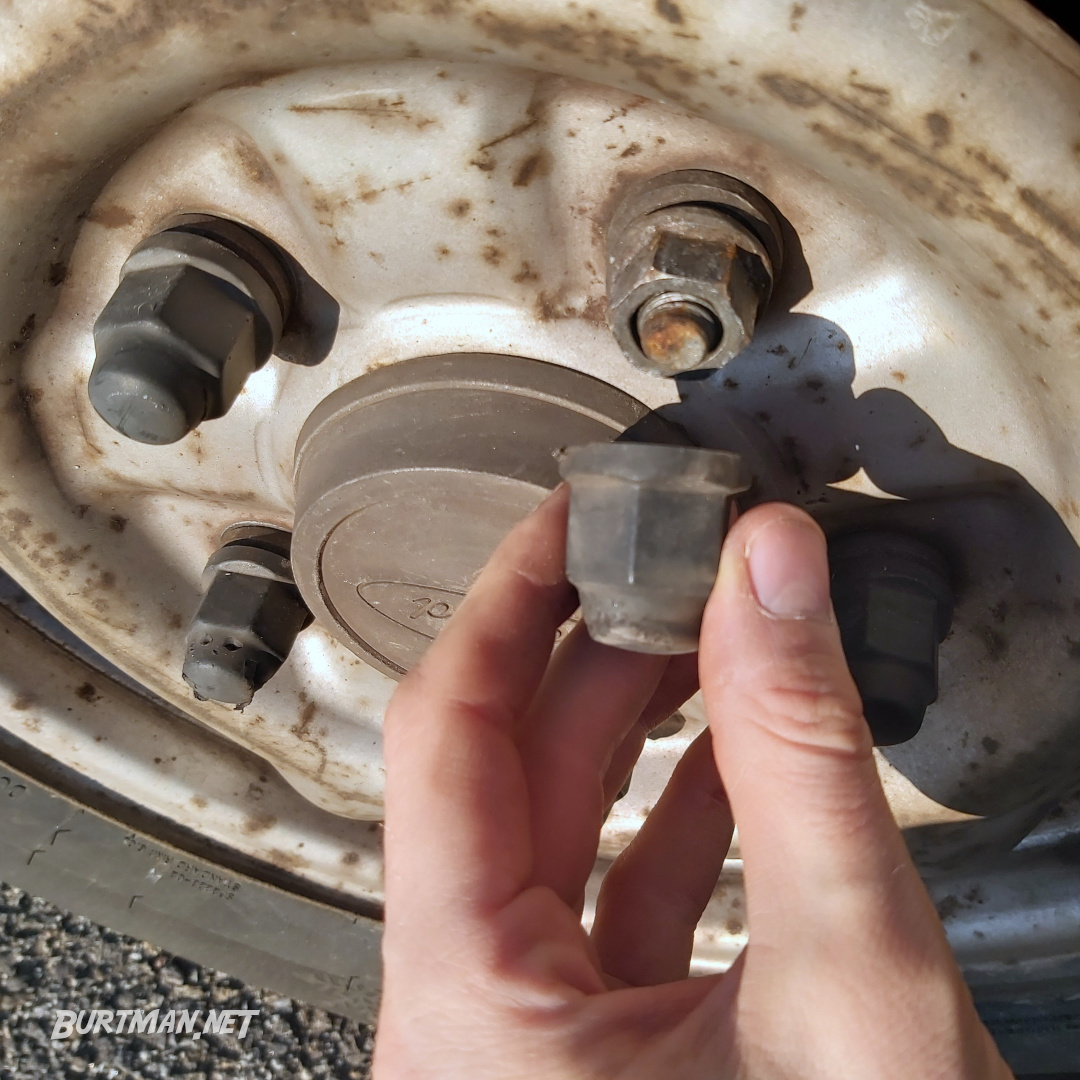
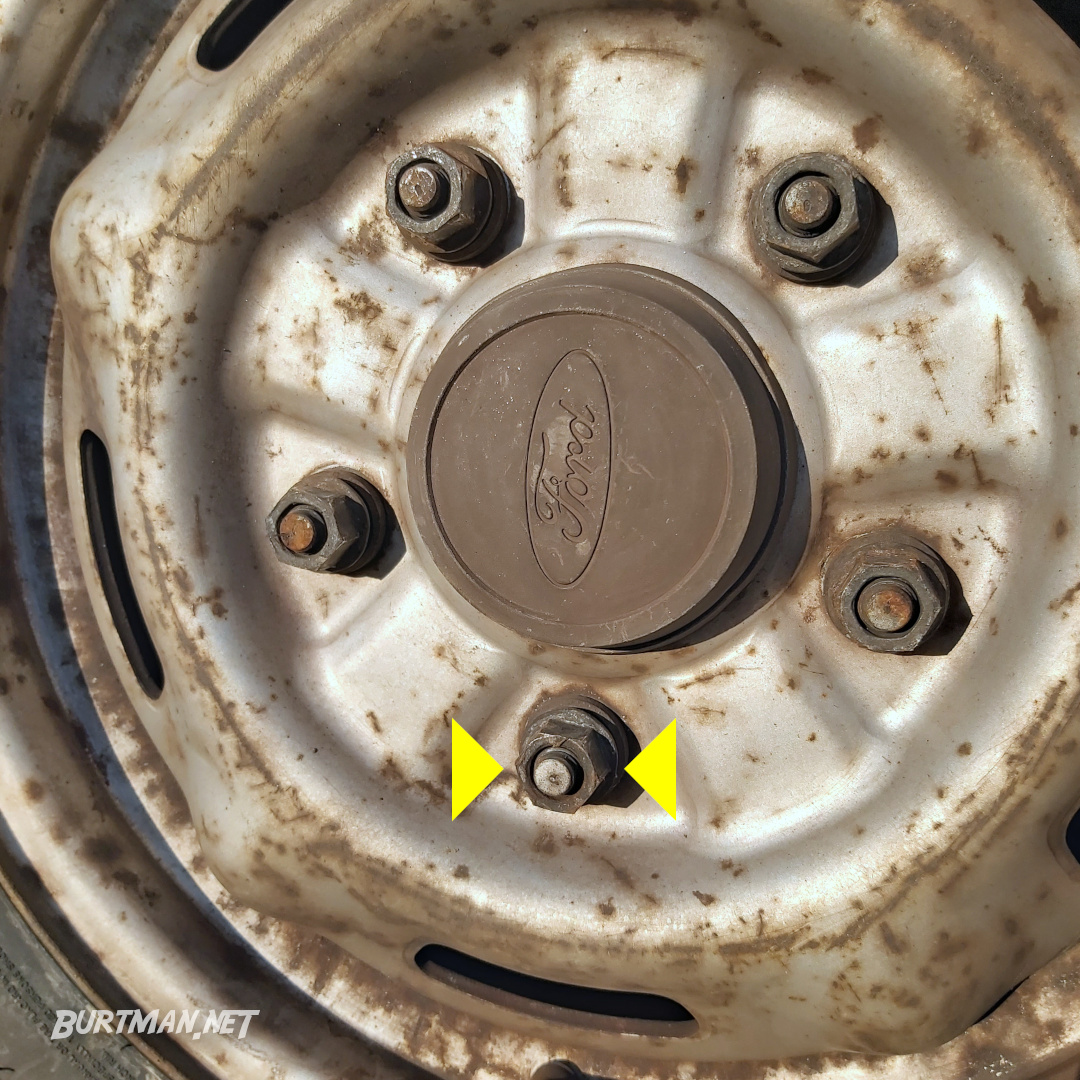
1. Remove the wheel nut caps.
Face it; if you weren't told, you'd be trying to undo the nuts with the caps still on. Yes, you would. Don't deny it.
2. Use the tire iron to crack open the wheel nuts just a little. You won't be able to do it once the wheel is in the air because it will just rotate as you try to loosen the nuts and you'll feel tricked and humiliated.
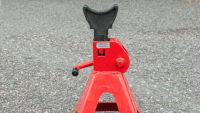
3. Now, follow my guide, ![]() Lifting Your Van, to get your van off the ground.
Lifting Your Van, to get your van off the ground.
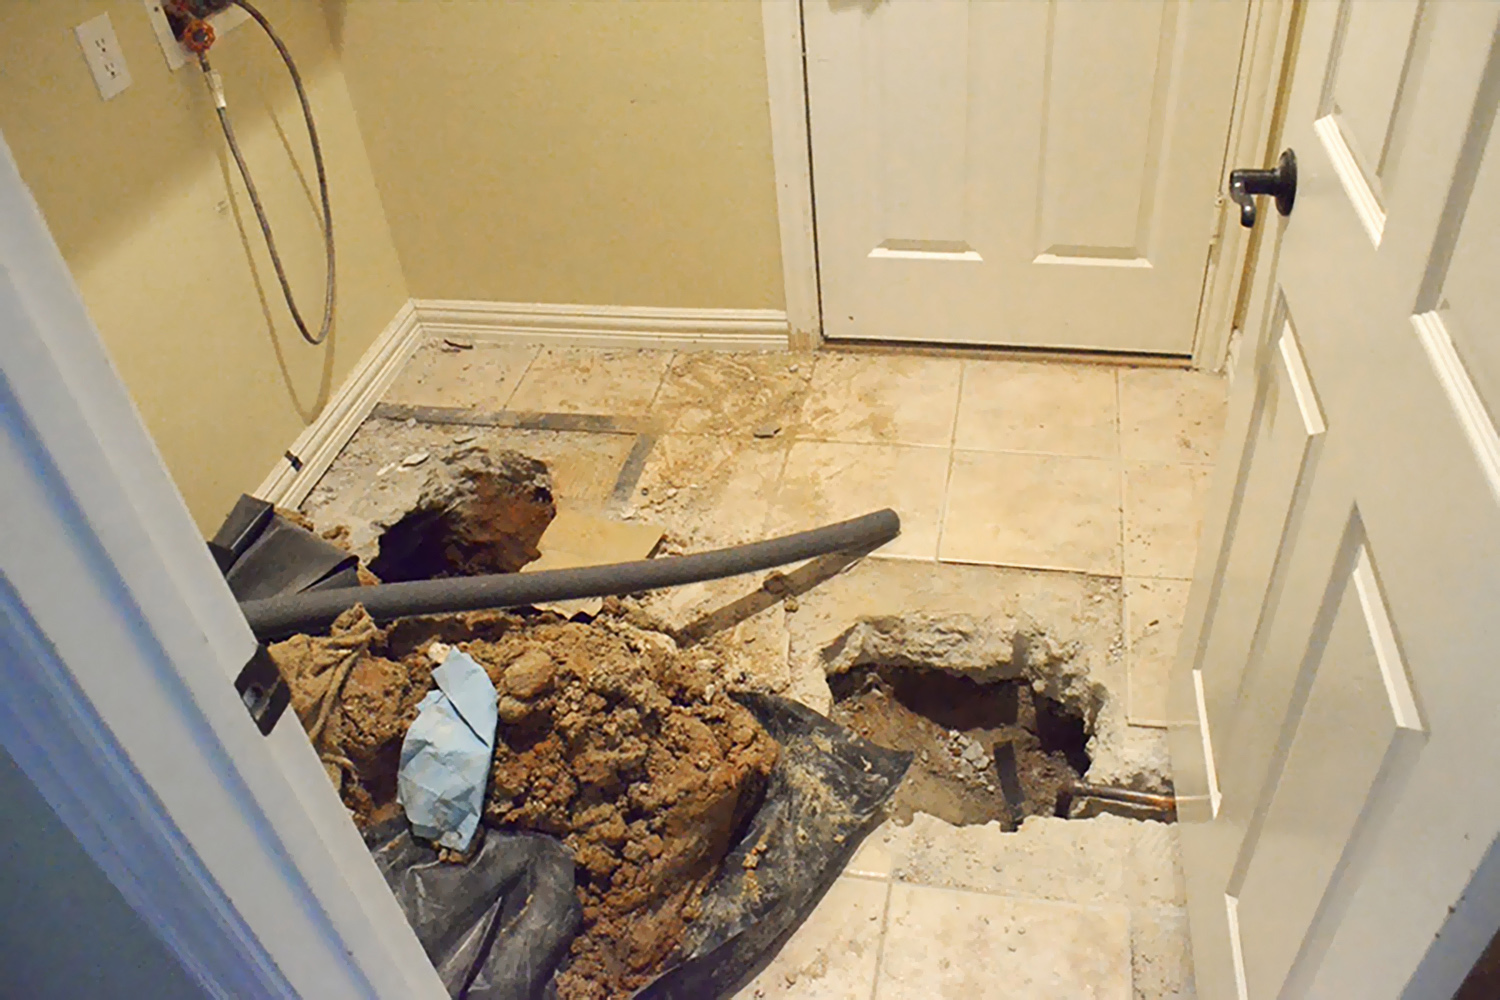
Ah, crap. Didn't follow the guide. Broke the floor.
4. Remove all the wheel nuts except the bottom one. If none are at the bottom, rotate the wheel until one is. Leave that one until the end. Once you get to that last wheel nut, prepare to take the weight of the wheel (it's heavy) and make sure that, in case it falls to the ground, you can prevent it from hitting you or knocking over that coffee you really shouldn't have next to you right now.
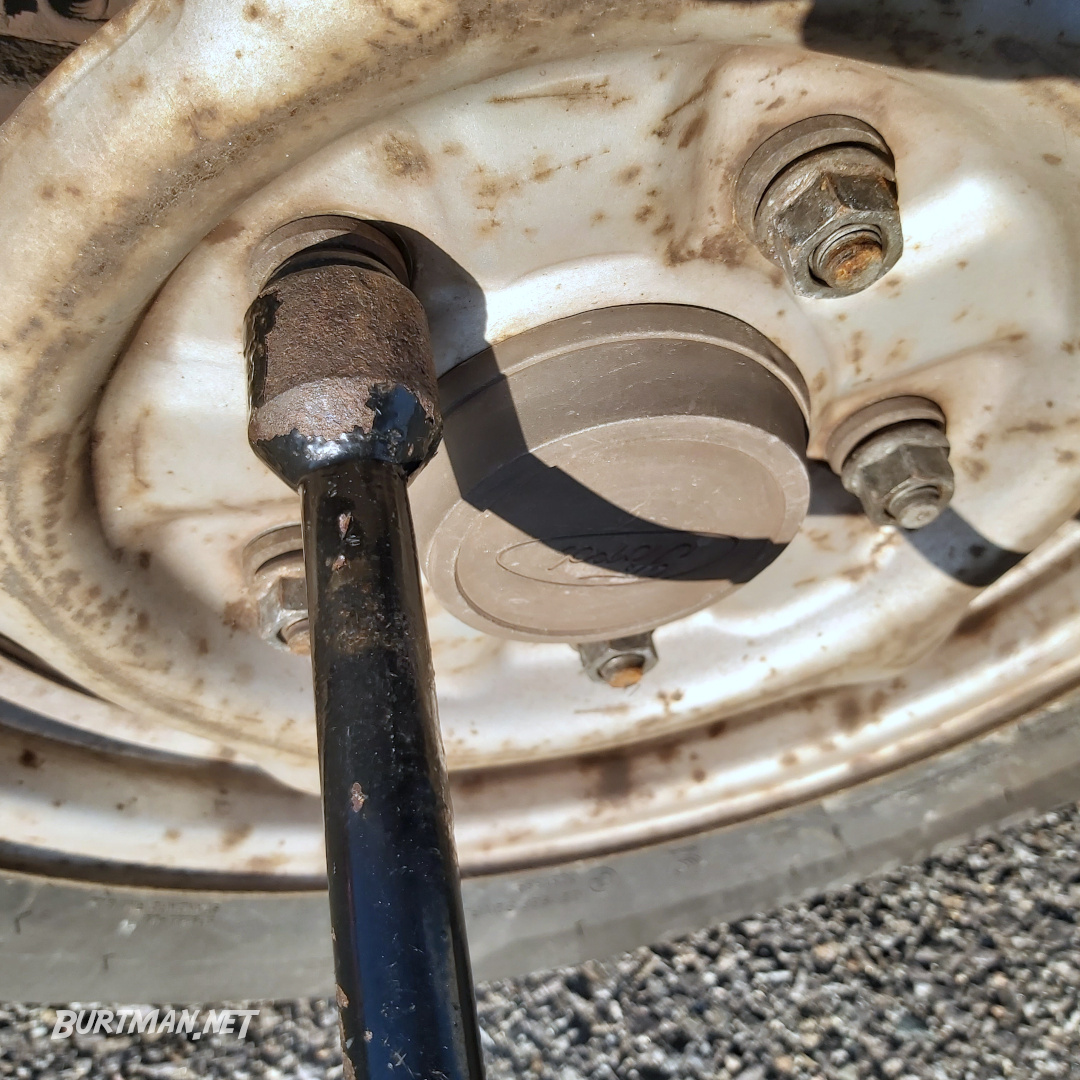
Wheel rotated so that one bolt is at the bottom.
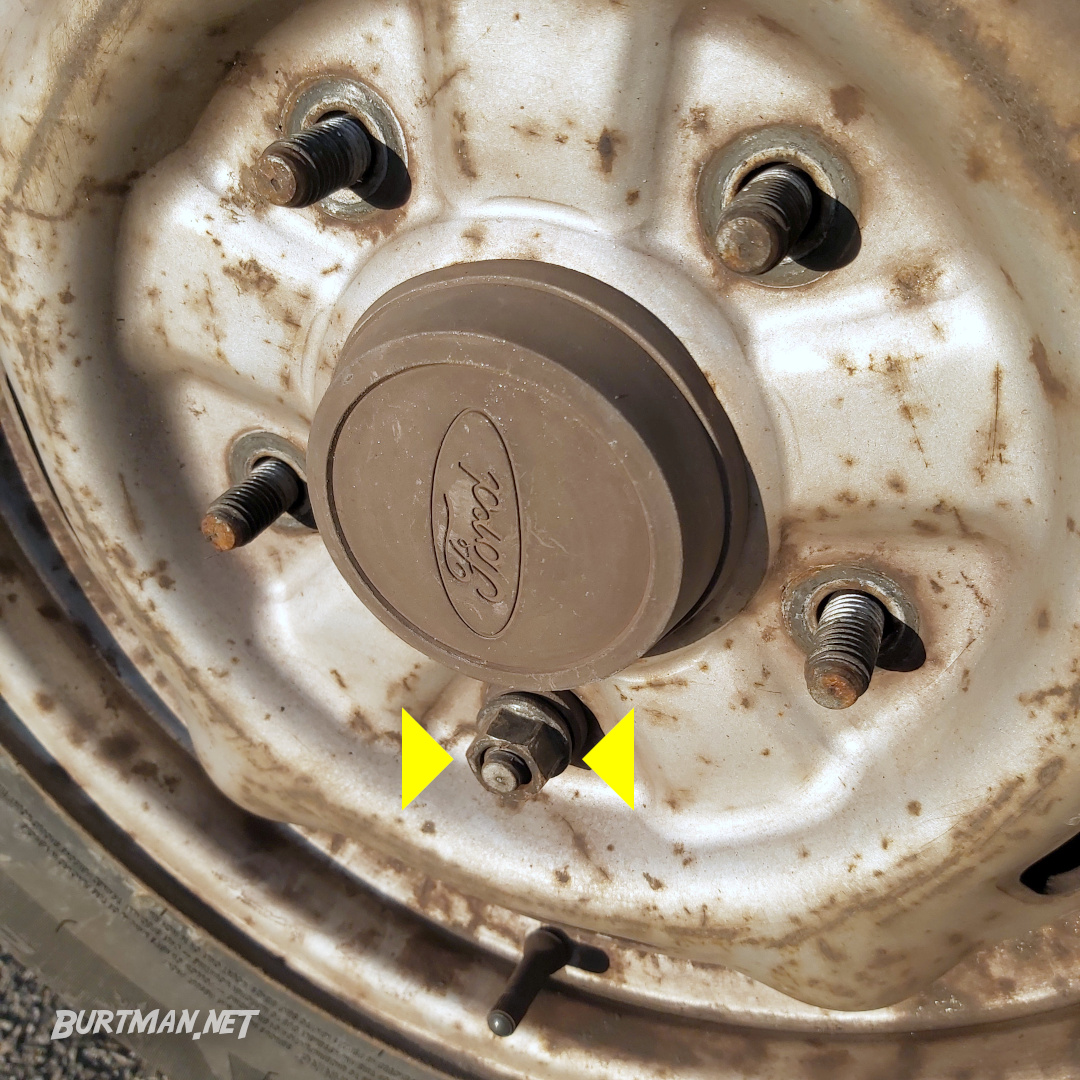
All the other bolts will come out easily. This one will be different. Take care.
If the wheel stayed put when the last nut came off, hold it from below (hands at 4 and 8 o'clock) and move it carefully from side to side until it falls off the hub. If it won't budge, deploy the hammer of Zeus, battering the daylights out of the wheel until it gives in. Then put the wheel down safely, making sure not to catch your fingers underneath it.
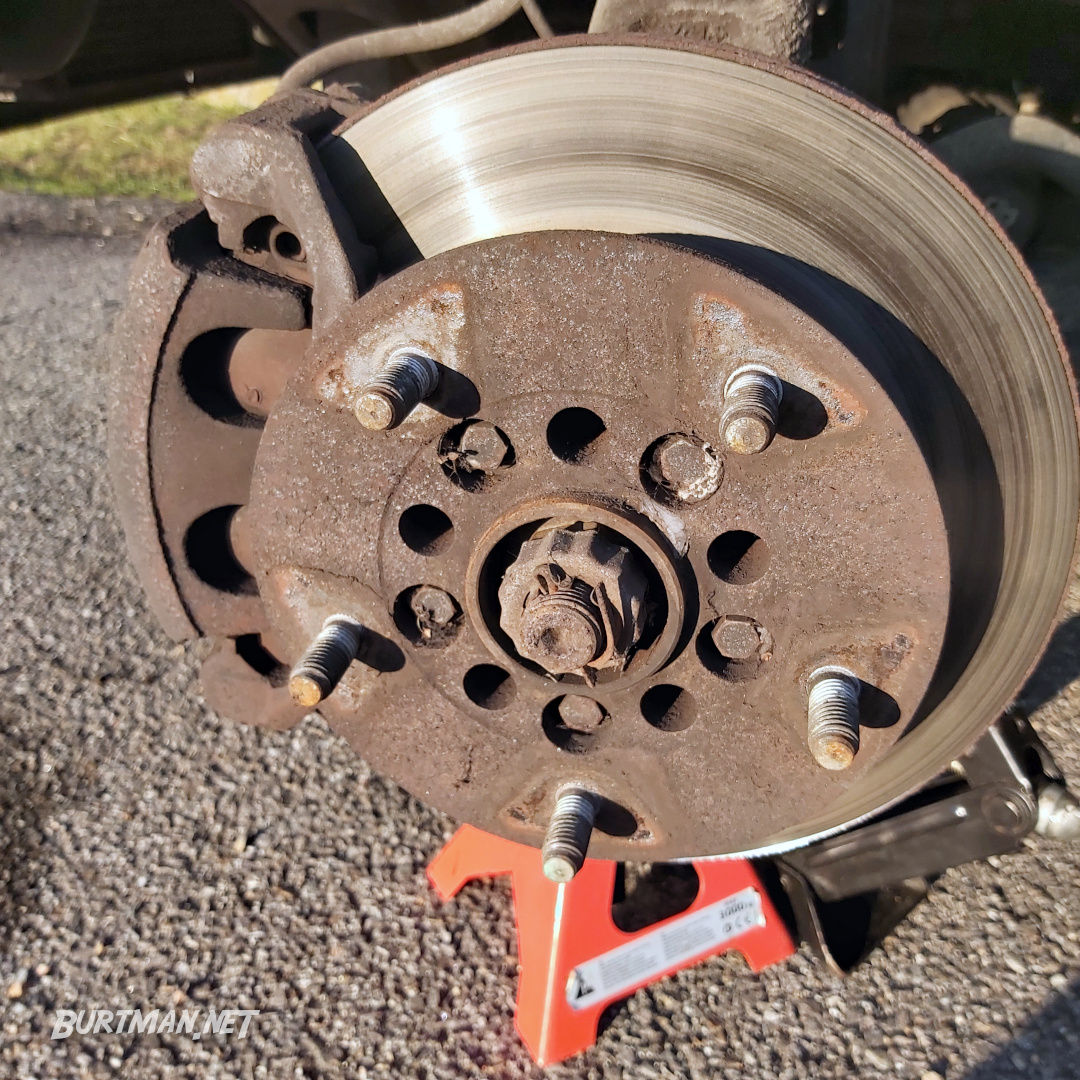
The wheel is off. Congratulations. You are a champion.
Refit
> If you are following this guide as part of a repair, go back to that article now and do the work, then return here to refit the wheel.
In the case of changing a wheel, lift the replacement wheel onto the bolts you see here. If putting the same wheel back on, well, I think you can see where I'm going. Be careful when lifting the wheel; it's pretty heavy and you can definitely hurt yourself if you aren't careful. It's best to put your knees on the ground on either side of the wheel and keep your back straight. Lift the wheel carefully and evenly.
5. Depending on whether you have nuts or bolts holding your wheels on, you may have a screw thread that you can lift the wheel onto, or there may only be holes in the wheel hub. In either case, you will need to locate the wheel onto the thread or in line with the hole, so you can fit the bolt. A bolt located at the top will be far easier to fit. Once you have one nut holding the wheel in place, you can rotate the wheel and fit the one on the opposite side. With two fitted, the rest will go in easily.
Do not tighten the wheel nuts firmly at this stage. Just make sure they are all in most of the way. If you tighten them too much now, the wheel will not be centered properly, and that's just a bad idea.
6. Tightening the wheel nuts needs to be done evenly to ensure the wheel is fitted properly. If you have four wheel nuts, hand-tighten the bottom one first, then the top, then left, then right. If you have five wheel nuts, start at the bottom and then pick a direction and skip every other nut until you have done all five. Then wiggle the wheel as much as you can and go round again. Repeat this until the wheel doesn't wobble at all.
7. Once you reach a point where you cannot hand-tighten the nuts any further, give them a little go with the tire iron. Quick jolts will get them pretty snug. Then get the jack in the lifting position again, take the van up a pump or two, and remove the axle stand. With that out of the way, carefully loosen the pressure valve on the hydraulic jack with the jack handle (or start winding the scissor jack counter-clockwise), until the van starts to move downward. Don't loosen the pressure valve any further, as the speed at which the van will drop can increase dramatically with a slight turn of this valve. Safer to wait for it to come down slowly.
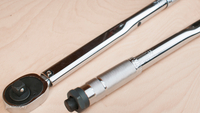
8. When the wheel touches the ground, stop the jack. Give the wheel nuts another go with the tire iron, in the same pattern as before, making them fairly tight, and then let the jack down the rest of the way and remove it. Once the van is back on the ground, get your torque wrench out with the correct socket for your wheel nuts and make sure you set it to the right setting. The right setting can be found in your handy owner's manual, which you have to hand at all times. Now, just tighten each nut in the same order as before, until the wrench clicks and dislocates. That's how you know your wheel nuts are tight enough but not too tight.

My wheels go to 200Nm. That's 196 + 4. Can you see how that works? There's a guide in the  Torque Wrench profile.
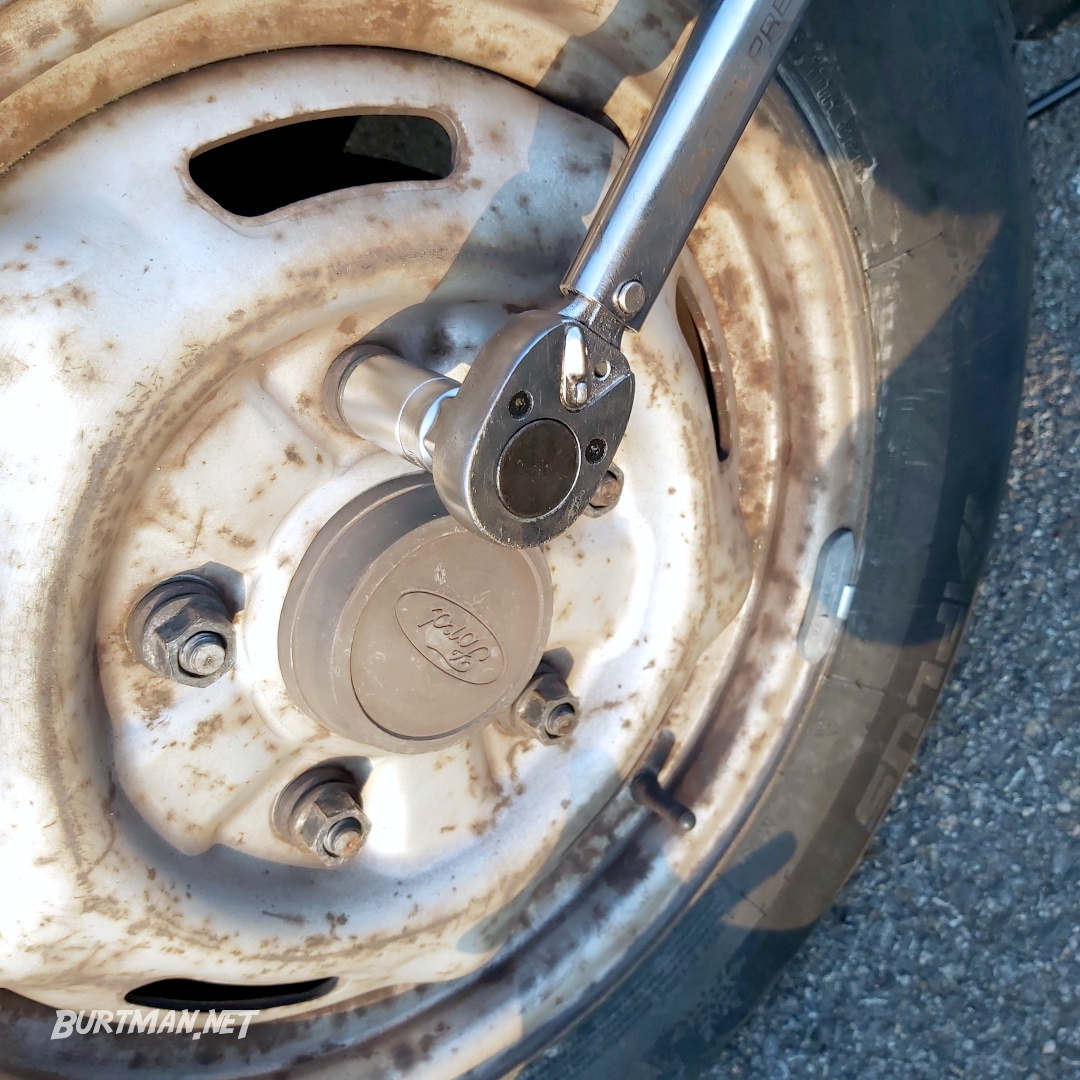
Torque the nuts as specified in the owner's manual.
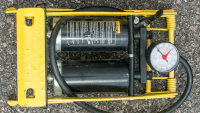
If you've just fitted a spare wheel, chances are, you'll need to pump it up a bit. Unscrew the dust cap from the tire valve and press your pressure gauge onto the valve to find out how much pressure the tire has. Your tire will tell you the maximum pressure it can tolerate. As a general guide, I go to 90% of that (69PSI max → 62PSI actual). If the pressure in your tire is already too high, you can just press on the center pin of the valve to let some air out. If it's too low, attach the foot pump and get busy. When the needle points at the correct pressure, flip the pump's clamp lever and remove the nozzle from the valve quickly, so you don't let out too much air.
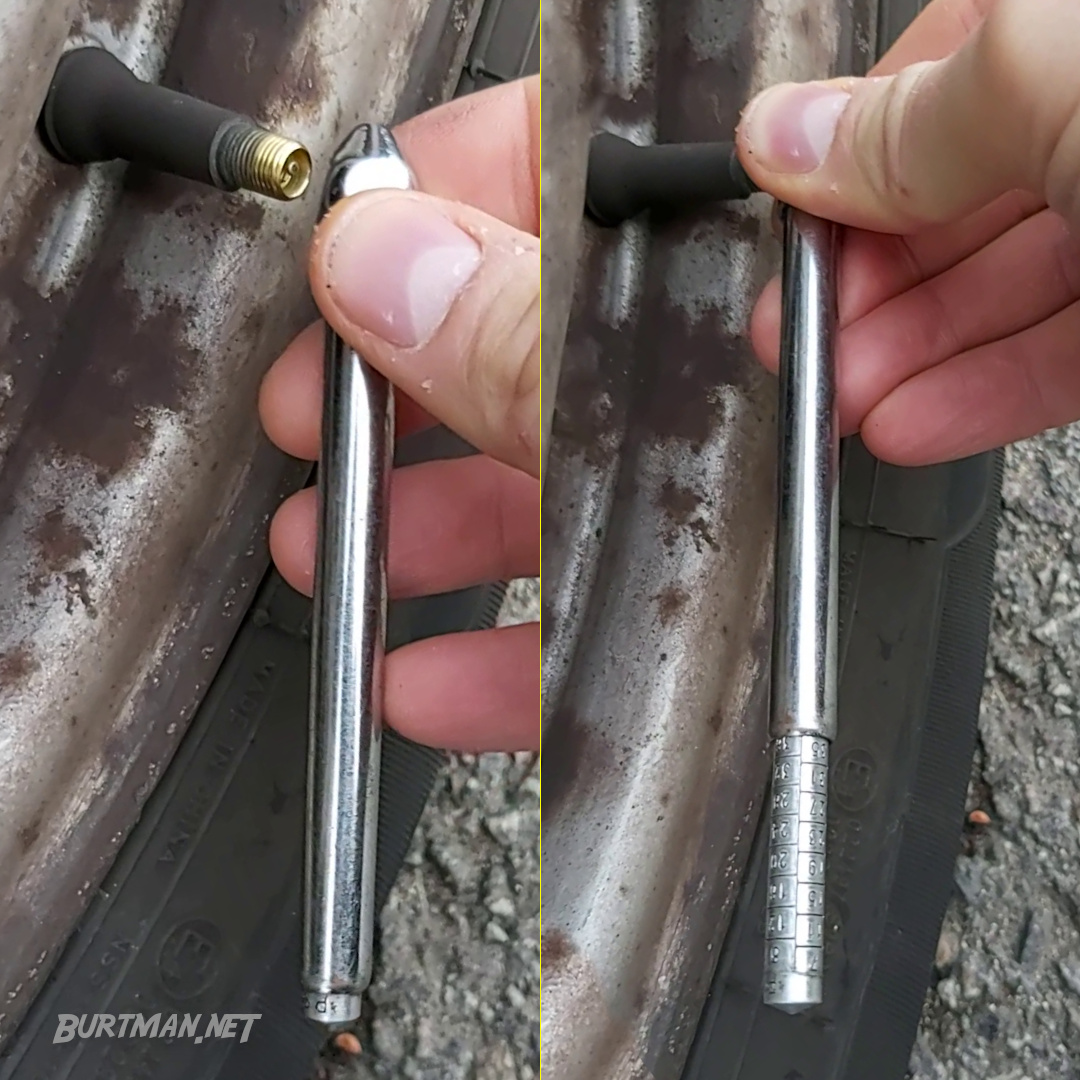
Checking tire pressure with the pressure gauge.
Sign In To Leave A Comment
There are no comments marked as public for this item.
Stay Up To Date