Change Auxiliary Drive Belt
 Maintaining Your Van
 Read around 2,200 times
 For Everyone
Updated:
Always make sure your belt is the correct length and width prior to starting this job. The correct type can usually be located by telling the parts retailer your car registration or VIN.

Not to be confused with the cam belt or drive belt, the auxiliary drive belt only drives auxiliary components (alternator, water pump, power steering pump, brake vacuum pump, etc.), whereas the cam belt or drive belt keeps your engine in sync with itself. If you want to change your own cam belt, you must be extremely careful to lock your cam shafts and crank shaft before removing the belt, or you will risk destroying your engine. That is a job this site won't be covering.
Now that we've got that out of the way, let's have a look beneath the hood and see what we're dealing with.
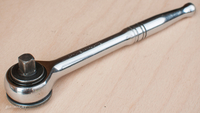
The first thing to do is to locate the aux belt tensioner and fit a breaker bar into its socket. It is usually square, so a ⅜" socket head will fit into it without a socket attached.
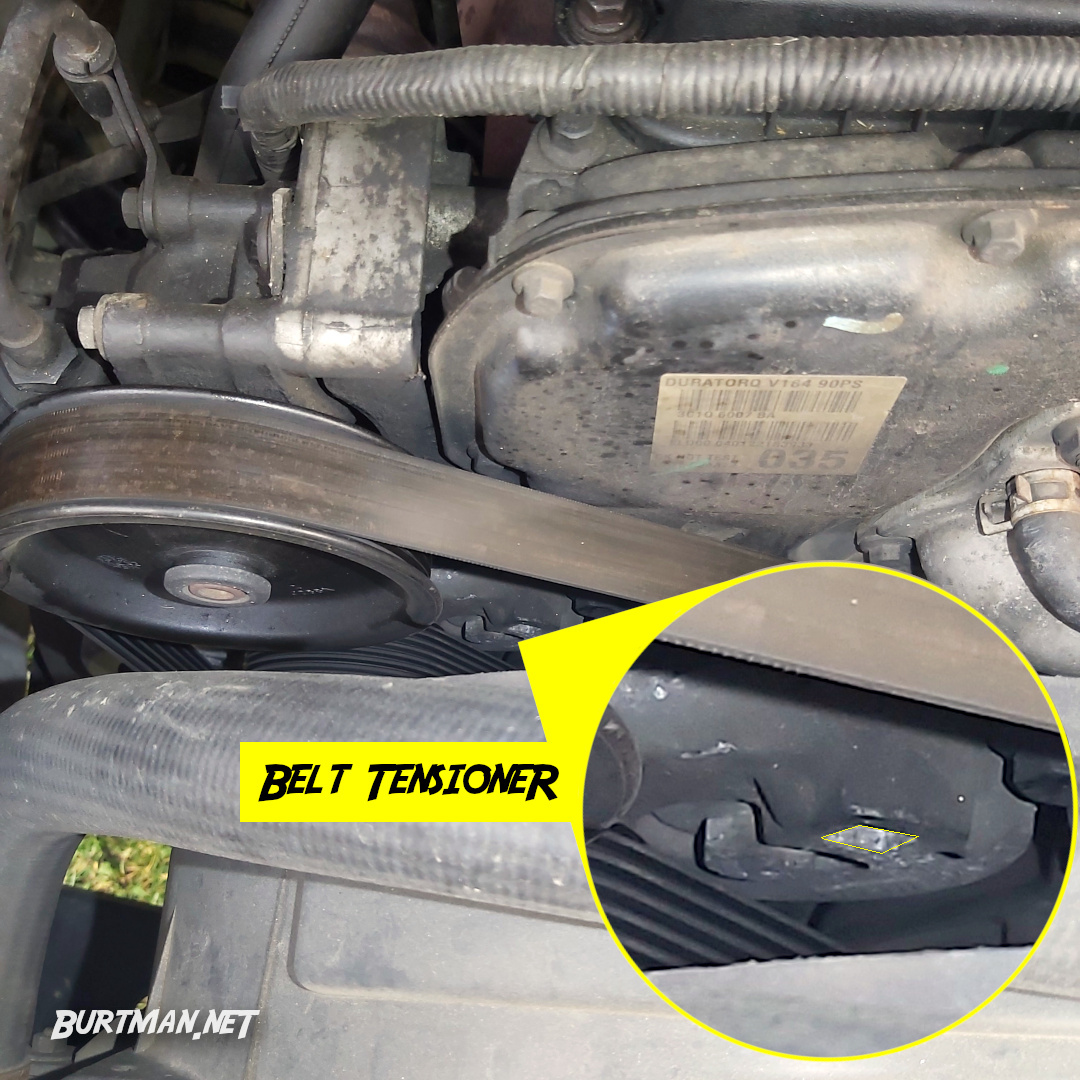
There it is.
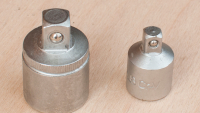
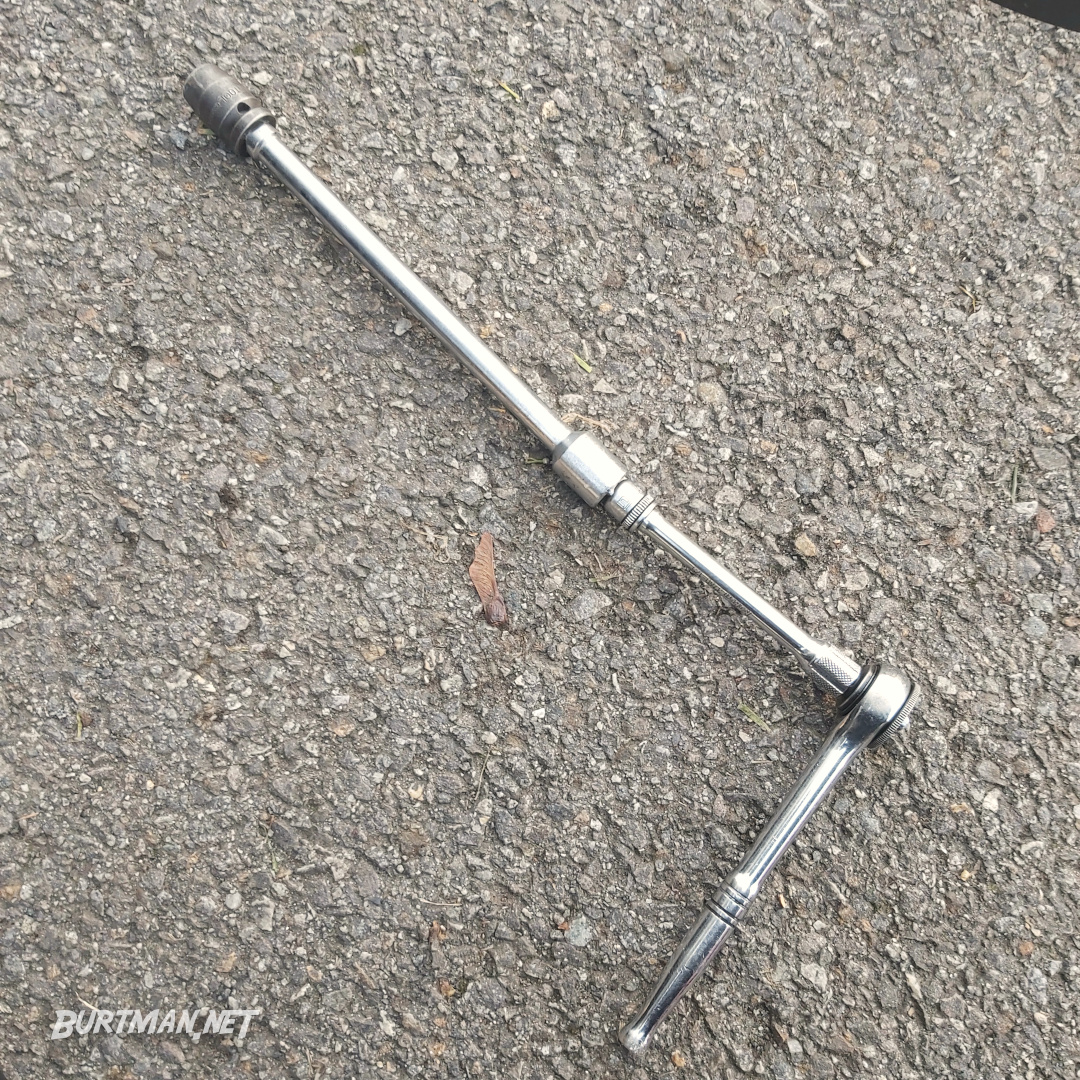
If you're using a breaker bar, as you really should be, chances are it's at least a ½" fit, so you will need to use a step-down adapter to reduce that to ⅜".
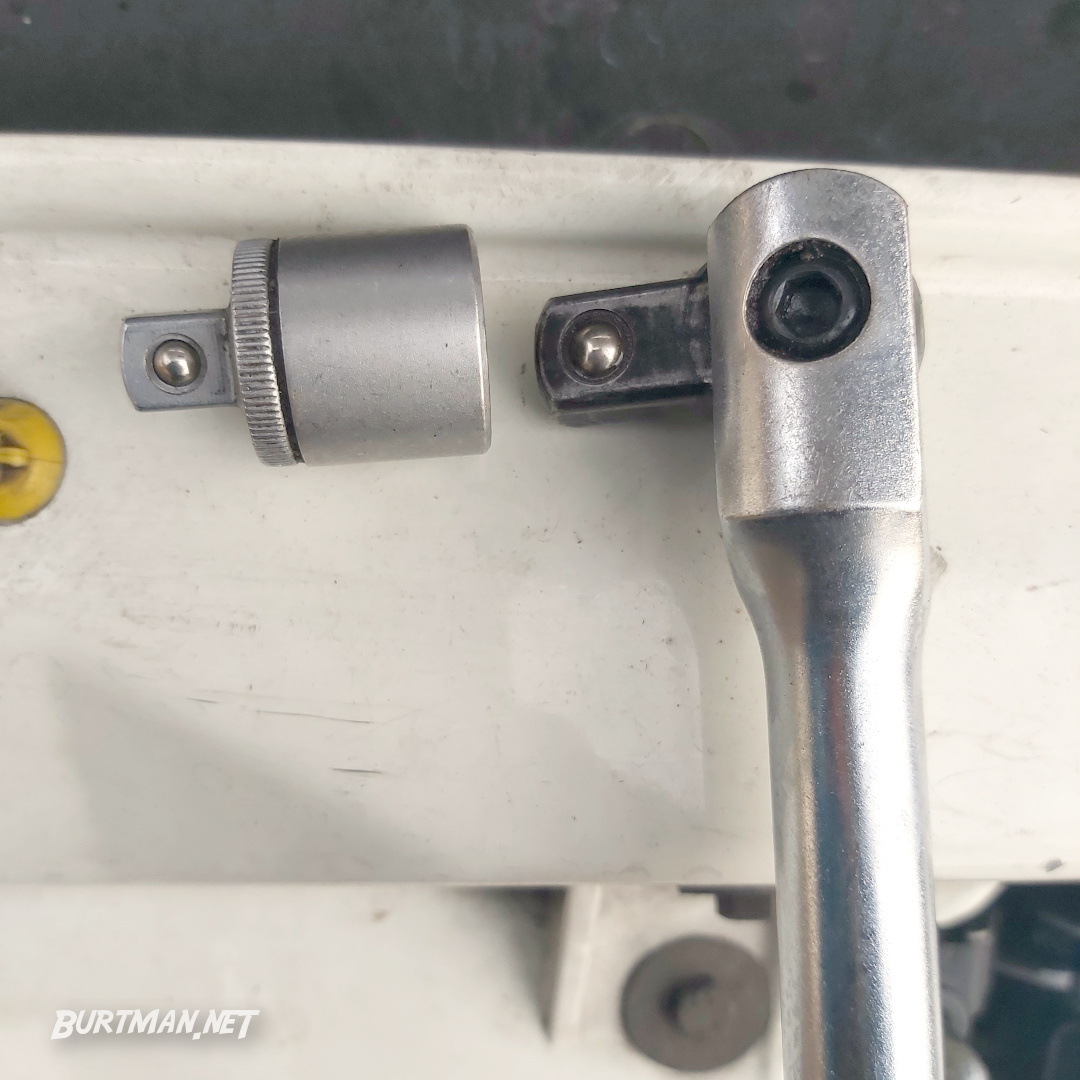
Breaker bar and step-down adapter.
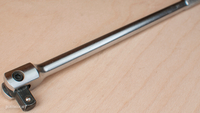
Fit the breaker bar into the receiver socket and pull the bar to the left to release belt tension. You will need to hold this position until you have removed the belt from the first pulley (whichever one you choose). The belt tensioner is spring-loaded, as you'll know by now, and it will happily trap your fingers or sock you upside the head with that breaker bar. Don't trust it. Get your fingers clear and release the tension slowly and carefully.
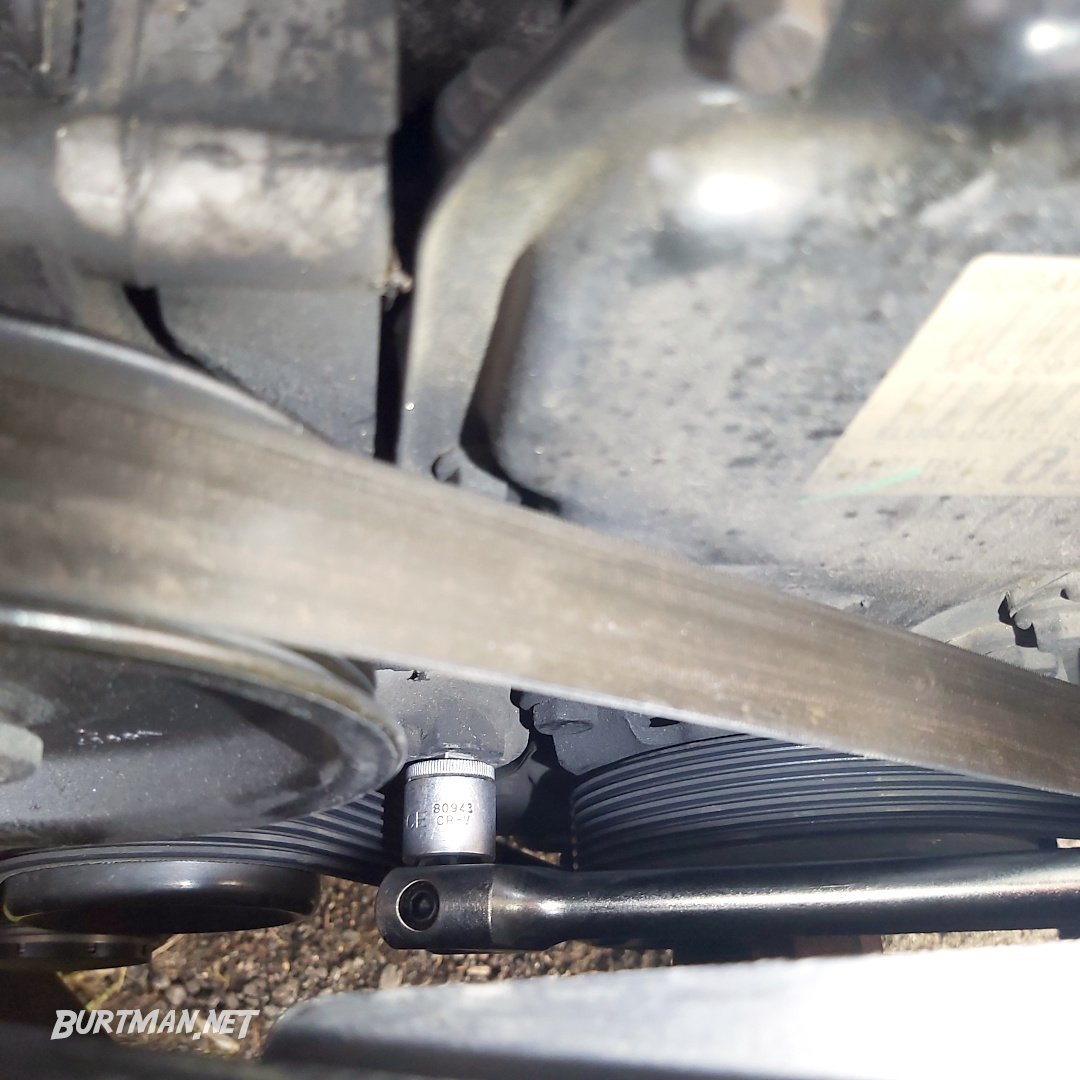
Breaker bar firmly attached to the tensioner socket.
Carefully pull the belt out from all the pulley wheels, making sure to note the belt path, so you don't spend the next half hour trying to figure out how to get the new belt back on. If you don't know exactly how it goes on, go and check the belt path for your engine online before proceeding.

An example belt path diagram.
If you have a separate air-con belt, as my van does, you might need to remove that belt in order to remove the aux drive belt, as the air-con belt will be mounted in front of it, blocking your removal path. If you do need to do this, keep reading. If not, you can skip the rest of this article and just refit the new belt with the tensioner suppressed as before.
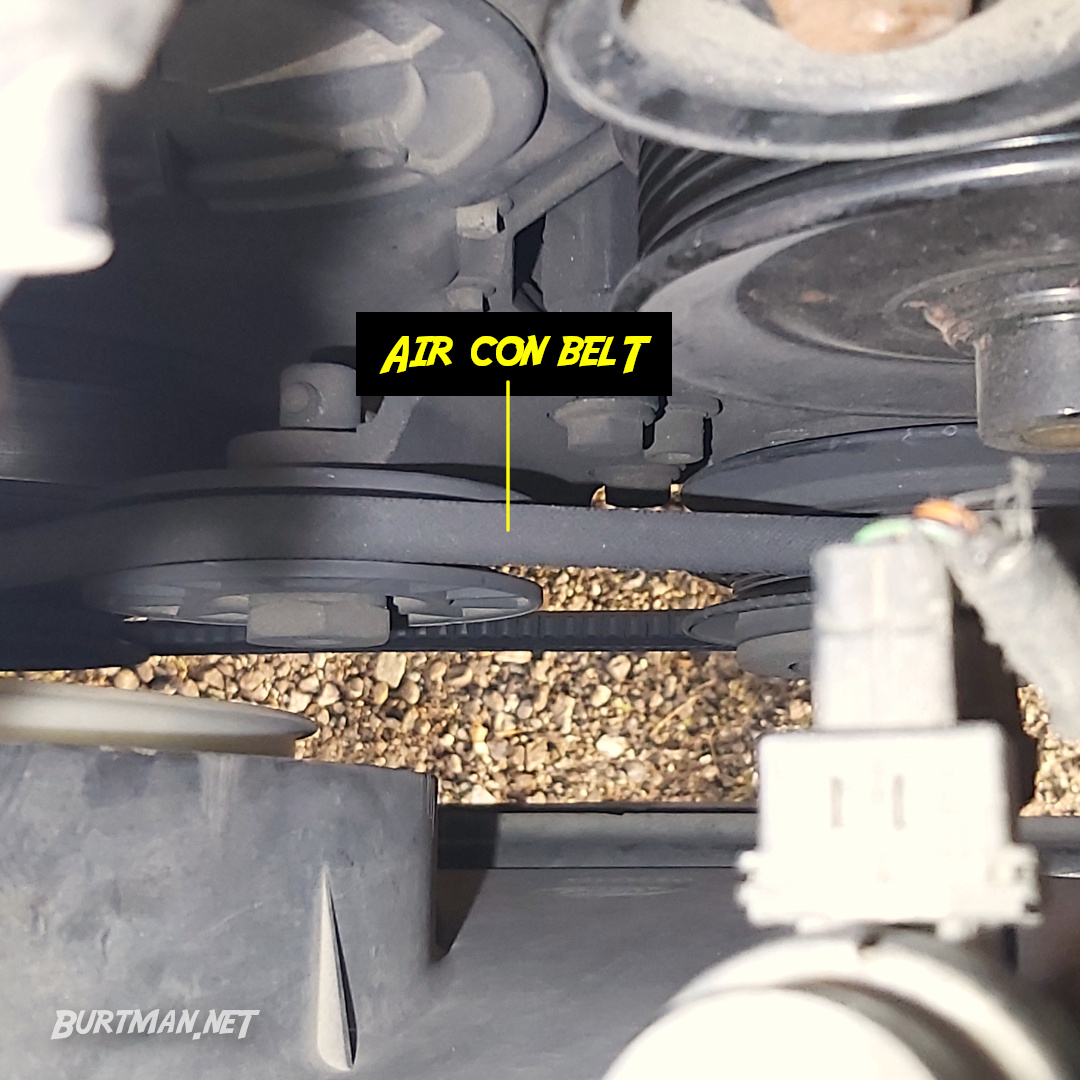
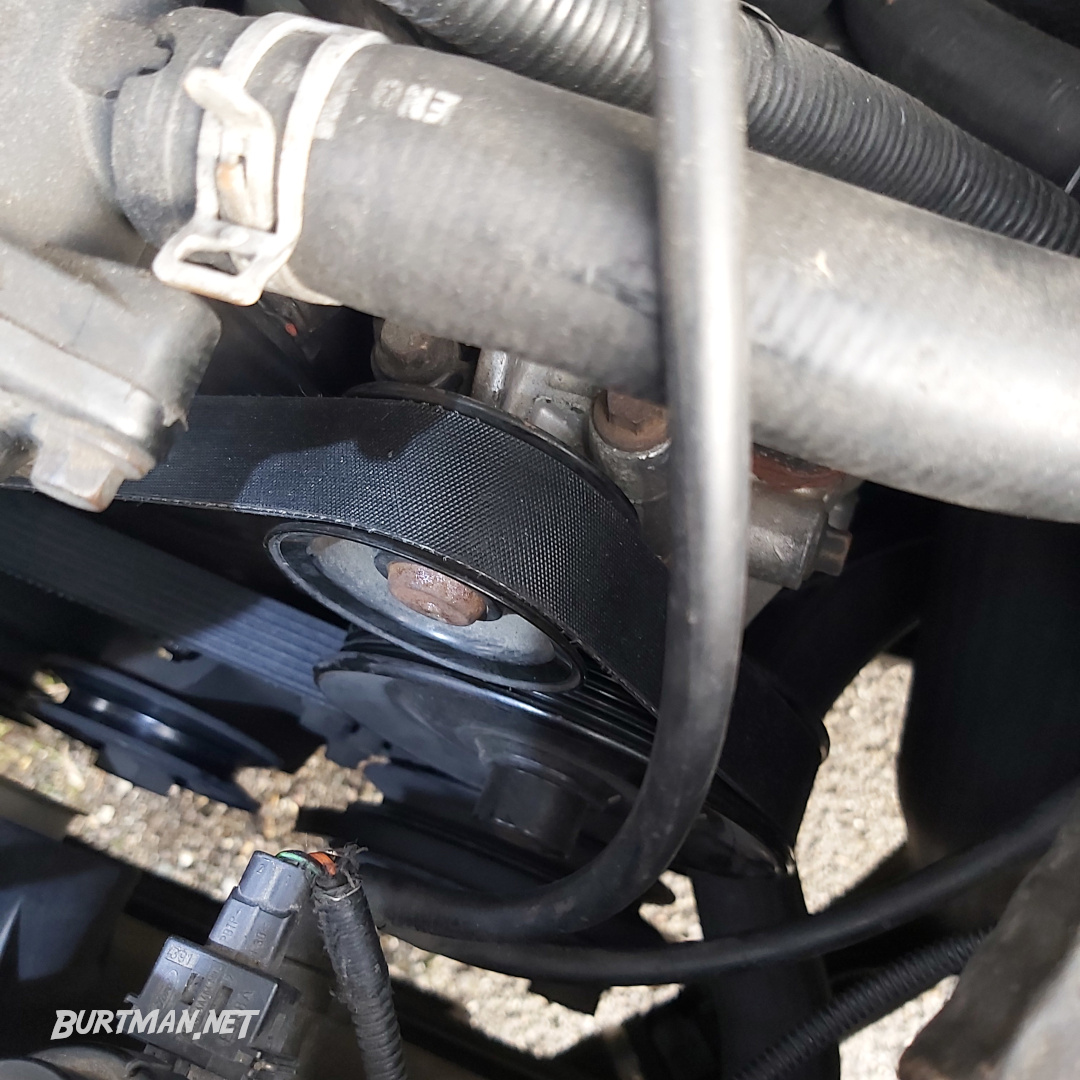
Air-con belt.
To remove the air-con belt, you will probably need to get on your back, so put something down to stop your clothes getting filthy. The job itself isn't dirty unless your engine bay is disgusting (and it might be).
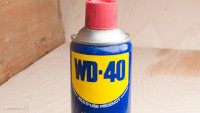
You'll probably need a long ratchet extension to reach the tensioner nut, so jam together a few bars and grab a can of WD-40 in case the nut is rusty (it will be).
Don't be shy.
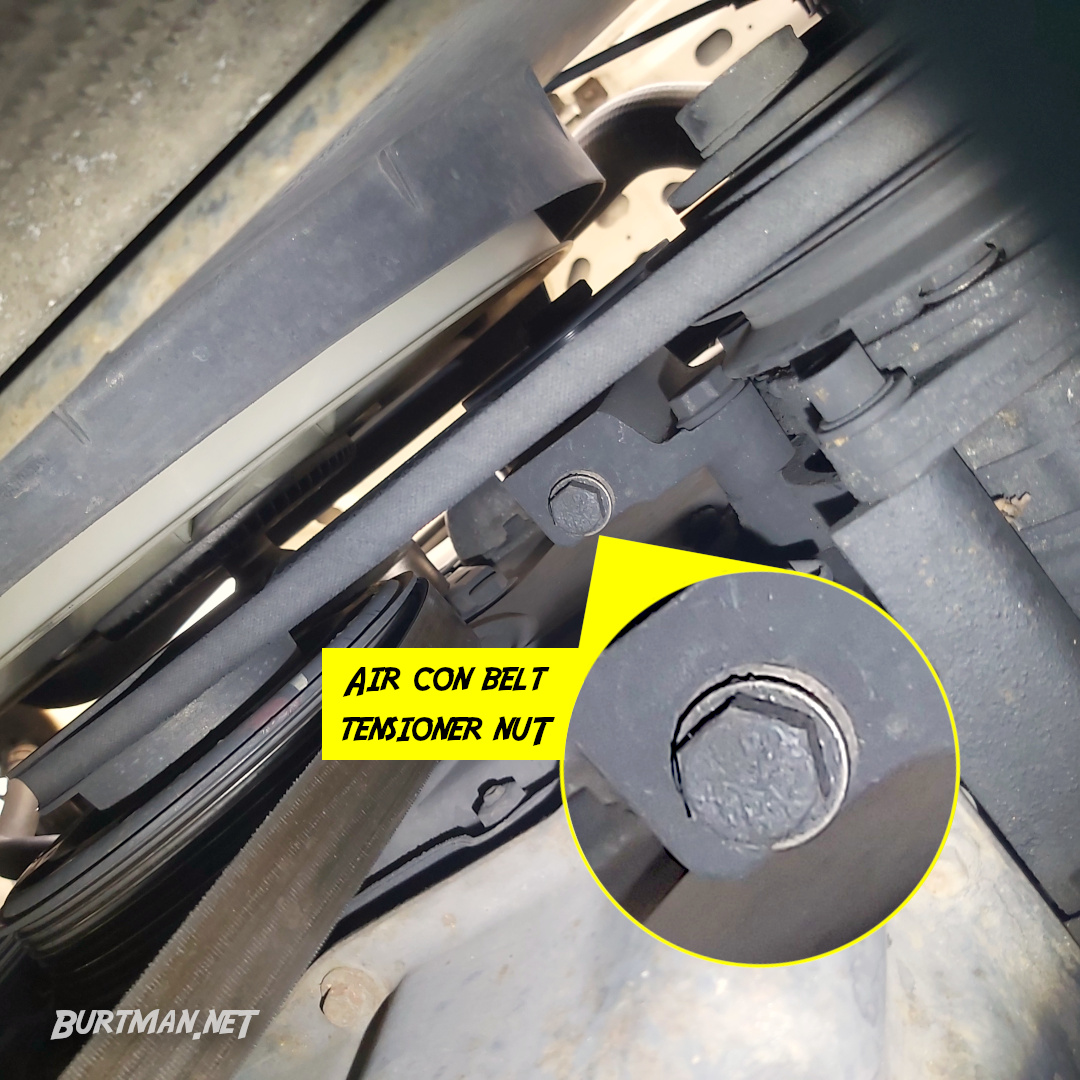
Locate the air-con belt tensioner nut.
If this nut is rusty of gunked up with road filth, spray a bit of WD-40 on the nut and on the thread that runs through it. Give it a few minutes to sink in and then start turning the nut. It will likely need to be turned in the opposite direction than you would think, so if you can't get it to undo, try doing it up.
Once the air-con belt tensioner is loose enough to remove the belt, slip it over the smallest wheel (probably the tensioner itself) and remove it for inspection. With the belt removed, examine it for signs that it might need replacement. Some subtle signs can be seen on the belt I took off today.
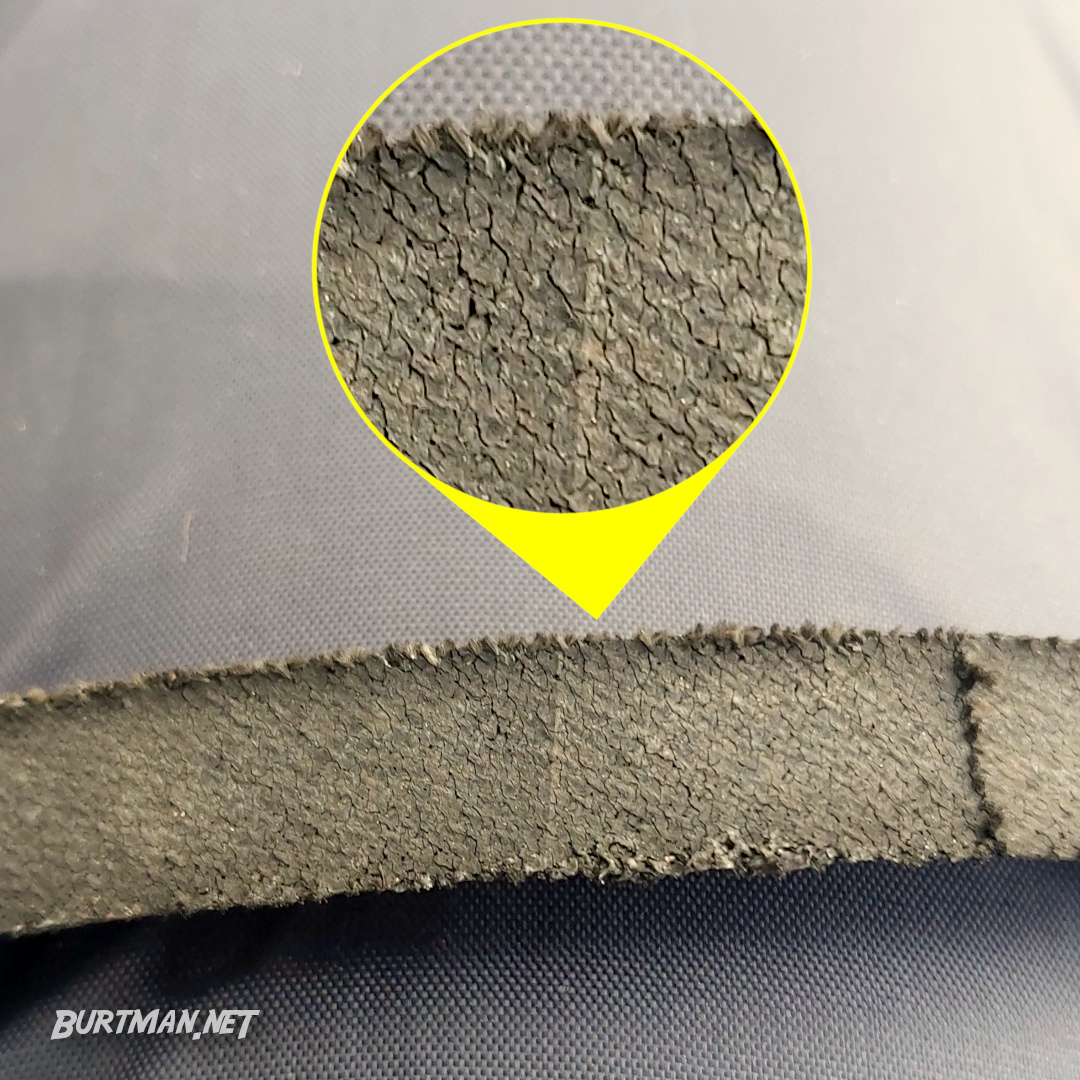
Cracks and fraying mean it's replacement time.

Cracks that look like you made them with a saw are indications that you should have done this three years ago.
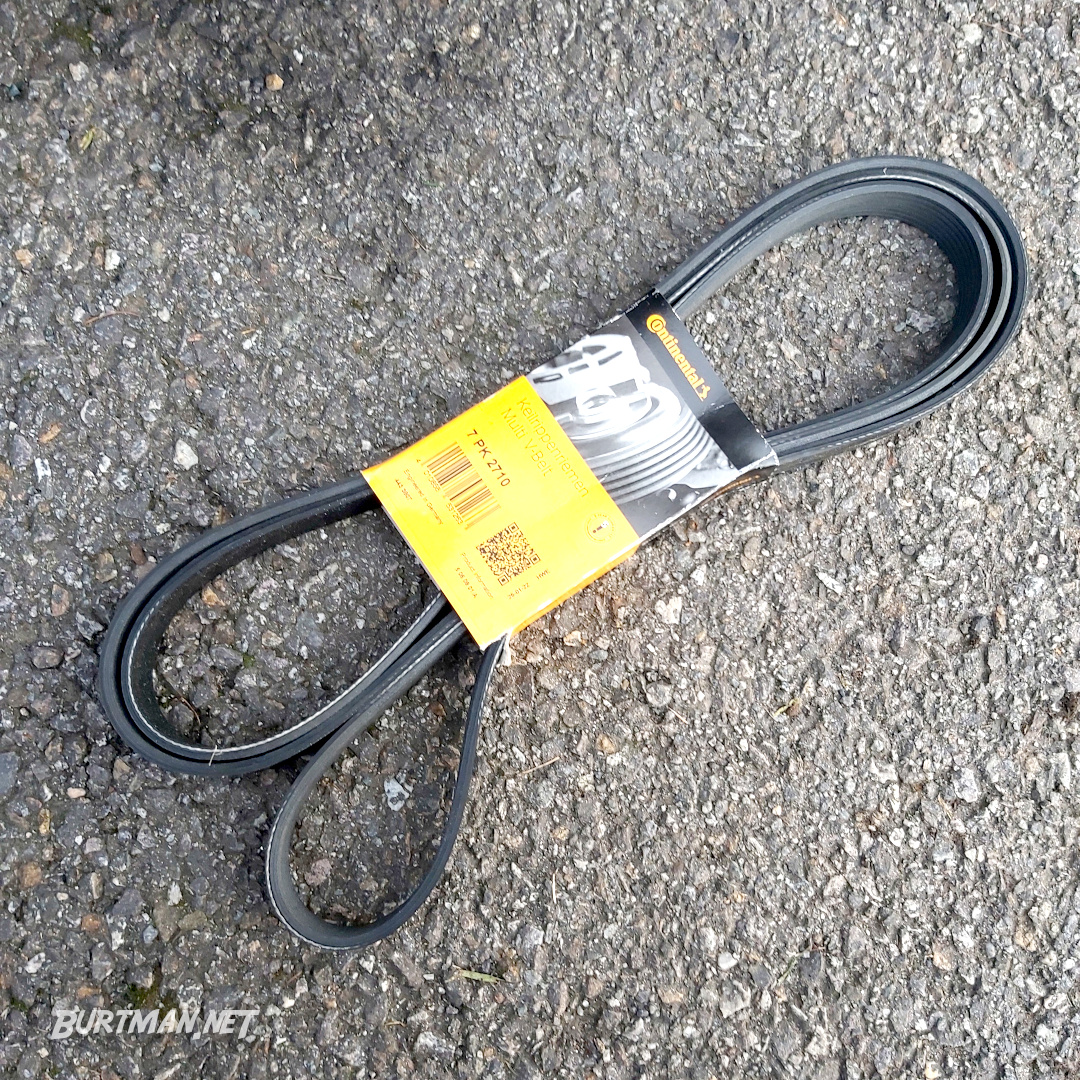
New aux drive belt.
When you've removed the aux drive belt and successfully fitted the new one, you can then refit or replace the air-con belt and re-tighten the tensioner (probably in the counter-clockwise direction).
The new belt, once properly fitted, will sit perfectly in all the pulley grooves.
Don't worry if you can't get the aux drive belt to sit perfectly in line on the tensioner or any of the wheels that have a slick surface (like the fan pulley). Those will line themselves up immediately, when you start the engine, assuming the belt is only a few millimeters out of line. If it's more than a few mm out of line, go back and get it better. However, you must make sure that the belt's ribs are properly seated on ALL pulleys that have ribs. If you don't get those right, you are going to regret it very soon, when they shear your belt into strips and all your auxiliary systems stop running (like your power steering and brakes).
Check both belts for tension and alignment before starting the engine. When you're happy, start the engine and watch the belt for a moment to make sure it's running smoothly. If there are any unusual sounds or the belt looks misaligned, stop the engine immediately and check everything again.
Assuming all went to plan, you're done.
Sign In To Leave A Comment
There are no comments marked as public for this item.
Stay Up To Date