Bleed The Hydraulic Clutch

Updated:
Depending on your van, your hydraulic clutch may share a fluid reservoir with the brake system. If that's the case, then anything that could cause air to enter the brake lines will most likely affect your clutch as well, leading to difficulty changing gear (especially into 1st or R from a standstill). You may also have an inconsistent or extremely low bite point, sticky or gravely pedal operation, or other uncomfortable problems. If your clutch has its own fluid reservoir, then such problems as described will not have a cause in the braking system, but regardless, this article will show you how to bleed the clutch fluid line.
Note: If your clutch is cable-operated, this article does not apply to your vehicle.
Although technically simple, bleeding the clutch can be a difficult process on some vans, because air bubbles in the fluid line can get trapped in various places that are difficult to purge. If you have trouble bleeding the clutch manually, a lot of people seem to have success using a vacuum bleeding kit, and in my research, one in particular is mentioned more than others. I must tell you that I do not own one of those, have not used one, and do not receive any incentive to tell you about them, but in the interest of getting you back up and running as quickly as possible, the product I refer to is called "Eezibleed". Having said that, there are alternative products that do a similar job, but I'm not going to get into that here.
This process is pretty similar to bleeding the brakes, but the clutch pedal does not need to be pumped in order to build up pressure. Please have a quick look at that article to see how to prepare your bleed kit, if you do not have a store-bought kit.
Here's how it goes down on the mk6 Transit:
1. Open the brake fluid reservoir and fill it right up with new brake fluid from a sealed container. You can go right past the maximum line, as you will be draining fluid back out during this process. If you have a bottle with a nozzle, you can leave it in the reservoir, so it can top up as it drains.
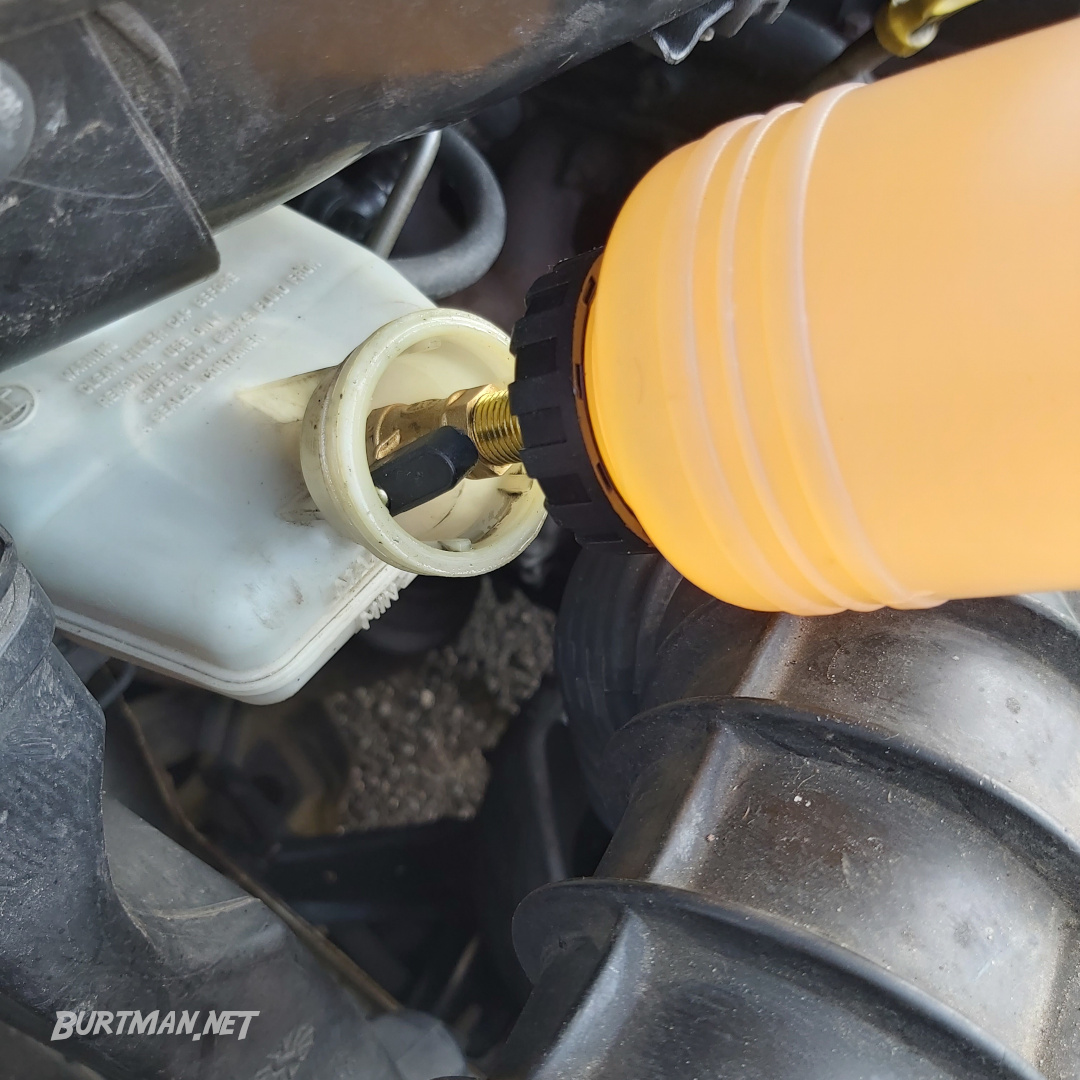
Part of my brake bleeding kit is this bottle with a valve and nozzle. Leave it in the reservoir and it will keep the fluid level up without overflowing.
2. Underneath your van, locate the clutch slave cylinder. It's going to be attached to the side of the bell housing and it will have a thick hose attached to it. When you find it, disconnect it from the bell housing by twisting it downward, then pull it out. It will probably be oily, but it should not leak any fluid. If it does, it needs replacing.
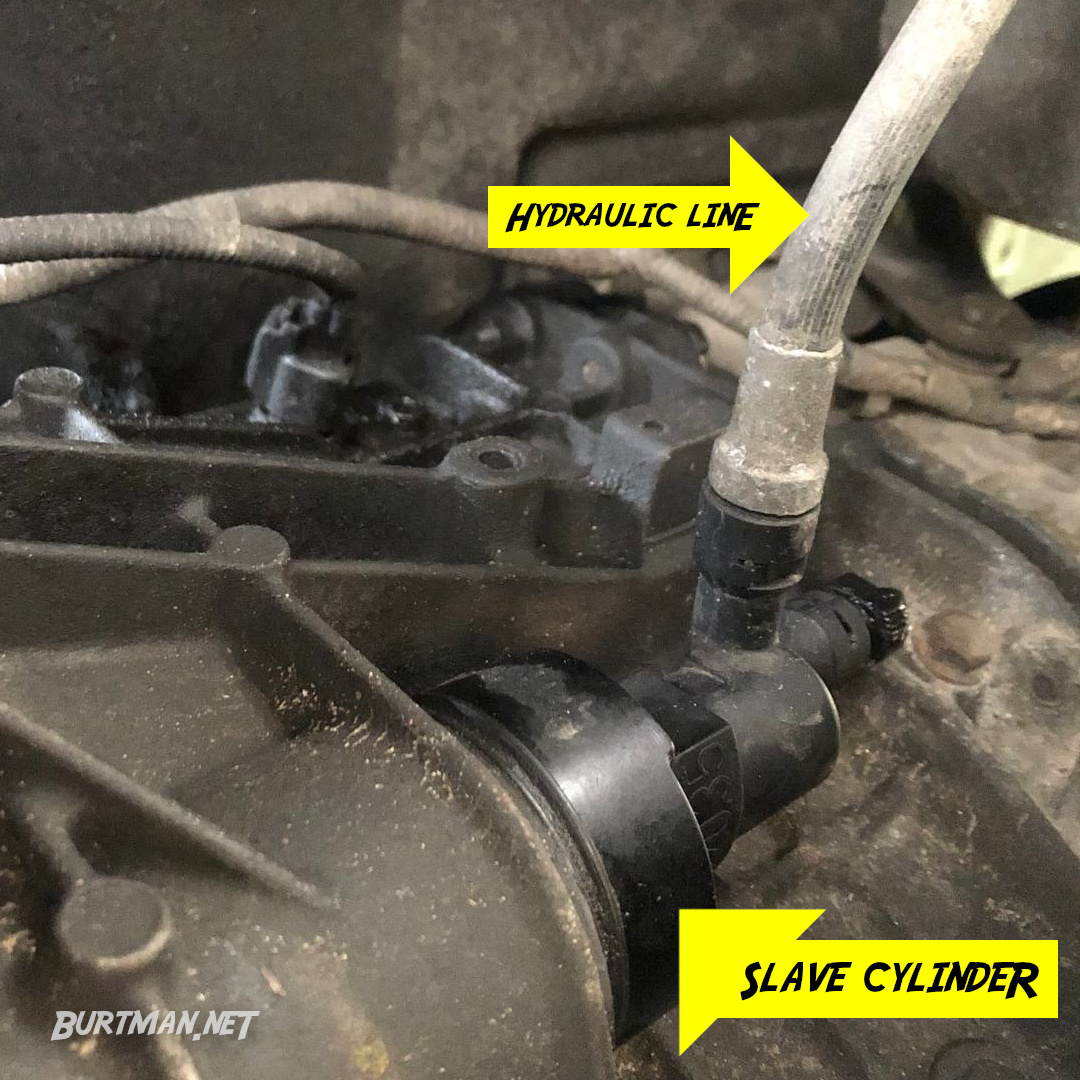
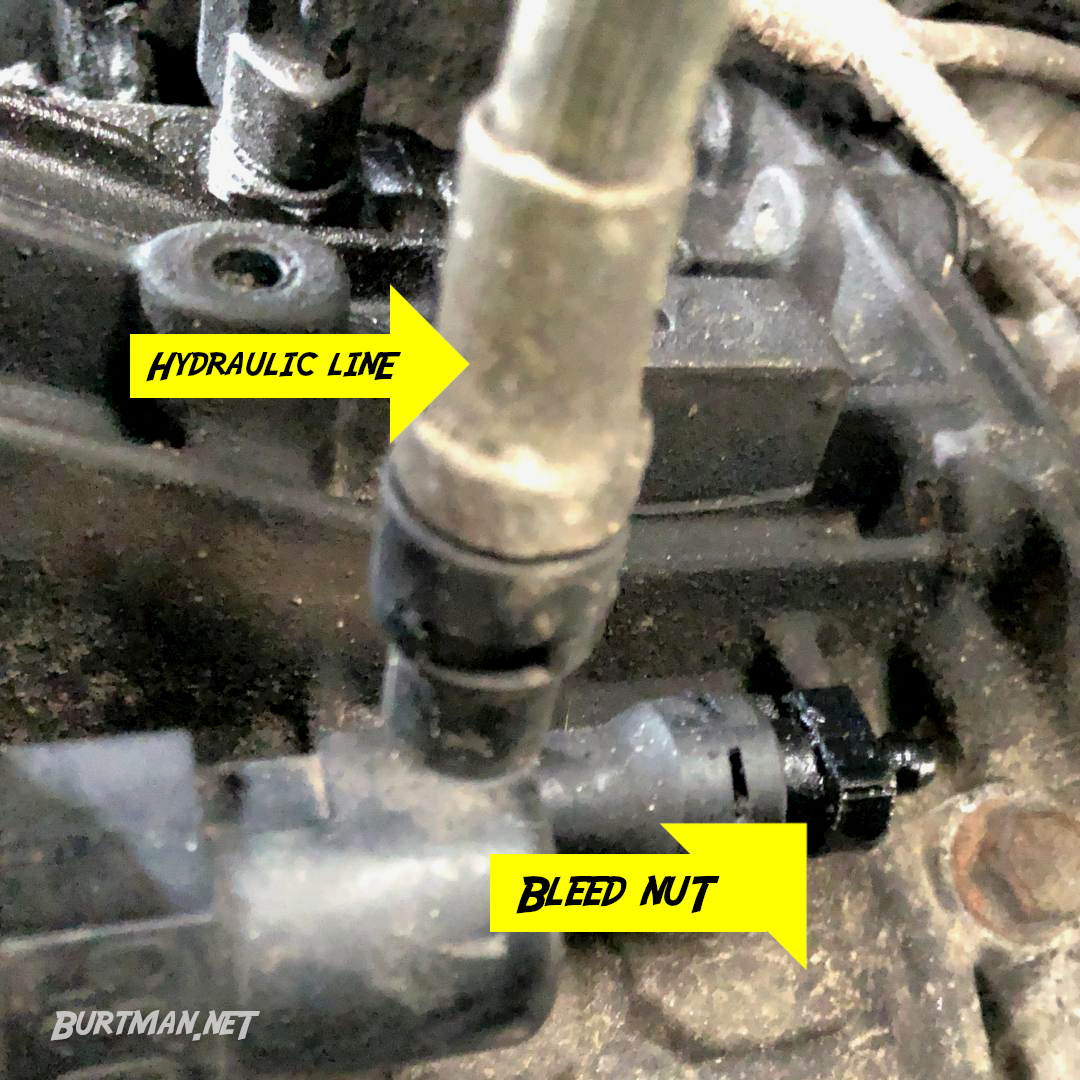
3. Locate the bleed nut and attach your bleed line to it. The bleed nut is probably going to be on the back of the slave cylinder, but they can sometimes be located on top of the bell housing, or in other locations. That's going to depend on your van.
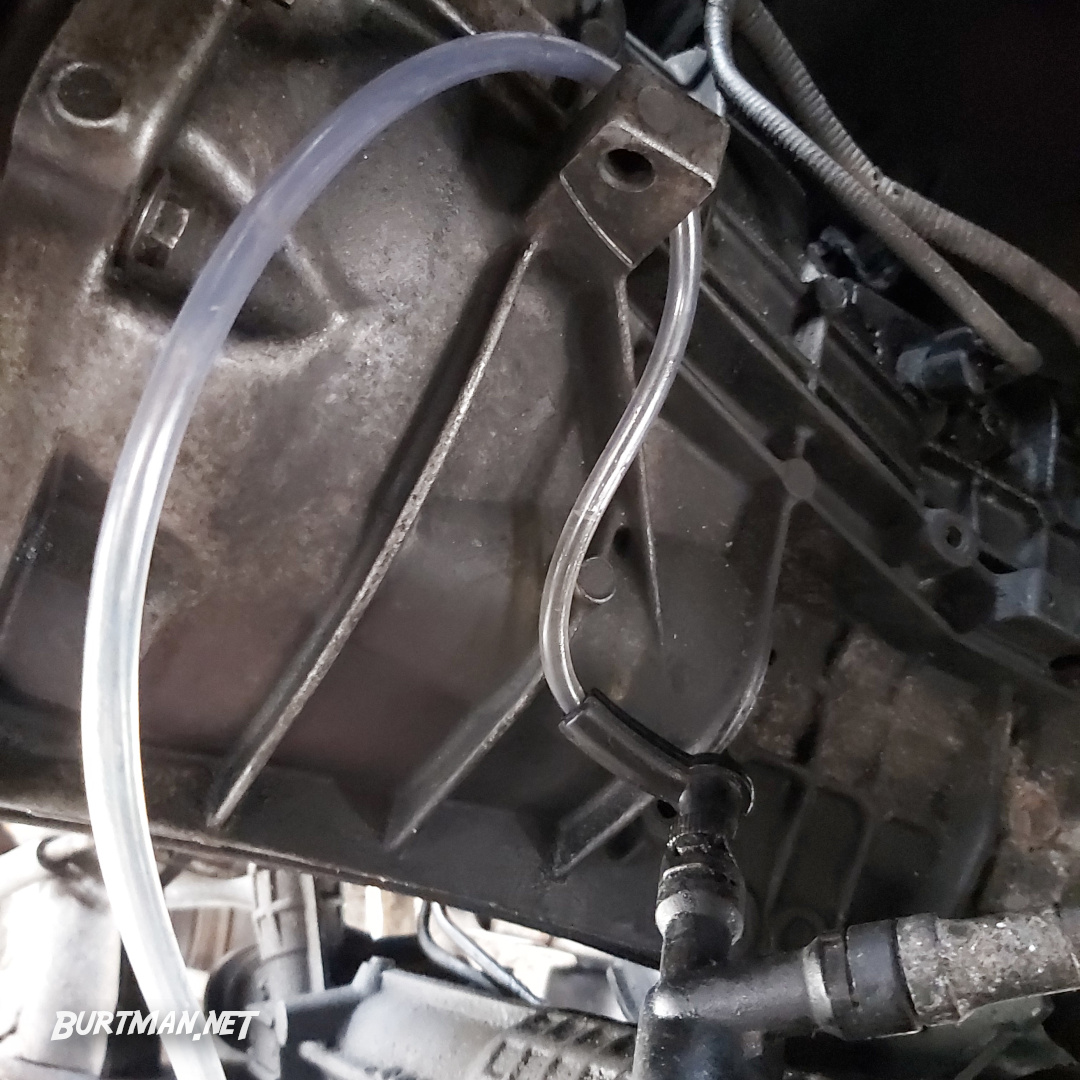
Doesn't hurt to elevate the bleed line.
4. Have your gorgeous assistant* press the clutch pedal slowly to the floor and hold it there.
* You may have to use such language in order to secure an assistant.
5. Open the bleed nut half a turn (on some systems, a quarter turn is enough). This can usually be done by hand, but if it's too tight, you can use a spanner. Be especially careful with this if it's made of plastic.
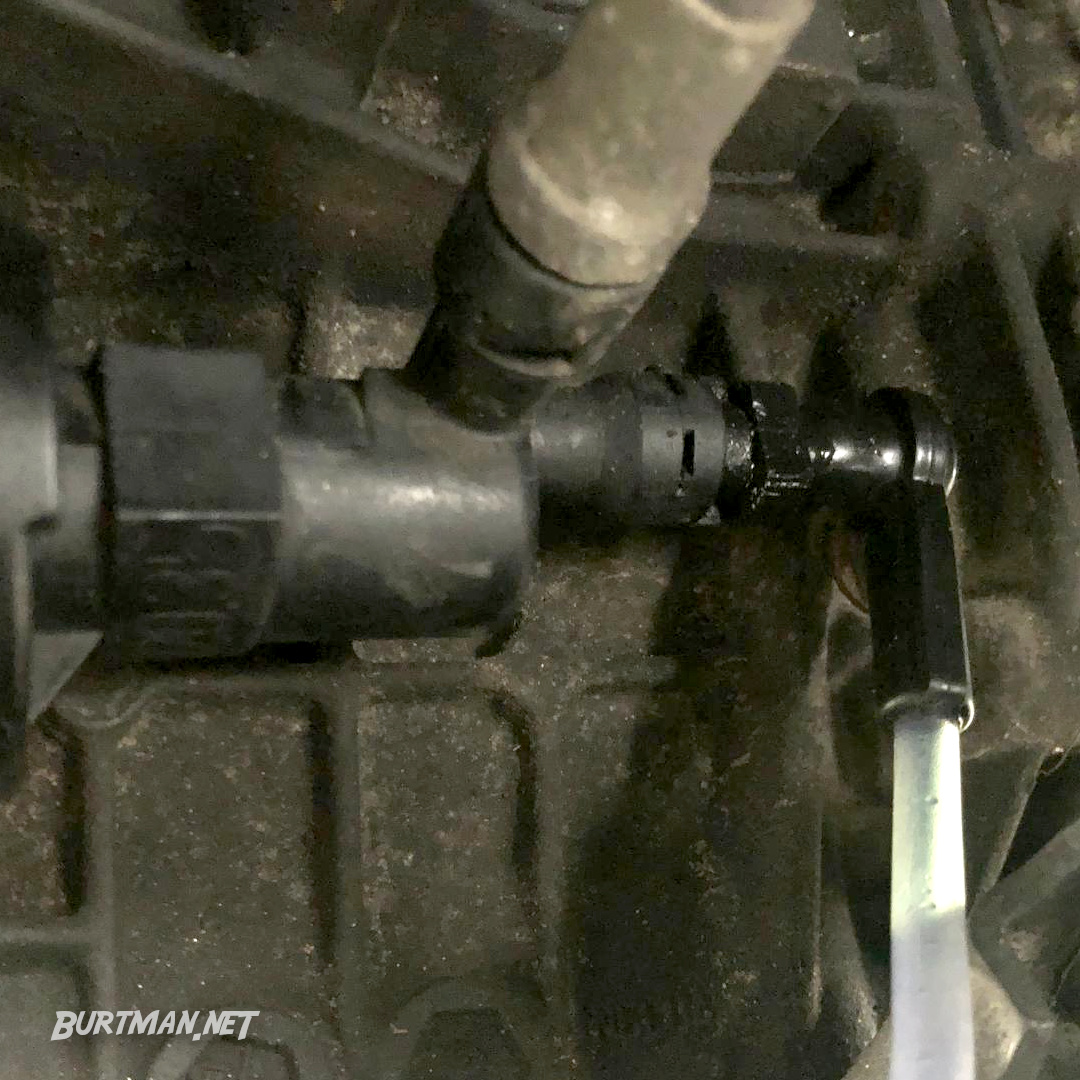
6. Push the slave cylinder piston in by hand, as far as it can go. The fluid inside the slave cylinder will exit down the bleed line and into your catch bottle. There will probably be lots of crap and air bubbles in there, which is why your clutch feels like it's got gravel in it.
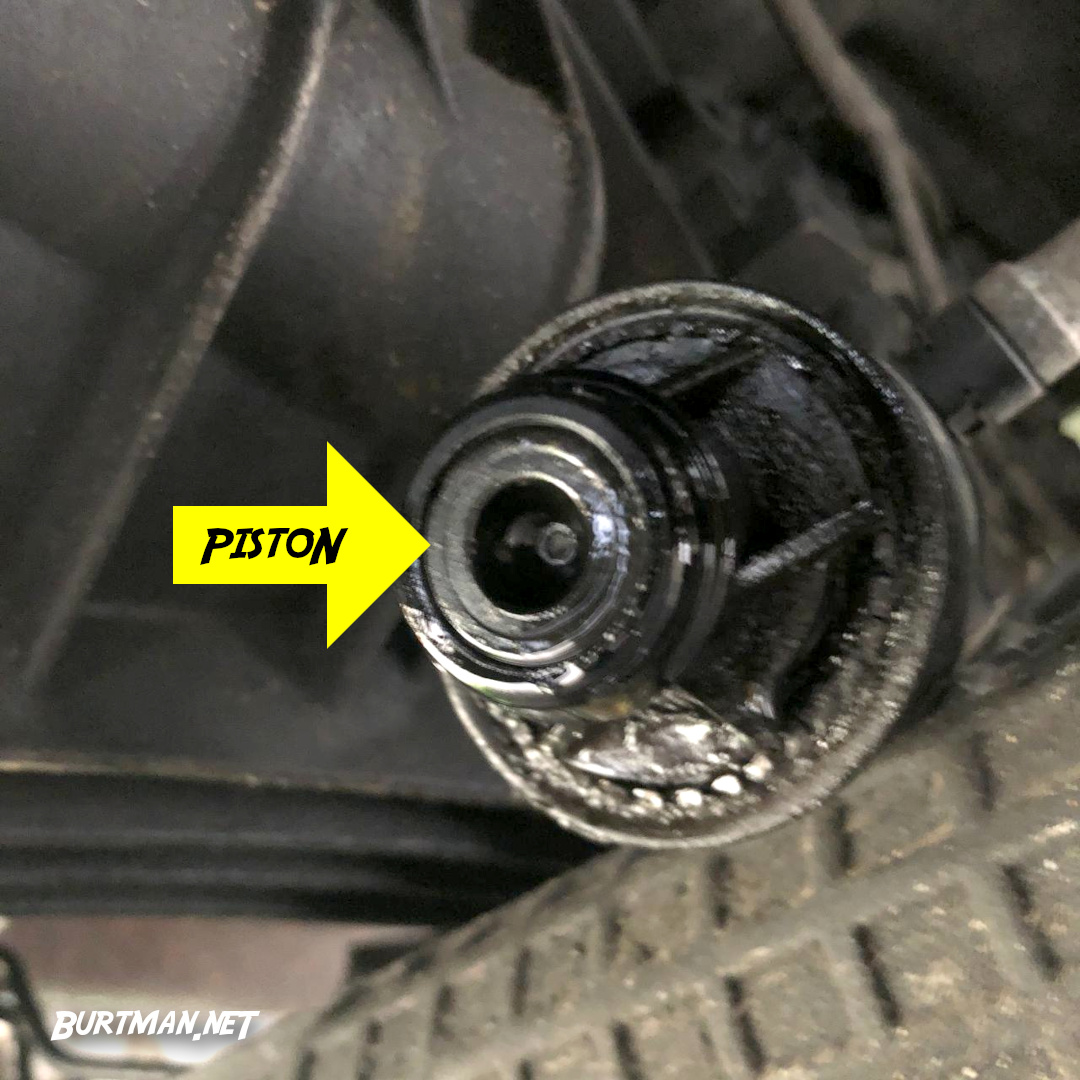
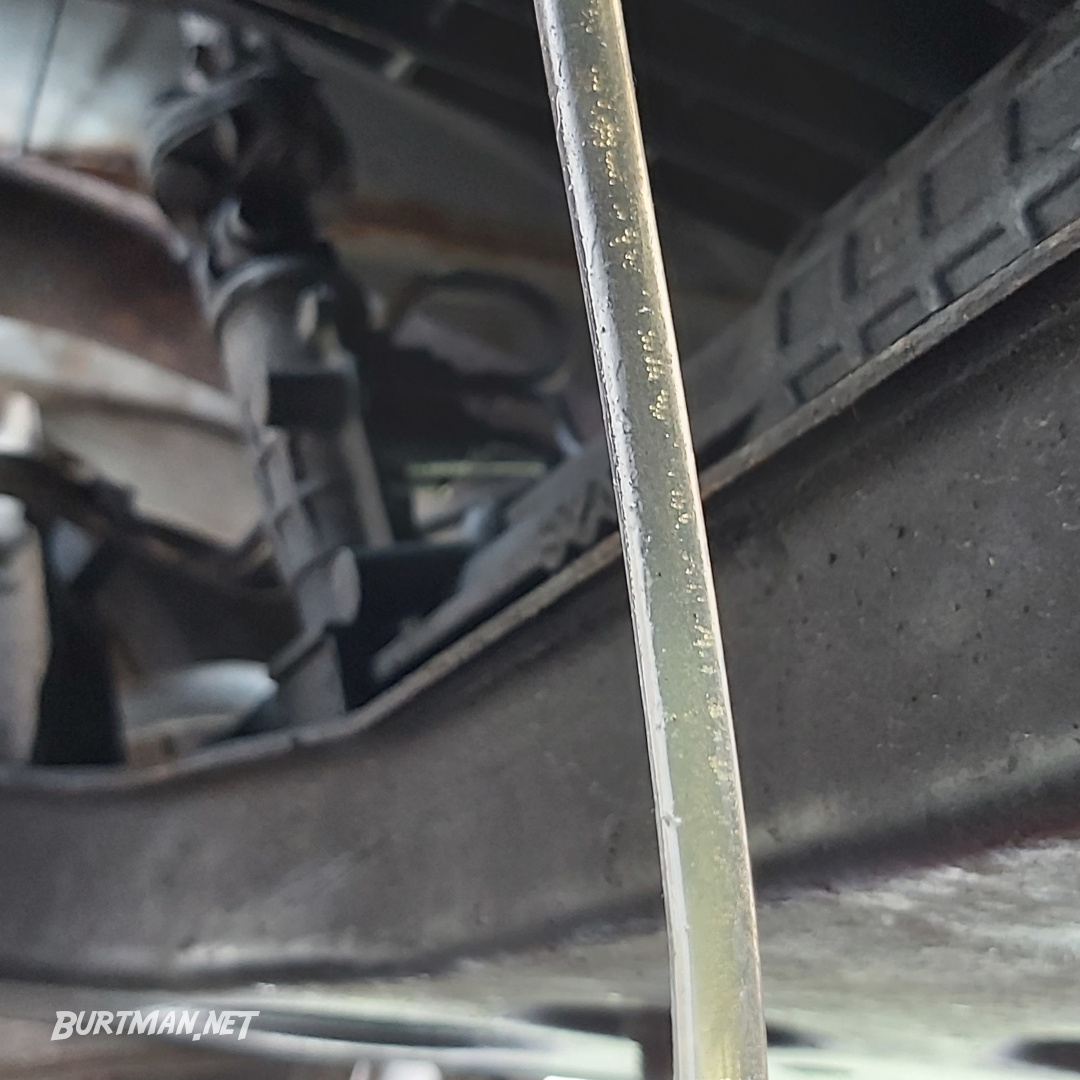
Air bubbles leaving the slave cylinder.
7. Tighten the bleed nut all the way up and then have your assistant release the clutch pedal slowly. This will bring new brake fluid from the reservoir into the line.
8. Repeat this entire process until there is nothing but new brake fluid coming out into the bleed line. When you reach this stage, remove the bleed line and carefully refit the slave cylinder, then test the clutch pedal for yourself. It should feel smooth and consistent. If you're happy with it, check that the brake fluid level is at maximum and put the cap back on, then you can take it for a test run around the block, changing gear as much as possible, to test it out.
And that's another job jobbed.


 Diving Deeper
 Read around 2,600 times
 For Everyone