
Installing Your Inverter
Inverters (Part 2 Of 2)
 Power & Water
 Read around 700 times
 For Everyone
Updated:
If you have decided to install an inverter in your van, but you're not sure how to do it, the first place to check is the manual. Read the fucking manual. Ok, so you're back. The manual was in Korean and you're still confused. Fair enough. Let's have a look.
What's In The Box?
Unless you bought the wrong inverter, designed to power a small factory, you'll probably have a similar package to this:
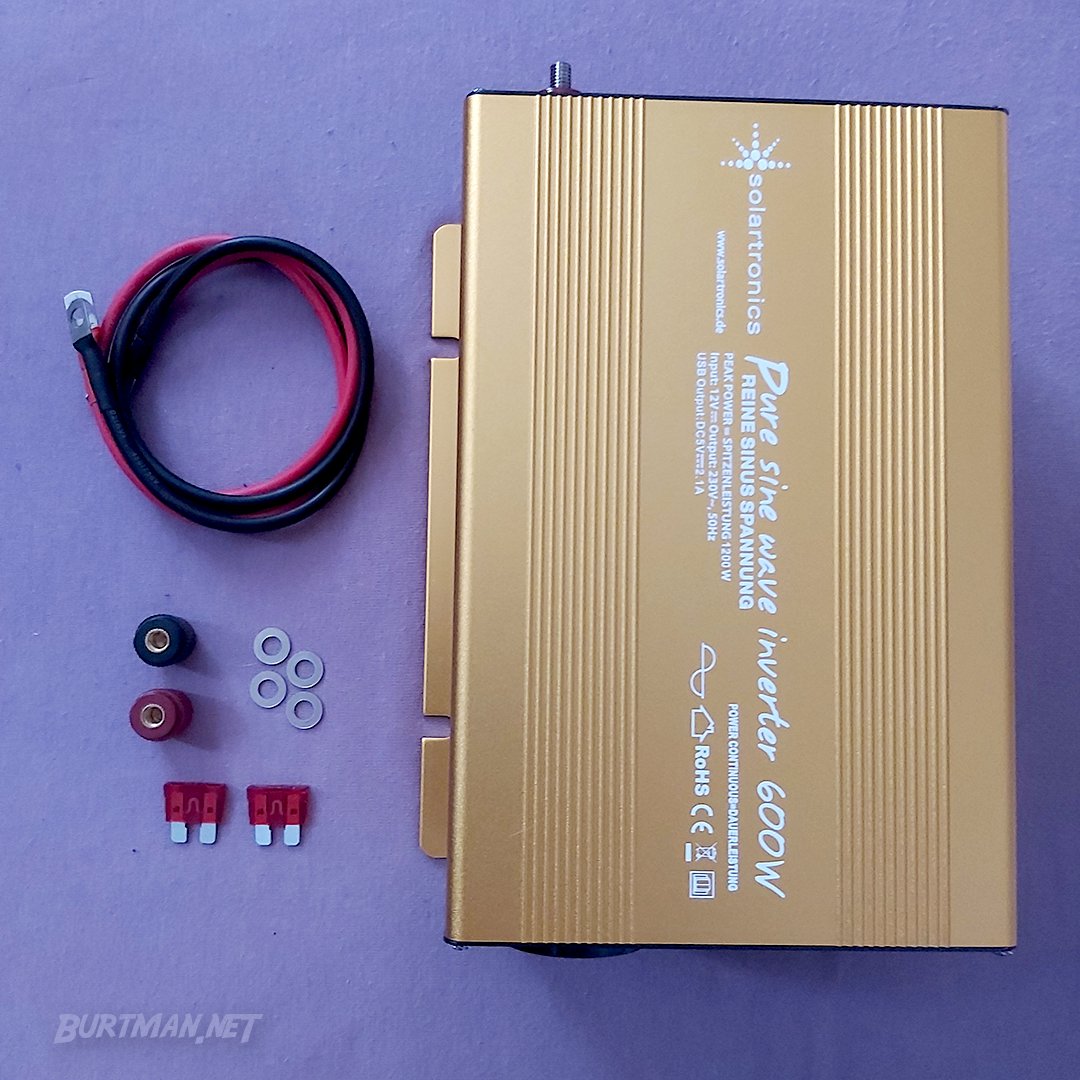
The cables are for powering the inverter. The rest is to connect the cables to the unit.
On the back, the output socket.
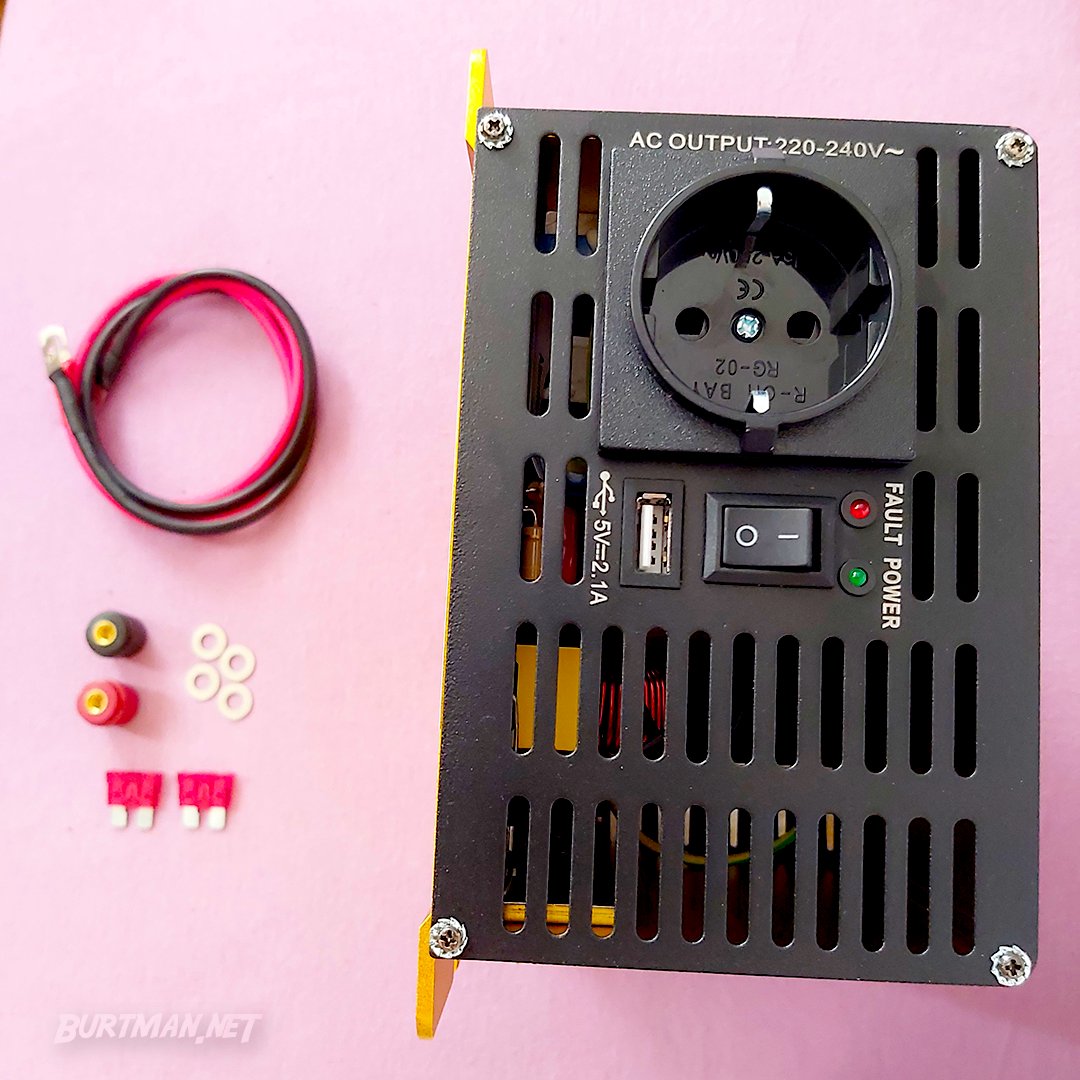
In this case, a 230v Euro socket in two formats (both, the center pin type, and edge prong type earth connections).
Make sure you choose the right output socket and voltage, @JohnM_72. American ones are for America.
On the other side (apparently, also the back), you'll find the input connections.
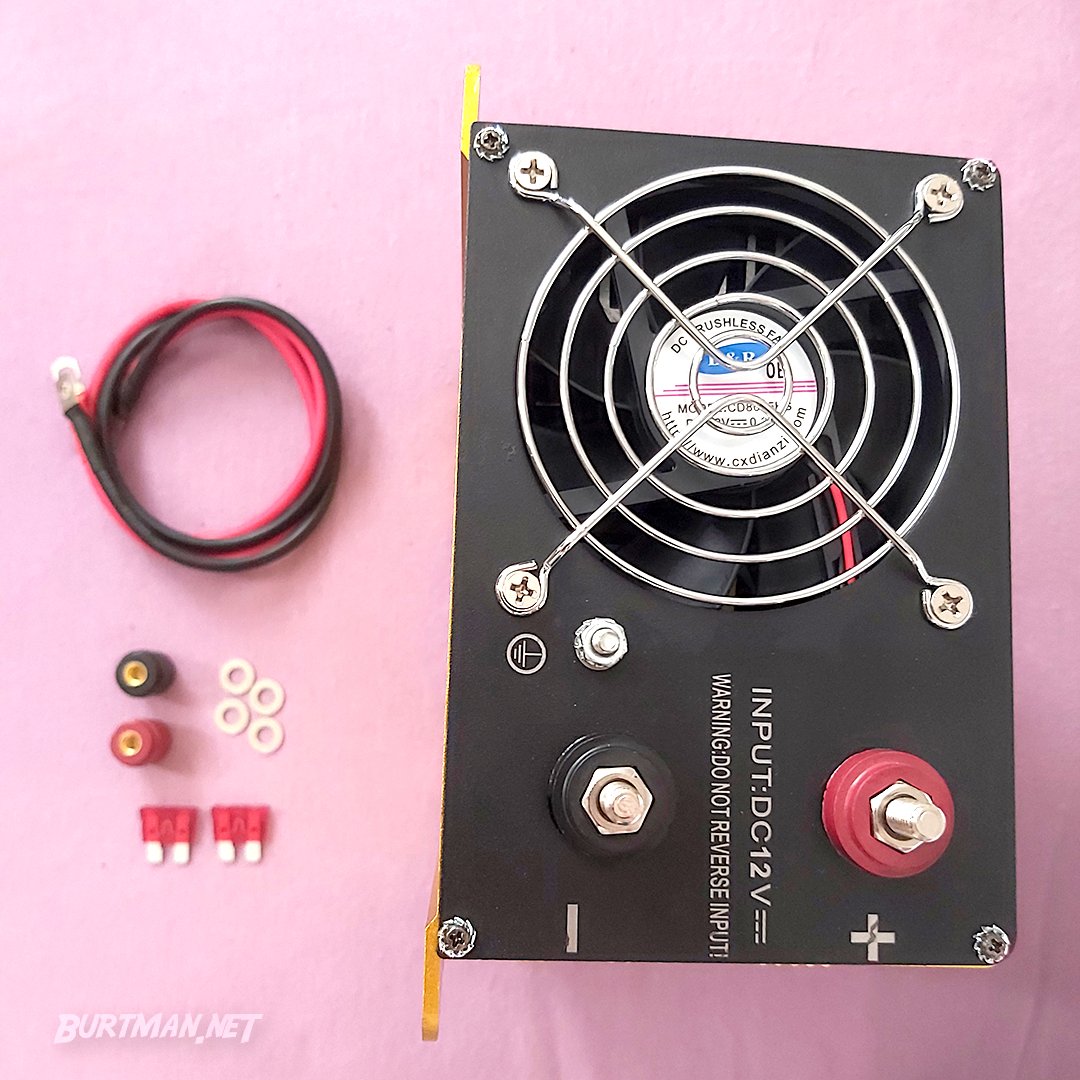
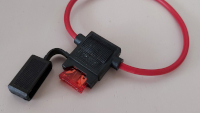
Just put the ring end of the cable over the appropriately-colored terminal and screw the cap on, to hold it tightly in place. The other end of those short cables should be attached to an  Inline Fuse Holder and that should then go to the van battery. Some inverters have an externally-accessible fuse bay, so the blade fuse goes directly into the inverter. If you have one of these, you may not need to add an inline fuse, but that is a choice you will have to make, based on your understanding of the device you have bought, inherited, or stolen. I'm not judging.
Some inverters, like this one, also have a Ground screw.
You might find that confusing, since the negative terminal is the ground, so let me man-splain it to you.
In ordinary usage, the negative (blank) cable will act as the earth, because it goes back to the negative terminal on the battery, which is connected to the body of the vehicle. But in the event of a serious fault (or damage), a live component inside the inverter could end up touching the case, which would make the inverter, itself, a potential source of electric boogalow (death or severe injury by electrocution). The earth cable attached to the dedicated earth screw offers a path for the electricity to get to the vehicle body, even if this happens. That way, you get to keep your smooth, 1960s bob.
Fit the earth cable.
Heat Considerations
Your inverter will get hot, if you draw a lot of power, leave it on all the time, or have it positioned in direct sun light. For that reason, there's usually a decent sized fan built into it, and you will hear it, sometimes. But there's no point in having a fan, if the air path from it is blocked. All that will do is blow the heat from the inside of the unit to the outside of the unit, where it will contribute to the heat on the inside of the unit, making you look a bit of a fool.
So, mount your inverter in a place where it doesn't get direct sun light (like low down, behind the seat) and make sure there's space for the air to escape freely from the fan. These are the ingredients of a happy inversion experience.
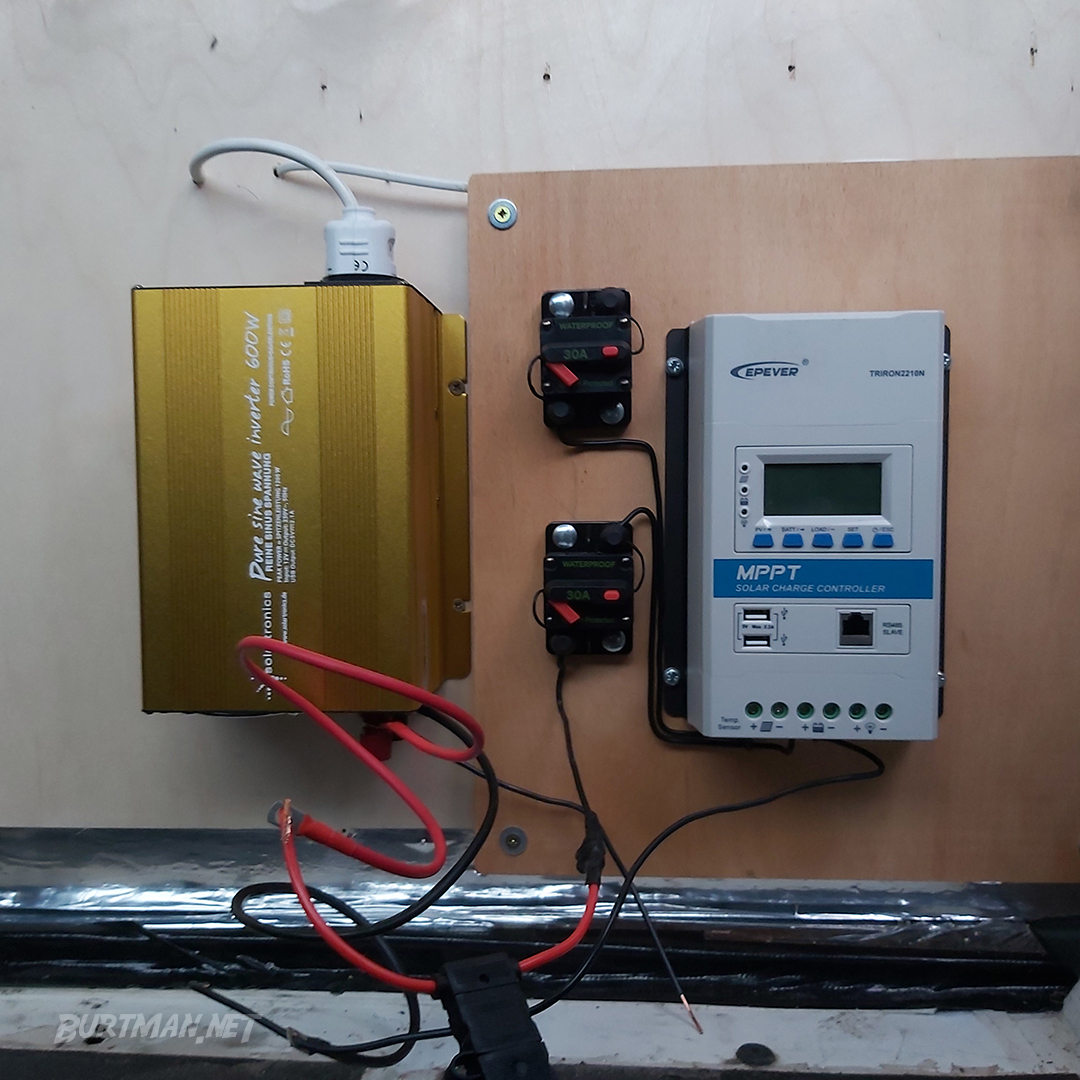
My inverter and charge controller, mounted to the divider, near the floor, behind the passenger seat
Note: The above photo was taken during installation. All cables were properly soldered, insulated and tied down. Just sayin'.
Sign In To Leave A Comment
There are no comments marked as public for this item.
