
Replace Windshield Wiper Linkage
 Let's Get Technical
 For Everyone
Updated:
If you're wondering why your windshield wipers don't stay in contact with the glass, even after fitting new ones, you might need to replace your wiper linkage. That's the frame that the wipers are attached to, and, like everything else, it can wear out.
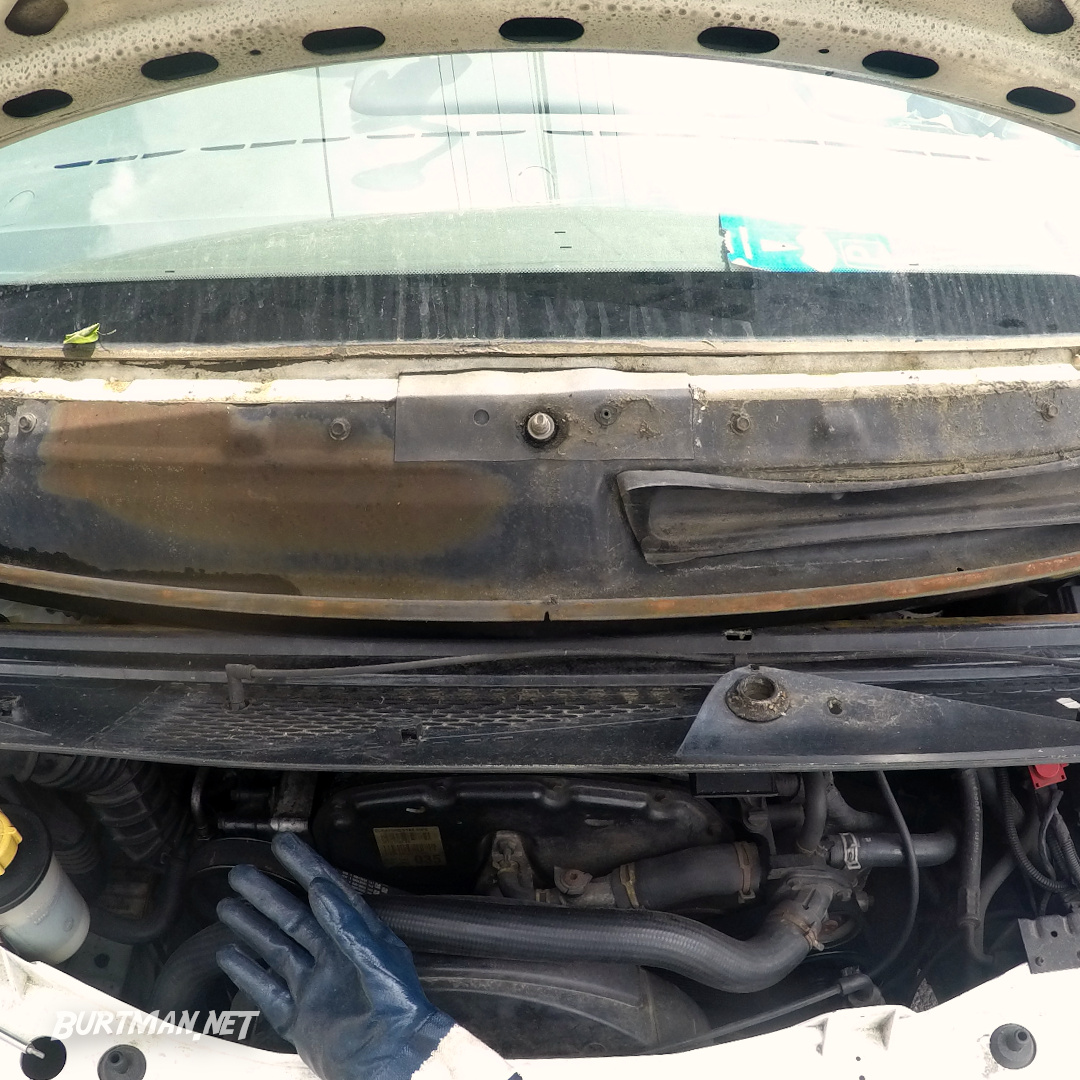
This is what the problem looks like:
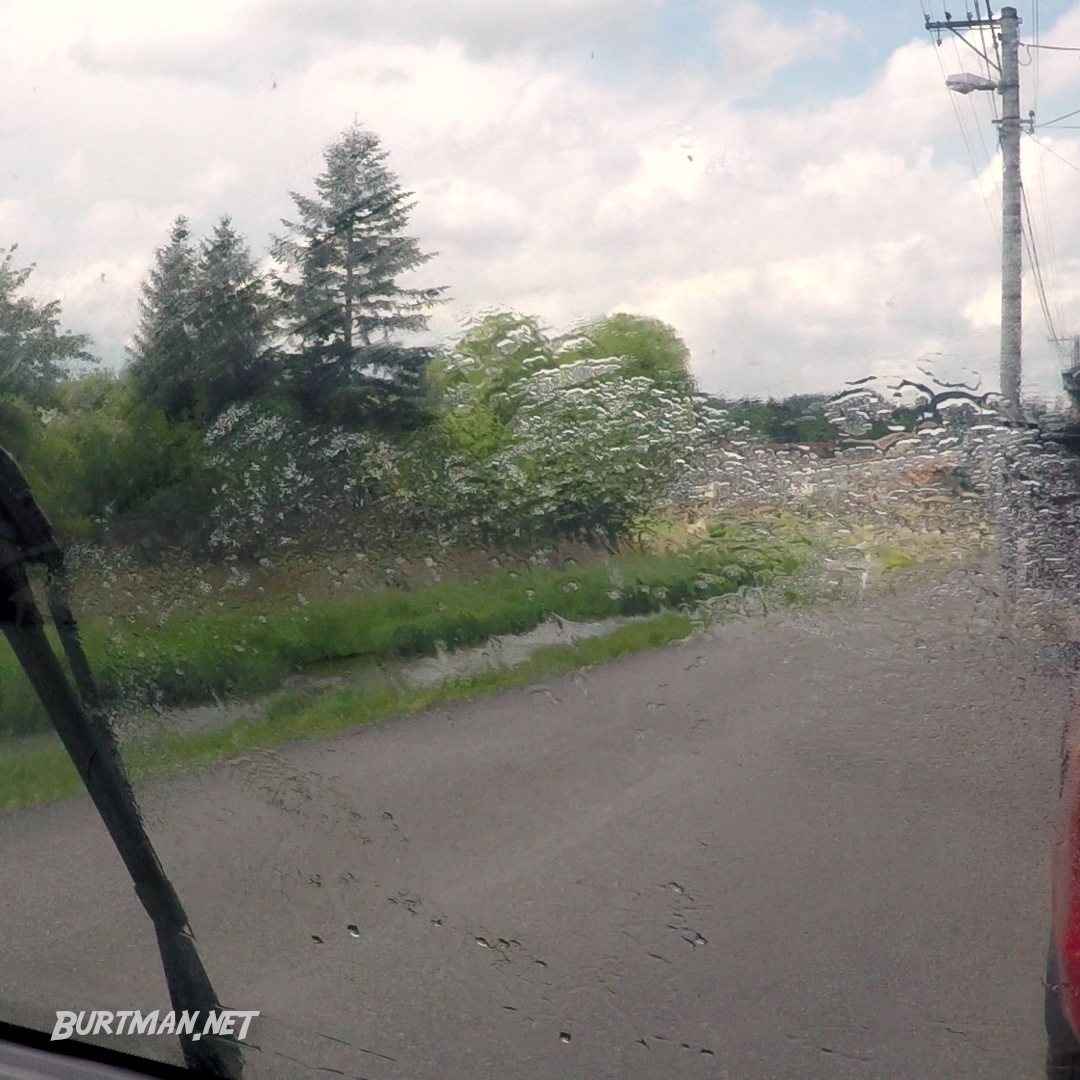
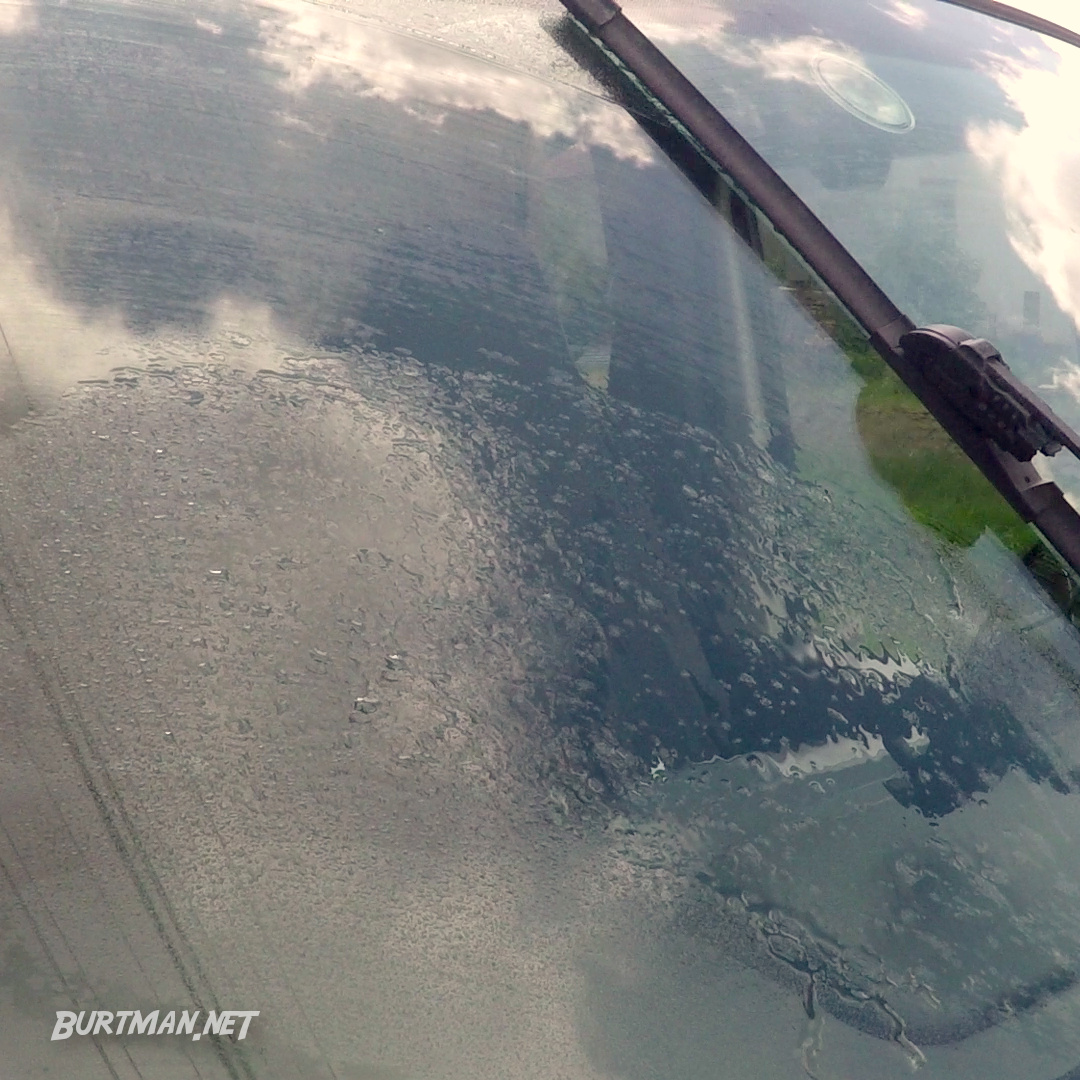
A large section of the window is not being wiped because the wiper blade is not touching the window. Here's what's causing it:
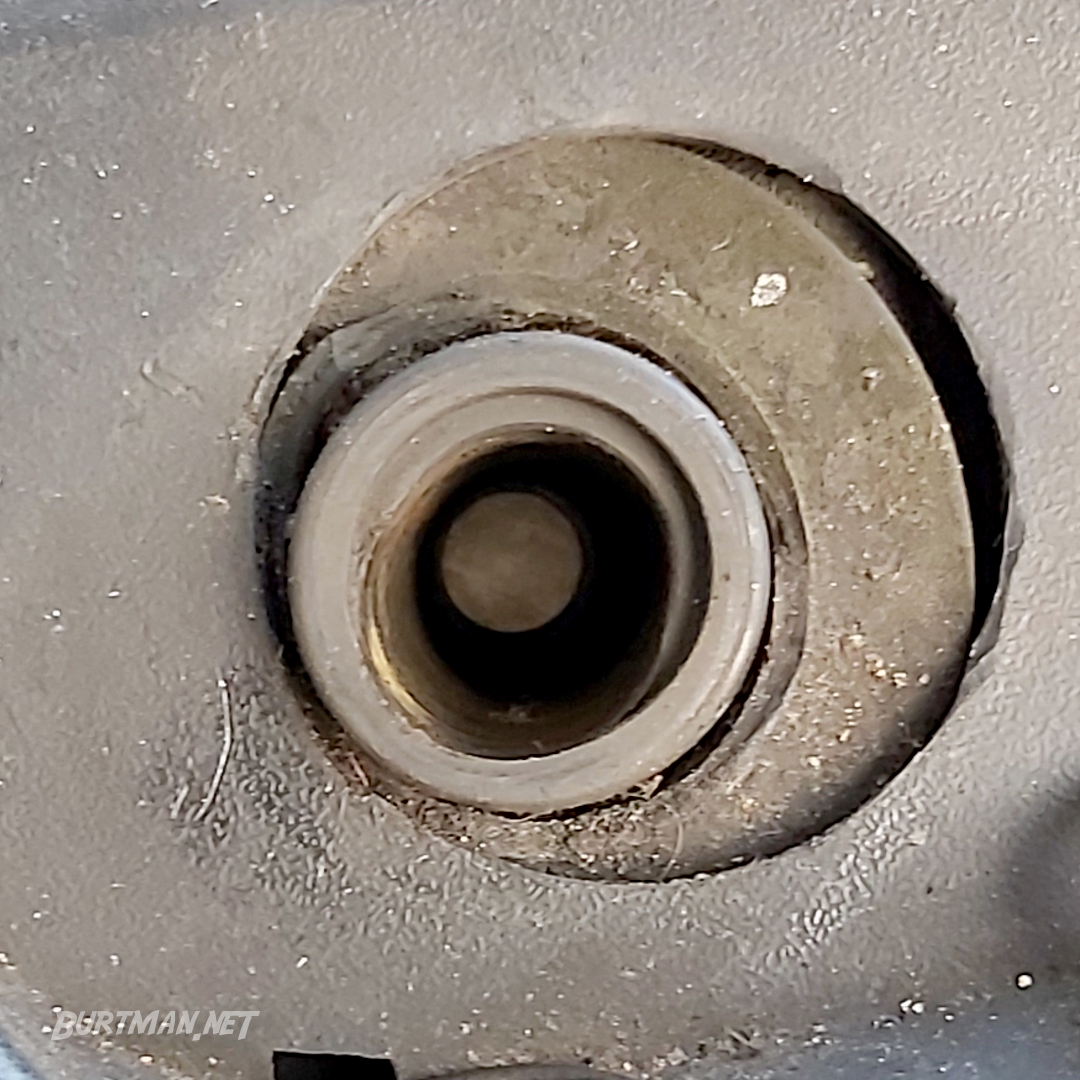
This is the pivot that the wiper connects to, seated in the pivot shaft, which has significant wear at the bottom. When the wiper arm spring pushes the wiper blade against the window, this worn out section of the pivot shaft allows the pivot to move downward, so instead of the shaft forcing the wiper onto the glass, it's the other way around. All the pressure goes down into that groove instead of up into the wiper blade.
Here, we're going to replace the linkage, because the entire unit it bonded as one piece, so we can't just replace the pivot shaft.
Let's Go
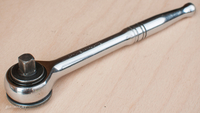
1. Remove the nut that holds the wiper arm on and wiggle the wiper arm until it comes off. Repeat for the other wiper.
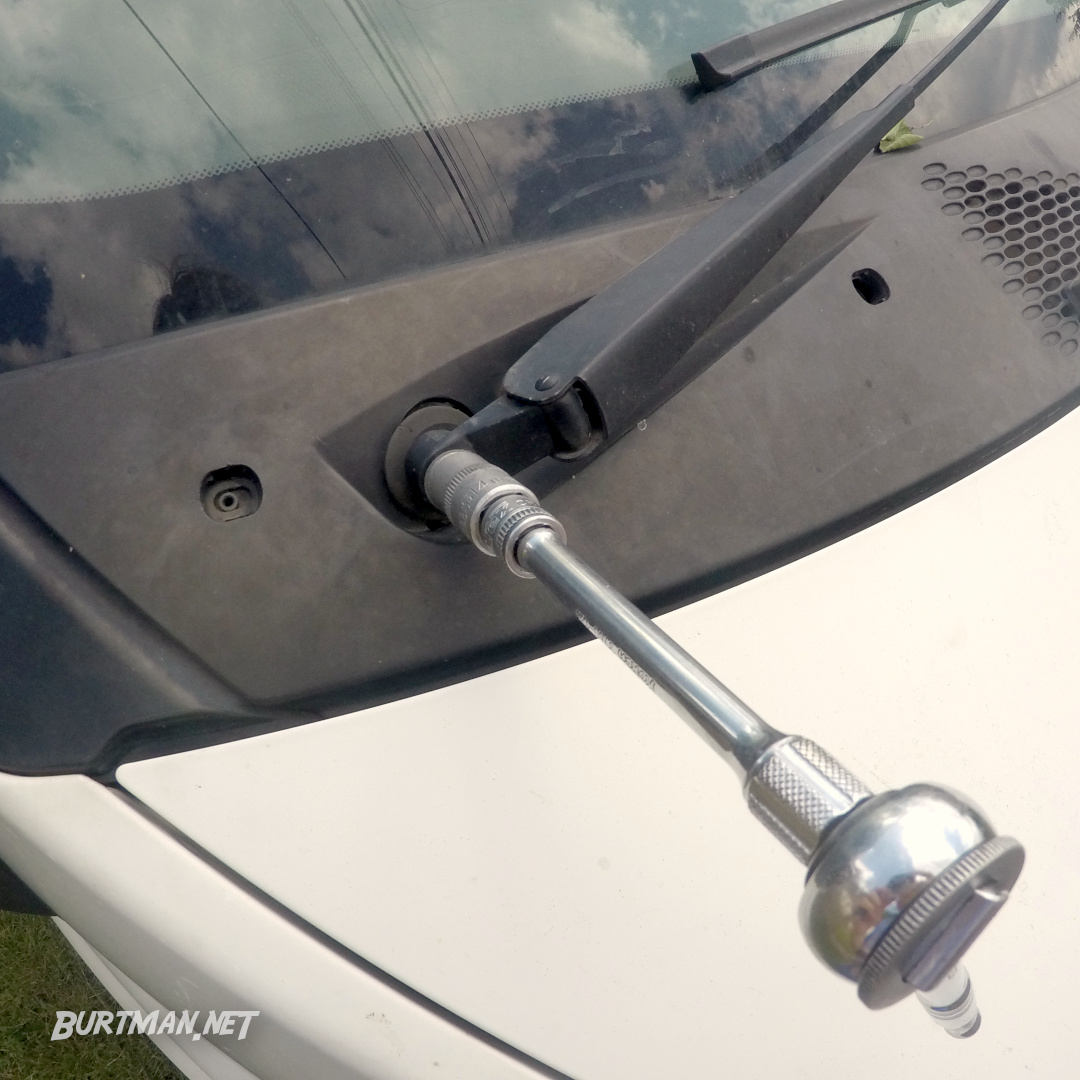
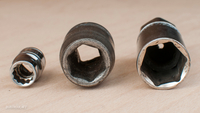
This is a 14mm nut on my van.
2. Removing the wiper arm reveals a small Torx screw. Get that out and put it somewhere safe. Repeat for the other wiper.
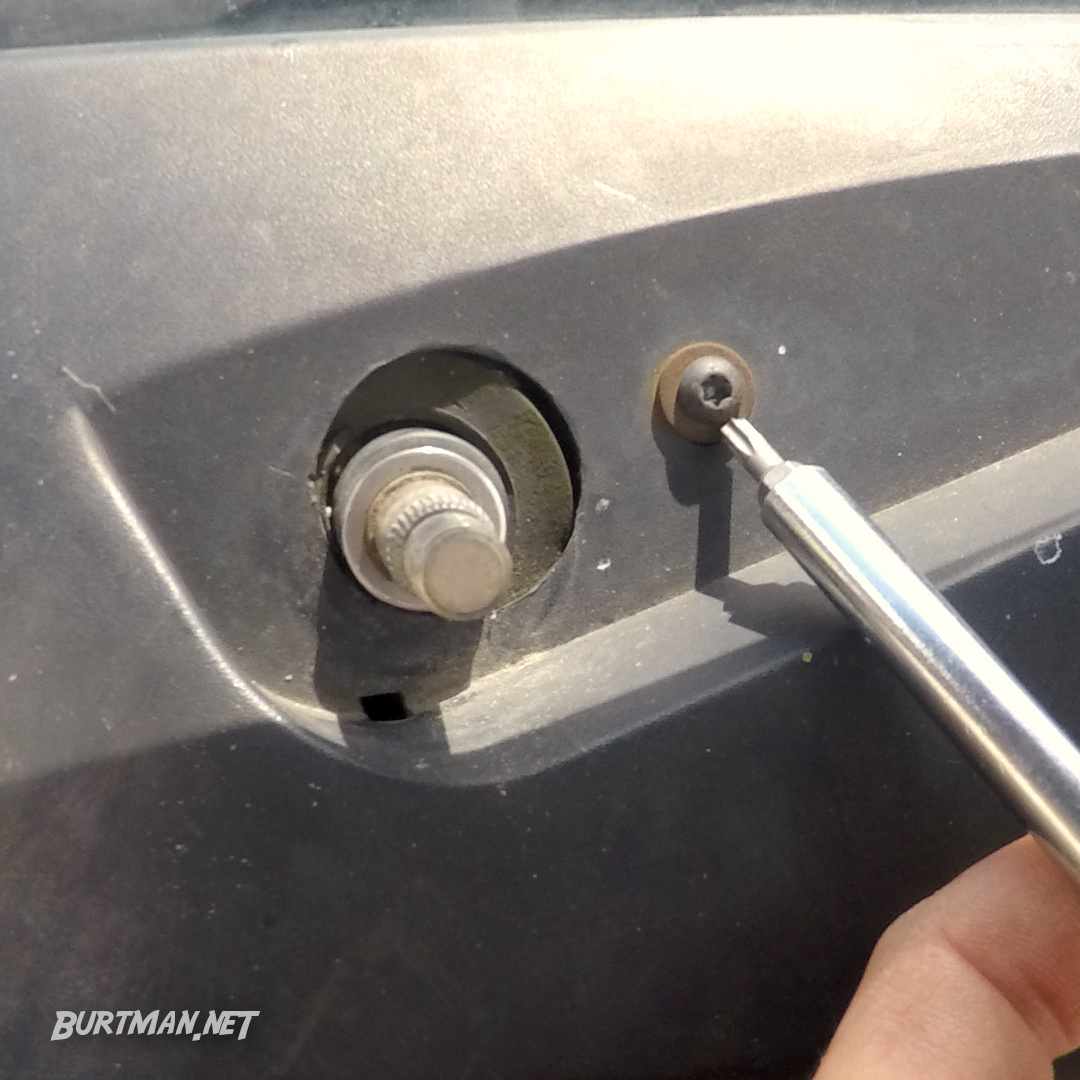

Grouping the screws as they come out will save you a headache; you'll easily put the right screws back in as you reassemble.
3. Pull off the rubber seal that holds the plastic cover onto the body.
Just pull it. If it's stuck, pry it gently with a flat screwdriver.
4. More Torx screws are revealed. Remove them.
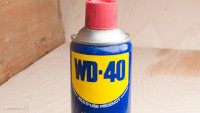
5. Disconnect the washer hose from the plastic cover by twisting it back and forth gently. If it doesn't want to go, spray a little lubricant into the joint and push it back carefully with a flat screwdriver.
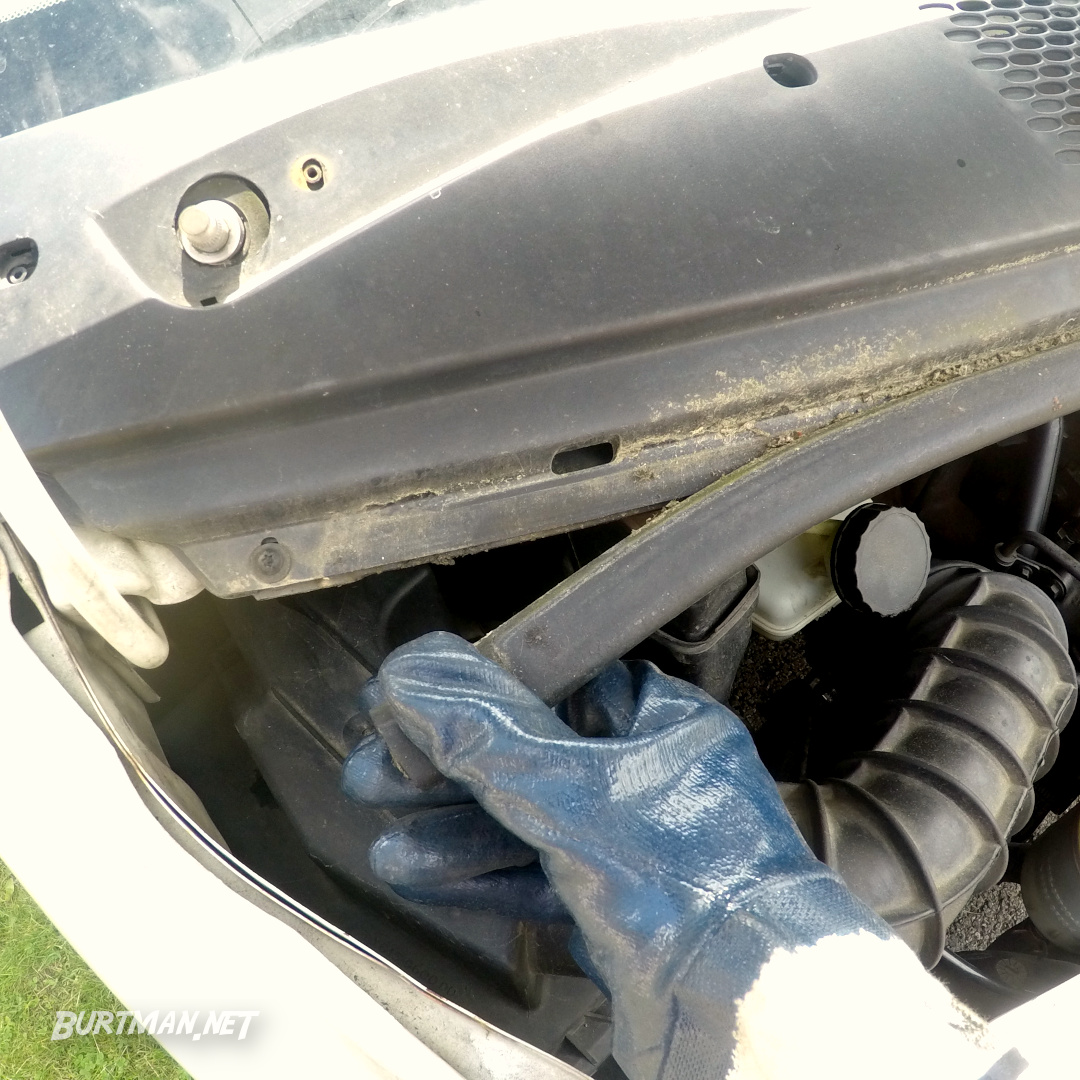
6. With the cover removed, you can see the drainage gutter. If the washer hose goes through the gutter, you will need to disconnect it. If it goes over the top, you can just move it out of the way.
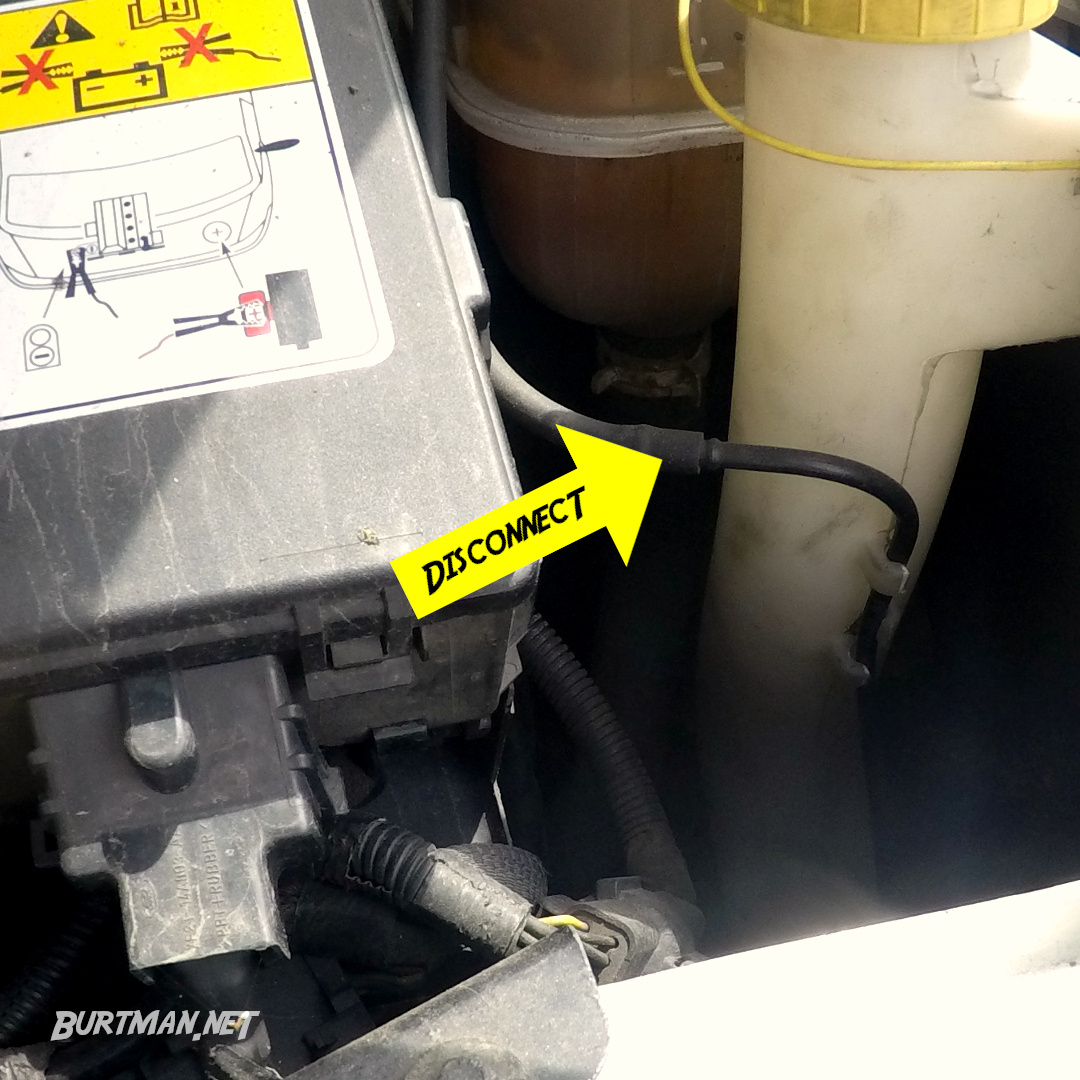
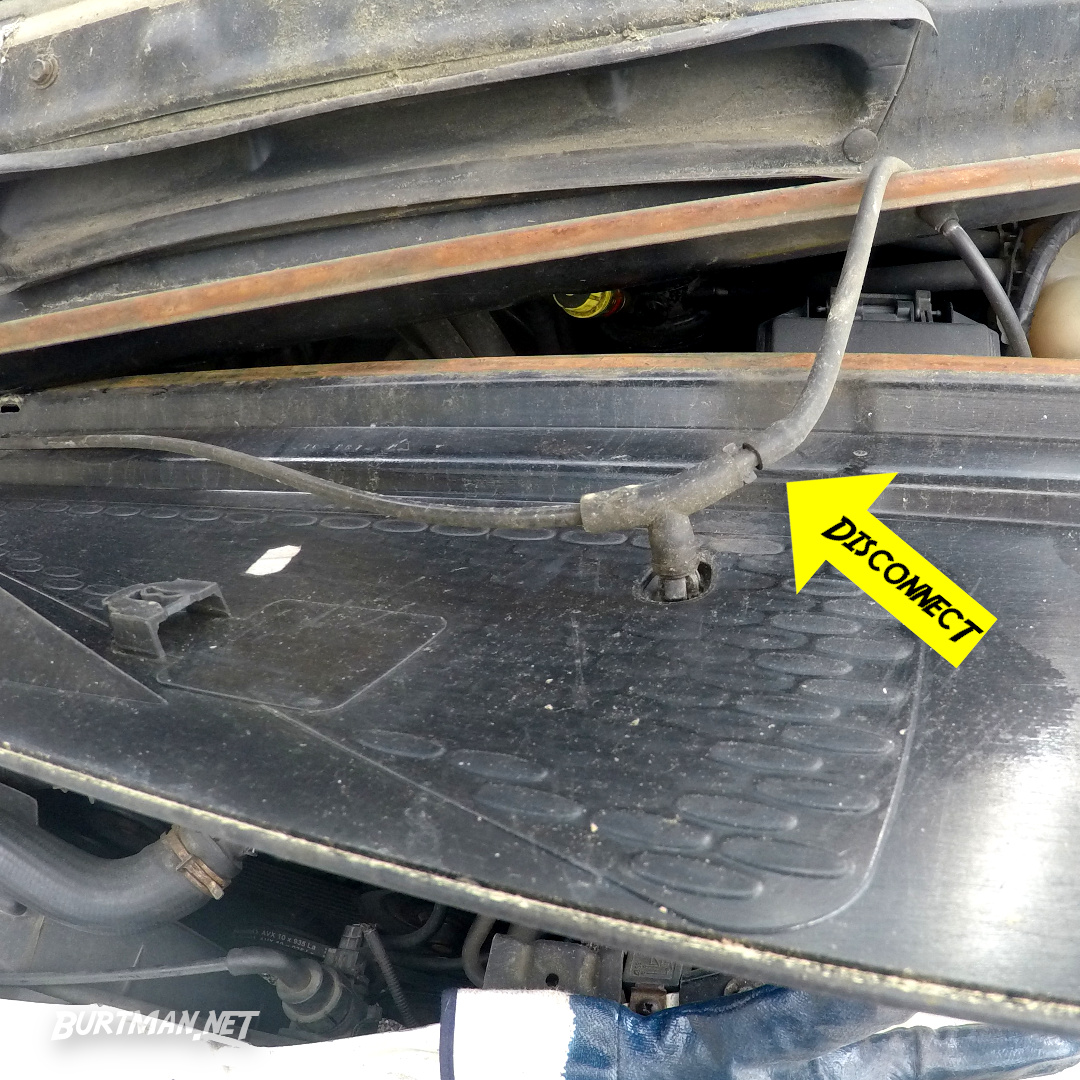
Disconnect the washer hose at the bottle as well.
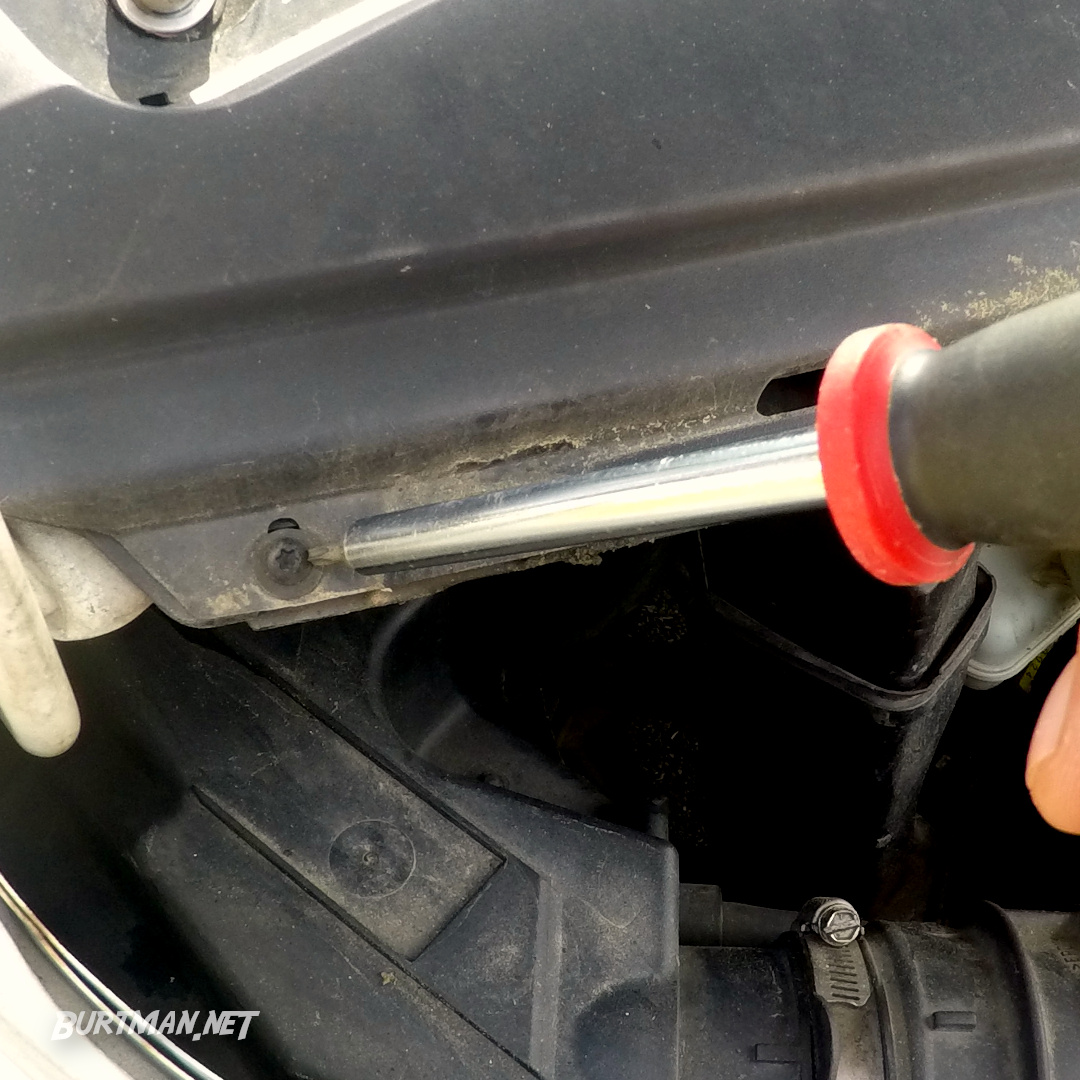
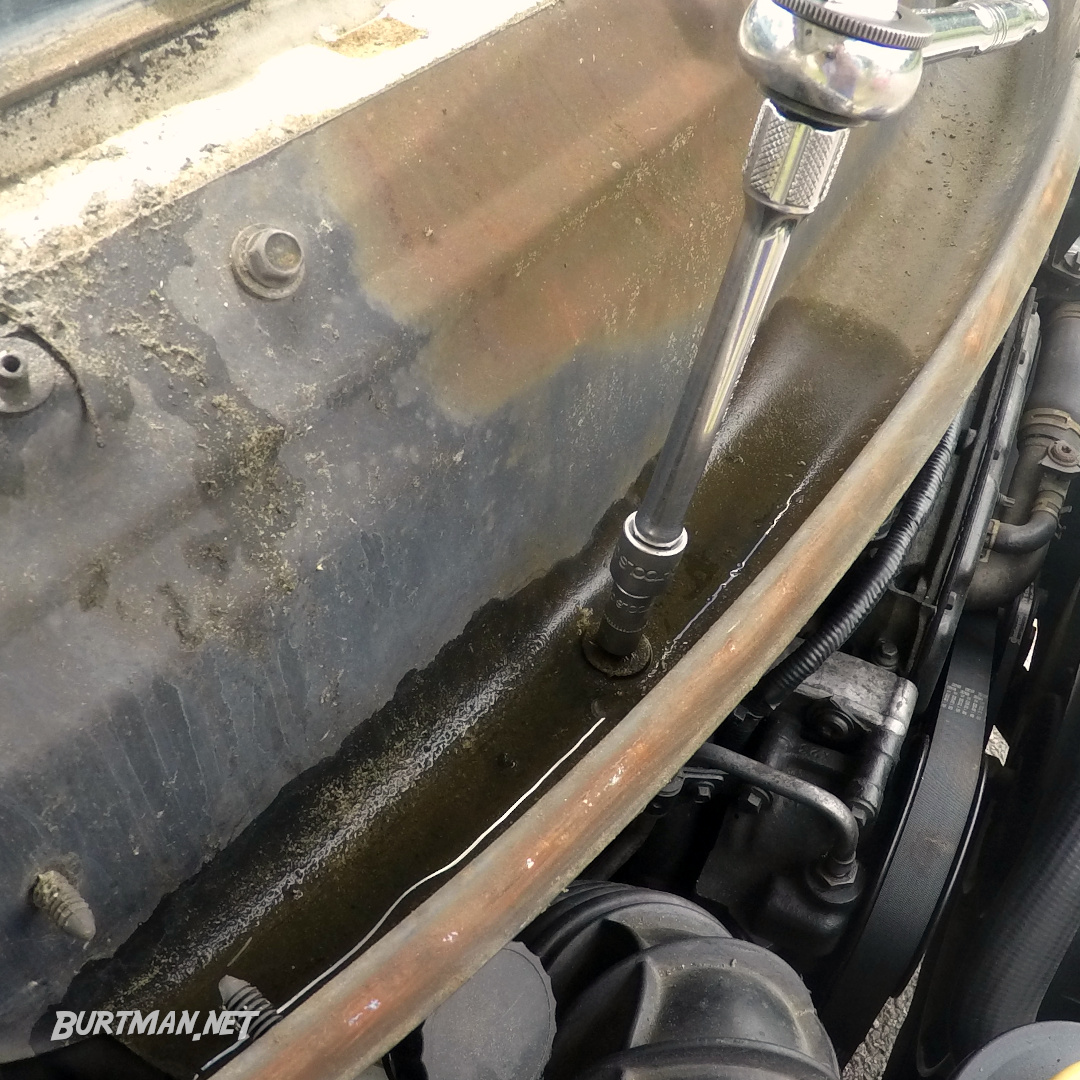
7. Remove all the bolts that hold the drainage gutter in place. Mine were 8mm. You might need to lubricate them, as they are probably going to be pretty rusty. If you have new ones, put those in at the end.
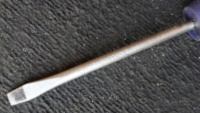
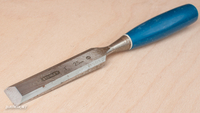
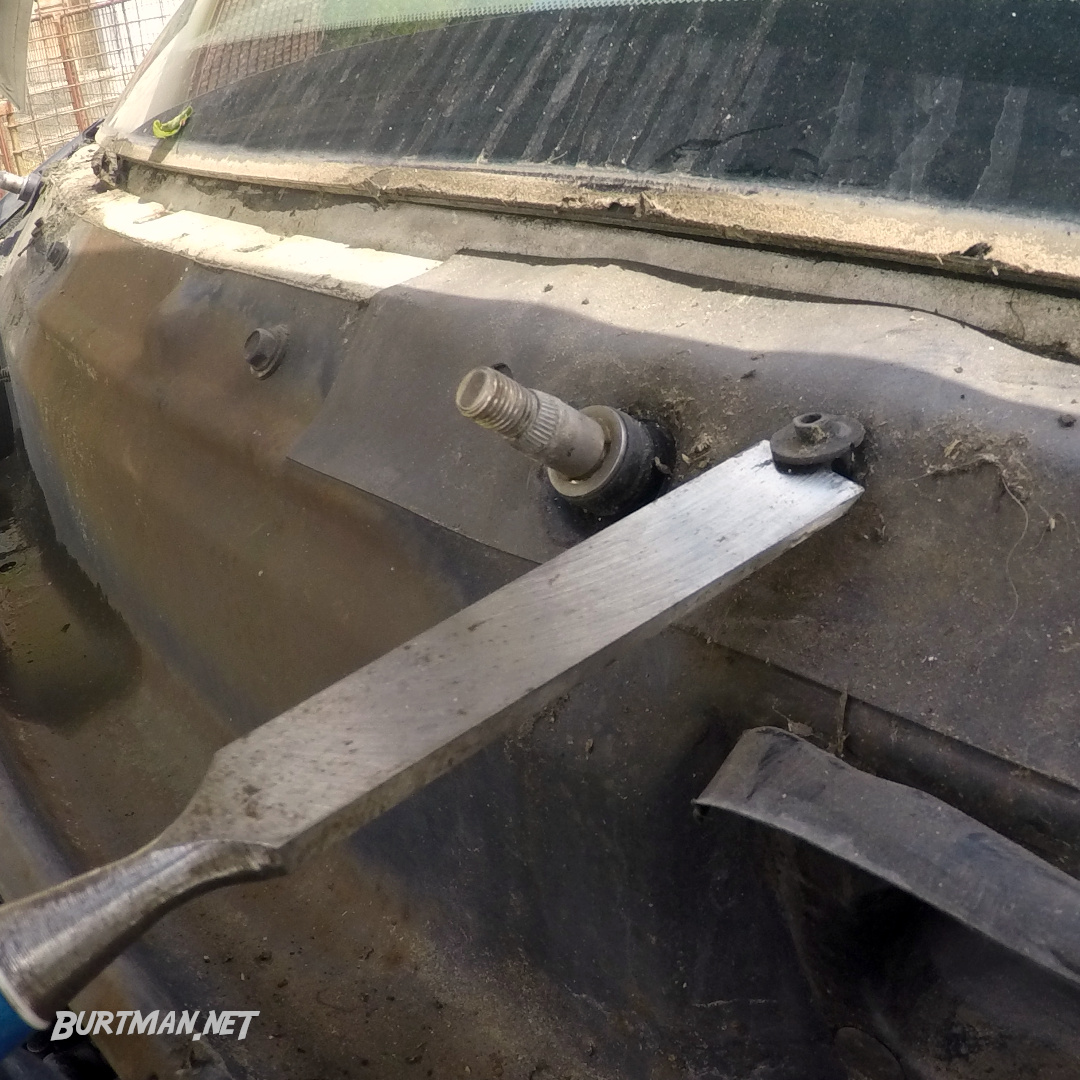
8. Using a chisel or a fine blade, carefully pry the cover screw receivers out of their seats. They are short and easily pop out, so do it gently and be careful not to drop them.
9. Remove the rest of the bolts holding the drainage gutter.
10. If easy, remove the press studs that hold the drainage pipe in place.
11. If that isn't an option, just pull the drainage pipe away from the gutter by hand. You will need to be careful, as it's only thin plastic, and it needs to retain its shape in order to stay on. Pull downward on one side, then on the other, and wiggle it out gently.
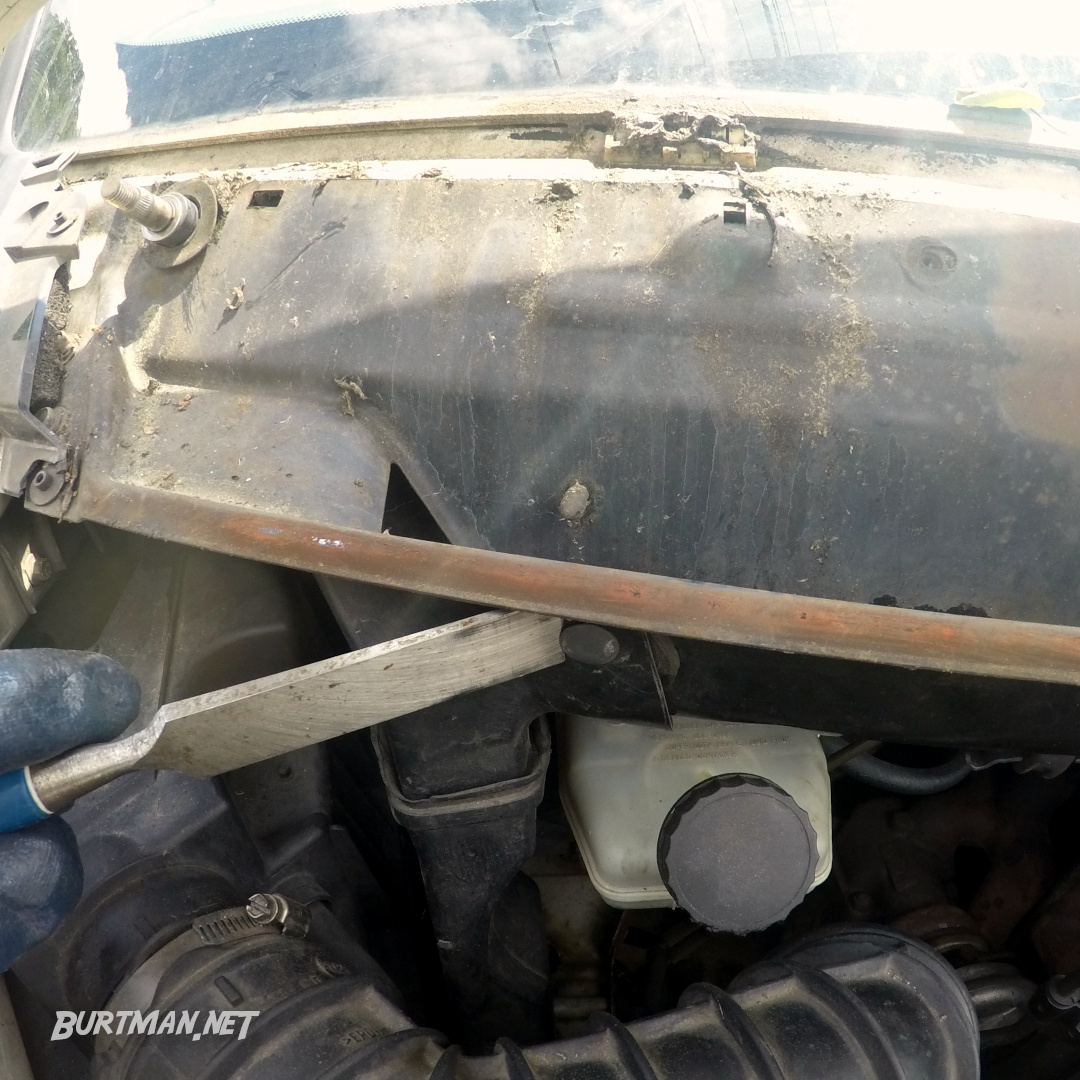
12. With all bolts removed from the gutter, pull it carefully but firmly until it comes away from the van. It may be stuck because of gunk around the edges, and it might even have a seal you will need to break. In either case, a bit of careful prying will get it loose.
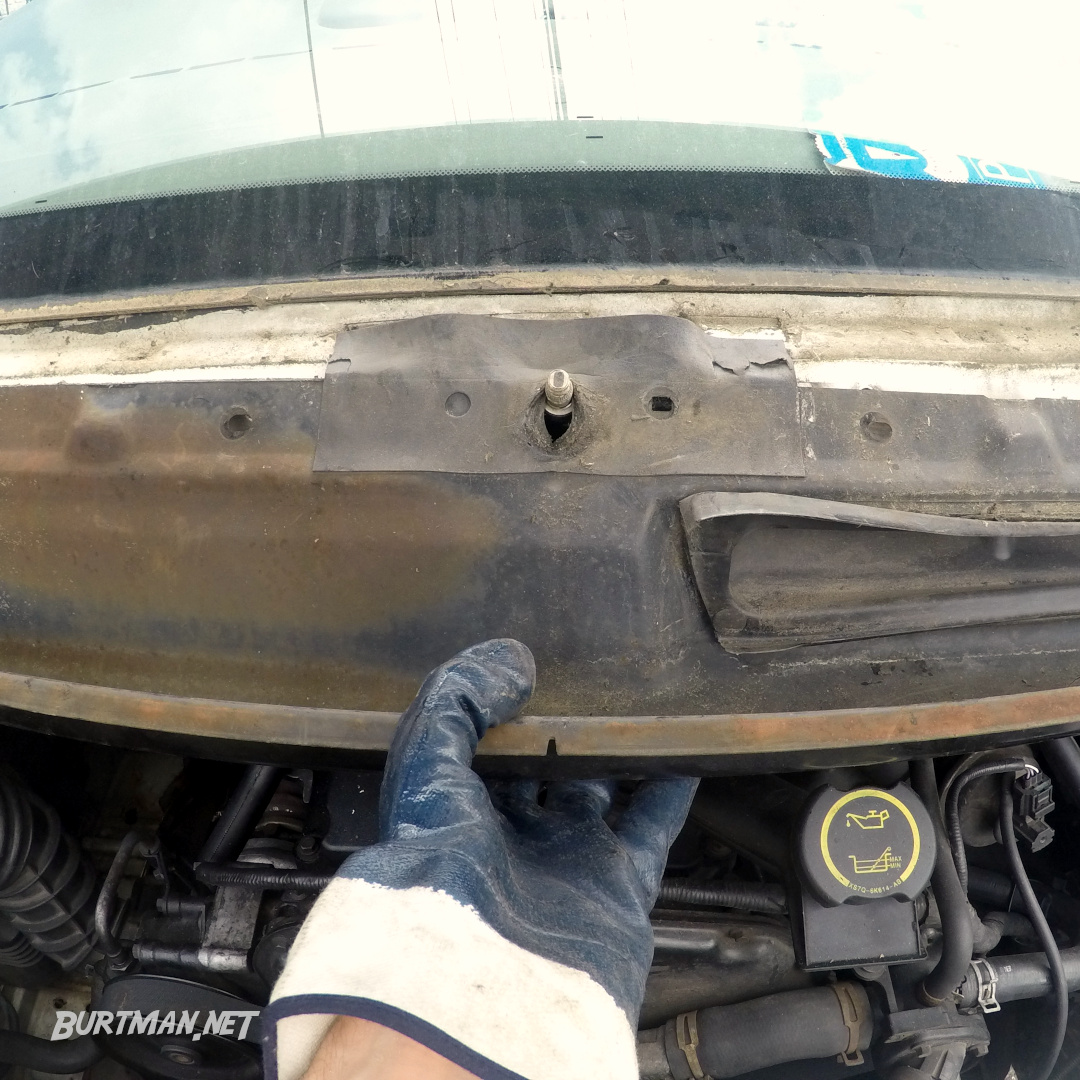
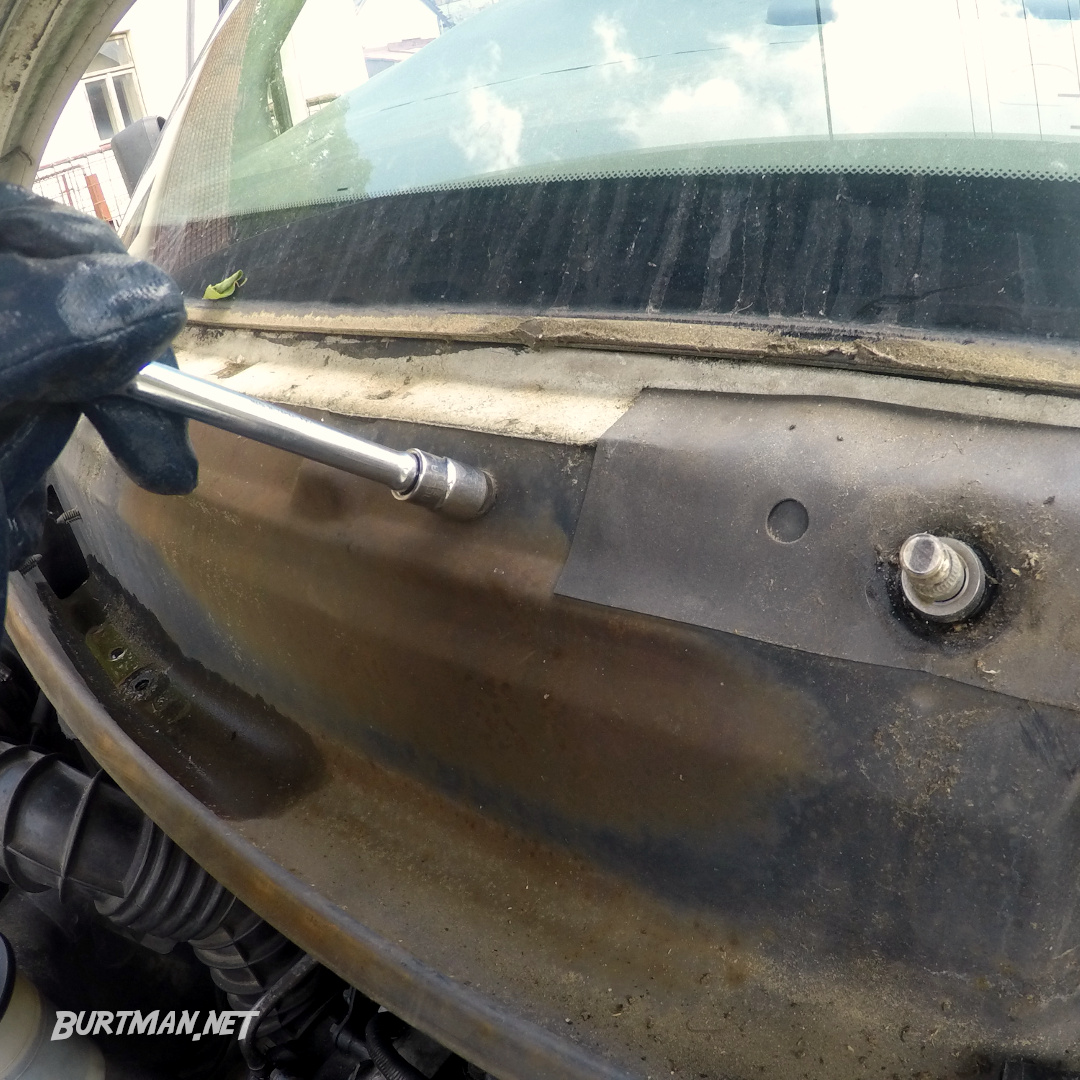
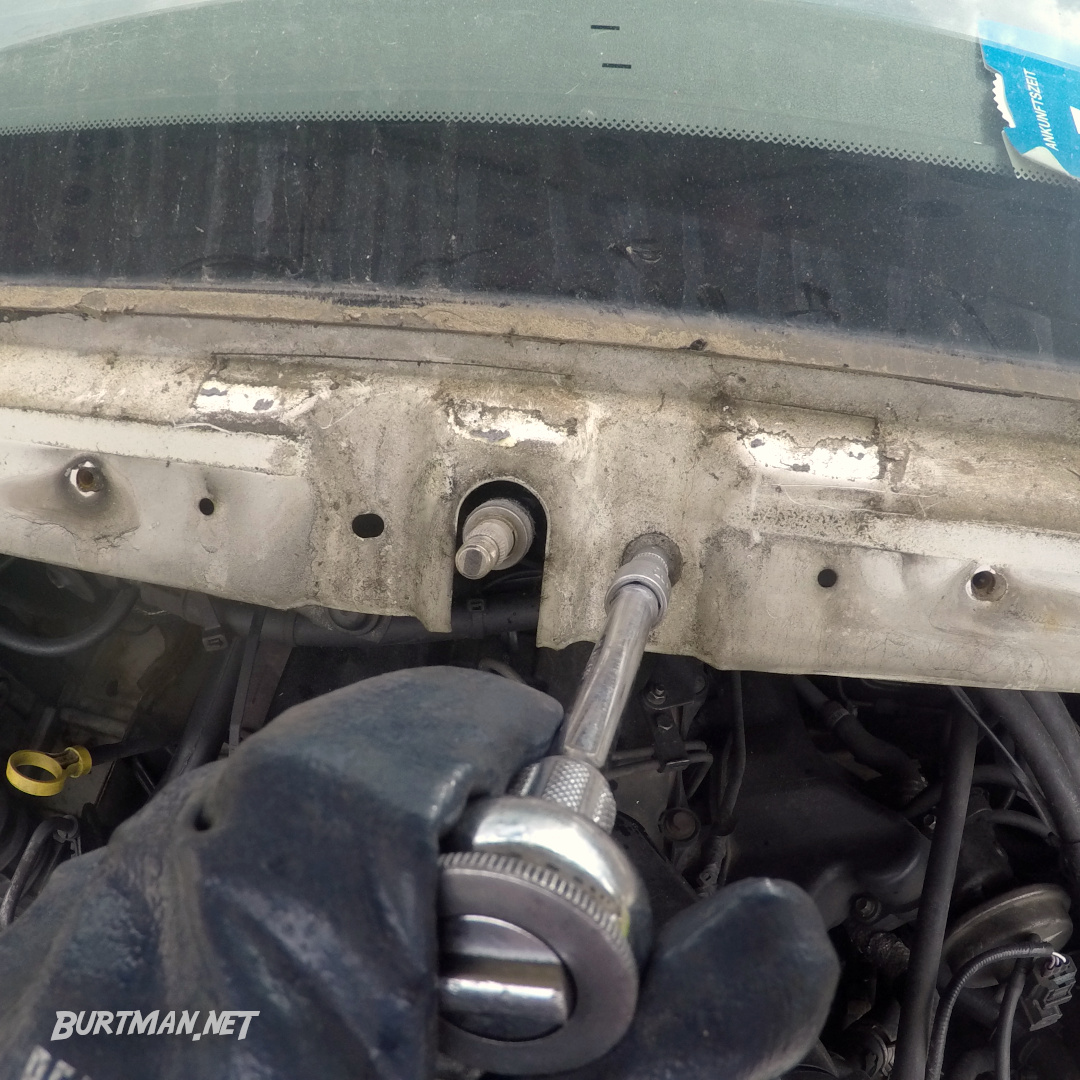
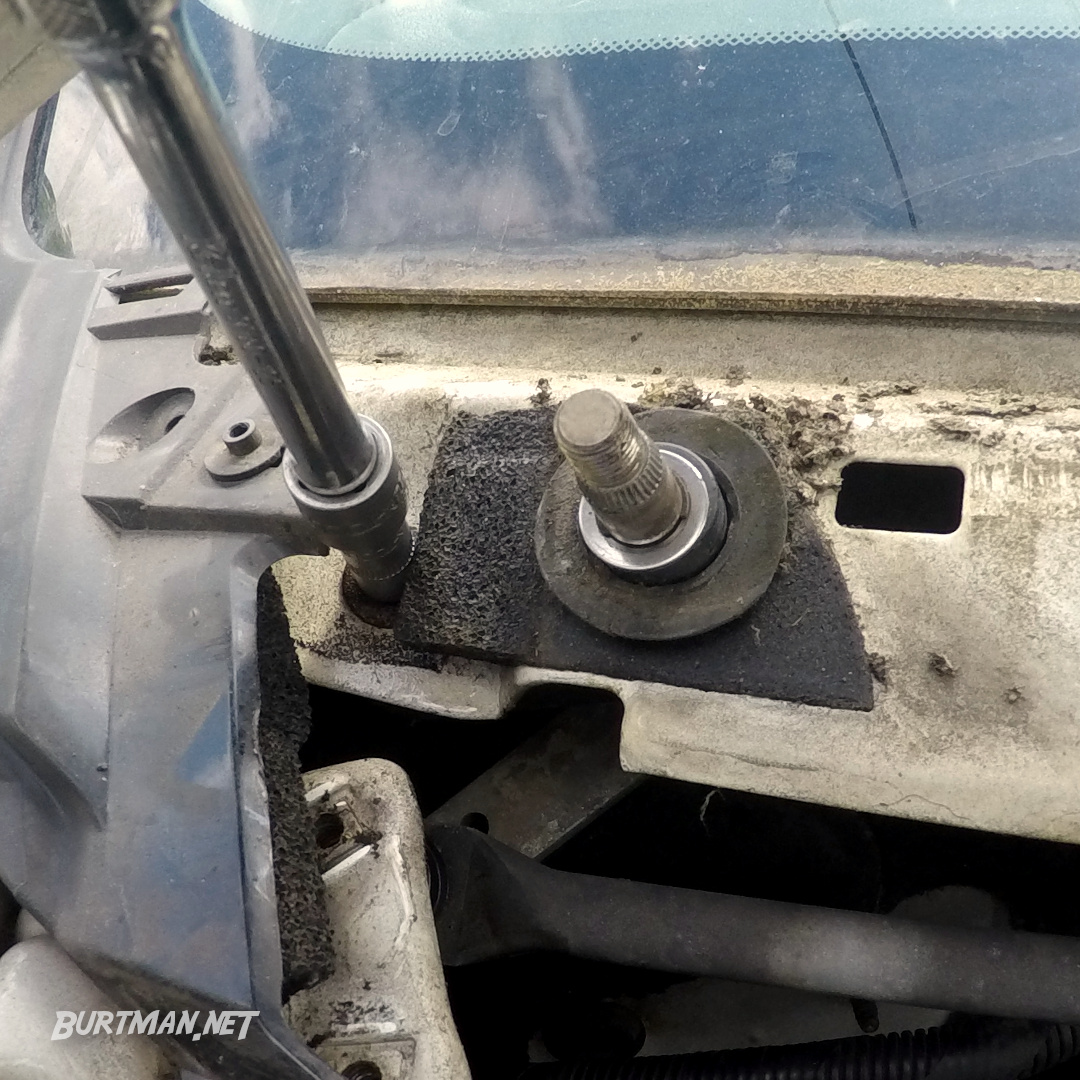
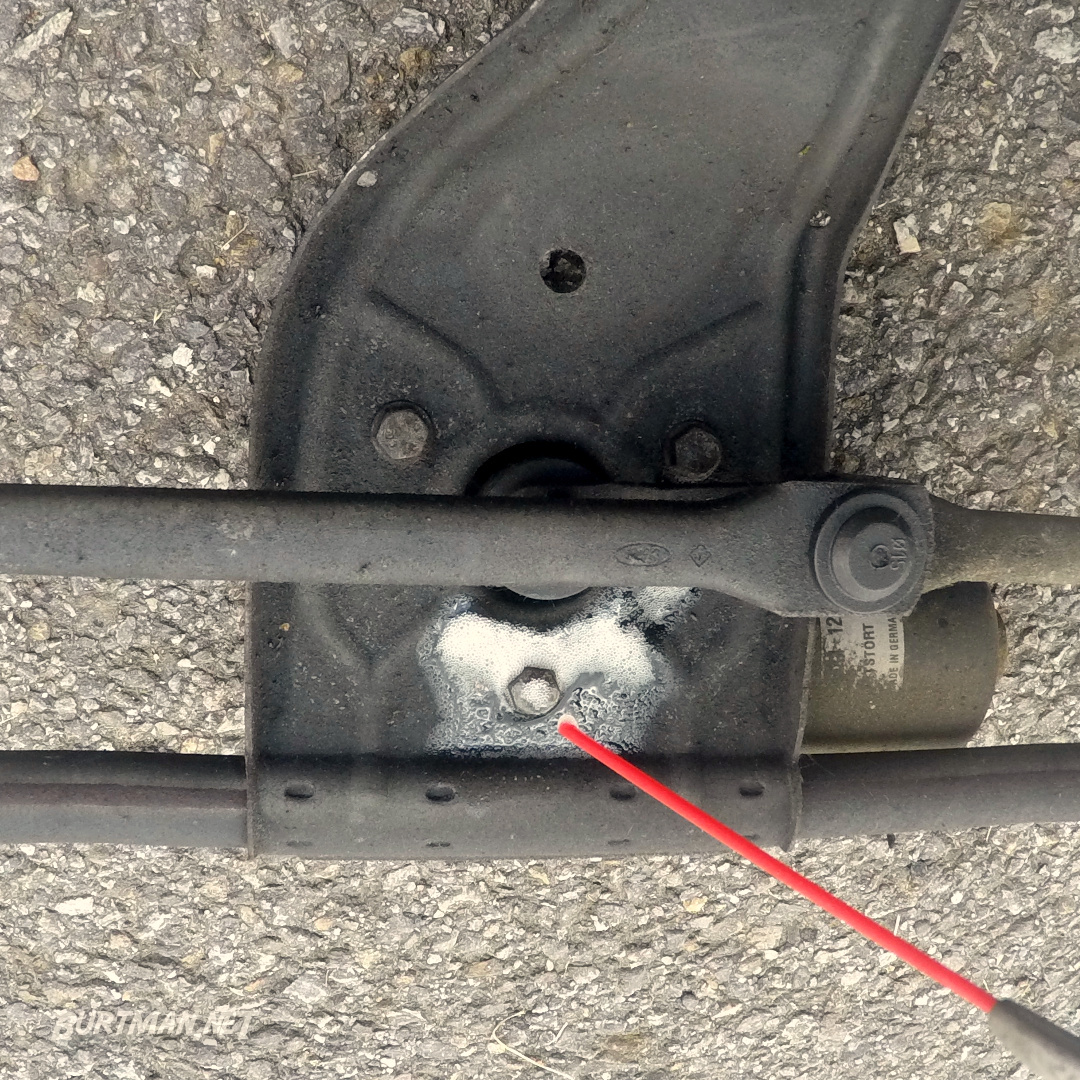
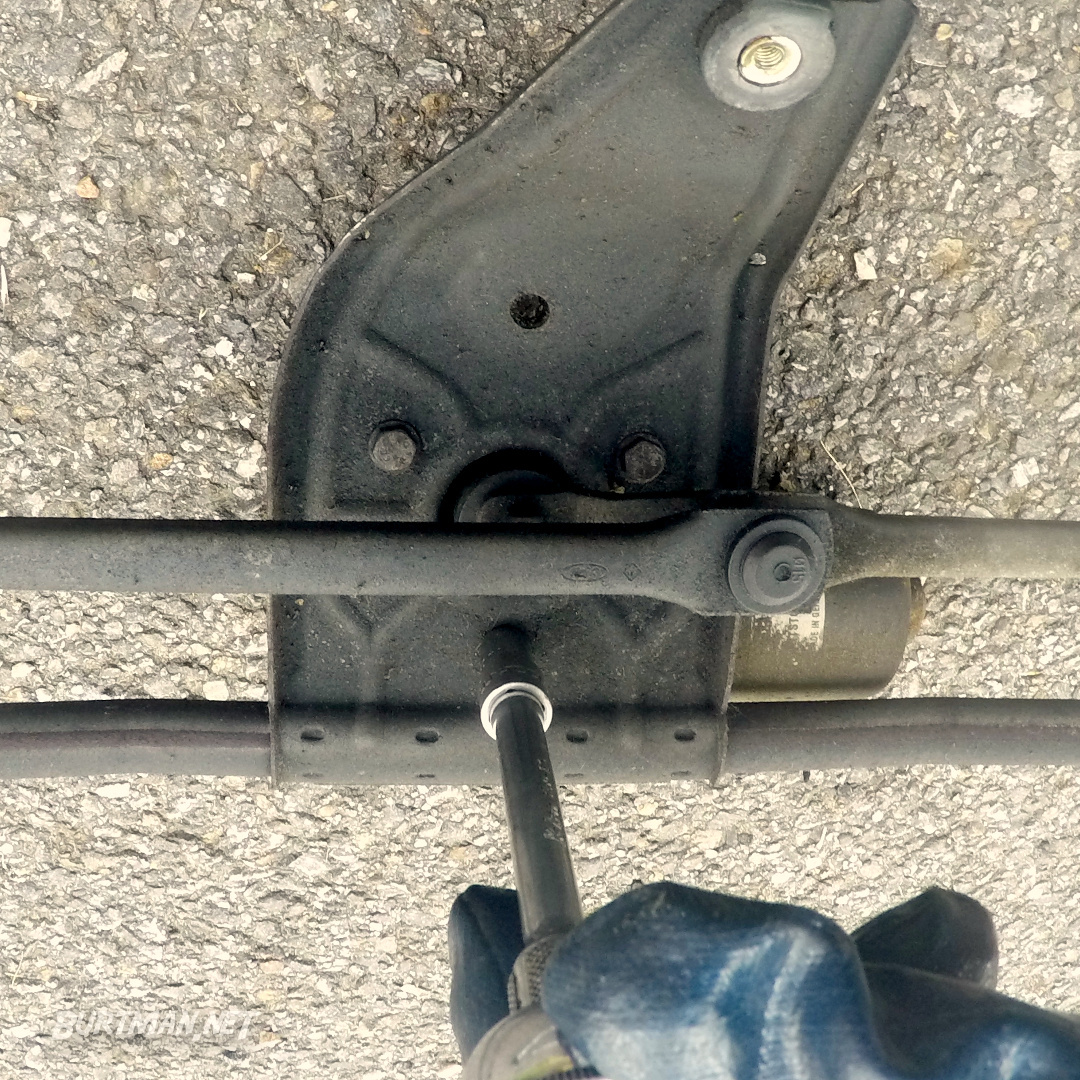
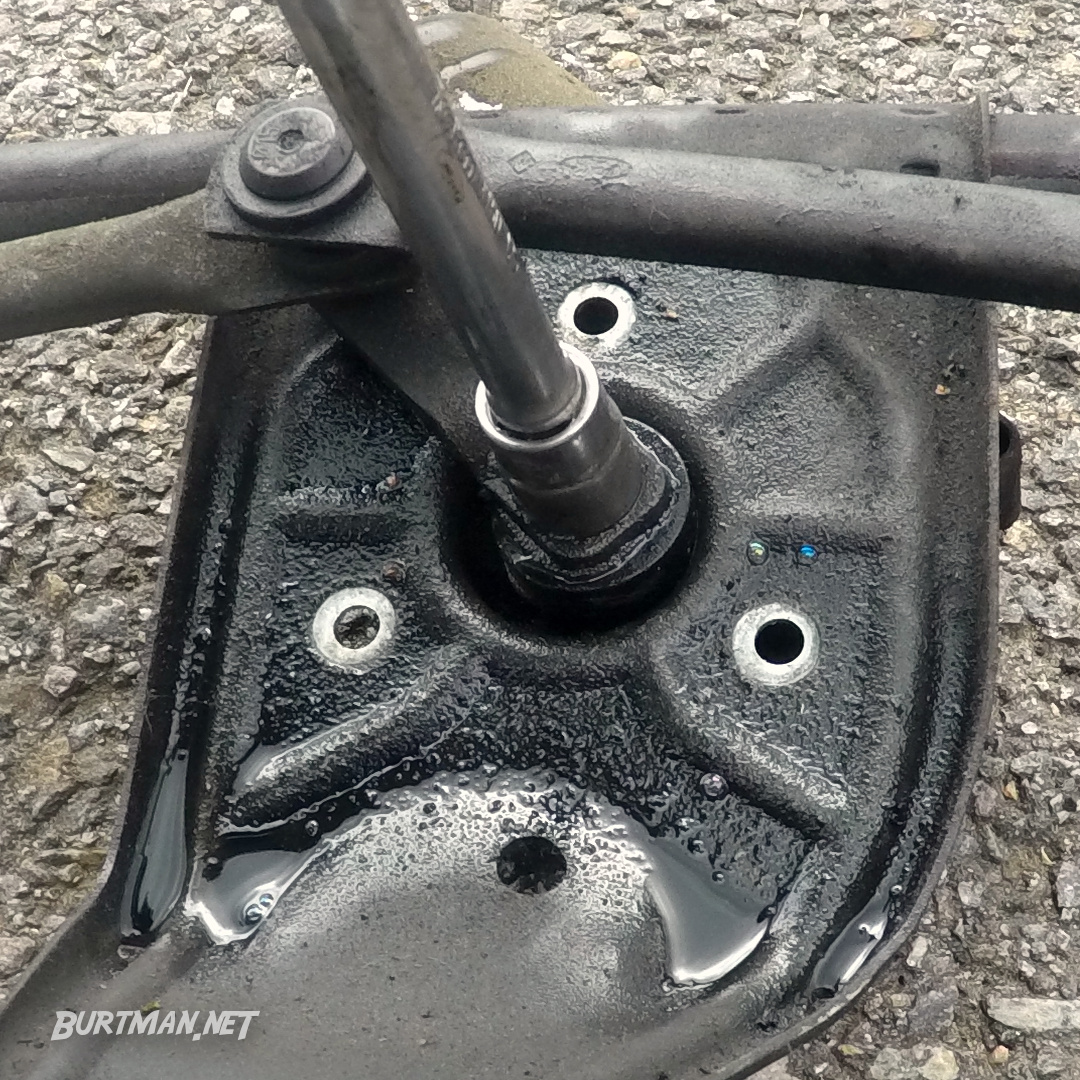
13. Beneath the gutter, next to the wiper arm pivots, there are two more bolts. Mine were 8mm. These are the bolts that hold the linkage in position. Remove those and the central bolt that holds the weight of the unit. The central bolt will be bigger (maybe 10 or 13mm). Support the unit as it comes down, because it is still connected to the wiper motor wiring.
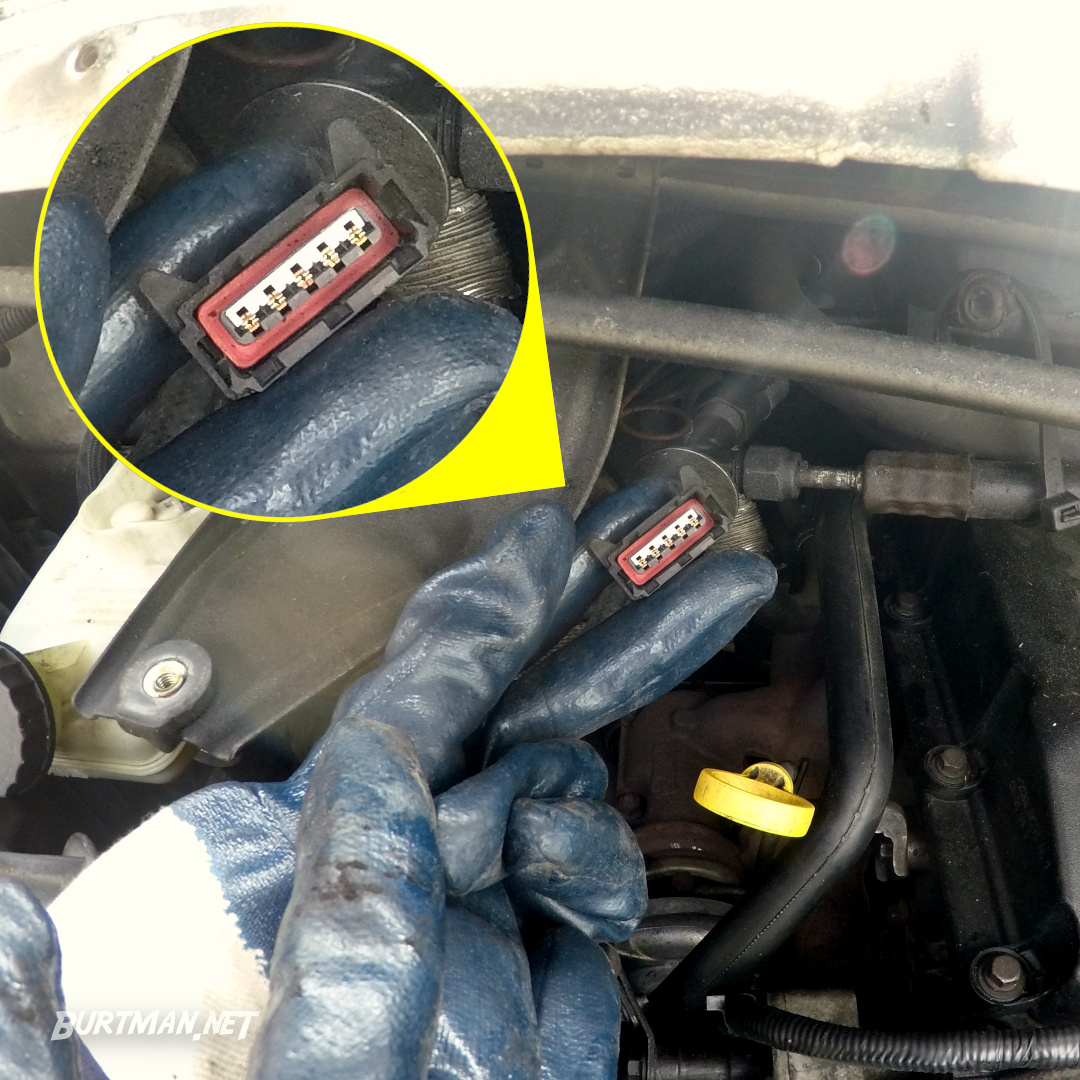
14. Before yanking the linkage out, use a flat screwdriver to remove the clip that holds the wiring connection onto the motor. Be careful to catch the clip as it tries to escape.
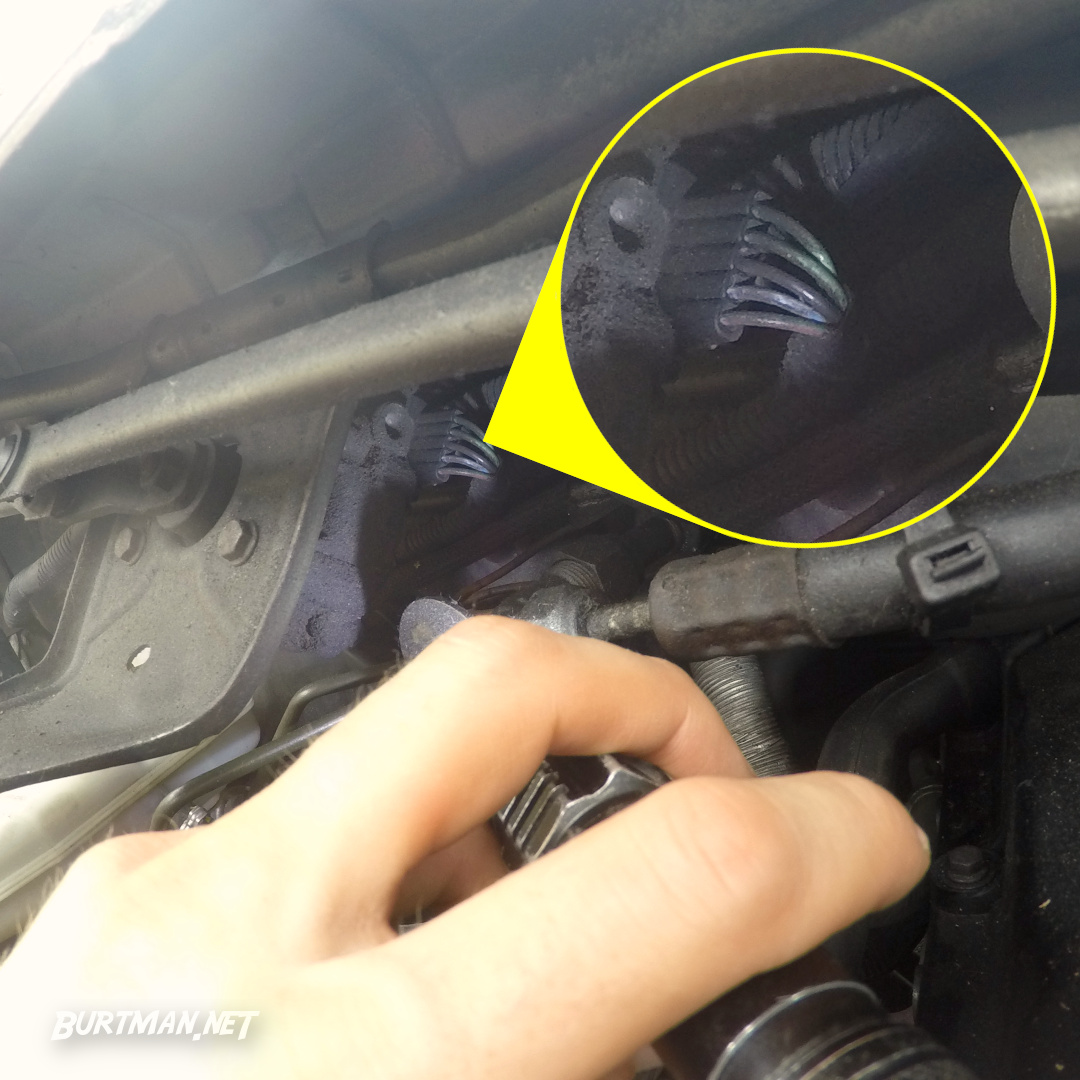
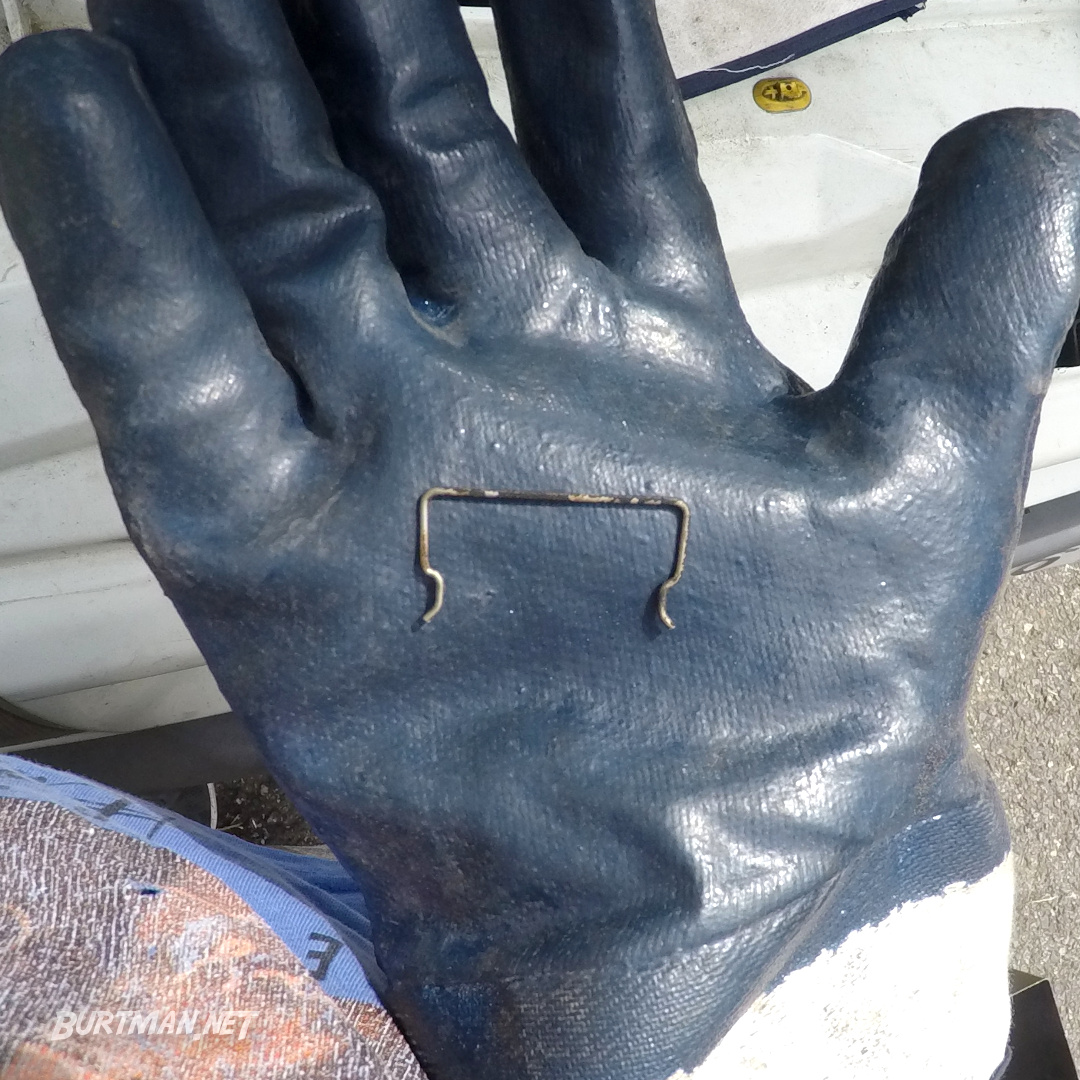
15. Once the clip is removed, the plug will easily slide off (that's why you really don't want to lose the clip).
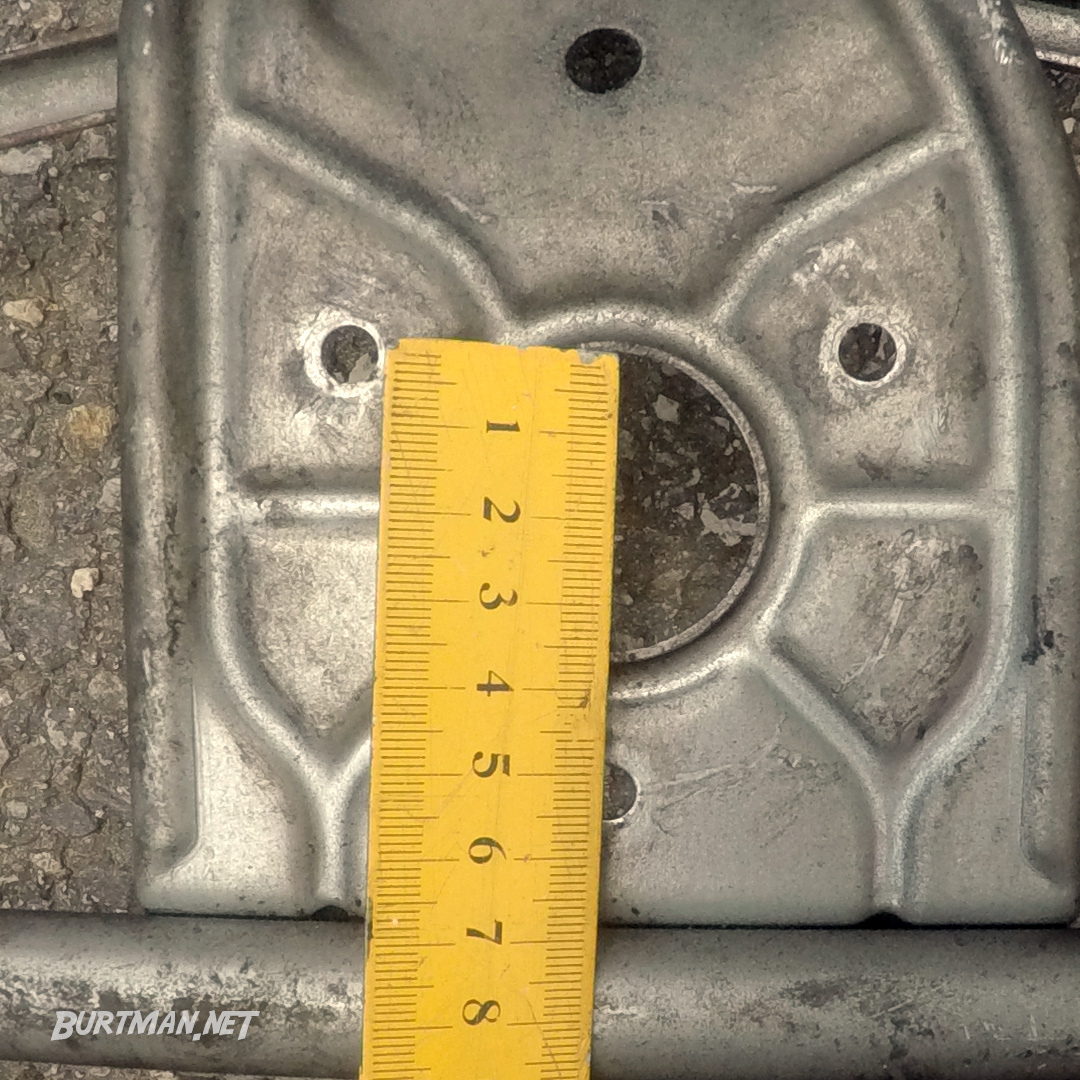
16. Remove the linkage and place it on a level surface next to the new one. Inspect them for differences to make sure you have the correct replacement part. They may look the same, but there could be slight differences that will prevent you from completing the job. It's best to know about them before getting the new linkage bolted in.
As you can see, there is a problem with my new linkage, and it needed to be returned and swapped for one with a slightly wider motor hole and slightly more separated motor mounting holes.
Old linkage.
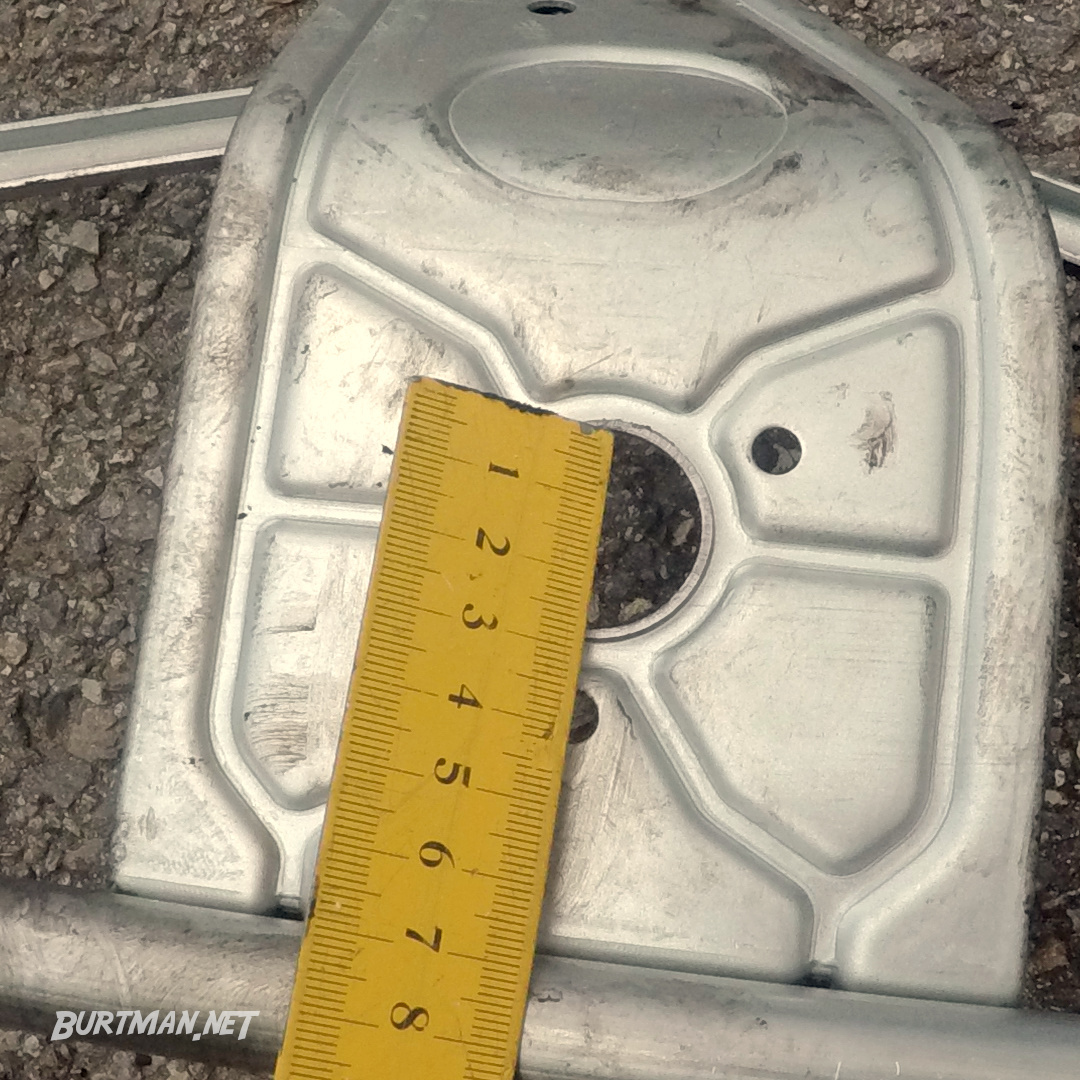
New linkage
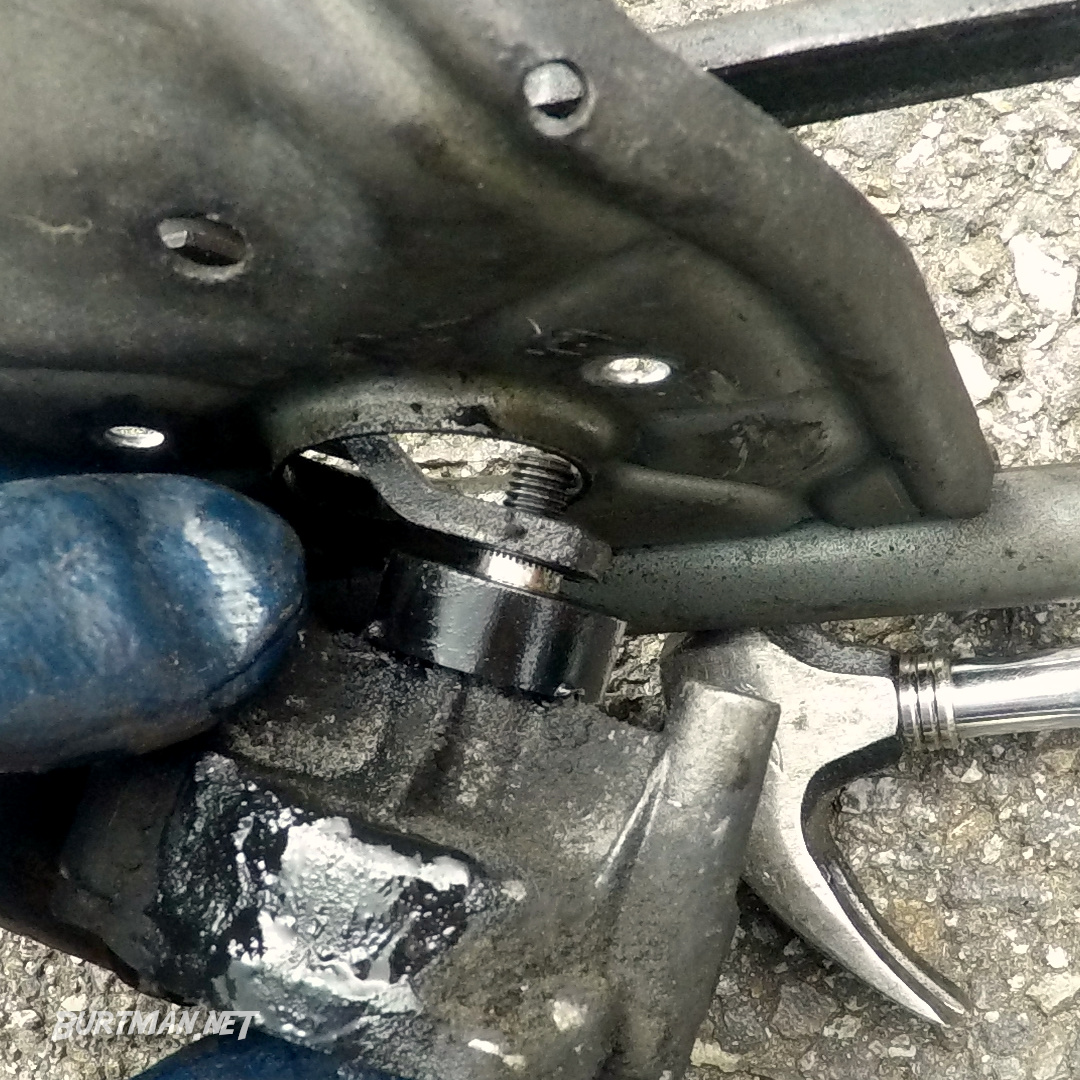
17. When you're sure you have the correct replacement part, add some penetrating lubricant to the motor mounts and remove the bolts.
18. Do the same with the central nut that connects the motor arm to the motor. Before removing the motor arm, use a marker to mark the position of the arm against the motor. This will ensure that you don't fit the arm in the wrong position. If you skip this step, you might have to do most of this job again.
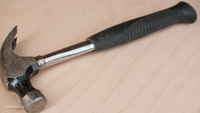
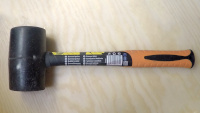
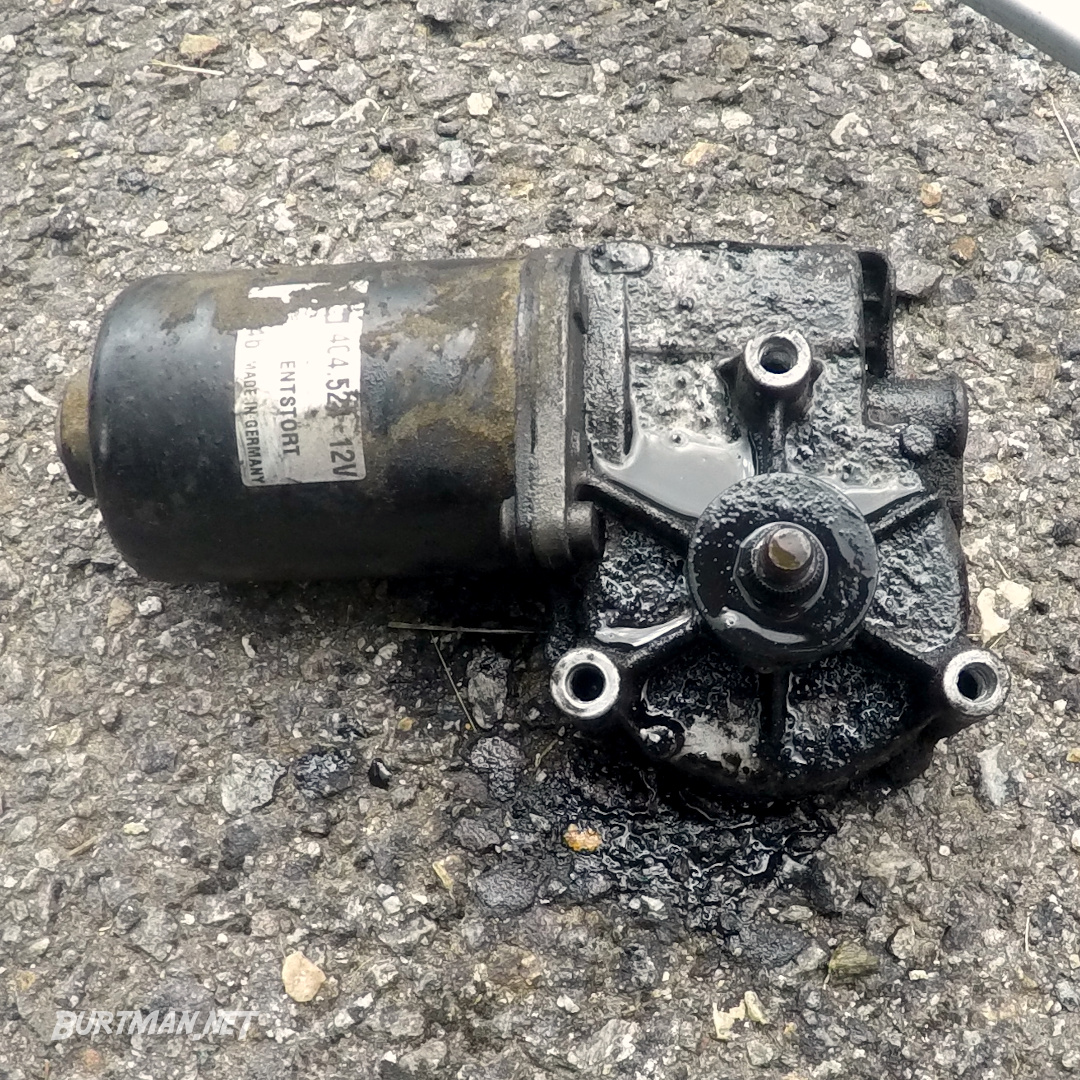
19. If the motor arm won't come off easily, give it a few thumps with a rubber mallet. If that doesn't do it, tap it more carefully with a standard hammer.
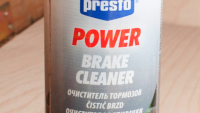
20. When the motor is removed, clean it up a bit with brake cleaner and a lint-free cloth or piece of rag. If it's really caked in junk, you might want to use a nylon wheel.
Reverse The Process
Refitting the wiper linkage is exactly the reverse of the removal process. Just go back through the steps and fit the bolts in the reverse order of how you took them off.
When the new wiper linkage is fitted, before replacing all the covering components, seat one of the wipers on the pivot and actuate the wiper from the cockpit. This way, you can see if there is any problem with the motor arm alignment. If the wiper doesn't move as you expect it to, you may need to change the position of the motor arm, to ensure that the wipers are at rest in the normal position when the motor is finished moving.
Once your motor arm alignment is confirmed, continue refitting the parts and make sure there are no screws missing from any holes at each step, before continuing with the next.
When done, spray some water on the window, covering the entire wiper area, and actuate the wipers to confirm that they now properly clear the glass.