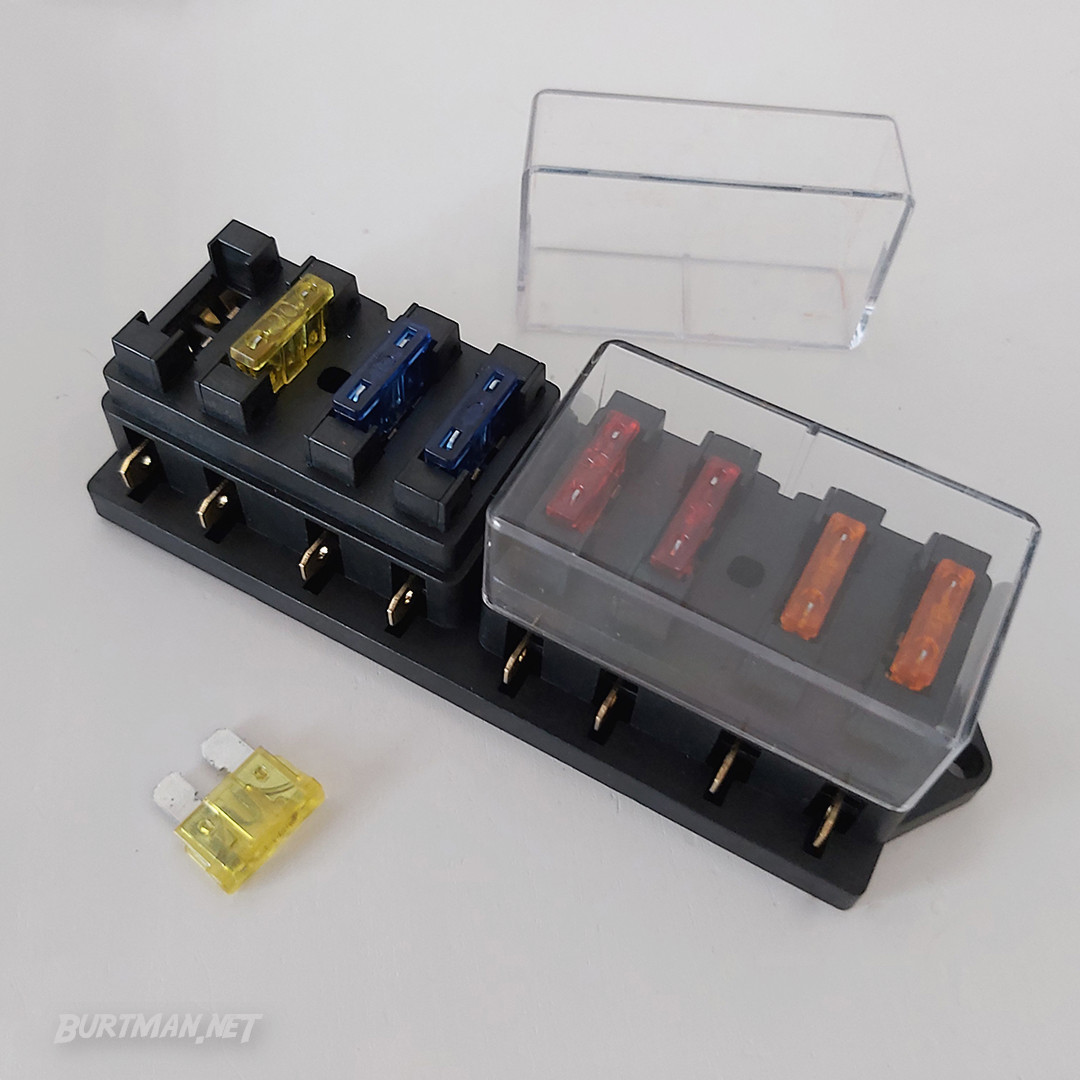
D/C Fuse Box
AKA: Simple Fuse Box
When adding cable to a fuse bay (one of the spaces where a fuse can be fitted), make sure your cable ends are tidy and no loose strands of wire are hanging out. Any loose wire could bridge the circuit between two fuses, causing a critical fuse to be bypassed. Such an occurrence may also cause unexpected operational situations between the bridged circuits.
This type of fuse box is designed for D/C applications. NEVER attempt to use such a fuse box for A/C appliances. A/C wiring is more complicated and requires a dedicated breaker, especially at high voltages.
D/C = Direct Current (typically things like phone chargers and low voltage fans)
A/C = Alternating Current (typically heavier duty devices like irons, ovens, heaters, etc.)
A box that allows you to insert fuses of different values into separate circuits in a single location.

A fuse box loaded with blade fuses.
Before adding a fuse box to your build, first isolate the power to any device you wish to fuse, otherwise you may get a shock.
To install, just run any cable on the relevant circuit to the fuse box, cut the positive cable and strip the ends. Attach spade connectors to the cable ends and use the provided heat-shrink to safely seal the joints. If your spade connectors don't have heat shrink sleeves on them, you can use insulation tape to make the joints electrically safe.
Once the wiring is properly connected, insert a fuse into that bay, making sure it is rated lower than the thinnest cable in the circuit and higher than the device you are fusing. Take into consideration the variations in power consumption that may occur during different modes of use, and familiarize yourself with the startup load of each device you are fusing. Some devices consume more power in the first 1/10 of a second than at any other time (for example, when starting a fan).
If you are not sure how to calculate the fuse, check the manual for your device. The appropriate fuse and wiring will be stated there.


 Back To Tool List