
Replace Exhaust Manifold Gasket
 Let's Get Technical
 For Everyone
Updated:
Make sure the exhaust manifold is cool before attempting this job, or you'll be risking serious burns on your hands and arms.


If you can smell exhaust when you're in the van with the engine running, you've got a leak. Now, if the smoke is visible, it's a big leak, and most likely, you'll need to replace or repair the exhaust pipe, muffler, catalytic converter, or other component. But if the smell is feint-to-moderate, with no visible gas, you probably just need a new exhaust manifold gasket. And that's what we'll be looking at here.
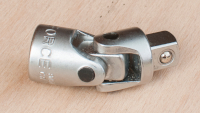
This job is relatively quick and easy for vans with a bit of space in the engine bay. The manifold is fairly high up on the block and all but the last couple of bolts should be easy to reach. For those that aren't, you will need that bendy socket.
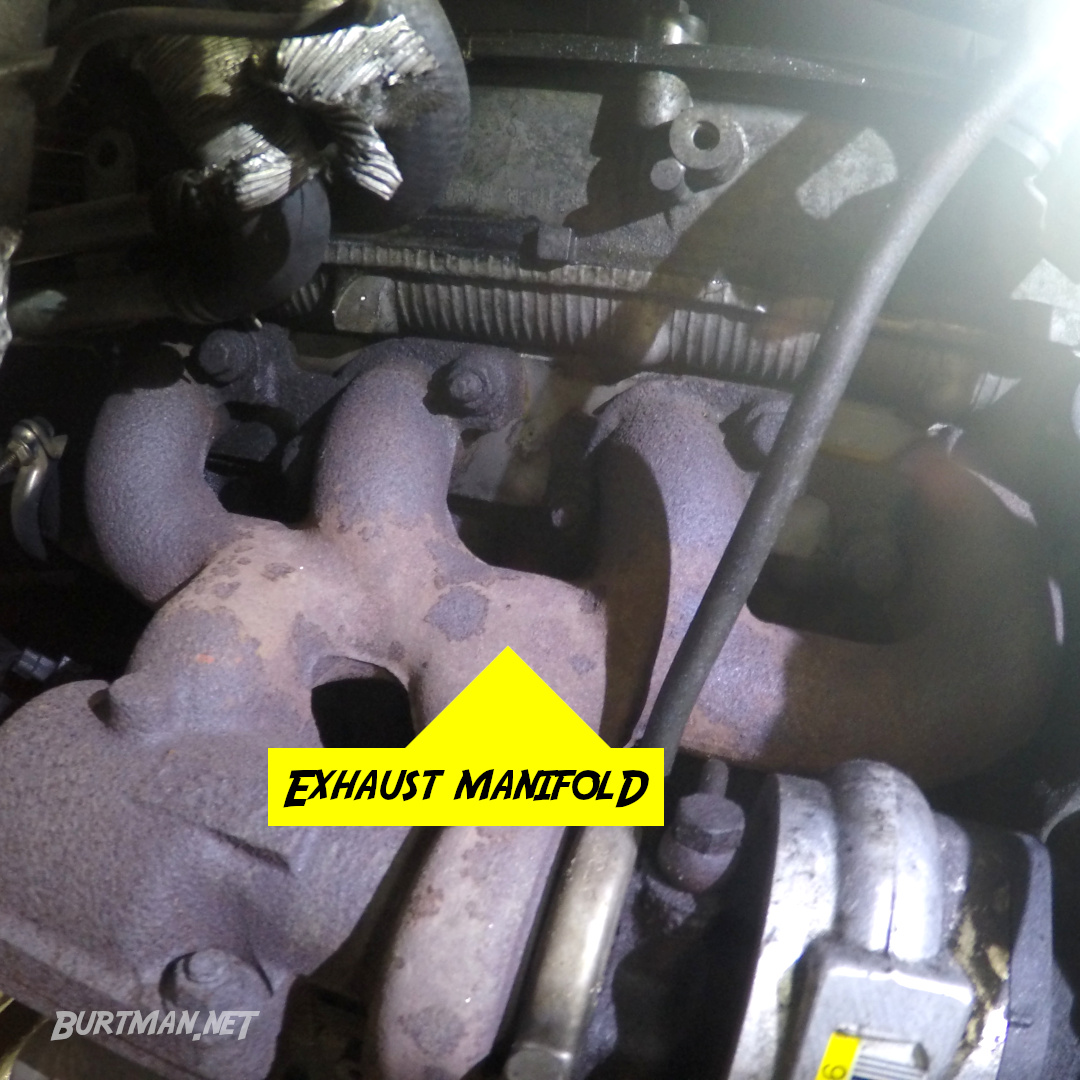
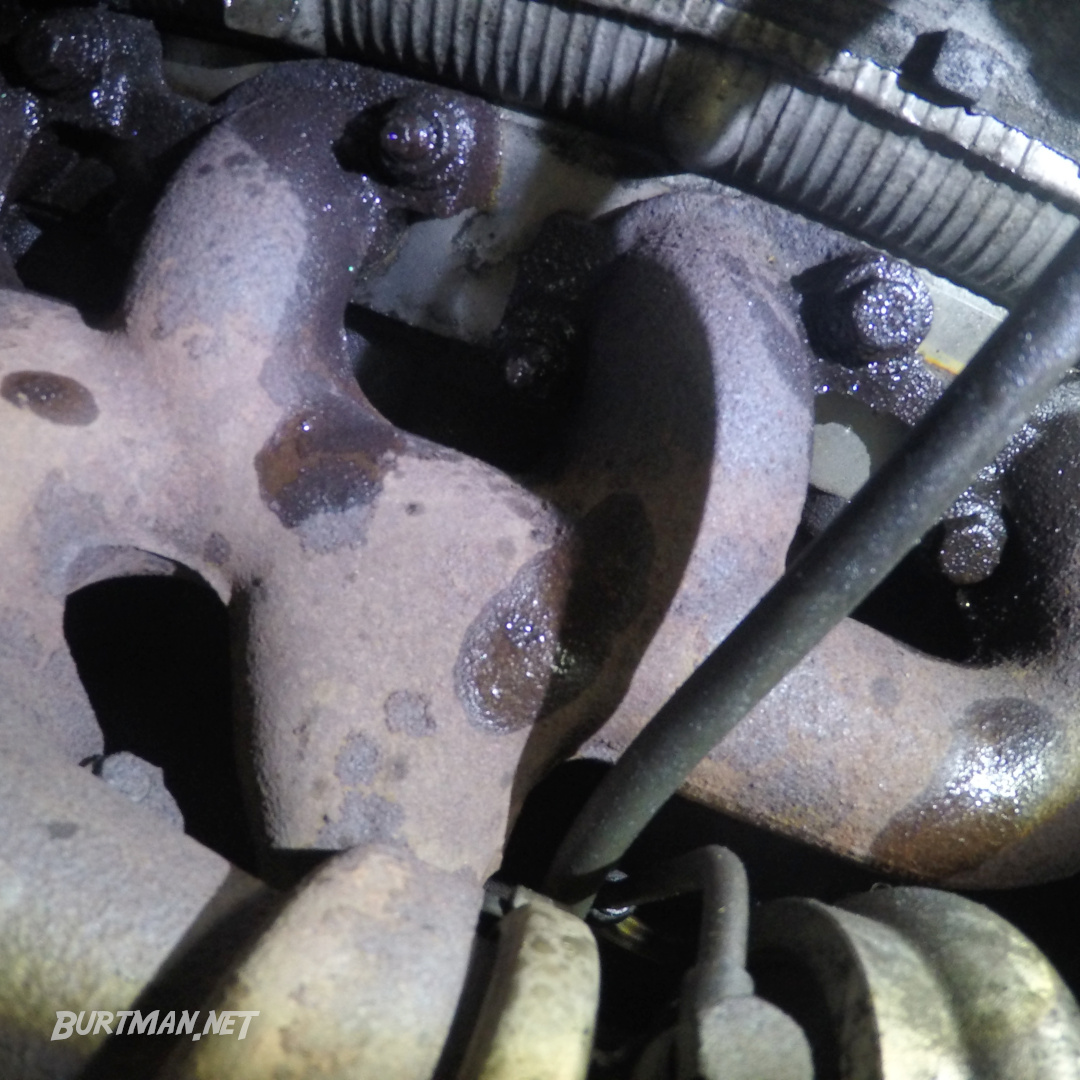
1. Make sure you are looking at the exhaust manifold, not the inlet manifold. They can look very similar and it wouldn't be the first time someone forgot to check. If your van has a turbo, it will be attached to the exhaust manifold. If you're still not sure, follow the pipe. If it goes out underneath the van, you're in the right place.
2. Spray the bolts that hold the manifold in position with lubricant and let it settle for a minute or two. This will help the bolts to come out without too much trouble.
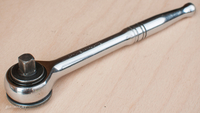
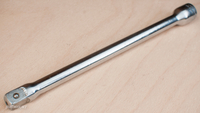
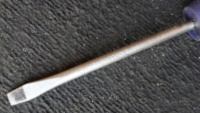
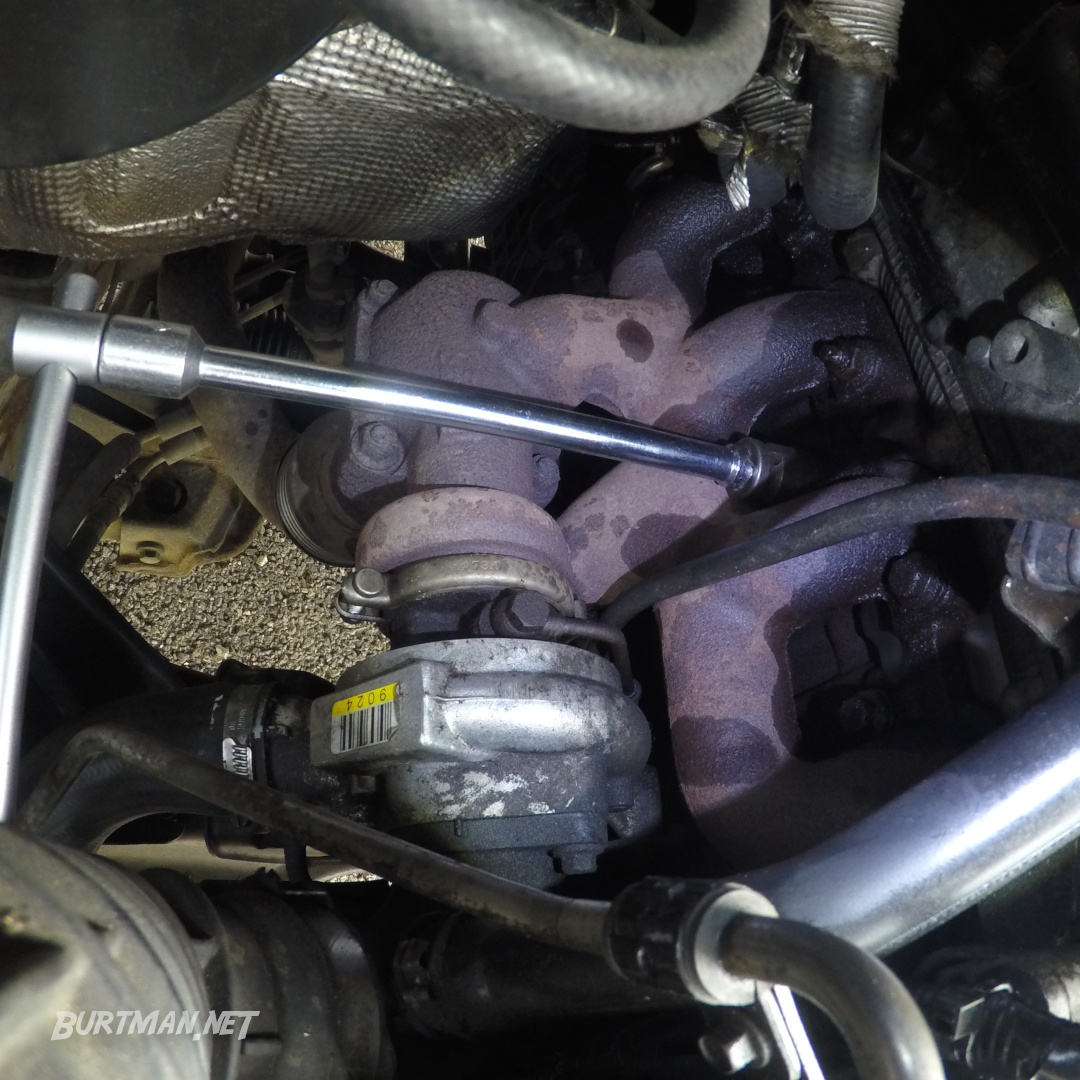
3. Using an extension bar where necessary, crack open the bolts, starting in the middle.
4. As you remove the bolts, lay them out on the ground (or somewhere they won't be disturbed) in the same pattern that they occupy in the manifold, making note of any that are different from the rest.
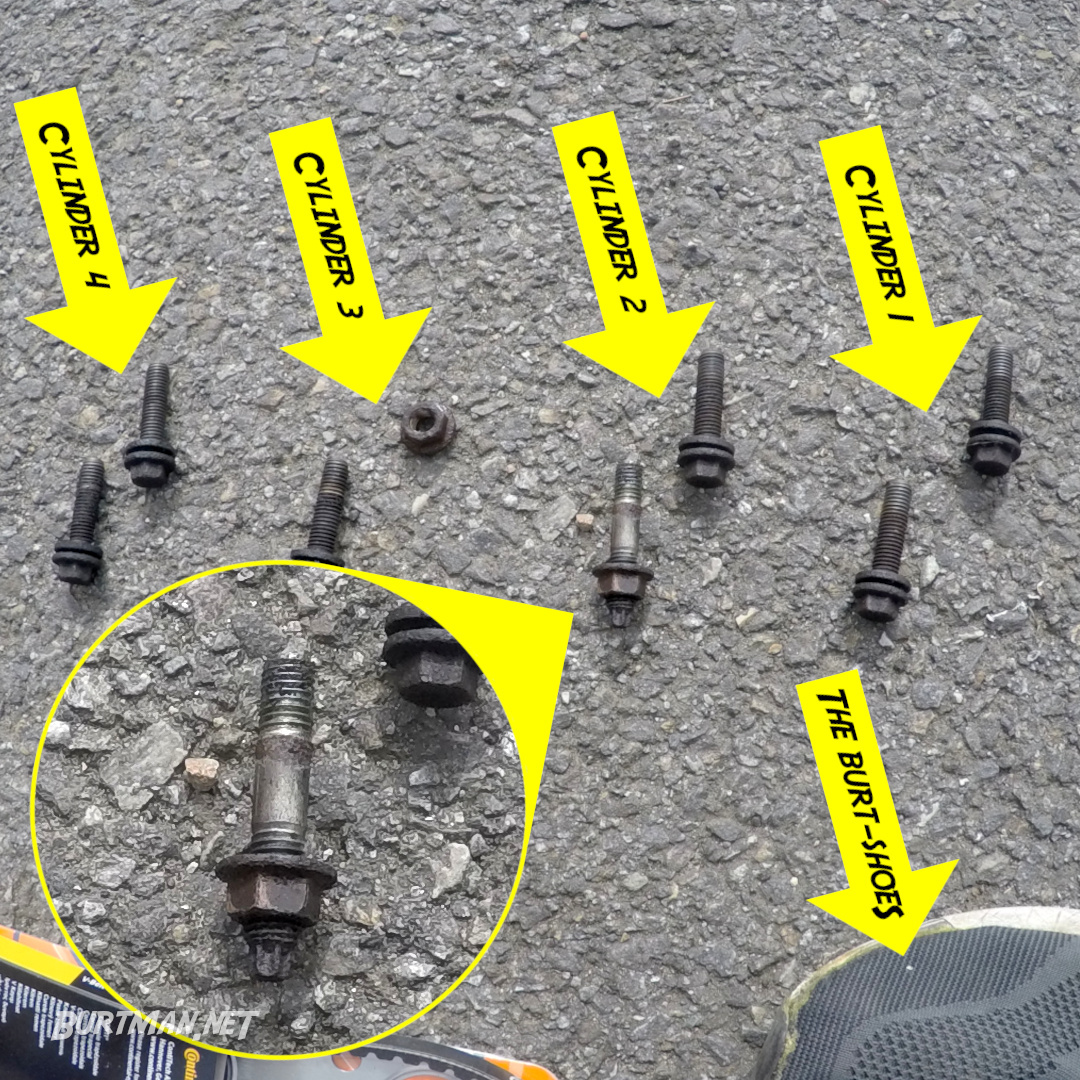
My central two are nuts, not bolts, and one of them has a double-sided screw thread attached. Handy to know which hole it came from.
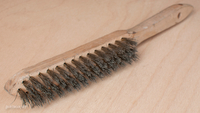
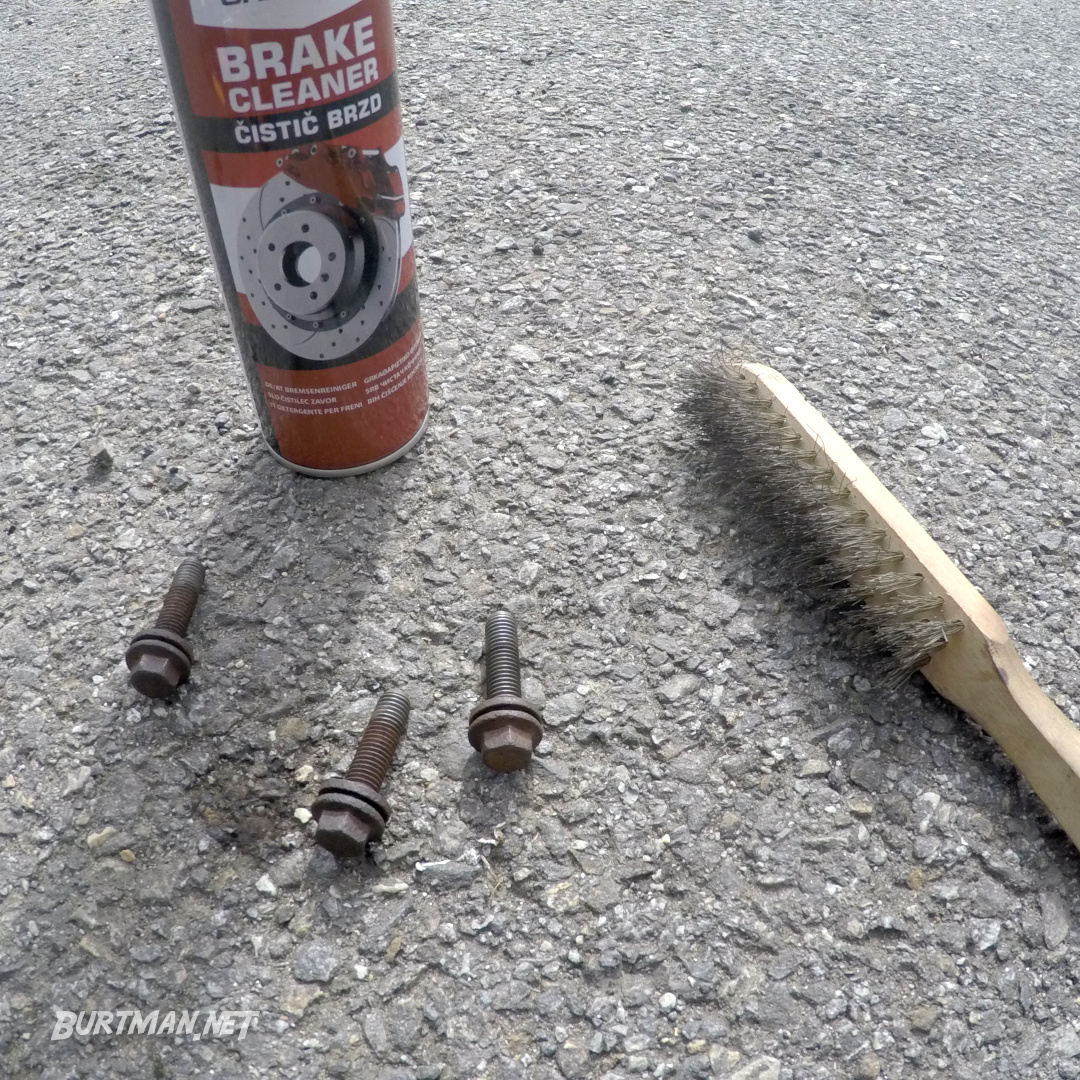
5. Spray the nuts and bolts with a bit of brake cleaner and give them a light brushing with the wire brush to remove congealed oil and other contaminants.
6. Disconnect the air hose from the air filter box.
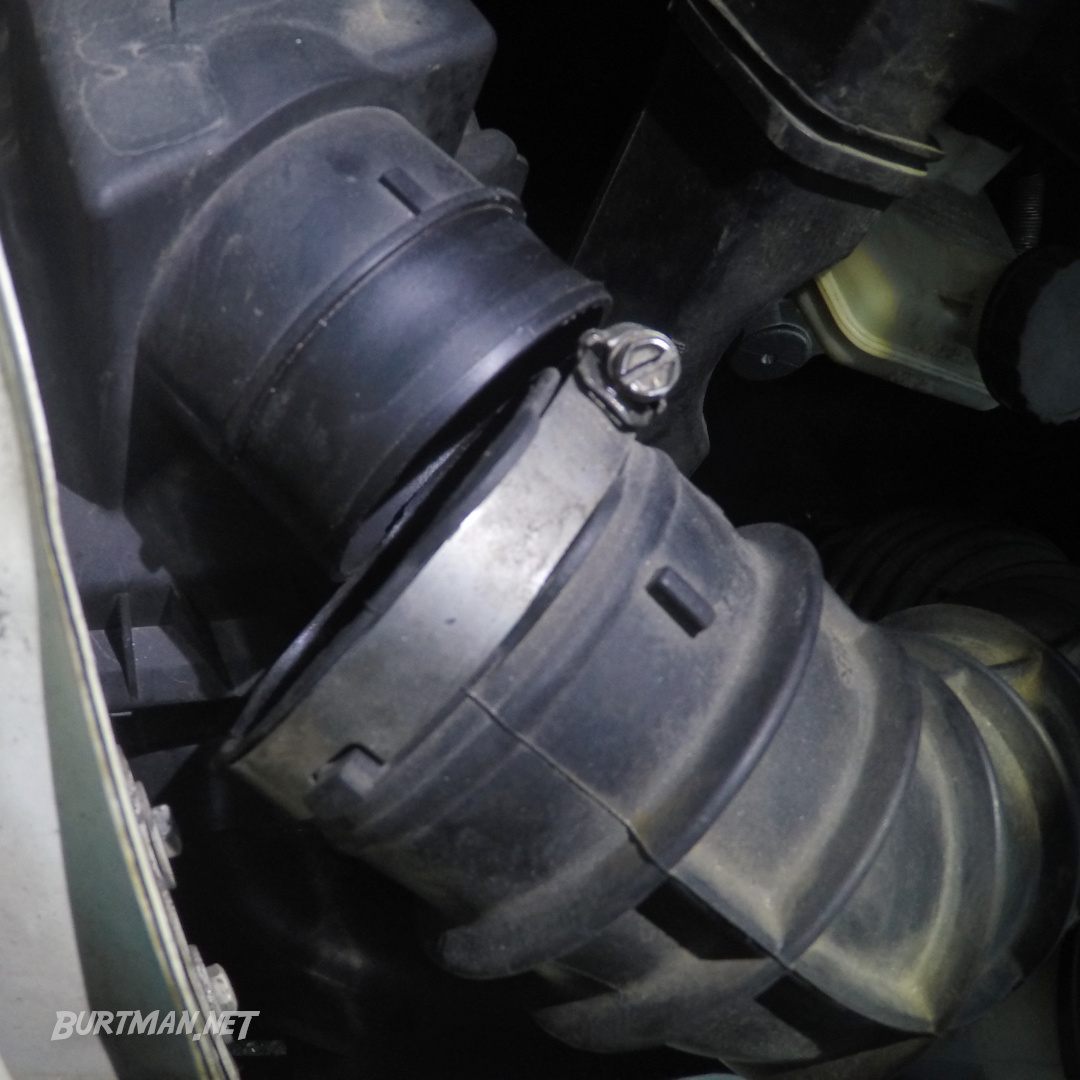
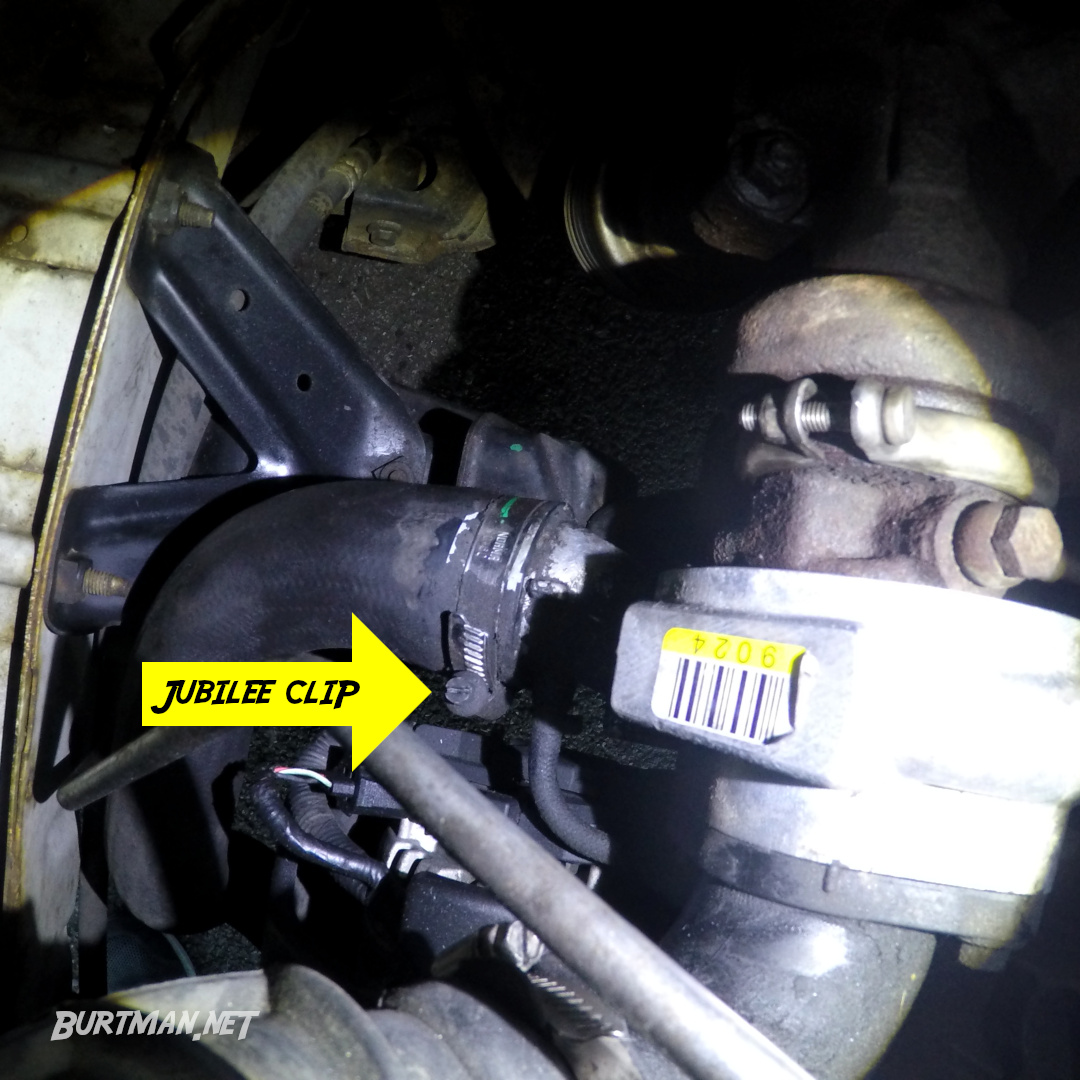
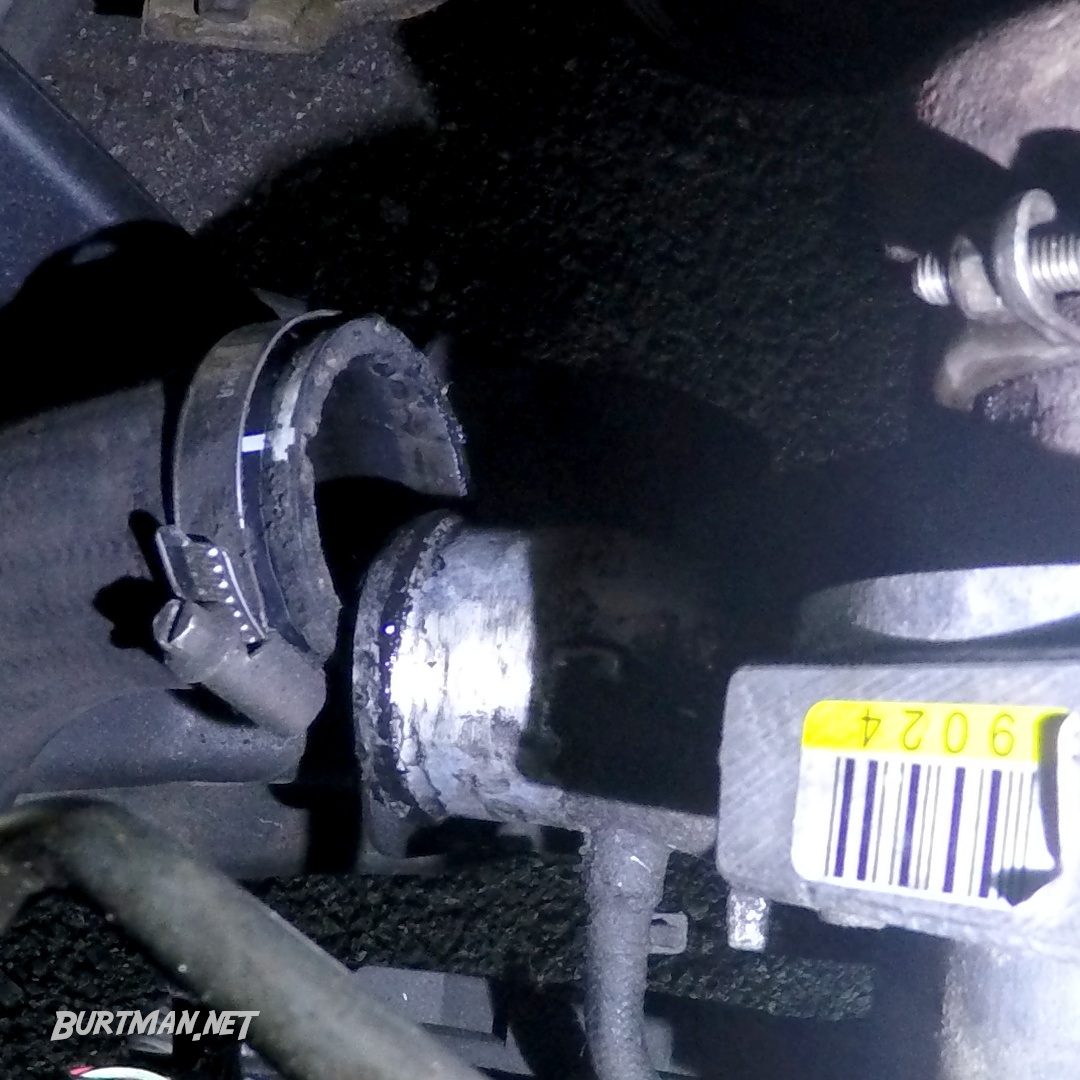
7. Disconnect the intercooler hose from the turbo.
8. If necessary, remove the retaining bolt that holds the dipstick pipe in position. This was preventing removal of the manifold on my van.


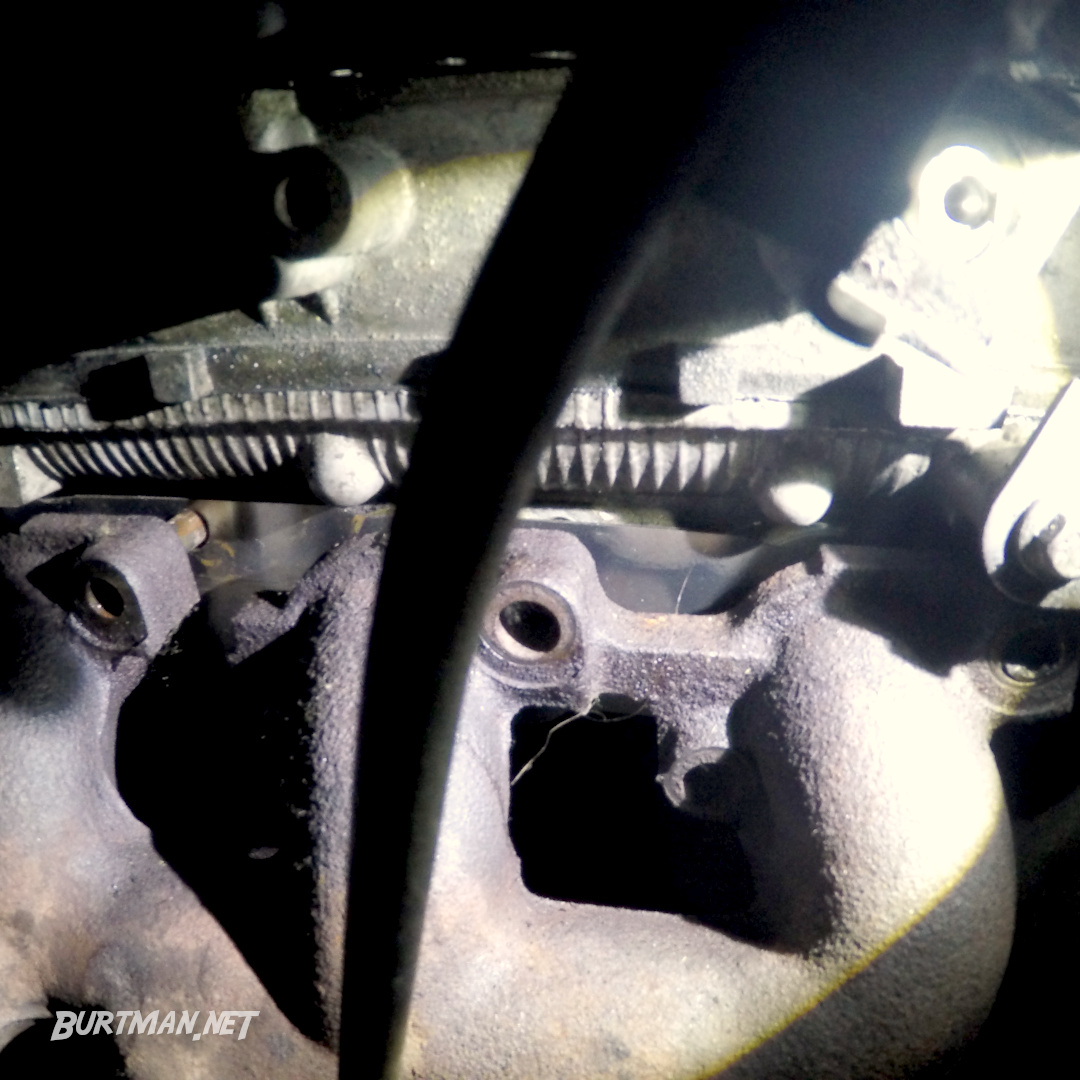
Space to work.
9. Carefully pull the manifold away from the engine block. If it's stuck fast, you can give it a bit of persuasion with the lump hammer (you might need to use a ratchet extension as a chisel). Be careful not to damage the tools or the manifold, and especially not the mating surface on the engine block. Do not use a screwdriver to pry the manifold from the block, or you will almost certainly cause damage to the mating surface, resulting in much worse problems than you originally had.
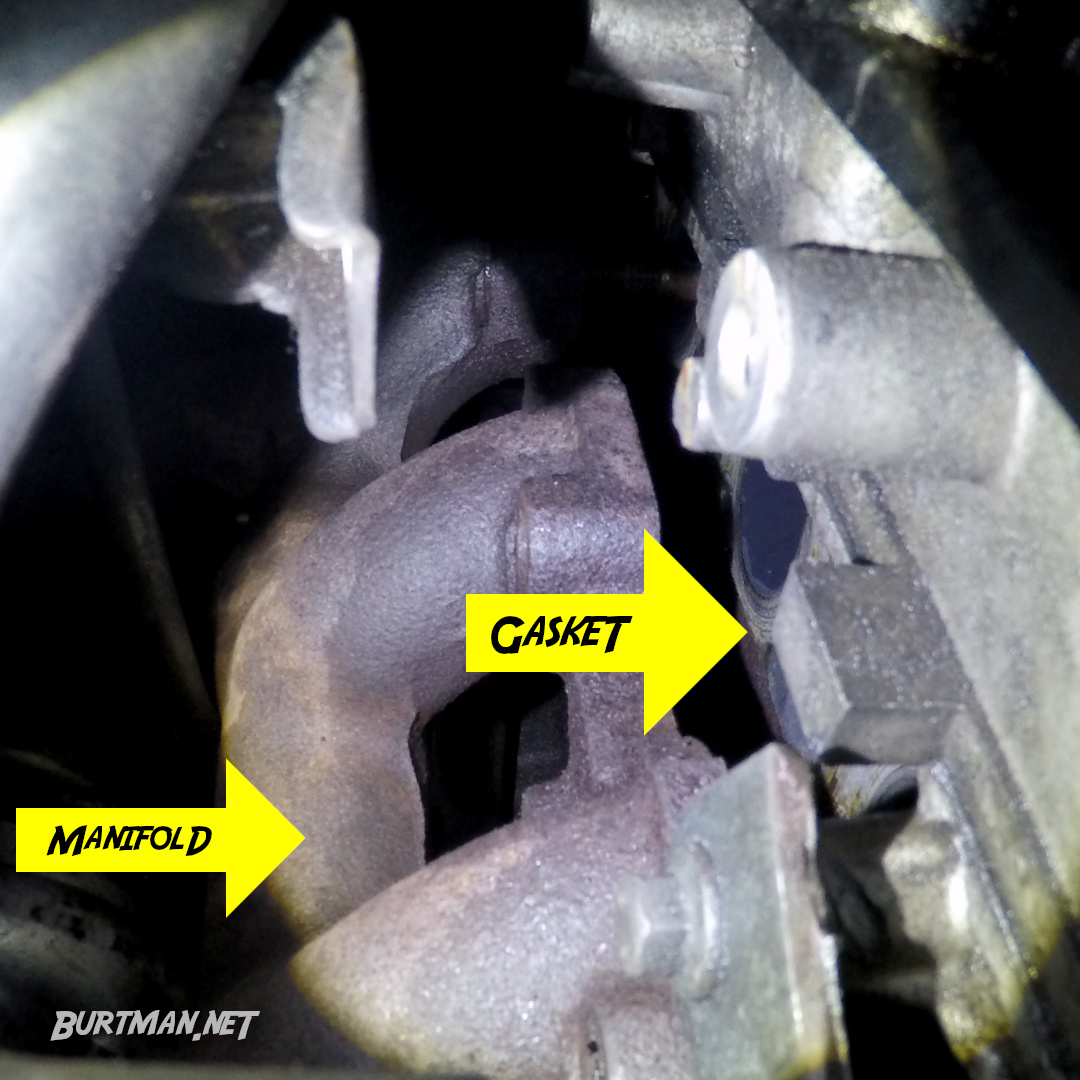
10. Remove the old gasket, making note which way around it was fitted, so you can be sure the new gasket goes on the right way.
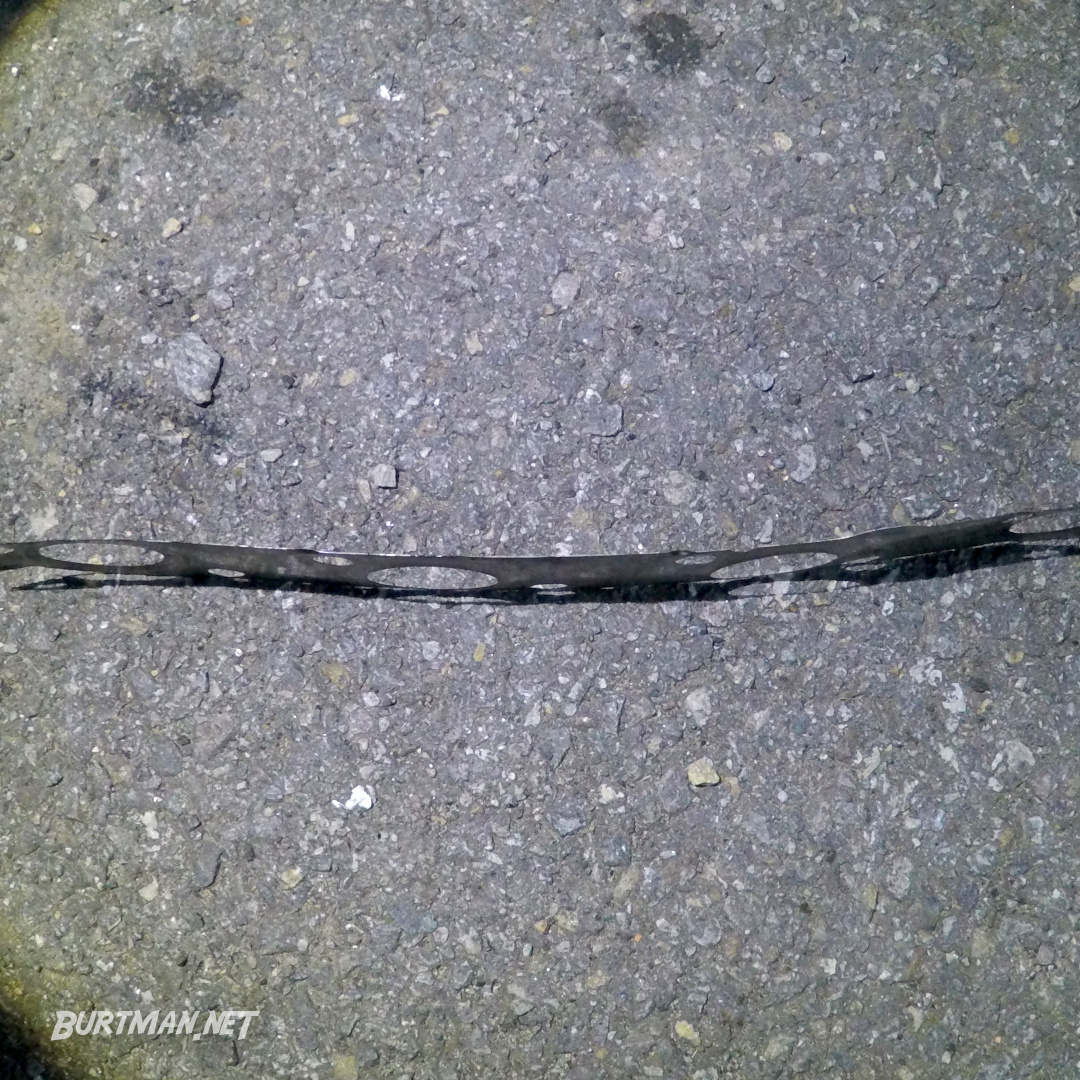
11. Spray a little brake cleaner on the mating surfaces, wipe them down with a rag and visually inspect them for cracks, chips, and other signs of damage. If there is significant damage to either surface, you will need to have it looked at by a specialist.
12. Fit the shiny new gasket carefully, so as not to scratch it on the engine or any of its protruding bolts.
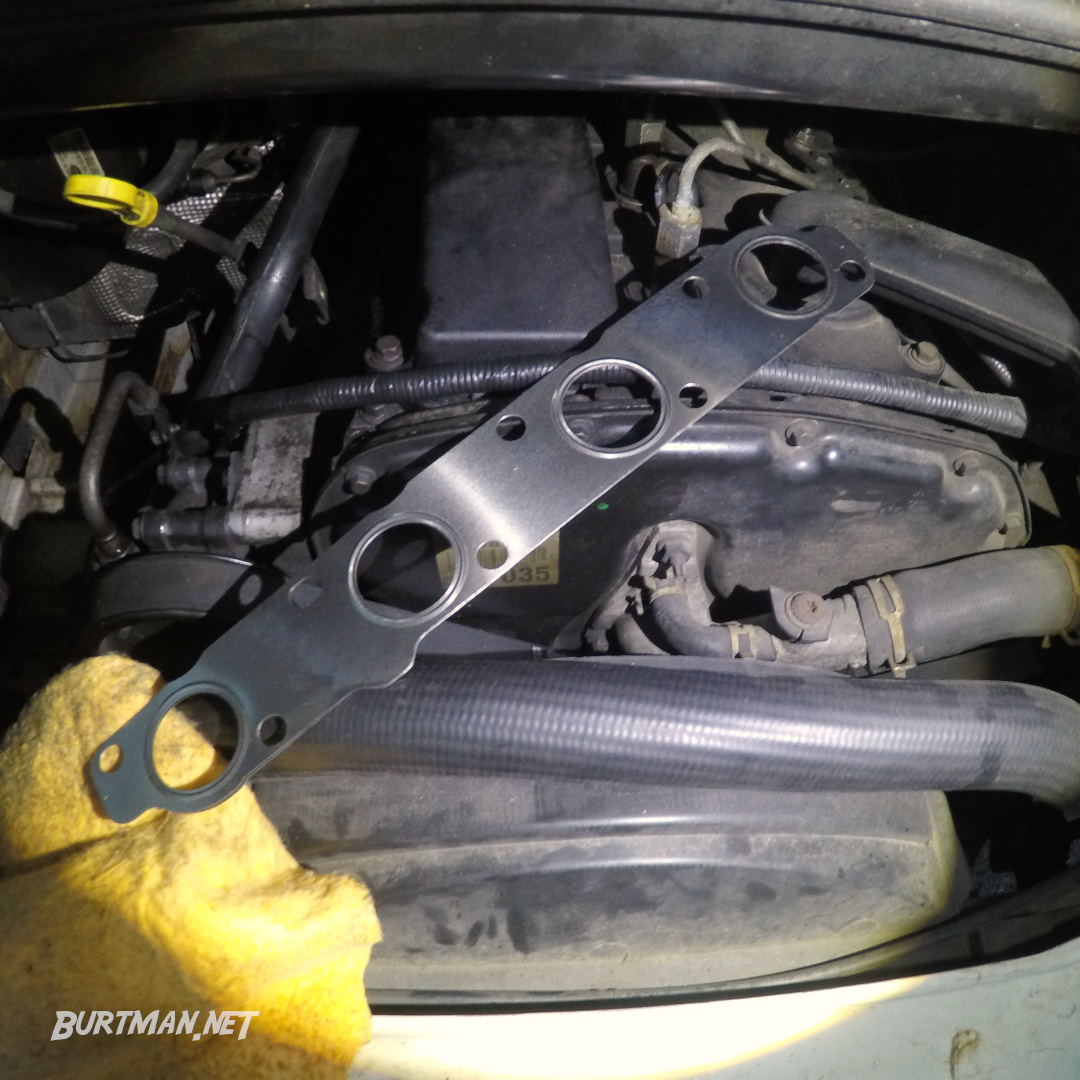
13. Replace the manifold and insert the bolts at the ends, tightening carefully, by hand, to ensure the gasket is aligned with the other holes. When the first two bolts are in a few turns, fit the rest of the bolts in the same way.
The new gasket in place, ready for bolts to be refitted.
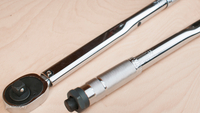
14. Once all the bolts are in finger-tight, screw them in carefully with the socket, until they meet resistance. From this point on, tighten them evenly, as you would tighten wheel nuts, ensuring an even distribution of pressure. When all bolts are fitted snugly, torque them in the same pattern to your manufacturer's specification.
15. Refit the intercooler hose to the turbo.
16. Refit the air host to the air filter box.
17. Inspect the area to make sure there are no left-over parts, bolts, etc., and that there are no tools in the engine bay. With everything fitted properly, you can now start the engine and then come back around to check for the presence of exhaust in the engine bay (and hopefully not detect any).
18. Smirk, then sit your ass down and have some lunch.